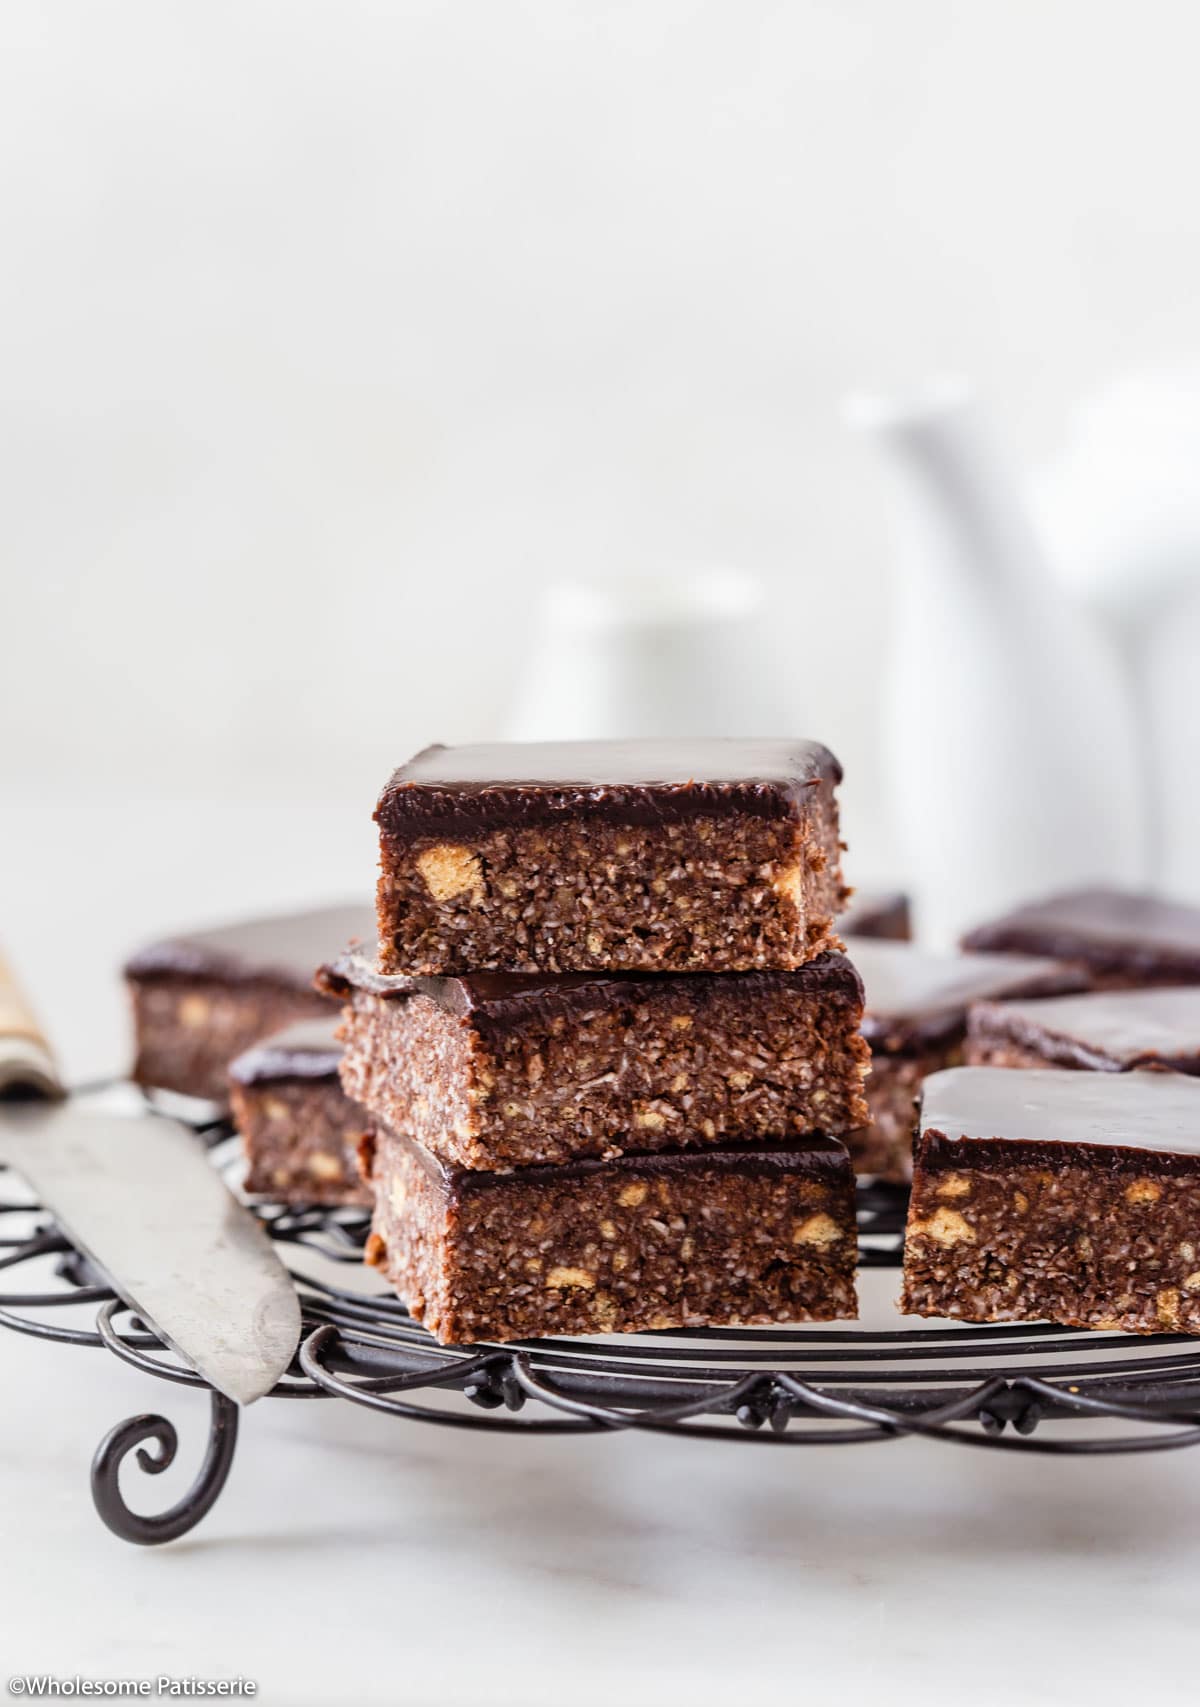
Easy Chocolate Fudge Slice (No-Bake)
No-bake easy slice recipes such as this Chocolate Fudge Slice Recipe will be the new addition to your rotation!
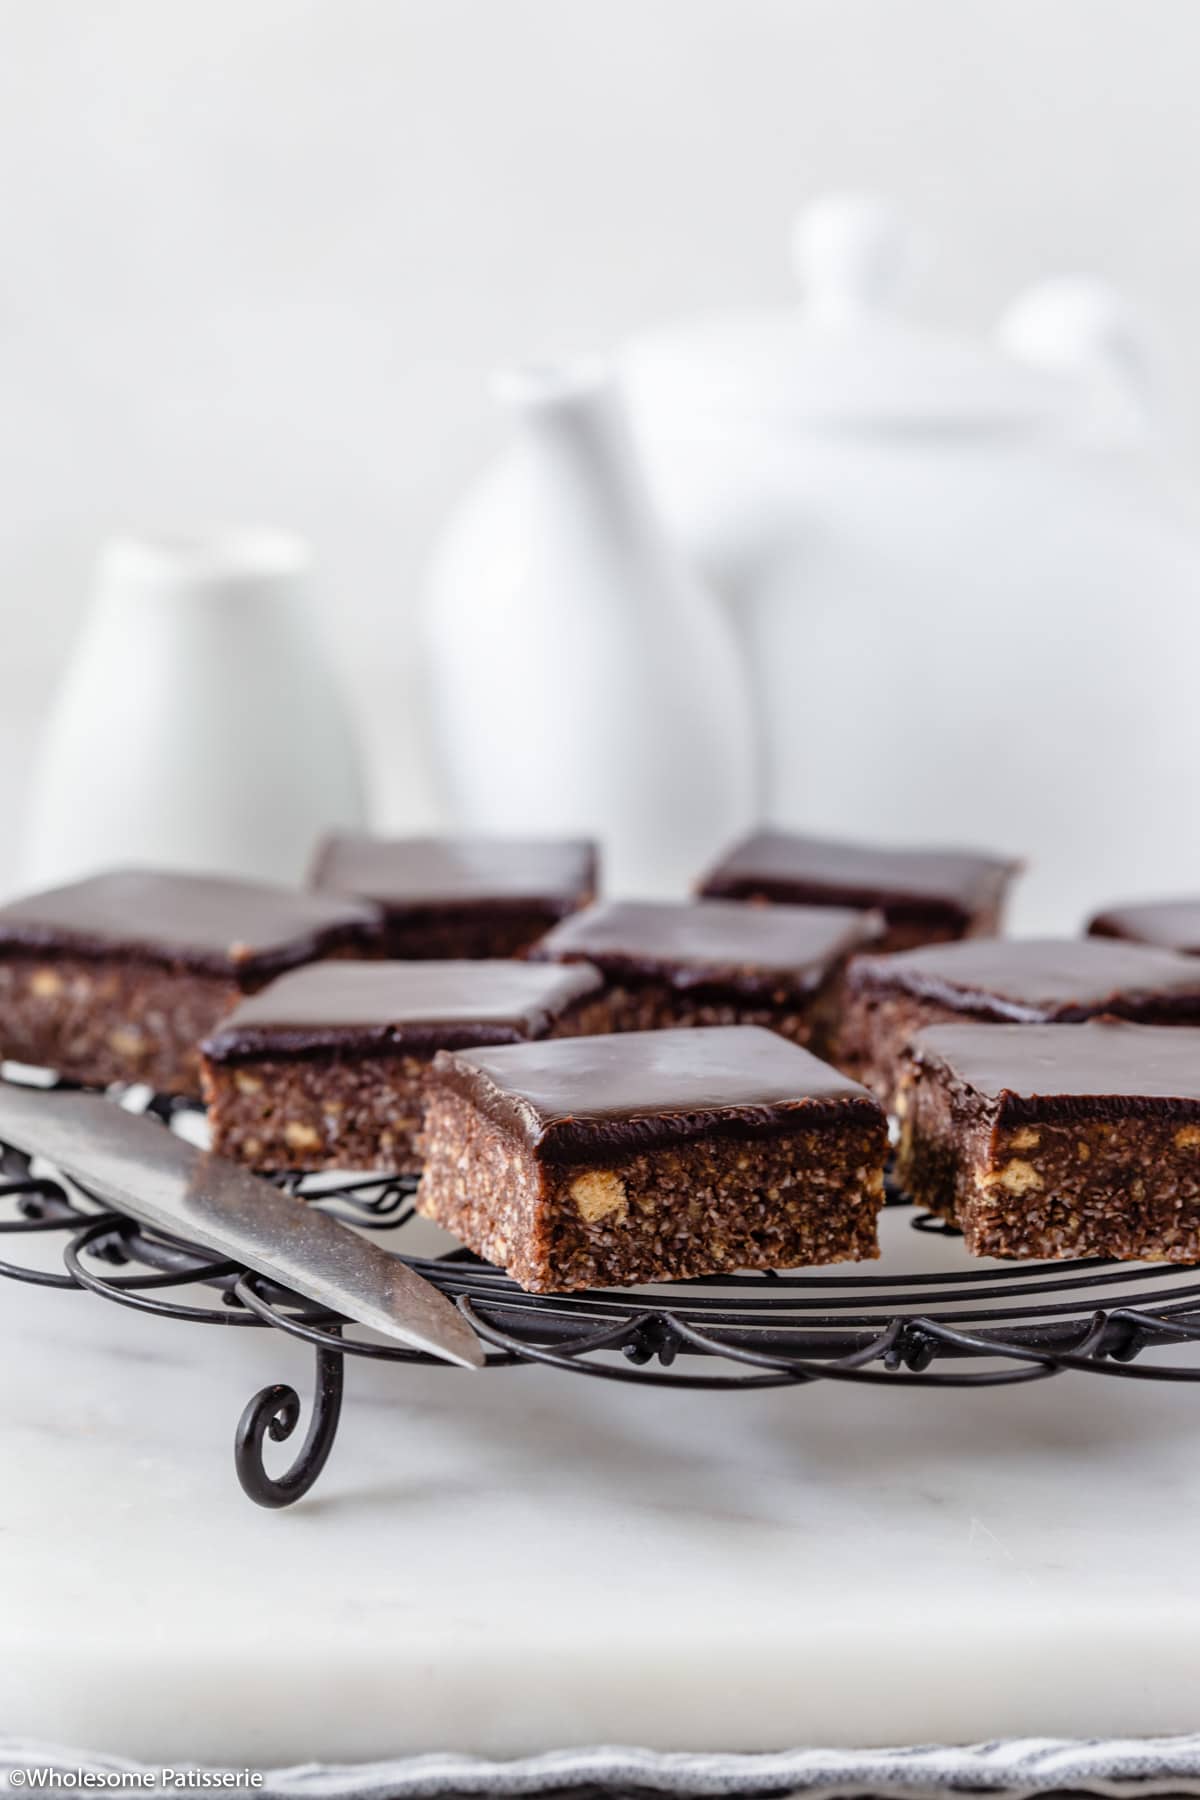
With a biscuit cocoa base and a velvety smooth 4-ingredient chocolate icing. It’s soft, rich, and delicious!
Chocolate Fudge Slice
This easy chocolate fudge slice is great to have in your recipe repertoire as you can whip it up quickly when you need a sweet treat, just like my quick Rice Bubble Slice!
The base is created with crushed biscuits, condensed milk, cocoa, and more. It’s soft yet firm and rich yet not overpowering.
The chocolate fudge icing is made simply by whisking together the ingredients and pouring it over the base. The icing will set slightly but remain fudgy in texture.
Is this an old fashioned chocolate fudge slice?
This recipe is easier and faster to make than the old fashioned variety. This chocolate fudge slice requires zero cooking and baking.
Ingredient Notes & Substitutions
A full and detailed recipe card with all the ingredients to make this lemon slice is at the bottom of this post.
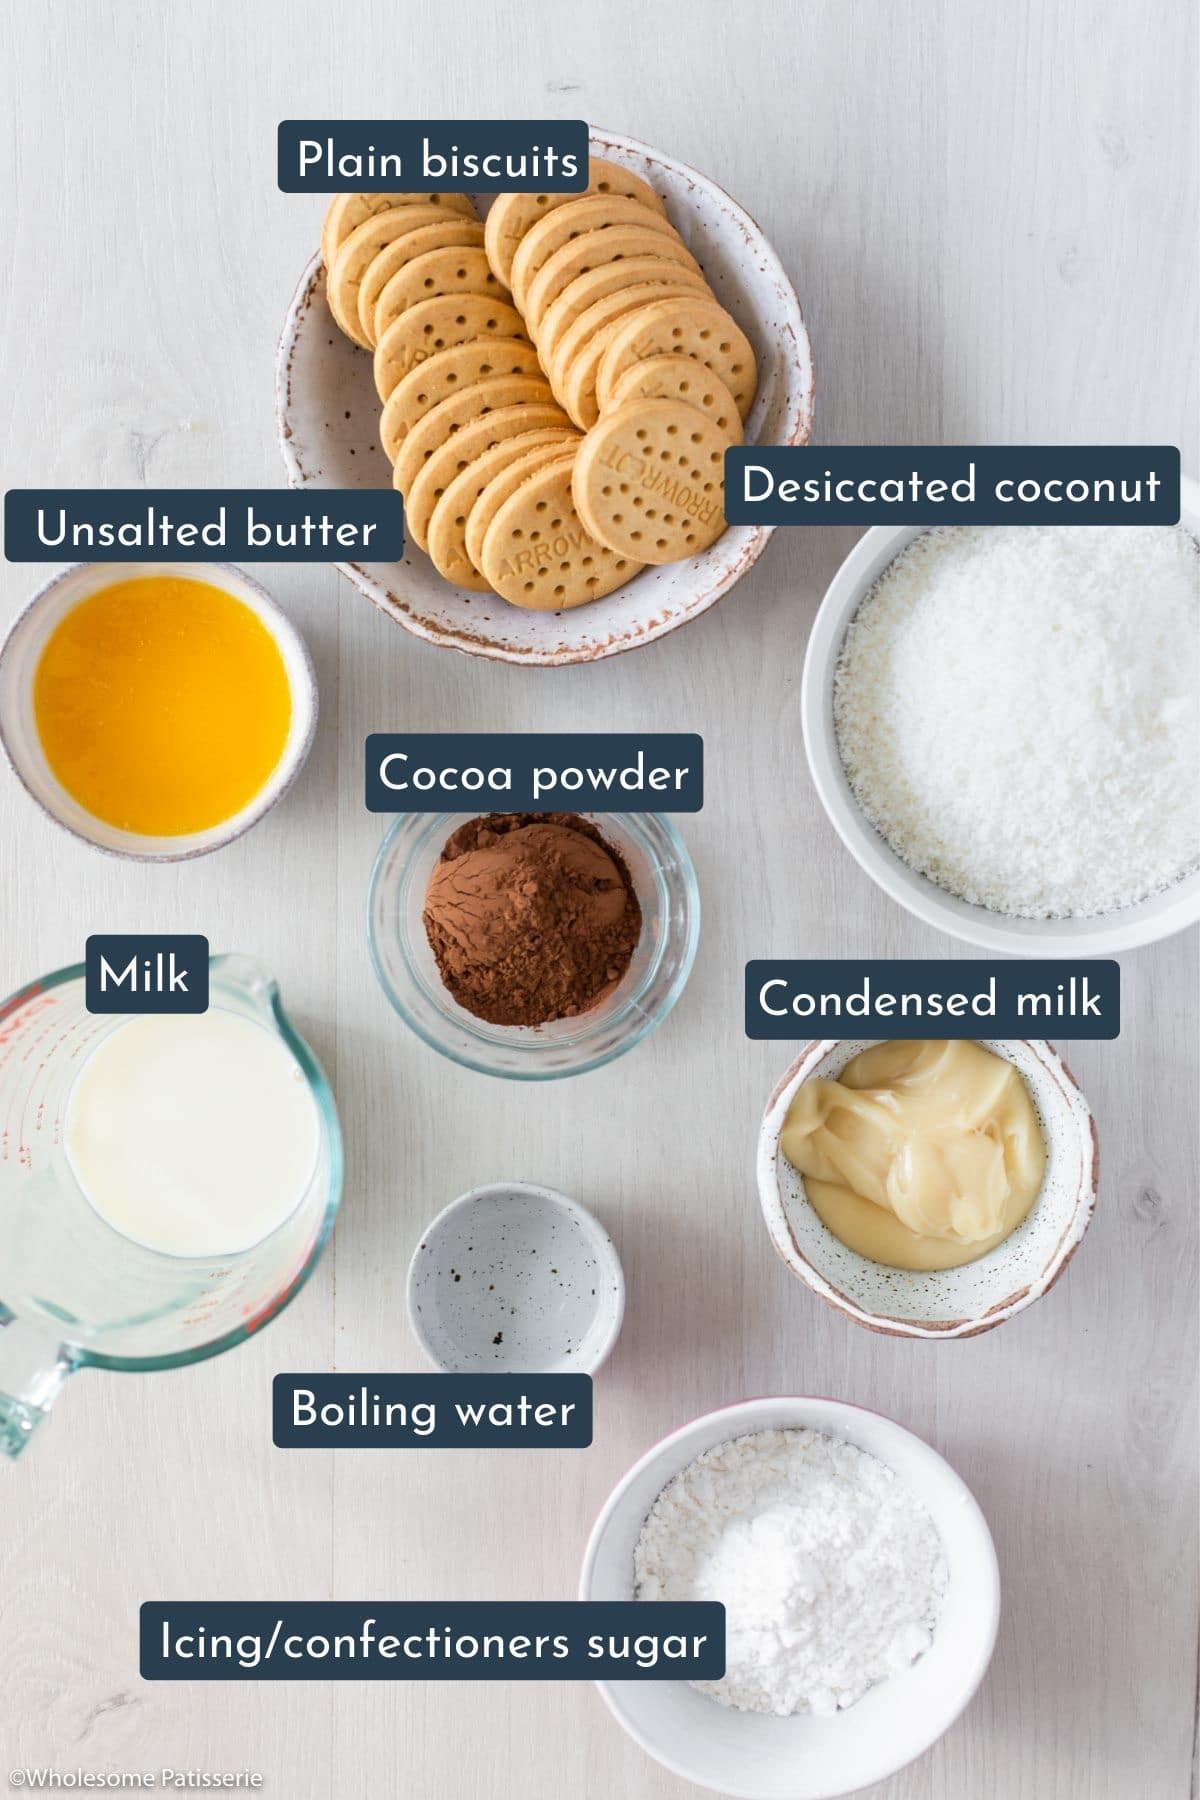
- Plain biscuits: I use plain and sweet arrowroot biscuits but you can also use plain marie biscuits or plain digestive biscuits. To make this recipe gluten-free, use plain and sweet gluten-free arrowroot biscuits or another plain gluten-free biscuit of your choosing.
- Condensed milk: For a dairy-free option, use condensed coconut milk, which I use all the time and love! You can find this at your local supermarket or online.
- Boiling water: This is used in the chocolate fudge icing. Make sure to use boiled water and not warm or room-temperature water.
How To Make Chocolate Fudge Slice (with photos)
There is a full and detailed recipe card at the bottom of this post.
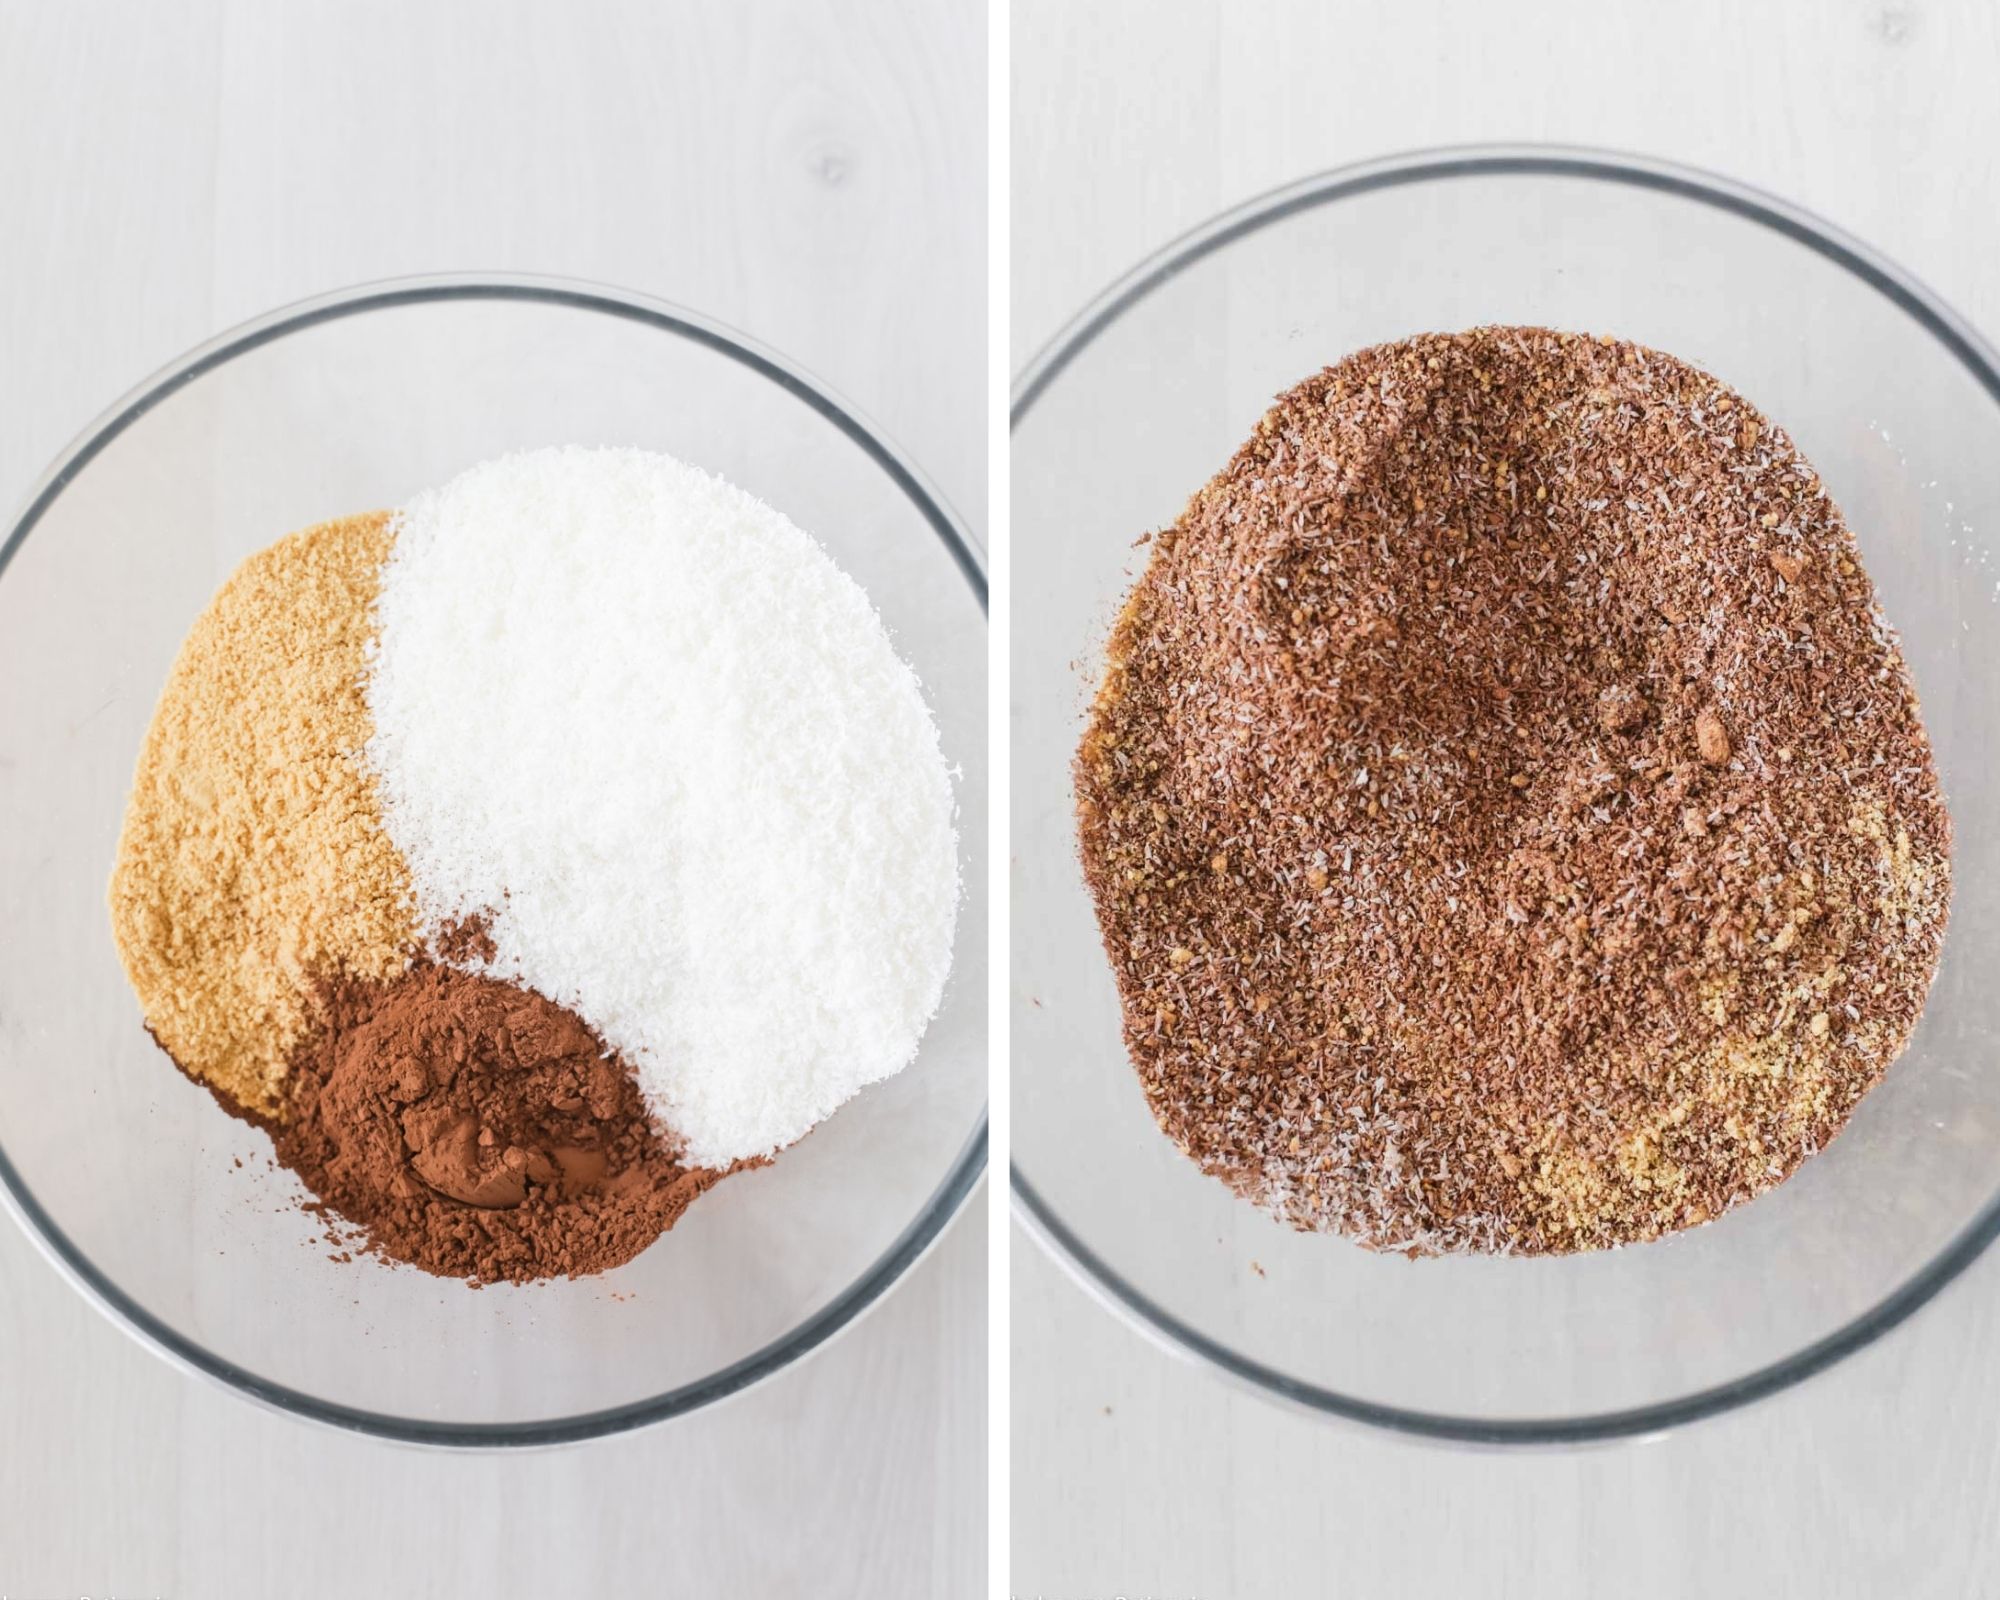
Step one: In a large mixing bowl, add crushed biscuits, desiccated coconut and cocoa powder. Mix until well combined.
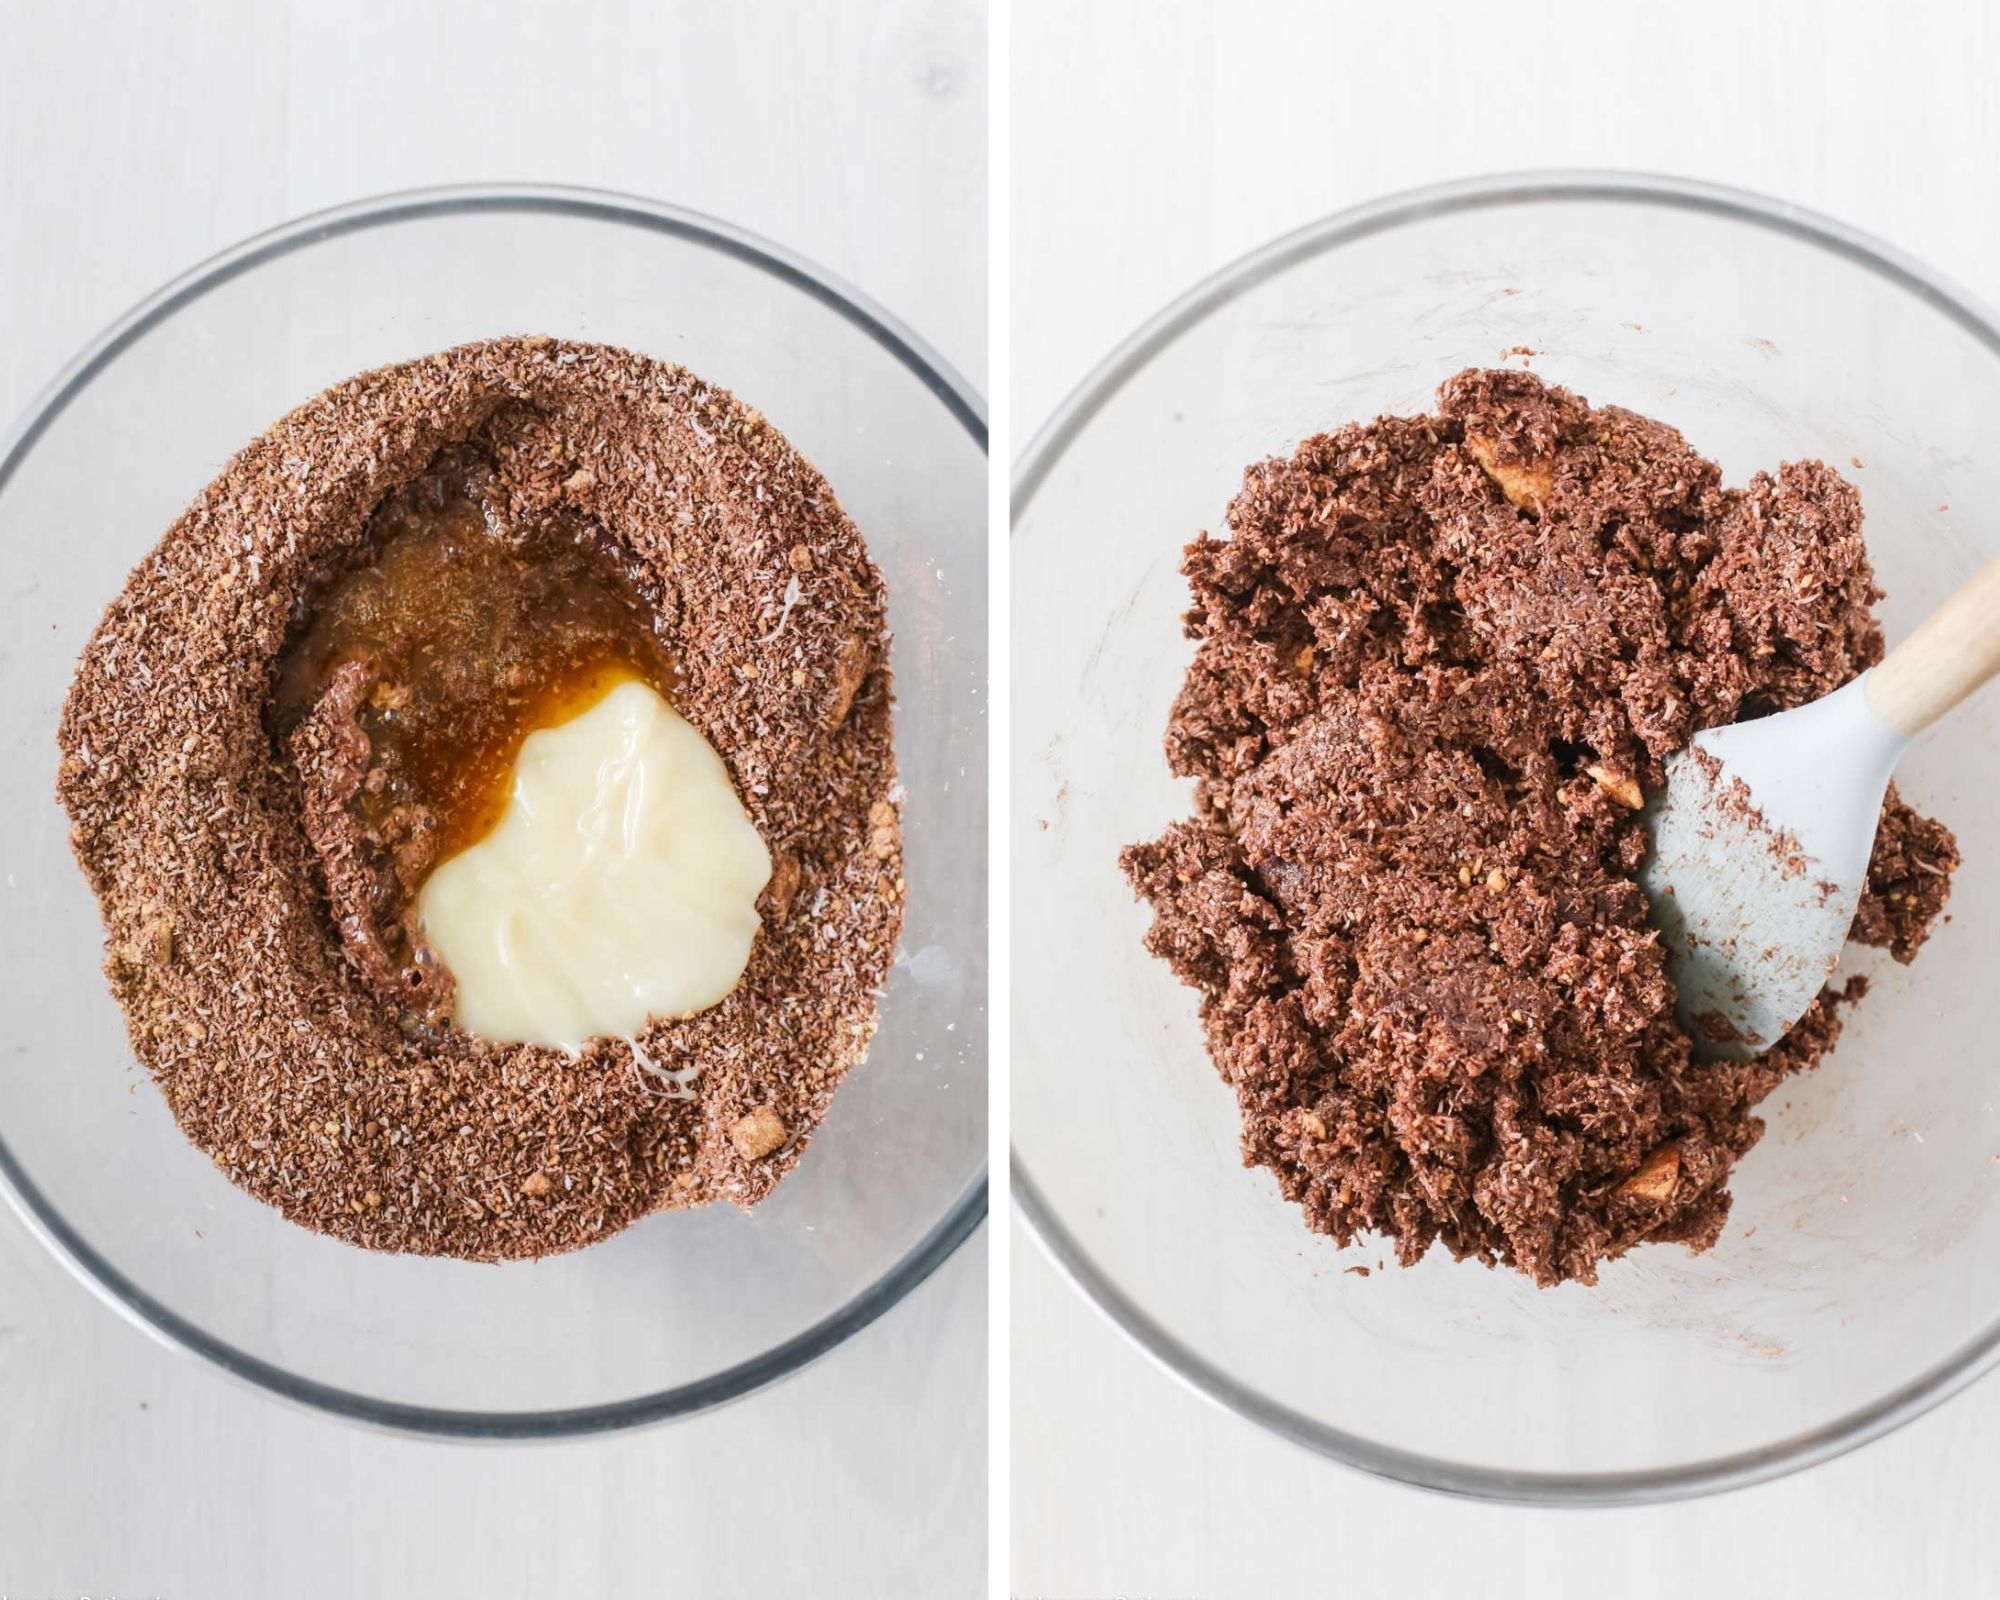
Step two: Pour in the melted butter, condensed milk, and milk. Mix with a wooden spoon or spatula until everything is well combined.
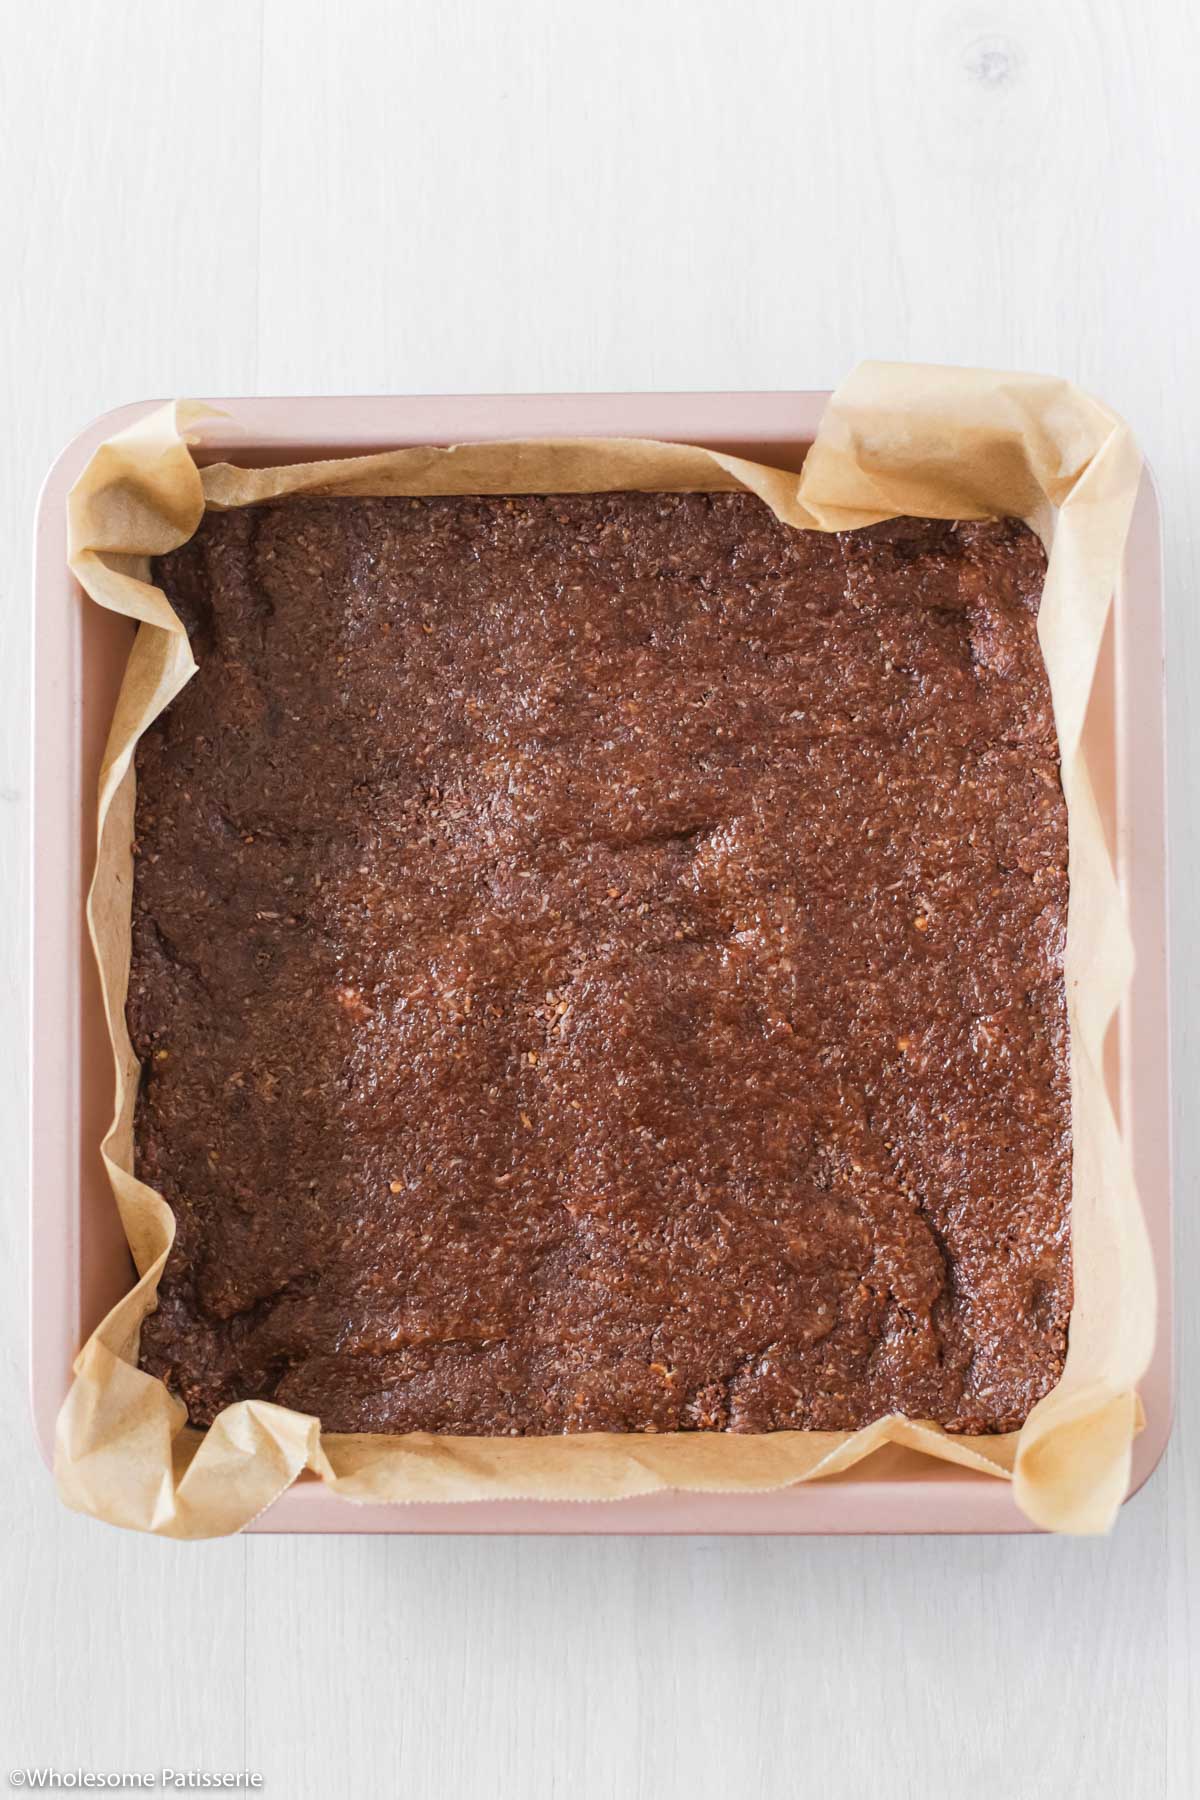
Step three: Press the mixture into the lined tin, you may want to use your hands for this step to press it in and smooth out the top.
Step four: Transfer to the refrigerator for 30 minutes – 1 hour or until it’s firm to the touch.
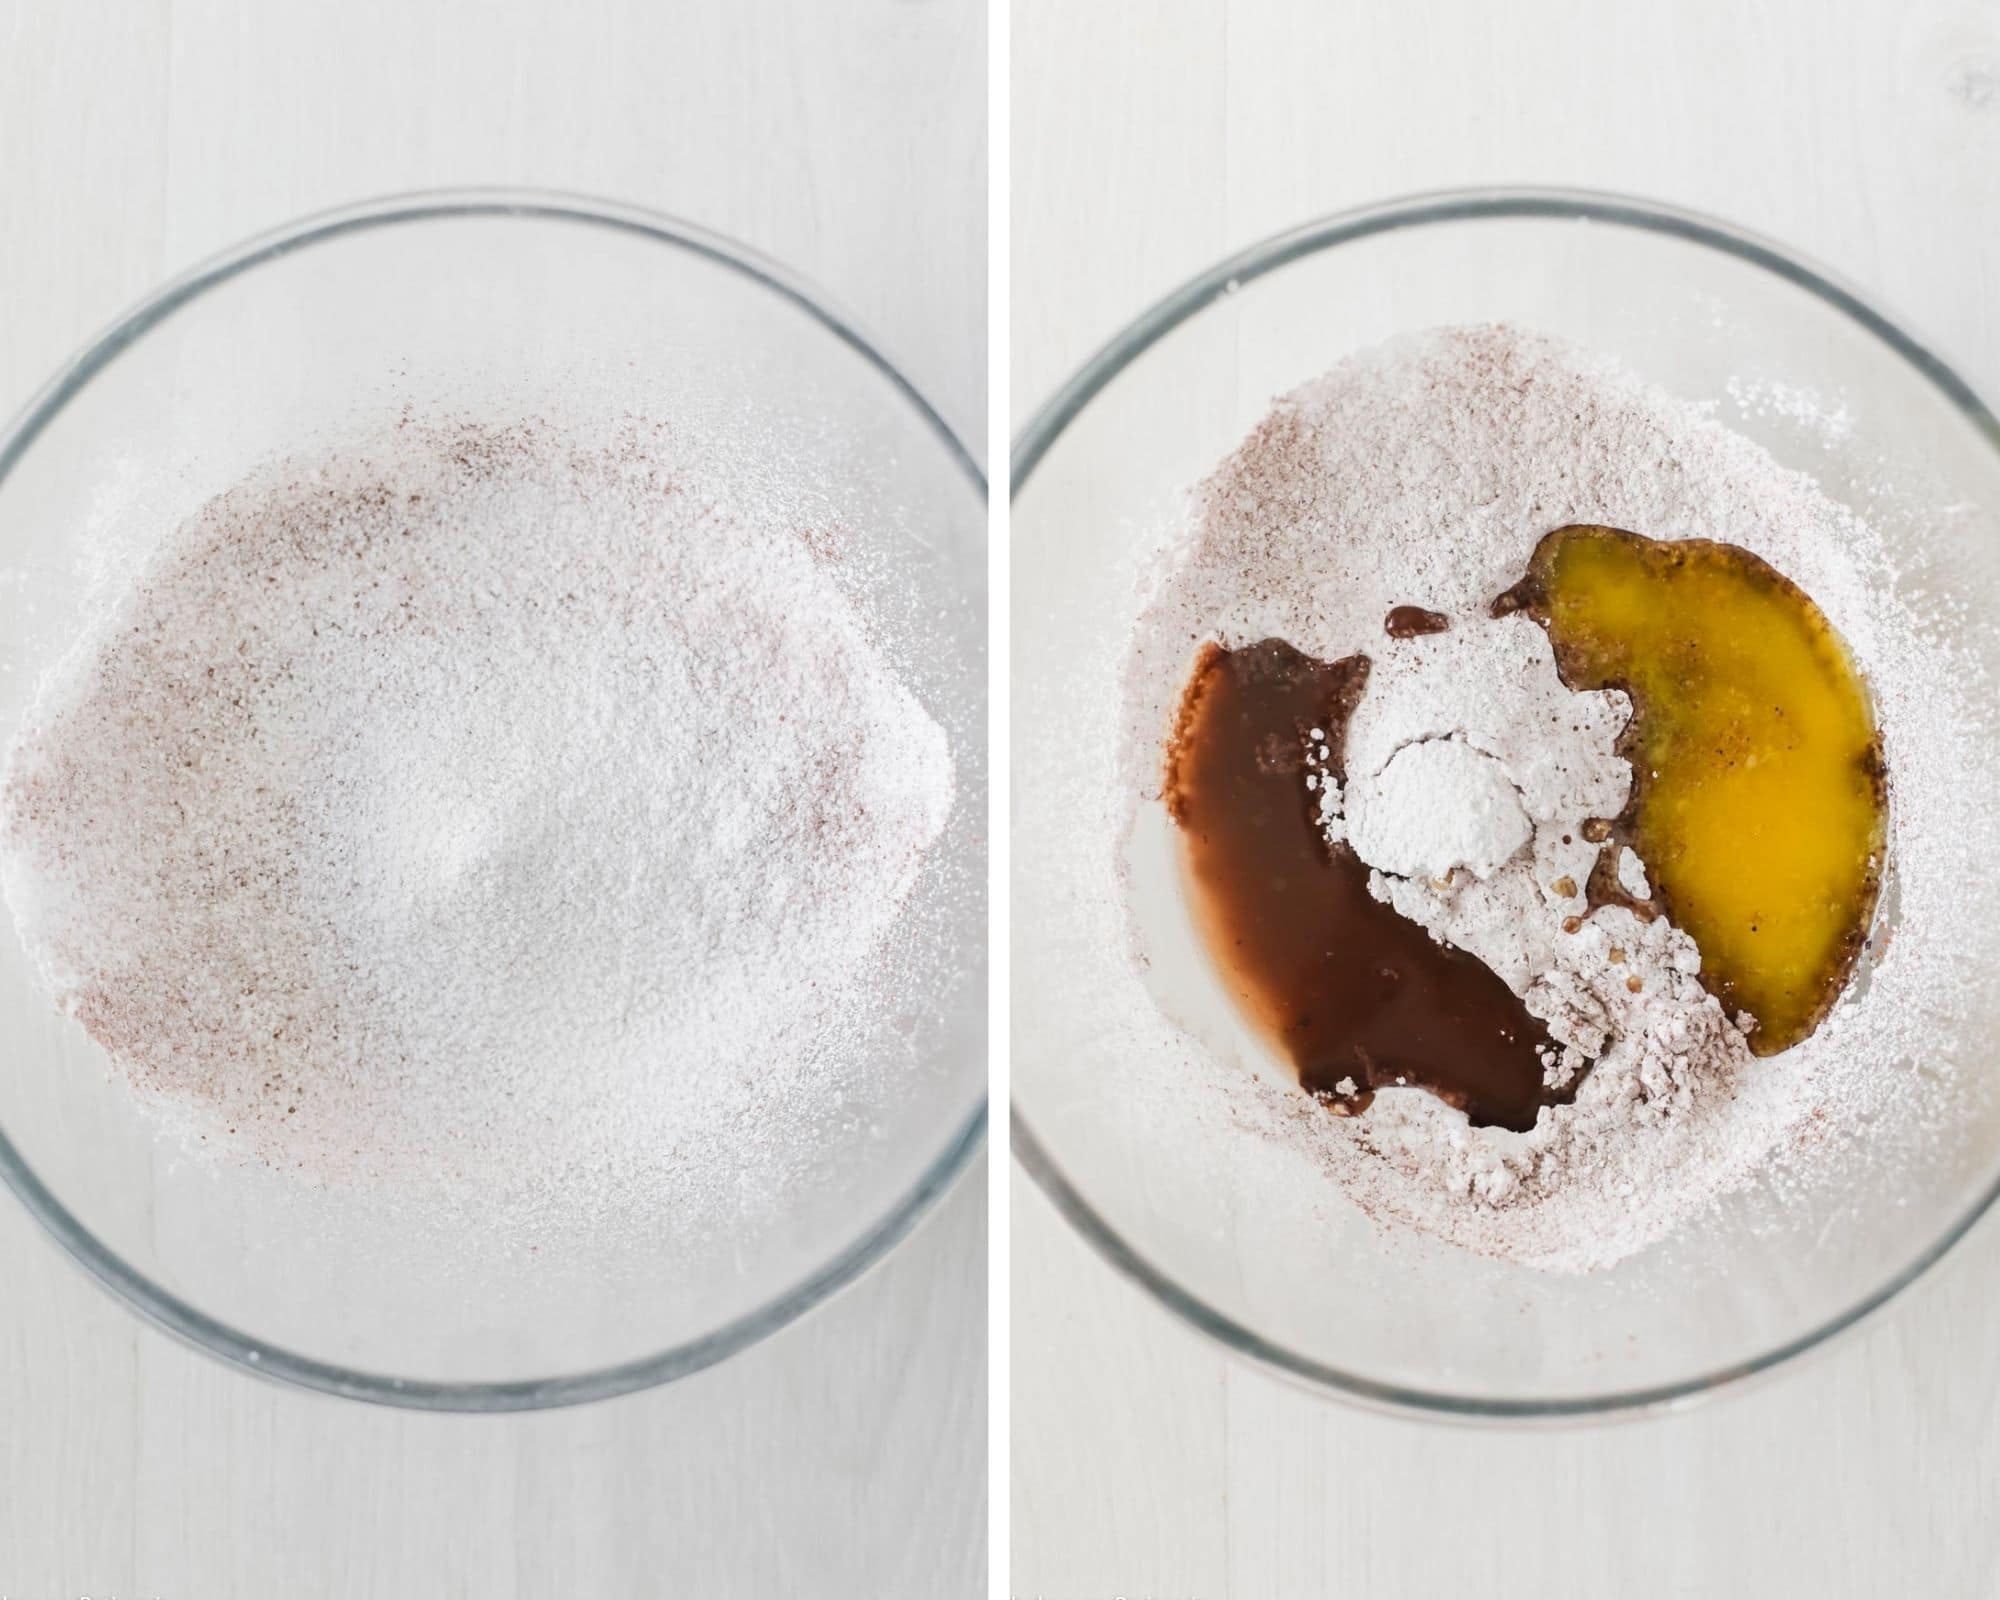
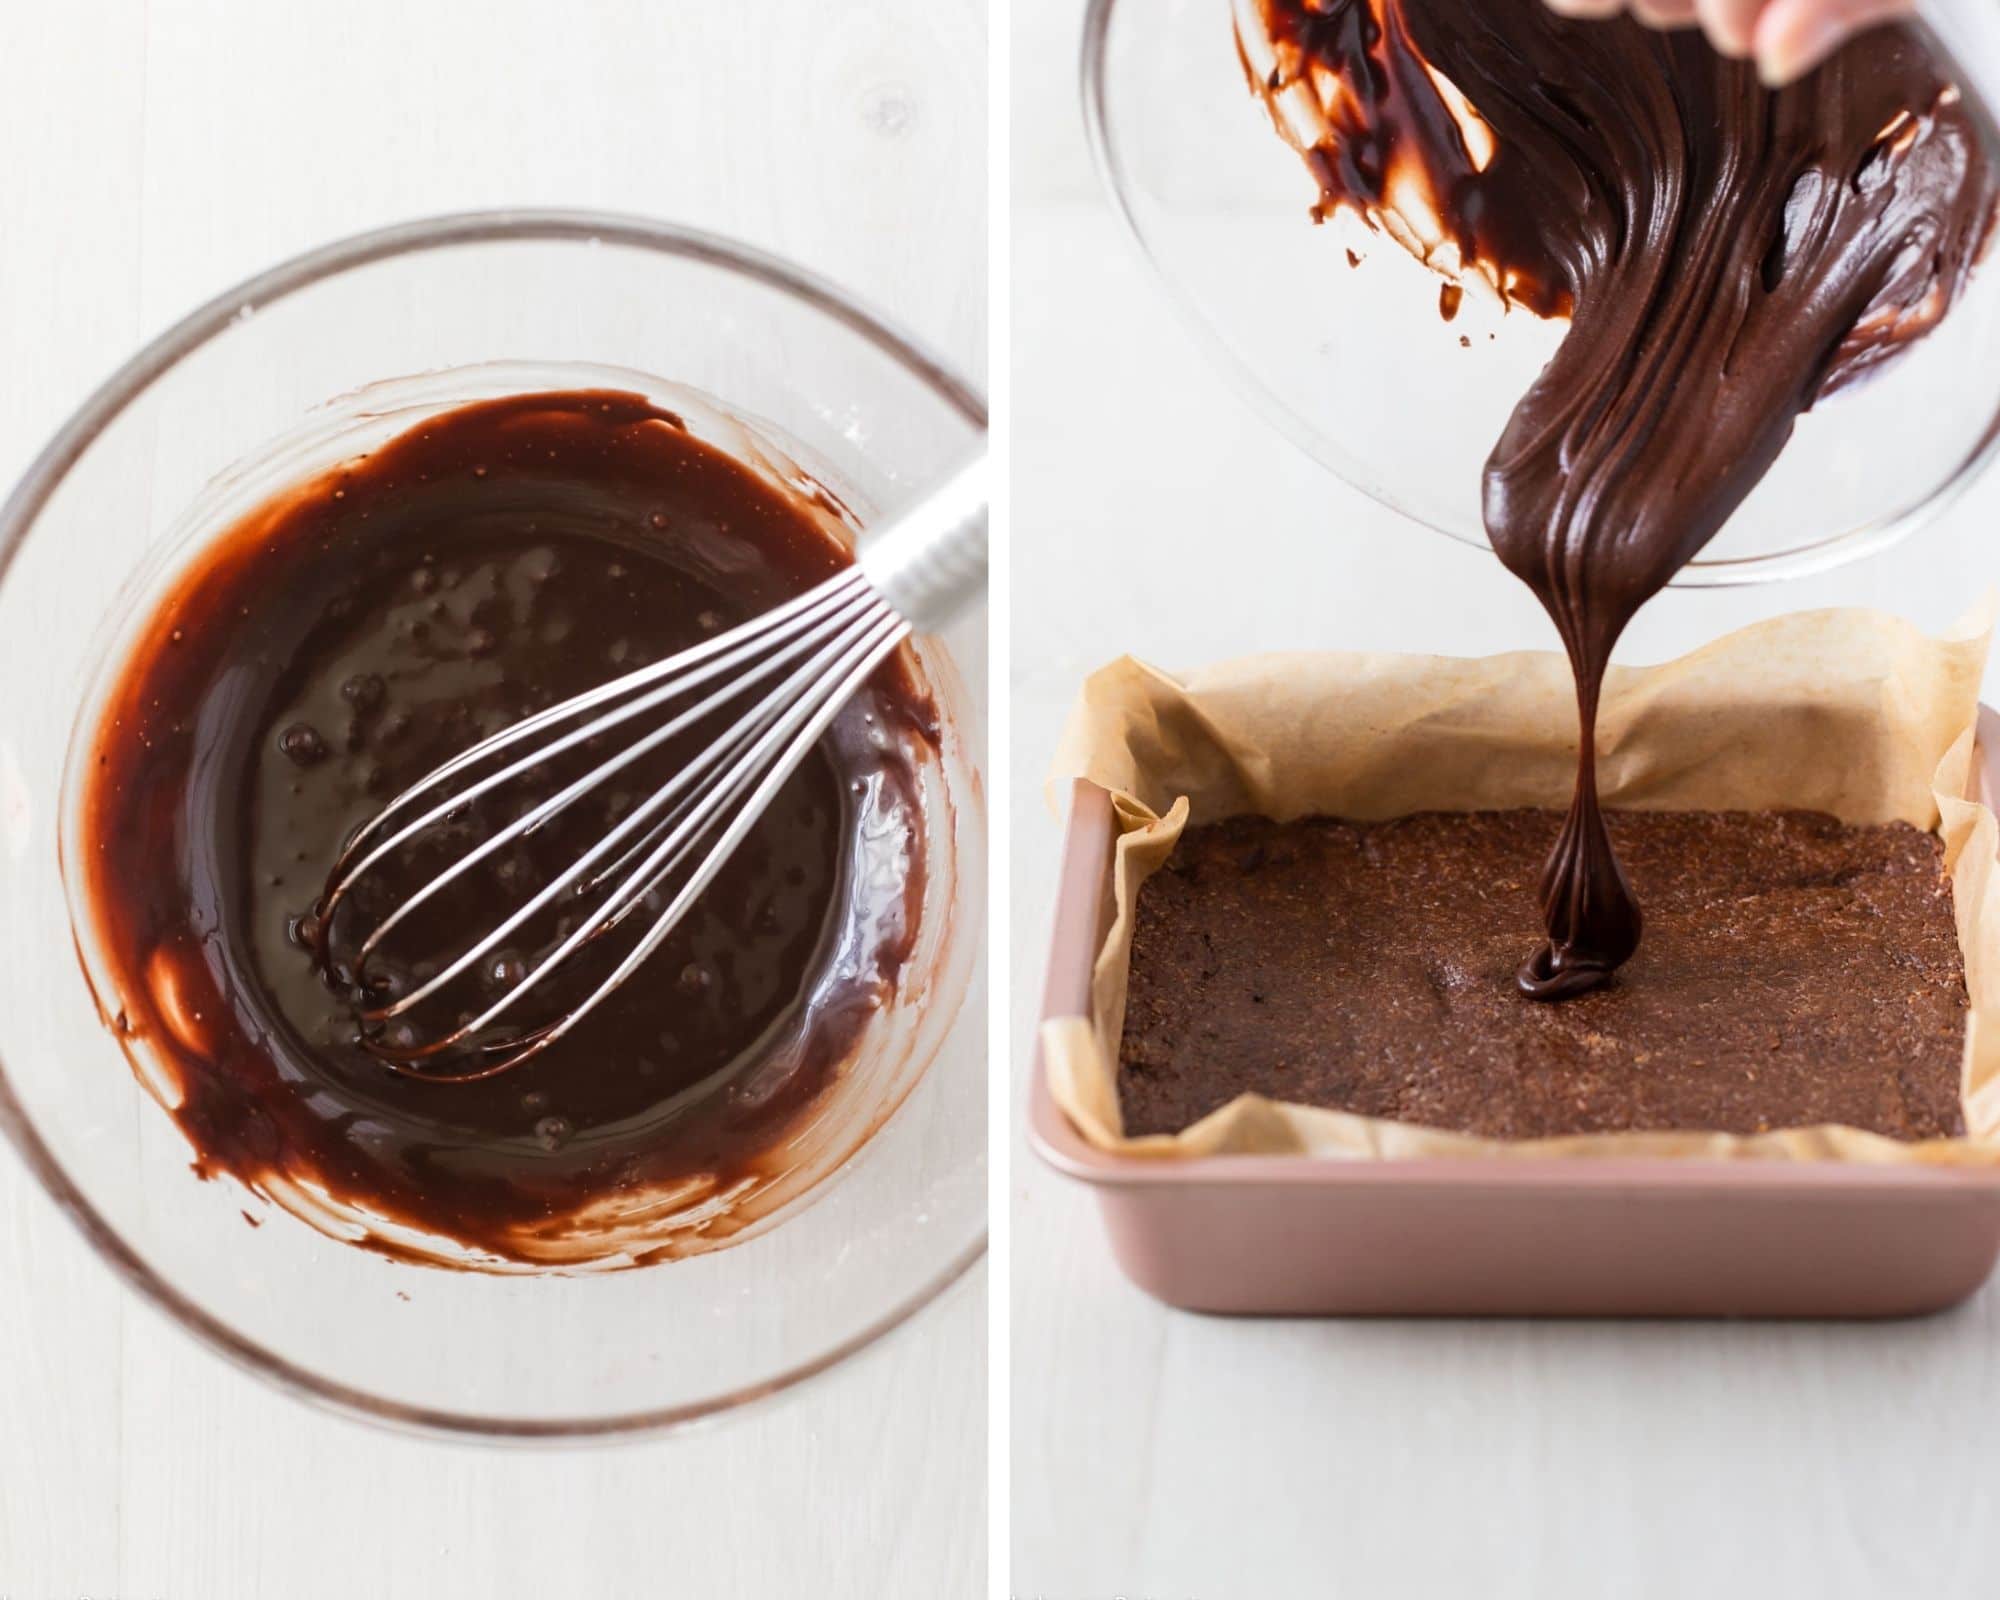
Step five: In a medium-sized mixing bowl, sift icing sugar and cocoa powder together. Pour in the melted butter and boiling water. Use a whisk to mix it all until well combined, it will turn thick.
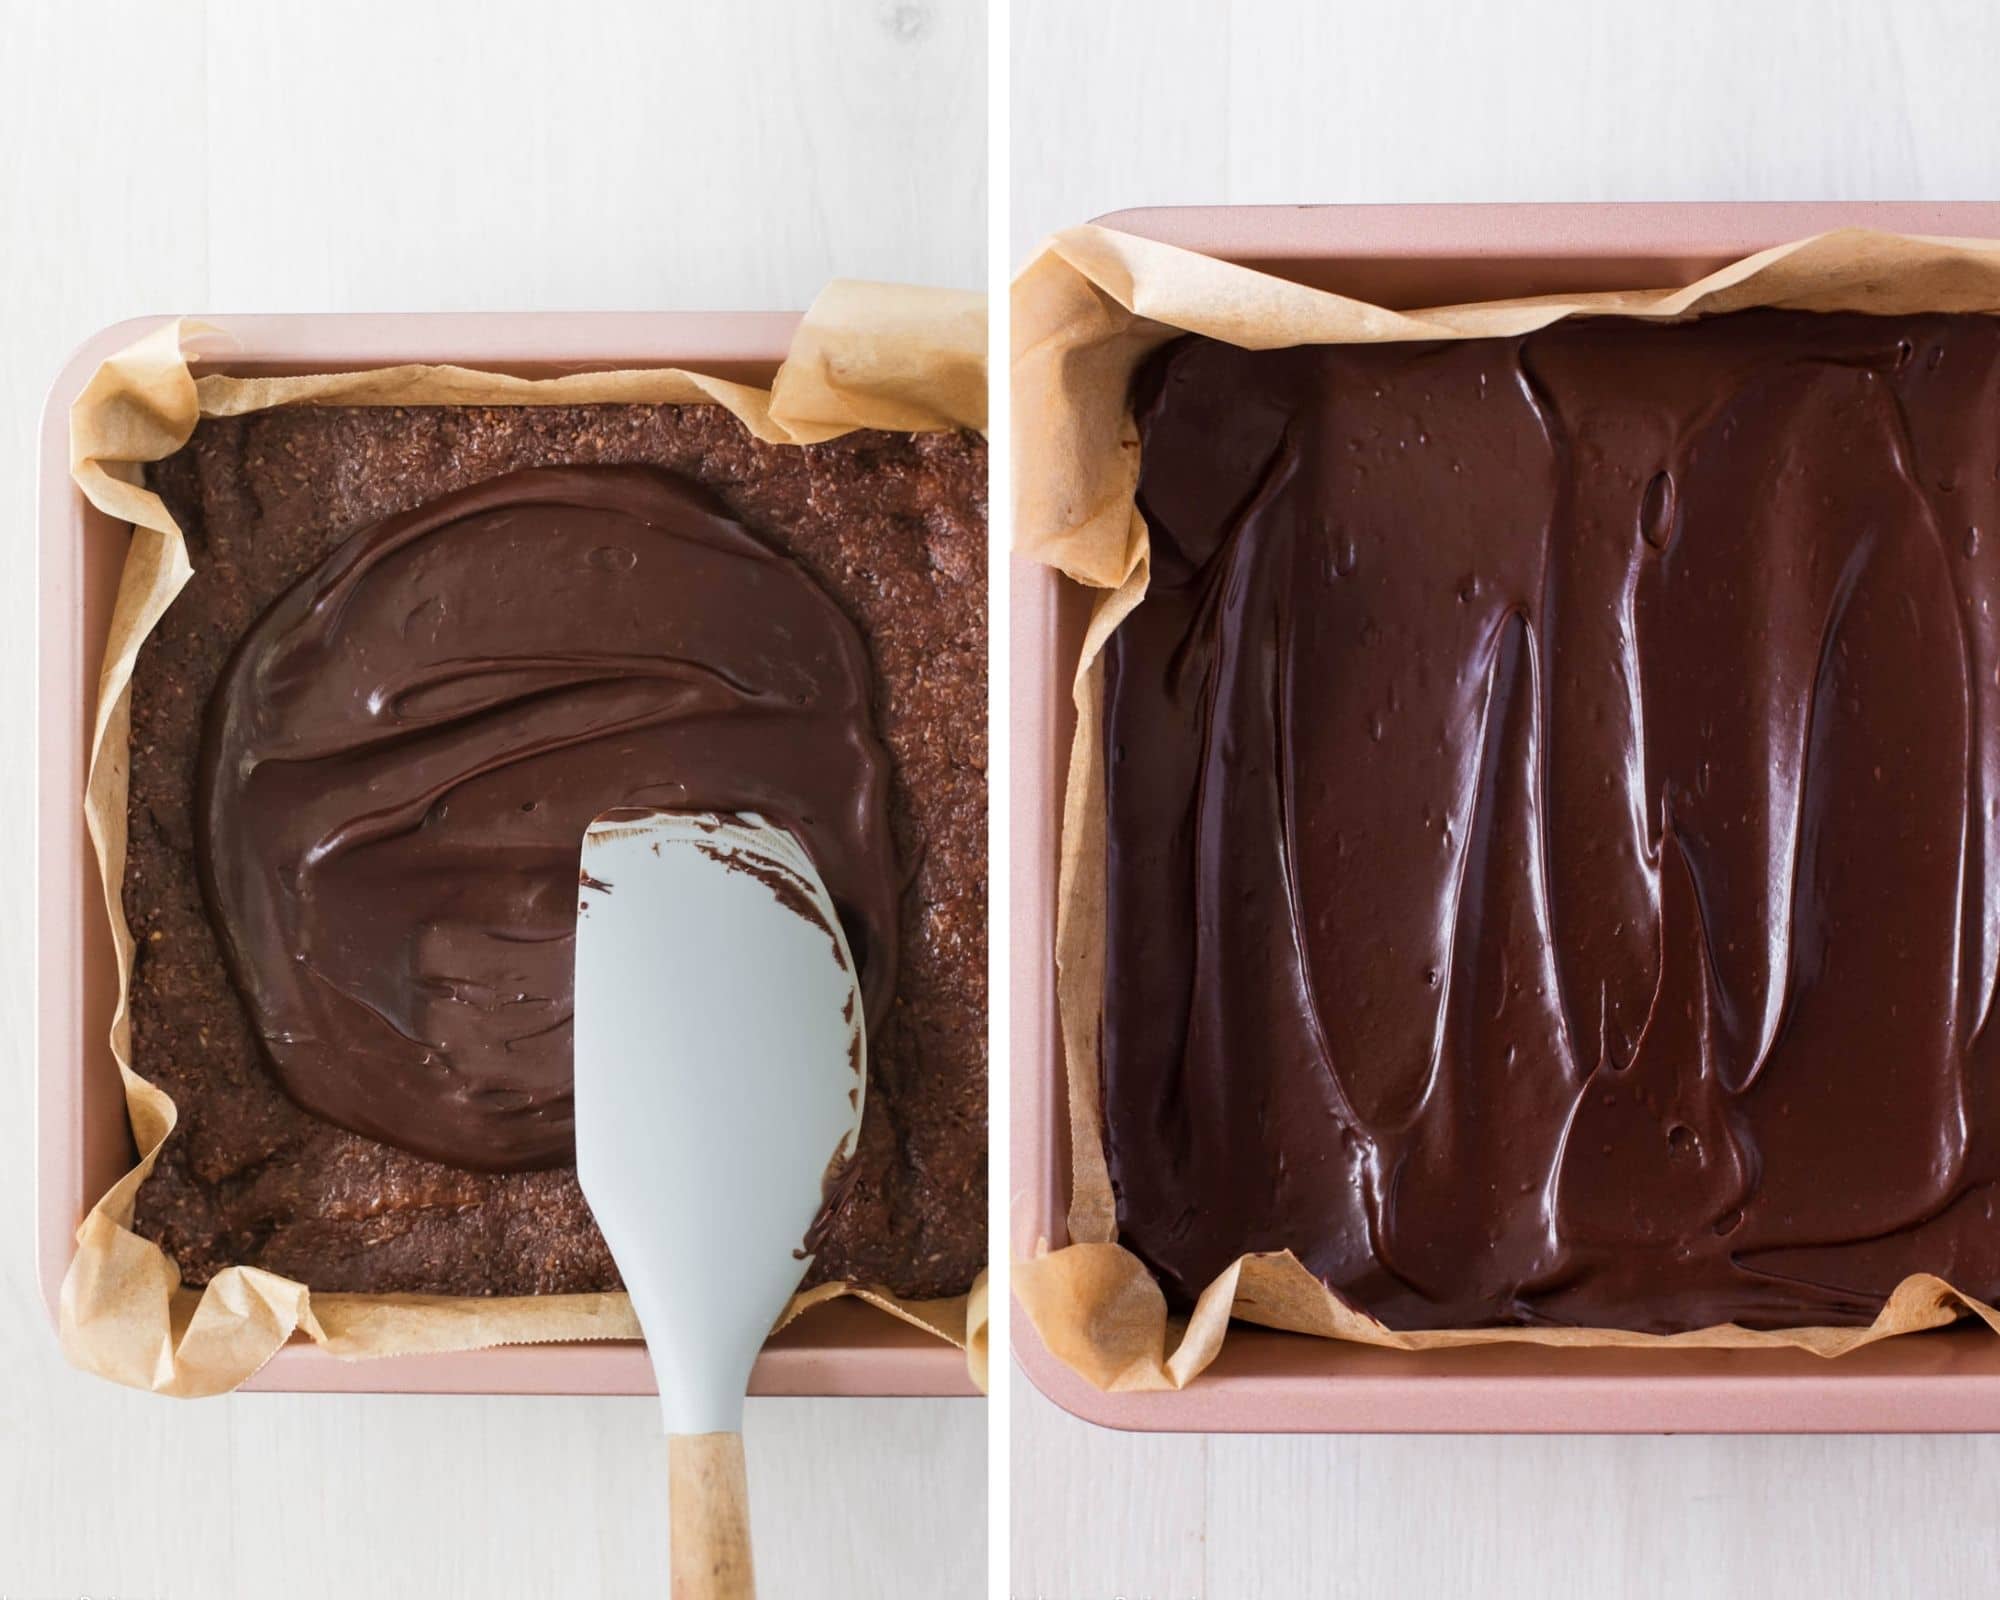
Step six: Remove the base from the refrigerator and pour over the icing. Spread it out evenly using a spatula or move the pan around so it spreads out itself.
Step seven: Return to the refrigerator for 1 hour or until icing is just set. It won’t completely harden as it’s fudgy in texture. Remove from pan and slice into squares. Serve and enjoy!
Expert Tips
- Spread over your icing immediately: After you have made it otherwise it will begin to firm up which makes it harder to spread.
- The fudge icing won’t set completely: It will remain slightly firm to the touch with a fudge consistency.
What do I do if my icing is too firm to spread?
It’s best to spread over your icing immediately after you have finished making it. This prevents it from firming up too much before you can spread it on the base. If your icing needs more moisture, add one tablespoon of milk at a time until it’s spreadable again.
Can I make this chocolate fudge slice gluten-free and dairy-free?
Yes, simply use plain and sweet gluten-free biscuits, condensed coconut milk instead of regular condensed milk, dairy-free cooking butter and dairy-free milk such as almond or coconut milk.
Storing Instructions
Store in an airtight container, refrigerated, for 1 week.
Best Chocolate Slice Recipes
If you enjoy this recipe, please consider leaving a ⭐️ star rating and a comment review below. I love to hear what you think and it’s much appreciated. Thank you! Your email address will not be published. Sam x

Easy Chocolate Fudge Slice (No-Bake)
Ingredients
Method
- Line a 9” x 9“ square baking pan with parchment paper, set aside.
- First, melt the butter and set it aside to cool slightly.
- Crush biscuits in a high-speed food processor until they turn to crumbs.
- Pour crushed biscuits into a large mixing bowl.
- Add desiccated coconut and cocoa powder. Mix until well combined.
- Pour in melted butter, condensed milk, and milk. Mix with a wooden spoon or spatula until everything is well combined.
- Press mixture into lined pan, you may want to use your hands for this step to press it in and smooth out the top.
- Transfer to the refrigerator while you make the icing.
- In a medium sized mixing bowl, sift icing sugar and cocoa powder together.
- Pour in melted butter and boiling water. Use a whisk to mix it altogether until well combined, it will turn thick. Continue to whisk until smooth and no lumps of sugar and cocoa remain.
- Remove the base from the refrigerator and pour over the icing. Spread it out evenly using a spatula or move the pan around so it spreads out itself.
- Return to the refrigerator for 1 hour or until icing is just set. It won’t completely harden as it’s fudgy in texture.
- Remove from pan and slice into squares.
- Serve and enjoy!
Nutrition
Video
Notes
Tried this recipe?
Let us know how it was!If you enjoy this recipe, please consider leaving a ⭐️ star rating and a comment review below. I love to hear what you think and it’s much appreciated. Thank you! Your email address will not be published. Sam x
Is there anything I can use instead of coconut?
Hi Fiona, in place of the desiccated coconut, you could try ground or crushed nuts such as almond meal, which has a similar texture to the coconut and will help hold the base together. Hope that helps 🙂