
Easy Lemon Bars

These Easy Lemon Bars feature a buttery shortbread crust topped with a silky smooth lemon filling made with fresh lemon juice and lemon zest. They’re sweet, tangy and perfect for afternoon tea, dessert or special occasions.

Easy lemon bars
When I started testing this recipe, I wanted to create a lemon dessert with a really bold, fresh lemon flavour that wasn’t hidden beneath sweetness.
The combination of fresh lemon juice and zest creates a bright citrus flavour that instantly stands out. When my mum tried these for the first time, her reaction was, “Oh my gosh, it’s like eating a lemon cheesecake!”
The creamy lemon filling paired with the buttery shortbread crust creates a dessert that feels indulgent but still lets the fresh lemon flavour shine through. These lemon bars are perfect for afternoon tea, gatherings or whenever you’re craving a homemade lemon treat.

Watch how to make it
How to make easy lemon bars
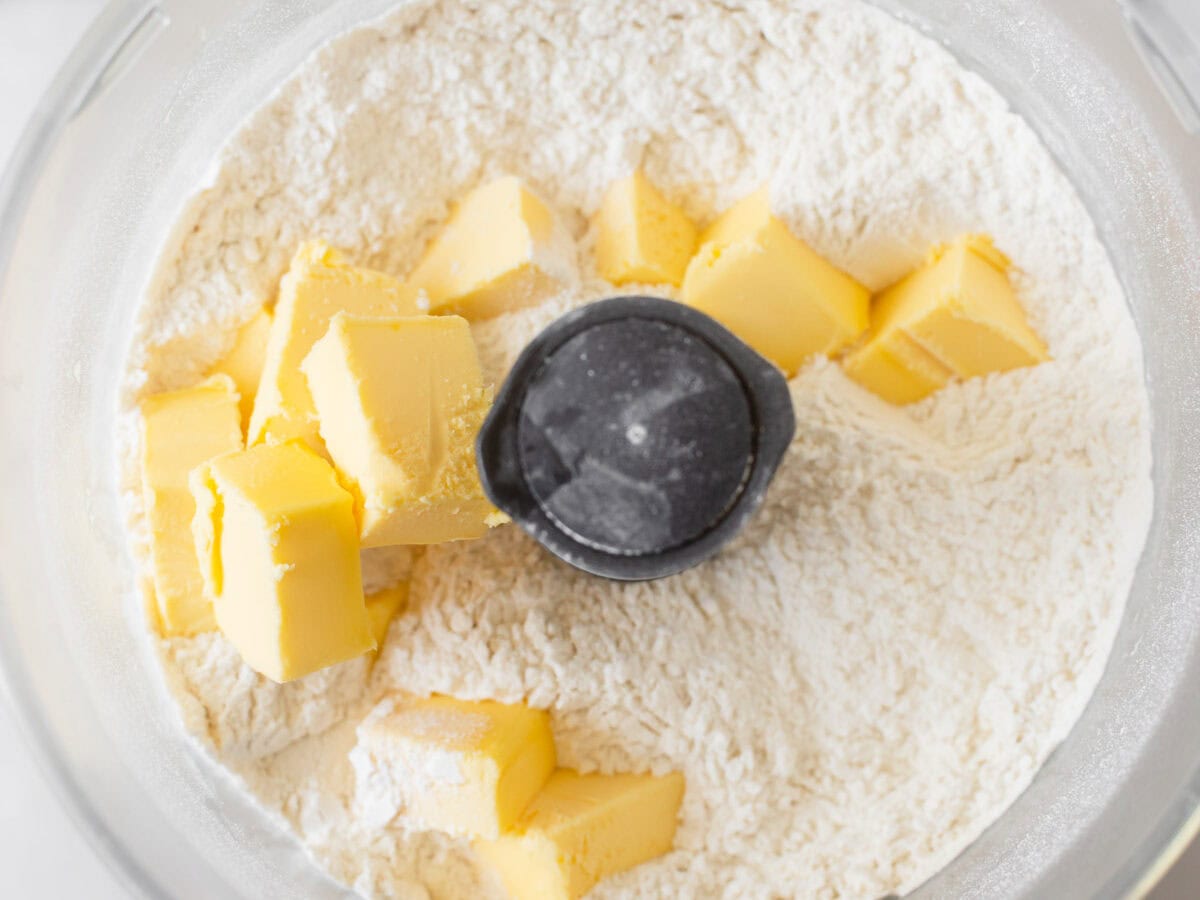
Step 1: Add the flour, powdered sugar and cold cubed butter to a food processor. Pulse until the mixture resembles coarse crumbs.
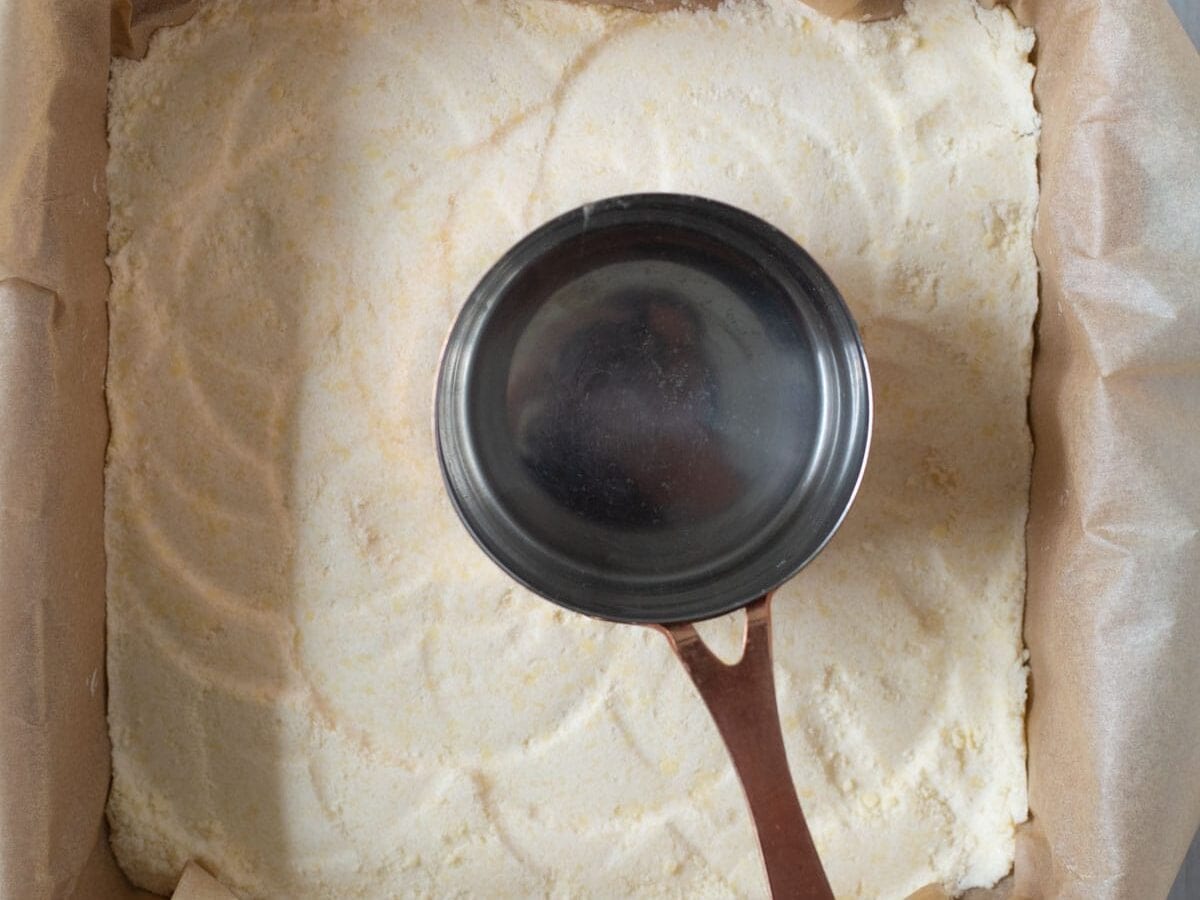
Step 2: Transfer the mixture to the prepared pan and firmly press it into an even layer using the back of a spoon or the bottom of a measuring cup.
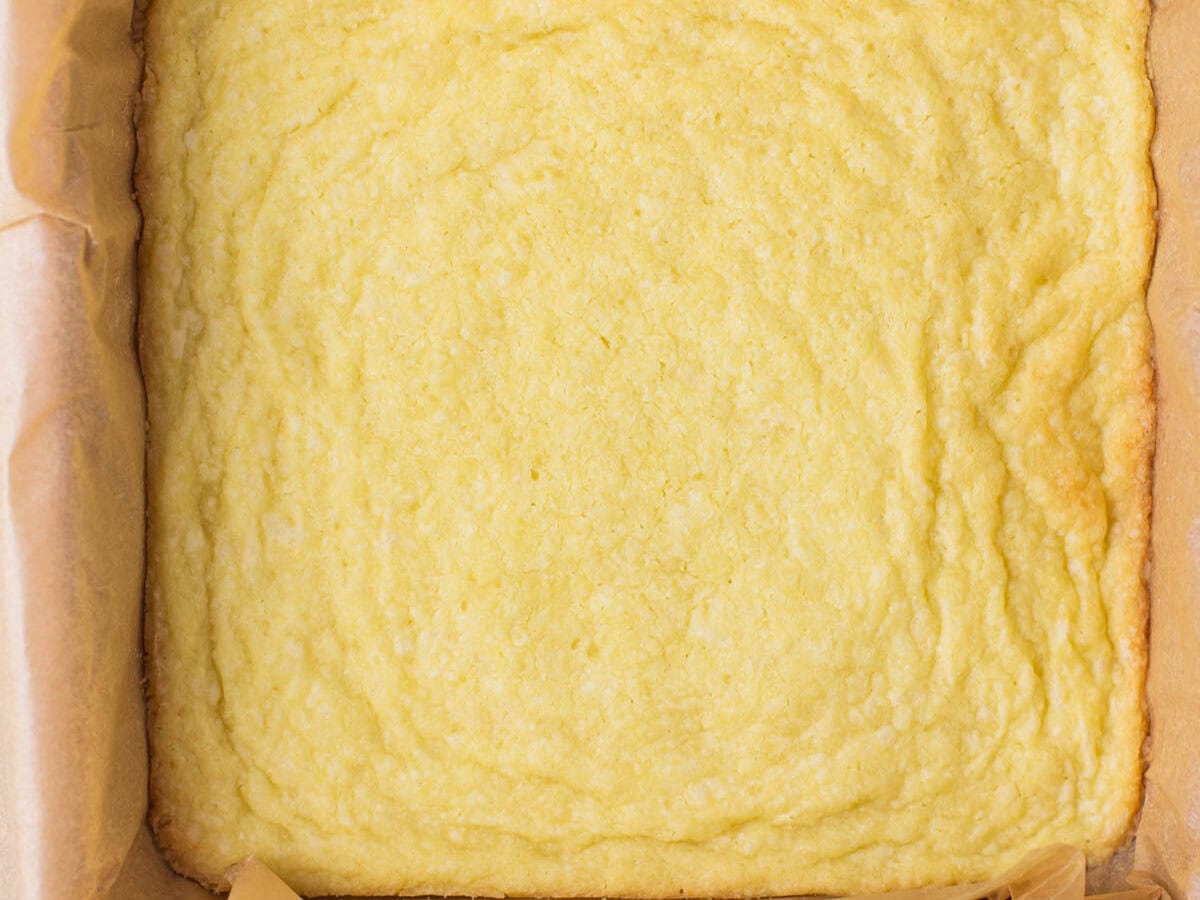
Step 3: Bake for 15 minutes or until the edges are lightly golden and the centre remains pale. While the base bakes, make the lemon topping.
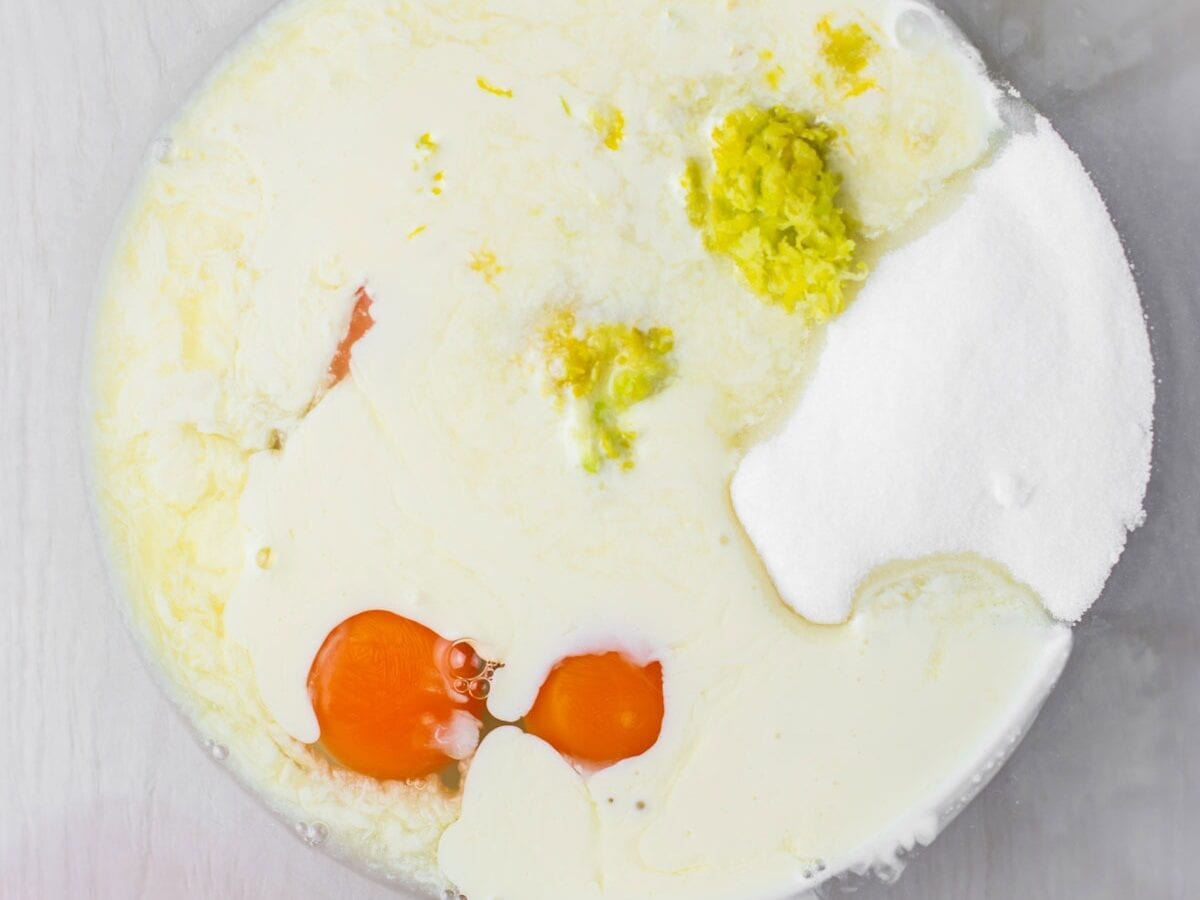
Step 4: In a large mixing bowl, whisk together the eggs, sugar, heavy cream, lemon zest and lemon juice until well combined.
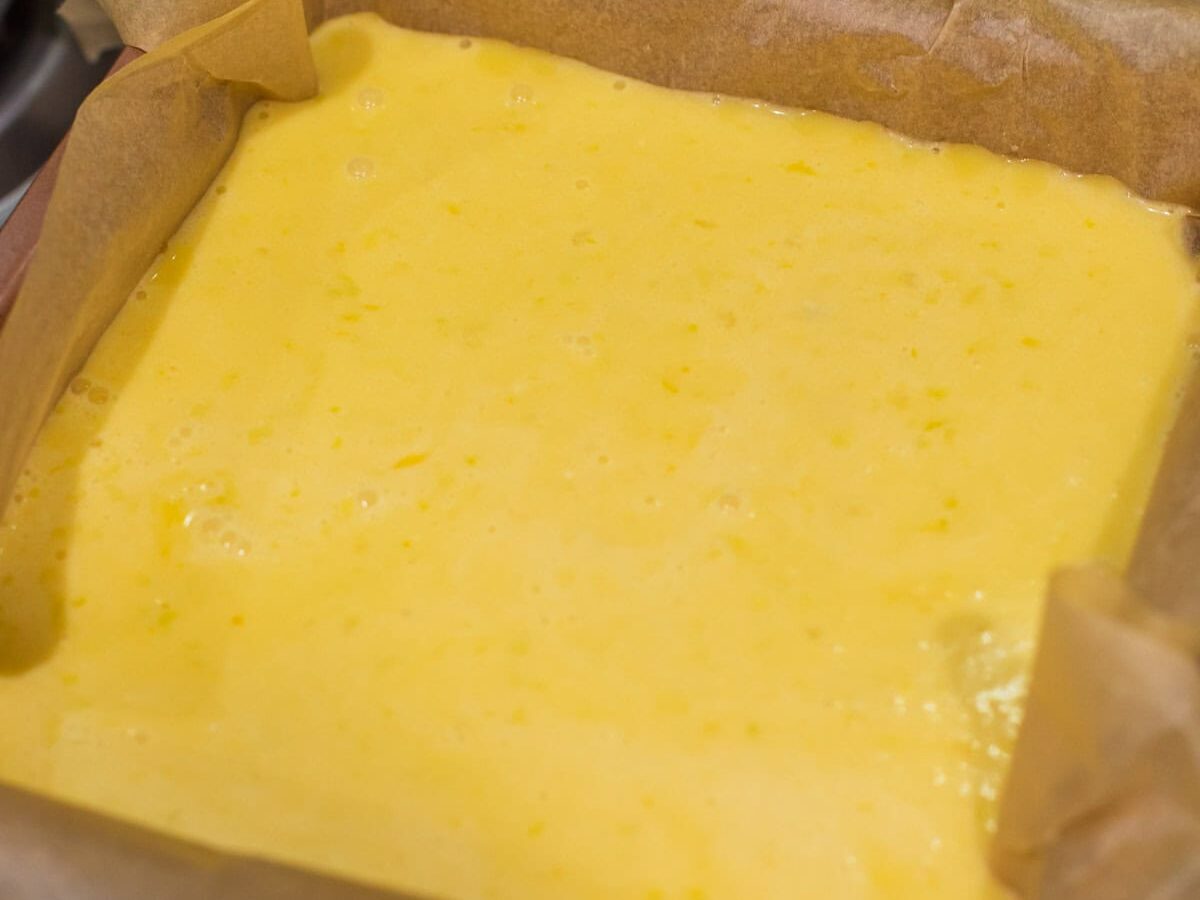
Step 5: Remove the baked crust from the oven and immediately pour the lemon filling evenly over the hot base. Return to the oven and bake for 22–25 minutes or until the filling is set. It should feel firm with a slight bounce when gently touched in the centre, but not wobbly.
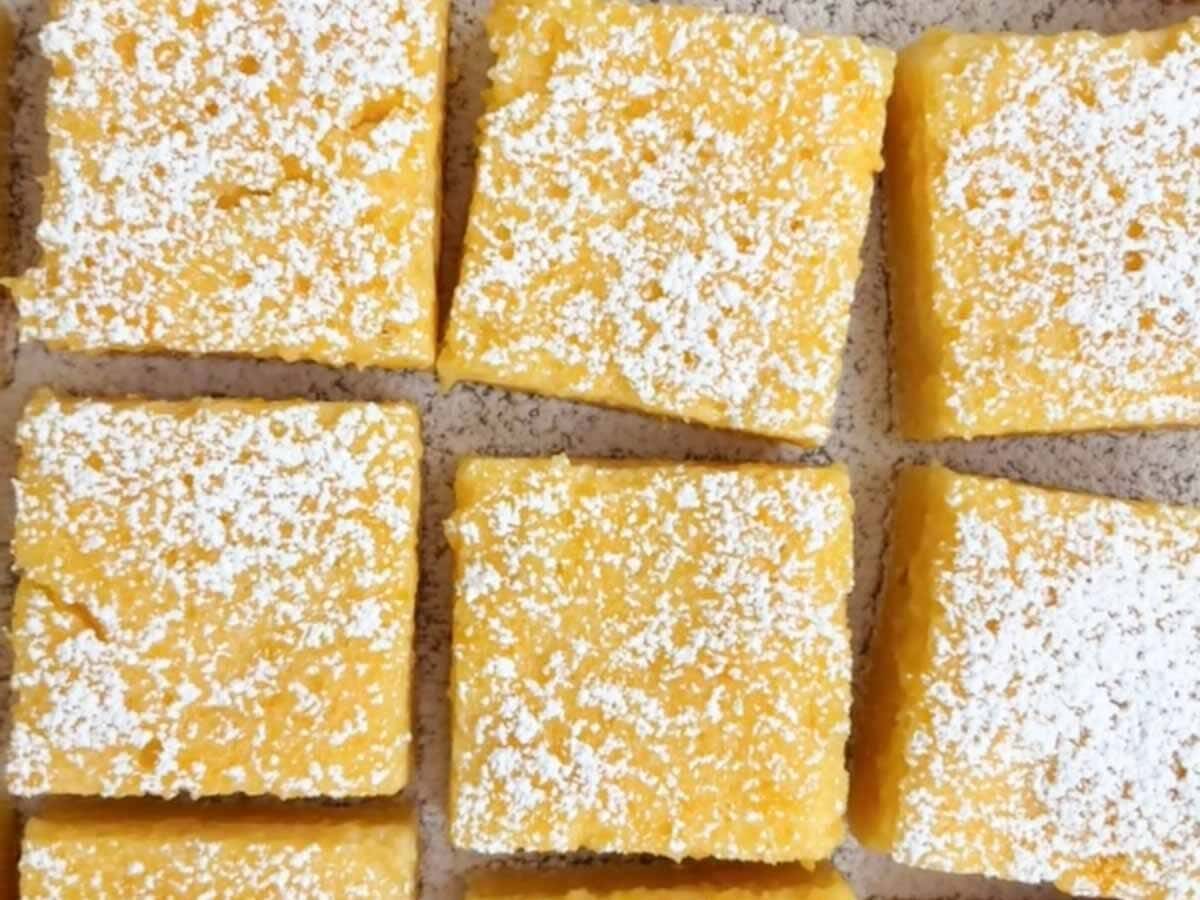
Step 6: Allow the lemon bars to cool in the pan for 30 minutes, then transfer to the refrigerator and chill for 2 hours or overnight until fully set. Lift the bars out using the parchment paper overhang, cut into squares and dust with powdered sugar just before serving. Enjoy!
How to store
Store: Store lemon bars in an airtight container in the refrigerator for up to 5 days. Keep chilled until ready to serve for the best texture.
Freeze: Freeze lemon bars by placing slices in a freezer-safe container with parchment paper between layers. Freeze for up to 3 months.
Thaw: Thaw frozen lemon bars overnight in the refrigerator before serving. Dust with powdered sugar just before serving for the best appearance.


Easy Lemon Bars
Ingredients
Method
- Preheat Oven: Preheat the oven to 350°F (180°C). Line an 8-inch square baking pan with parchment paper, leaving an overhang on the sides to easily lift the lemon bars out after baking. Set aside.
- Blend Base Ingredients: Add the flour, powdered sugar and cold cubed butter to a food processor. Pulse until the mixture resembles coarse crumbs.
- Press Into Pan: Transfer the mixture to the prepared pan and firmly press it into an even layer using the back of a spoon or the bottom of a measuring cup.
- Bake Base: Bake for 15 minutes or until the edges are lightly golden and the centre remains pale. While the base bakes, make the lemon topping.
- Mix Filling Ingredients: In a large mixing bowl, whisk together the eggs, sugar, heavy cream, lemon zest and lemon juice until well combined.
- Pour Over Base: Remove the baked crust from the oven and immediately pour the lemon filling evenly over the hot base.
- Bake: Return to the oven and bake for 22–25 minutes or until the filling is set. It should feel firm with a slight bounce when gently touched in the centre, but not wobbly.
- Cool: Remove from the oven and allow to cool in the pan for 30 minutes.
- Chill: Transfer to the refrigerator, still in the pan, and chill for 2 hours or overnight until fully set.
- Slice & Serve: Use the parchment paper overhang to lift the bars from the pan. Cut into squares.
- Powdered Sugar: Dust the lemon bars with powdered sugar just before serving. The moisture from the lemon filling will cause the powdered sugar to gradually dissolve into the surface of the bars, so it is best added right before serving if you want that classic white dusted finish. Enjoy!
Nutrition
Video
Notes
Tried this recipe?
Let us know how it was!