The Best Cinnamon Apple Cake
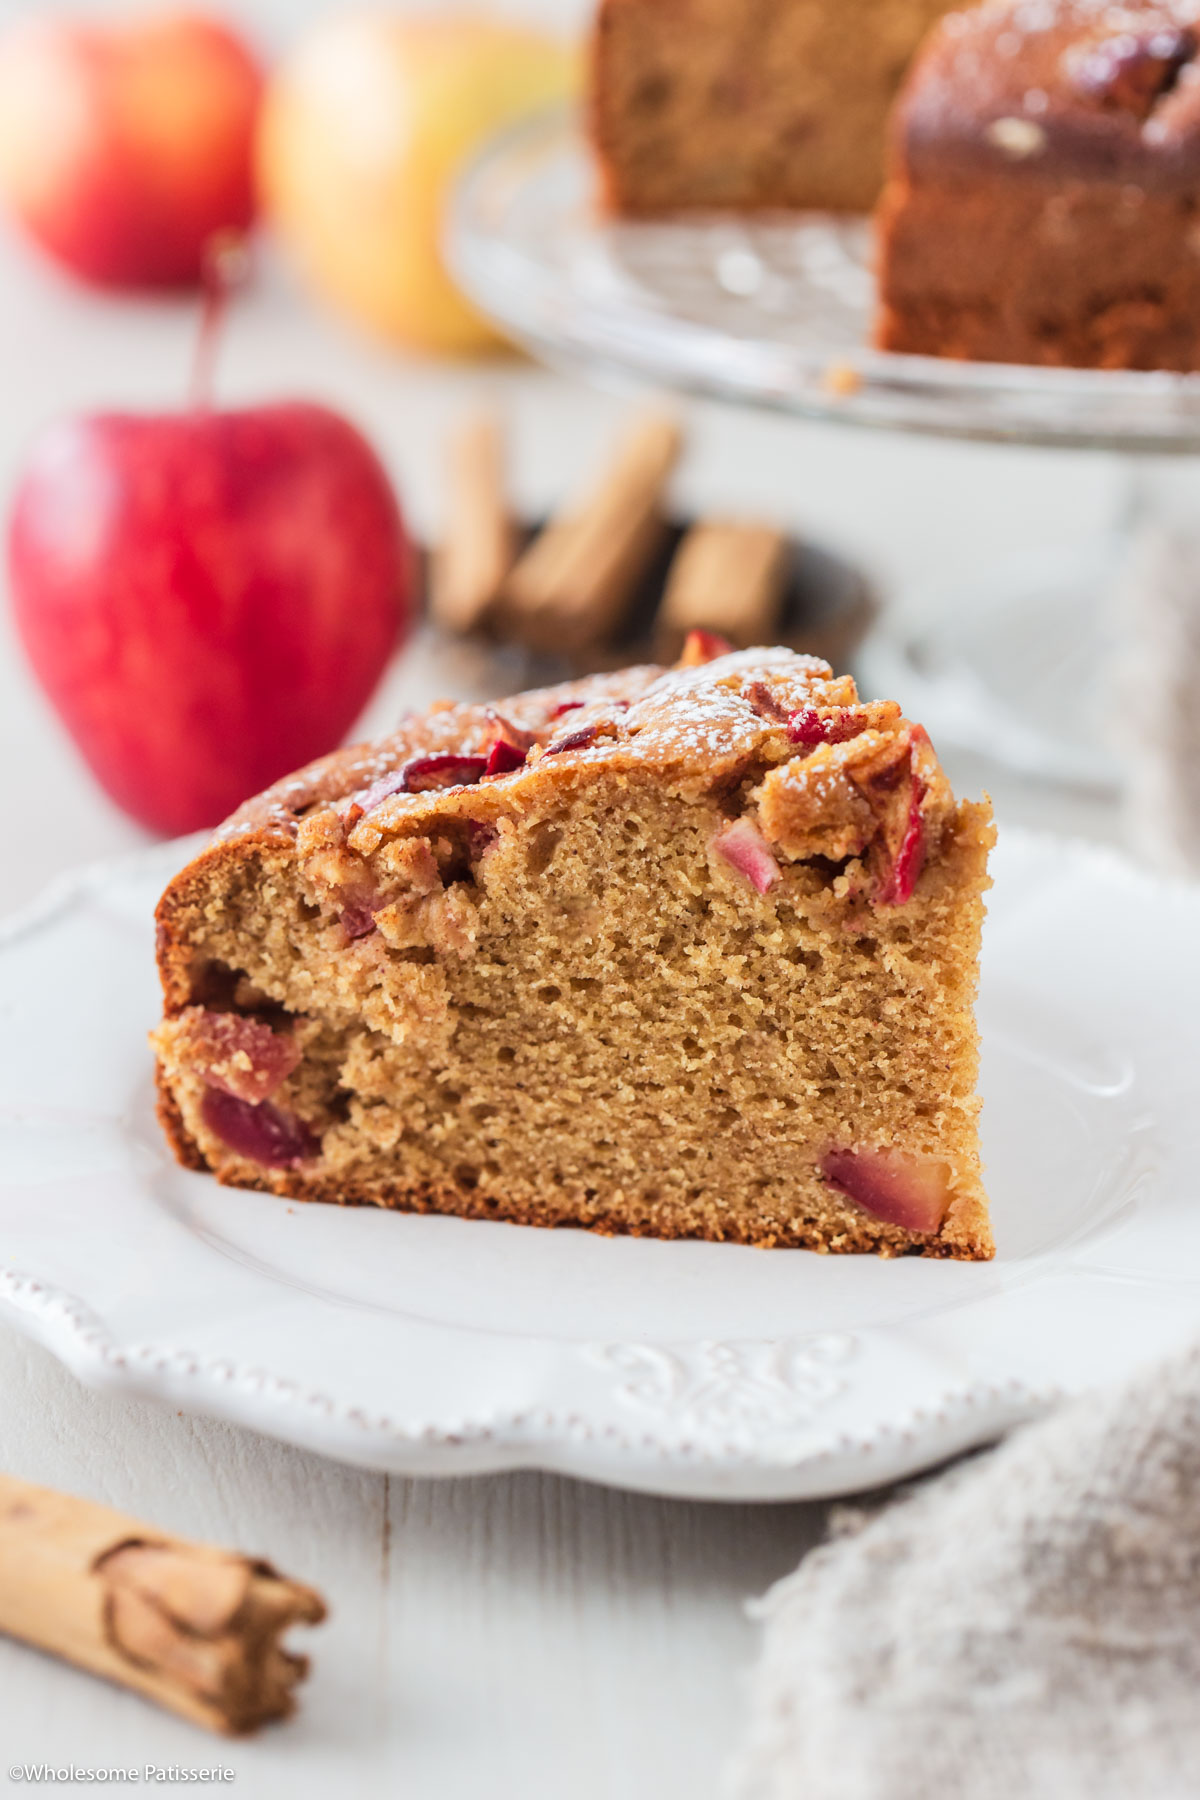
This easy Cinnamon Apple Cake Recipe is brimming with the sweet flavors of juicy pink lady apples, all coated in a cozy cinnamon sugar mix. The apples are nestled into a tender, moist cinnamon-infused cake batter, ensuring every bite is rich with spice and fruitiness. Perfect for the fall season!

Cinnamon Apple Cake Recipe
Fall is here, and this cinnamon apple cake welcomes the season with the bounty of the harvest and the warmth of cinnamon spices.
The cake’s moist crumb is packed with pockets of diced red apples marinated in cinnamon sugar and lemon juice, echoing the flavors of fall.
It’s ideal for baking on cloudy days and pairs wonderfully with a hot mug of cider or a scoop of creamy vanilla ice cream by a cozy fireplace.
Why this recipe works
- Moist, tender crumb – oil keeps the cake soft without needing milk
- Apple + cinnamon balance – sweet fruit with warm spice throughout
- No milk needed – just simple pantry ingredients for a soft, moist cake
What are the best apples for apple cake?
Besides Pink Lady, the Fuji, Royal Gala, and Granny Smith varities are also great choices for apple cakes. Each bringing its own flavor and texture, with Pink Lady apple my favorite to use for this cake recipe.
Are Pink Lady apples good for baking?
Yes, Pink Lady apples are excellent for baking. They hold their shape well and offer a balance of sweet and tart flavors that enhance baked goods.

How can I tell when the apple cake is done baking?
This cinnamon apple cake is done baking when a toothpick inserted into the center comes out clean or with just a few moist crumbs, not wet batter. Also, the edges should start to pull away from the sides of the pan.

What can I substitute for cinnamon in the apple cake?
If you’re out of cinnamon or prefer a different spice profile, nutmeg, allspice, pumpkin pie spice, or a mix of cloves and cardamom can be great substitutes.
Can I add nuts to this apple cake?
Absolutely! Walnuts, pecans or sliced almonds would be a delightful addition. Add about 1/2 cup of chopped nuts to the batter for texture and extra flavor.
How to store cinnamon apple cake
Store: In an airtight container at room temperature for up to 3-4 days or refrigerated for 4-5 days. Bring the cake to room temperature before enjoying.
Freeze: Wrap the whole loaf or individual slices in plastic wrap and then in aluminum foil. Label with the date and freeze for up to 3 months.
Thaw: Thaw overnight in the refrigerator or for a few hours at room temperature before serving.

Try these recipes next
If you enjoy this recipe, please consider leaving a ⭐️ star rating and a comment review below. I love to hear what you think and it’s much appreciated. Thank you! Your email address will not be published. Sam x

The Best Cinnamon Apple Cake
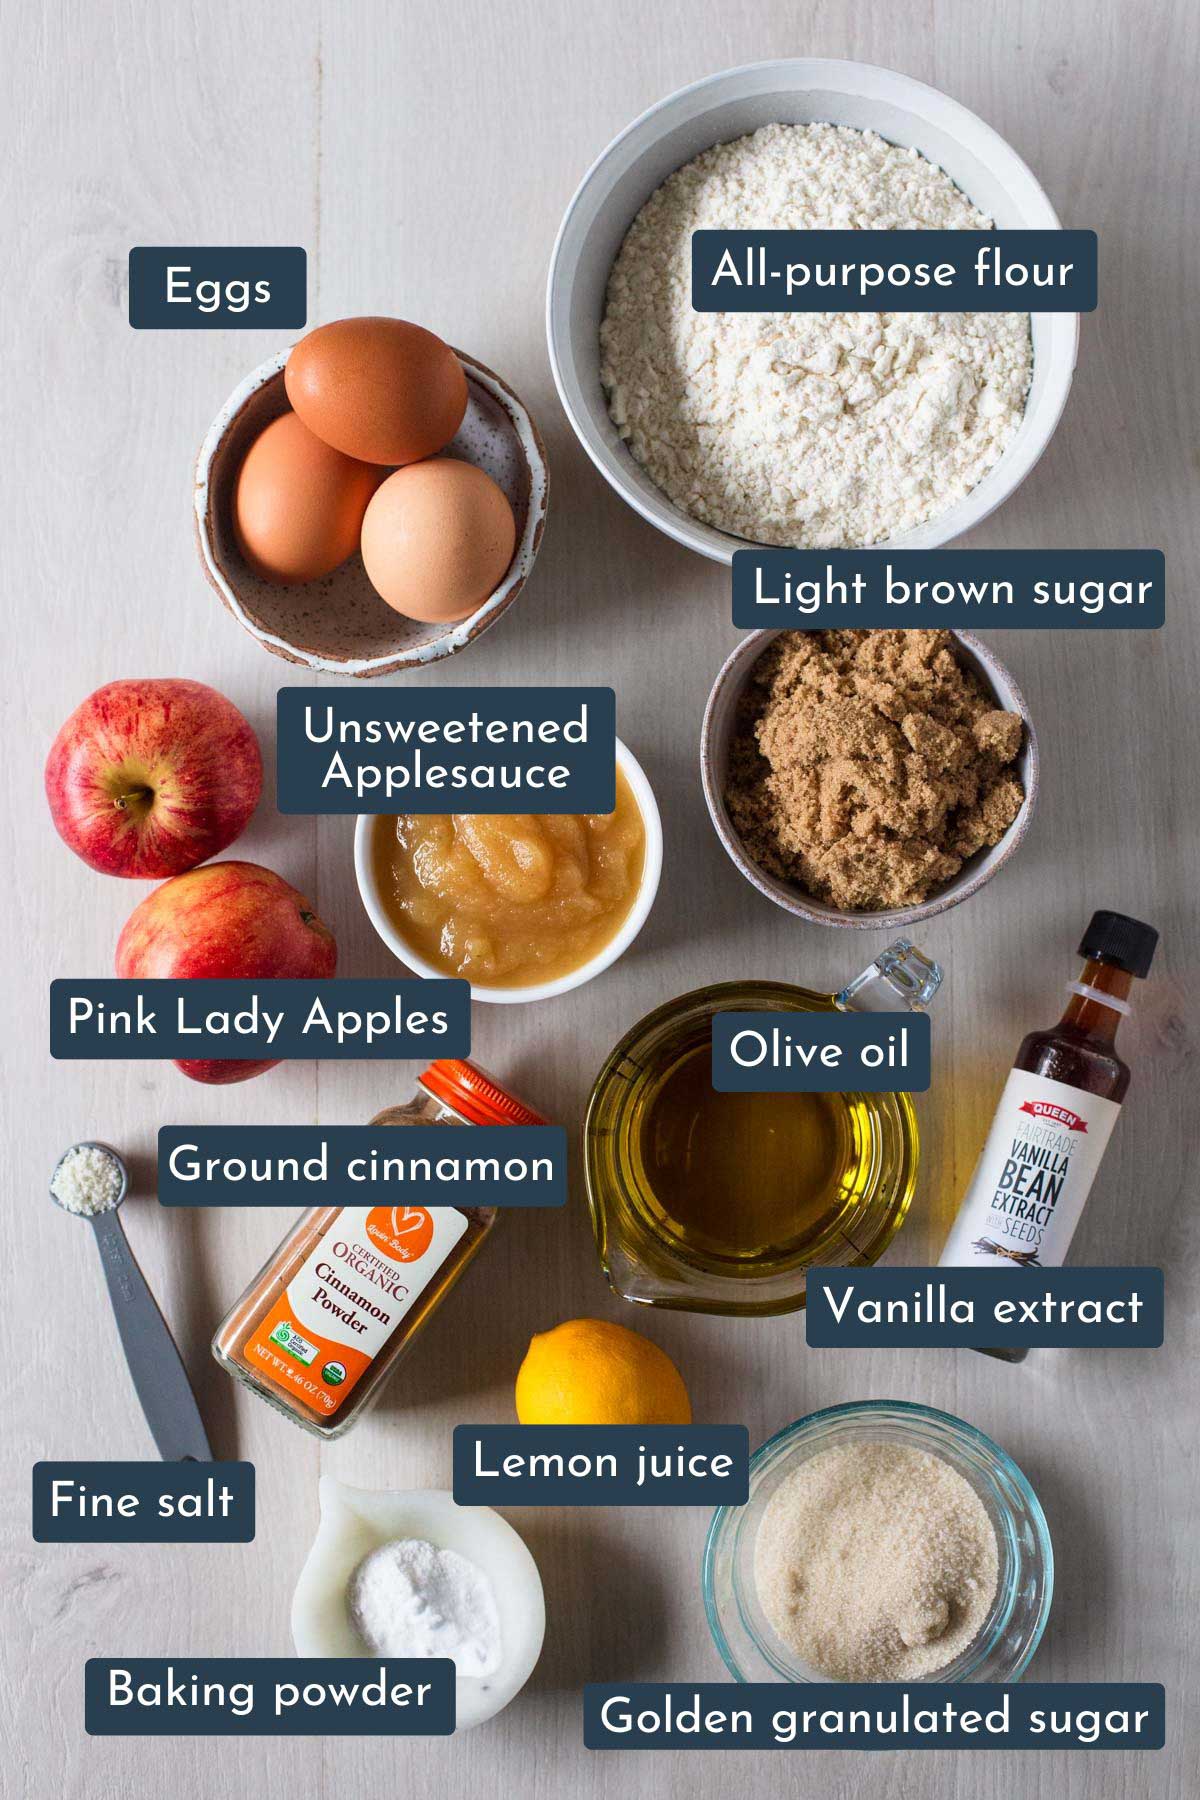
Ingredients
Method
- Preheat Oven & Prep Pan: Set your oven to 356ºF (180ºC). Line an 8-inch round baking pan with parchment paper, or grease it with soft butter and dust it with a light layer of flour for smooth cake sides.
- Prep Apples: You can peel the apples or leave the skin on. Core the apples and then chop them into small cubes, about 1/2-inch in size.
- Season Apples: Place the chopped apples in a small bowl. Pour over the lemon juice and stir to coat well. Add the sugar and cinnamon and mix well.
- Divide Apple Mixture: Divide the apple mixture into two cups— one cup for the batter and one cup for topping the batter. Set both aside.
- Prepare Dry Ingredients: In a medium-sized mixing bowl, whisk together the flour, baking powder, cinnamon, and salt. Set aside.
- Mix Wet Ingredients: In a large mixing bowl, using electric hand beaters or a stand mixer with the paddle attachment, add both sugars, eggs, and vanilla to the bowl. Beat on medium speed for 30 seconds until well combined. Scrape down the sides.
- Add Olive Oil: With the mixer running on medium, slowly drizzle in the olive oil in a steady stream, taking about 1 minute, to emulsify.
- Add Applesauce: Beat in the applesauce for 15 seconds until combined.
- Add Dry to Wet: Gradually add the flour mixture to the wet ingredients, beating just until no lumps or streaks of flour remain, about 25-30 seconds. Avoid over-mixing.
- Fold in Apples: Fold in 1 cup of the chopped apple mixture until evenly distributed.
- Transfer Batter: Pour the batter into the prepared baking tin, smoothing out the top.
- Add Topping: Evenly distribute the remaining cup of apple mixture over the batter.
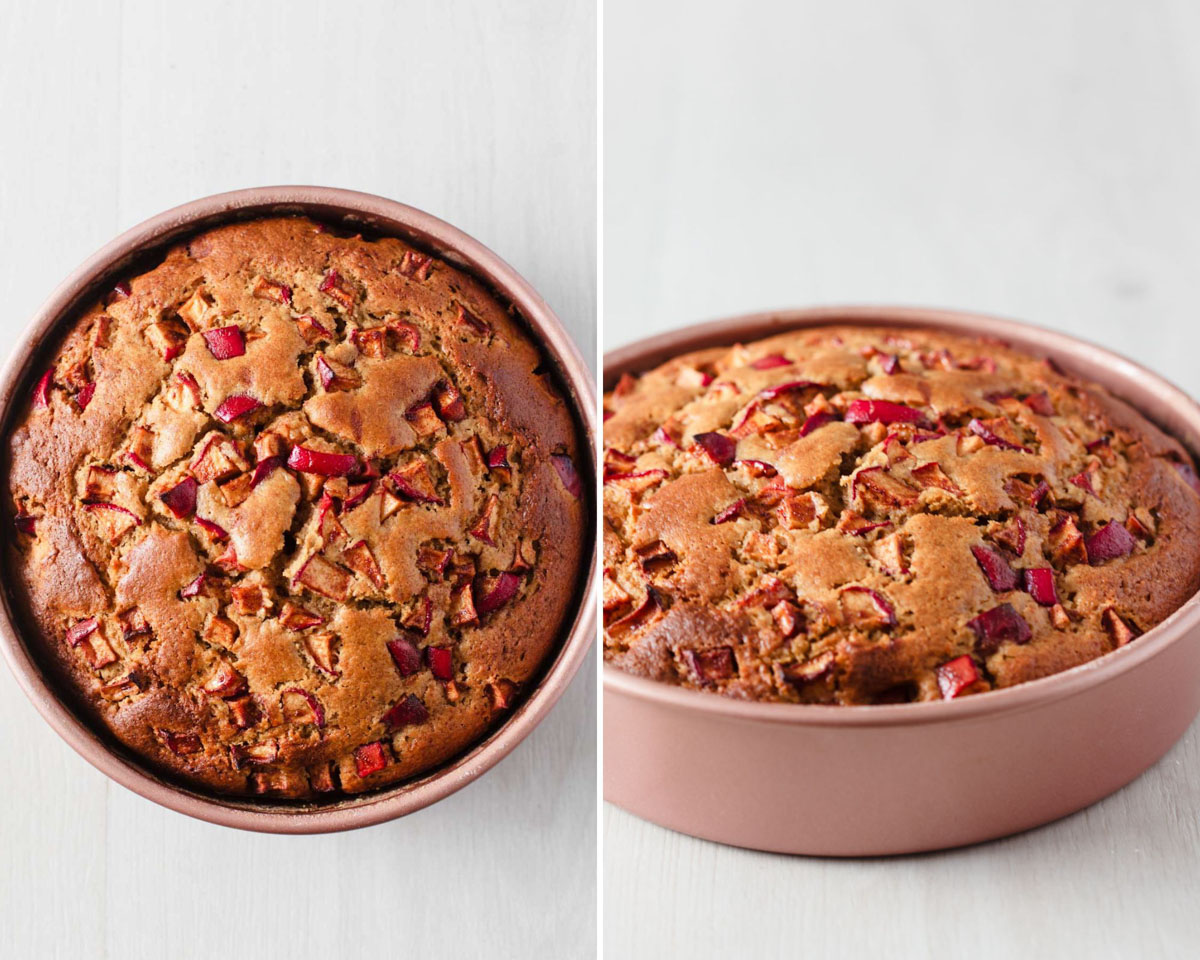
- Bake: Bake for 50-55 minutes, or until a toothpick inserted into the center comes out clean or with a few moist crumbs, not wet batter.
- Cool in Pan: Allow the cake to cool in the pan for 15 minutes. Carefully remove the cake from the pan and place it on a wire rack to cool completely.
- Dust and Enjoy: Before serving, dust with powdered sugar. Enjoy!
Nutrition
Notes
- Apples: Use any variety of apples you have. I used Pink Lady and a close second would be Fuji. Granny Smiths can also be used.
- Store: Once cooled, store your cake in an airtight container, at room temperature, for 3-4 days. Transfer to the refrigerator after a few days, if needed to keep it fresh and away from humid temperatures.
- Freeze the cake by cooling it completely after baking. Wrap tightly in plastic wrap and tinfoil, label with the date and store for up to 3 months in the freezer. Please refer to above blog post for detailed storing and freezing instructions.
- Thaw the frozen cake by choosing either refrigerator thawing (slow, several hours) or room temperature thawing (quick, a few hours).
Tried this recipe?
Let us know how it was!
Excellent cake. Comes out perfectly when you follow the directions
Hi Mar, i’m so glad to hear that the cake turned out perfectly for you! It’s fantastic that the directions were helpful and easy to follow. Thank you for taking the time to share your positive experience. Sam 🙂