Easy Dairy-Free Caramel Slice (Gluten-Free)
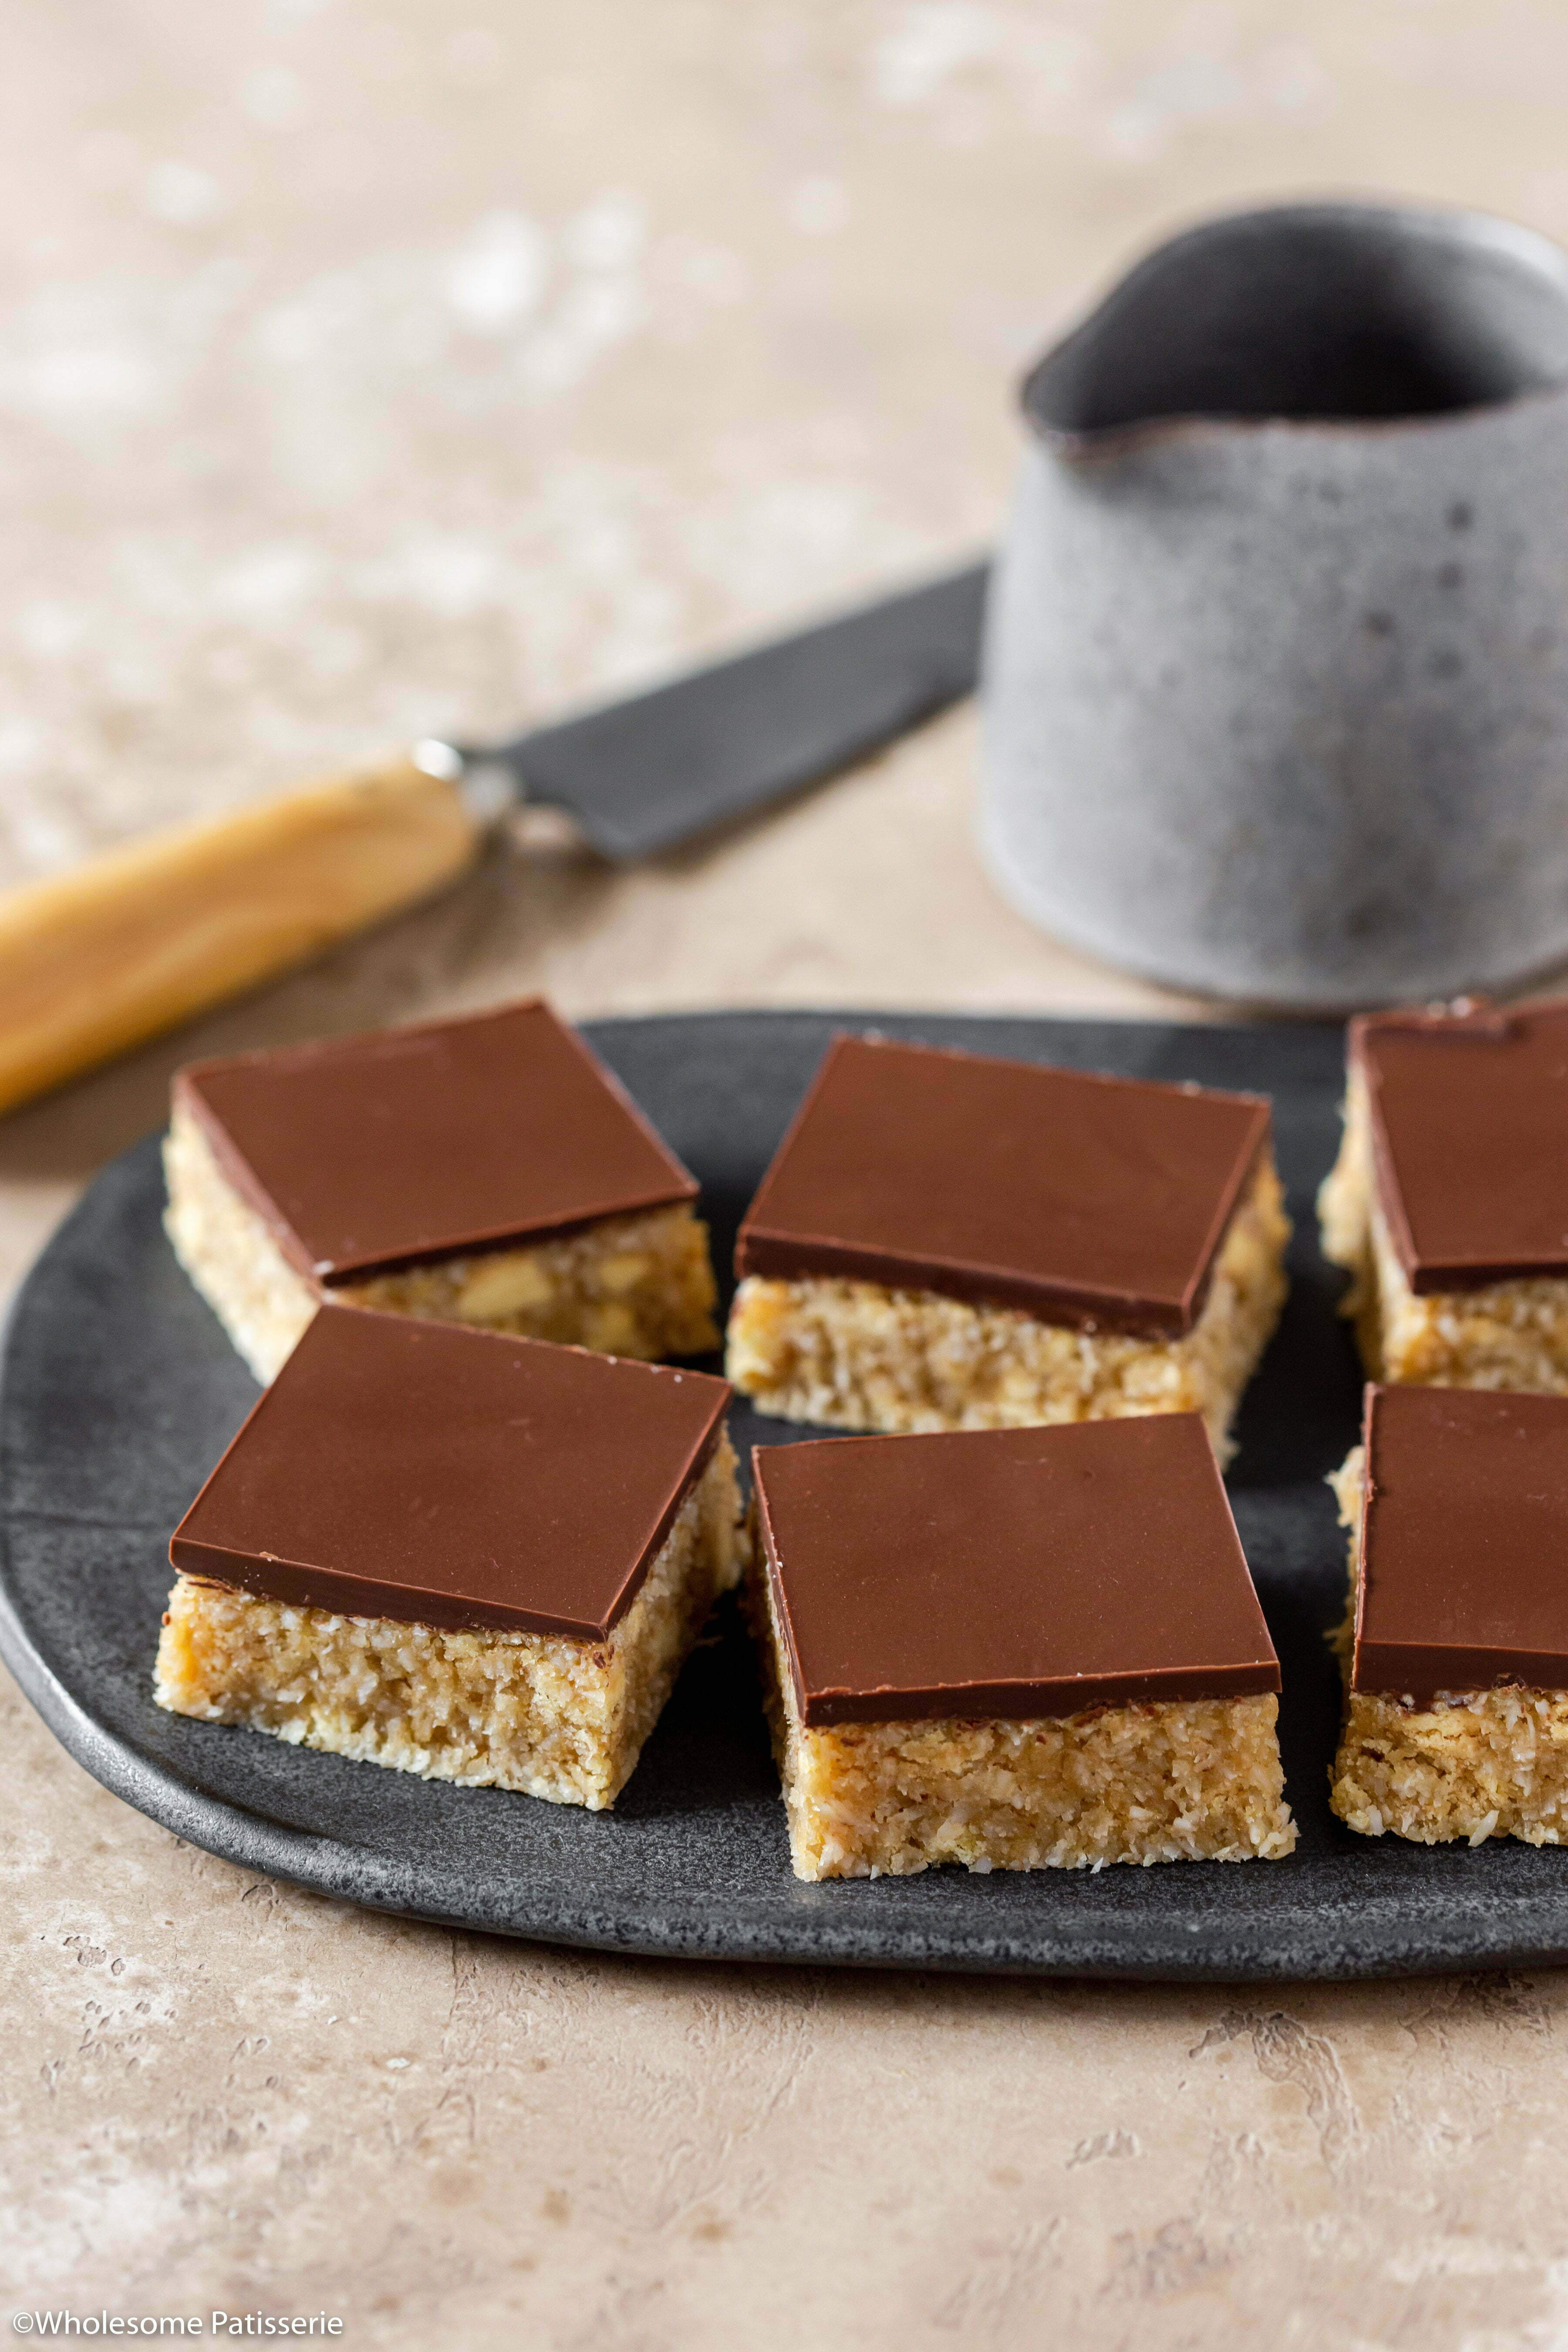
If you love easy slice recipes, you’ll want to try this Dairy-Free Caramel Slice Recipe! This no-bake caramel slice is only two layers instead of three, making this recipe a cheat way to make a caramel slice!
It’s a gluten-free and vegan caramel slice made with a quick caramel sauce to infuse that luscious caramel sauce throughout the biscuit base.
Don’t want to make the regular 3-layered caramel slice that is time-consuming?
Just like my vegan lemon slice, this easy caramel slice requires no baking.
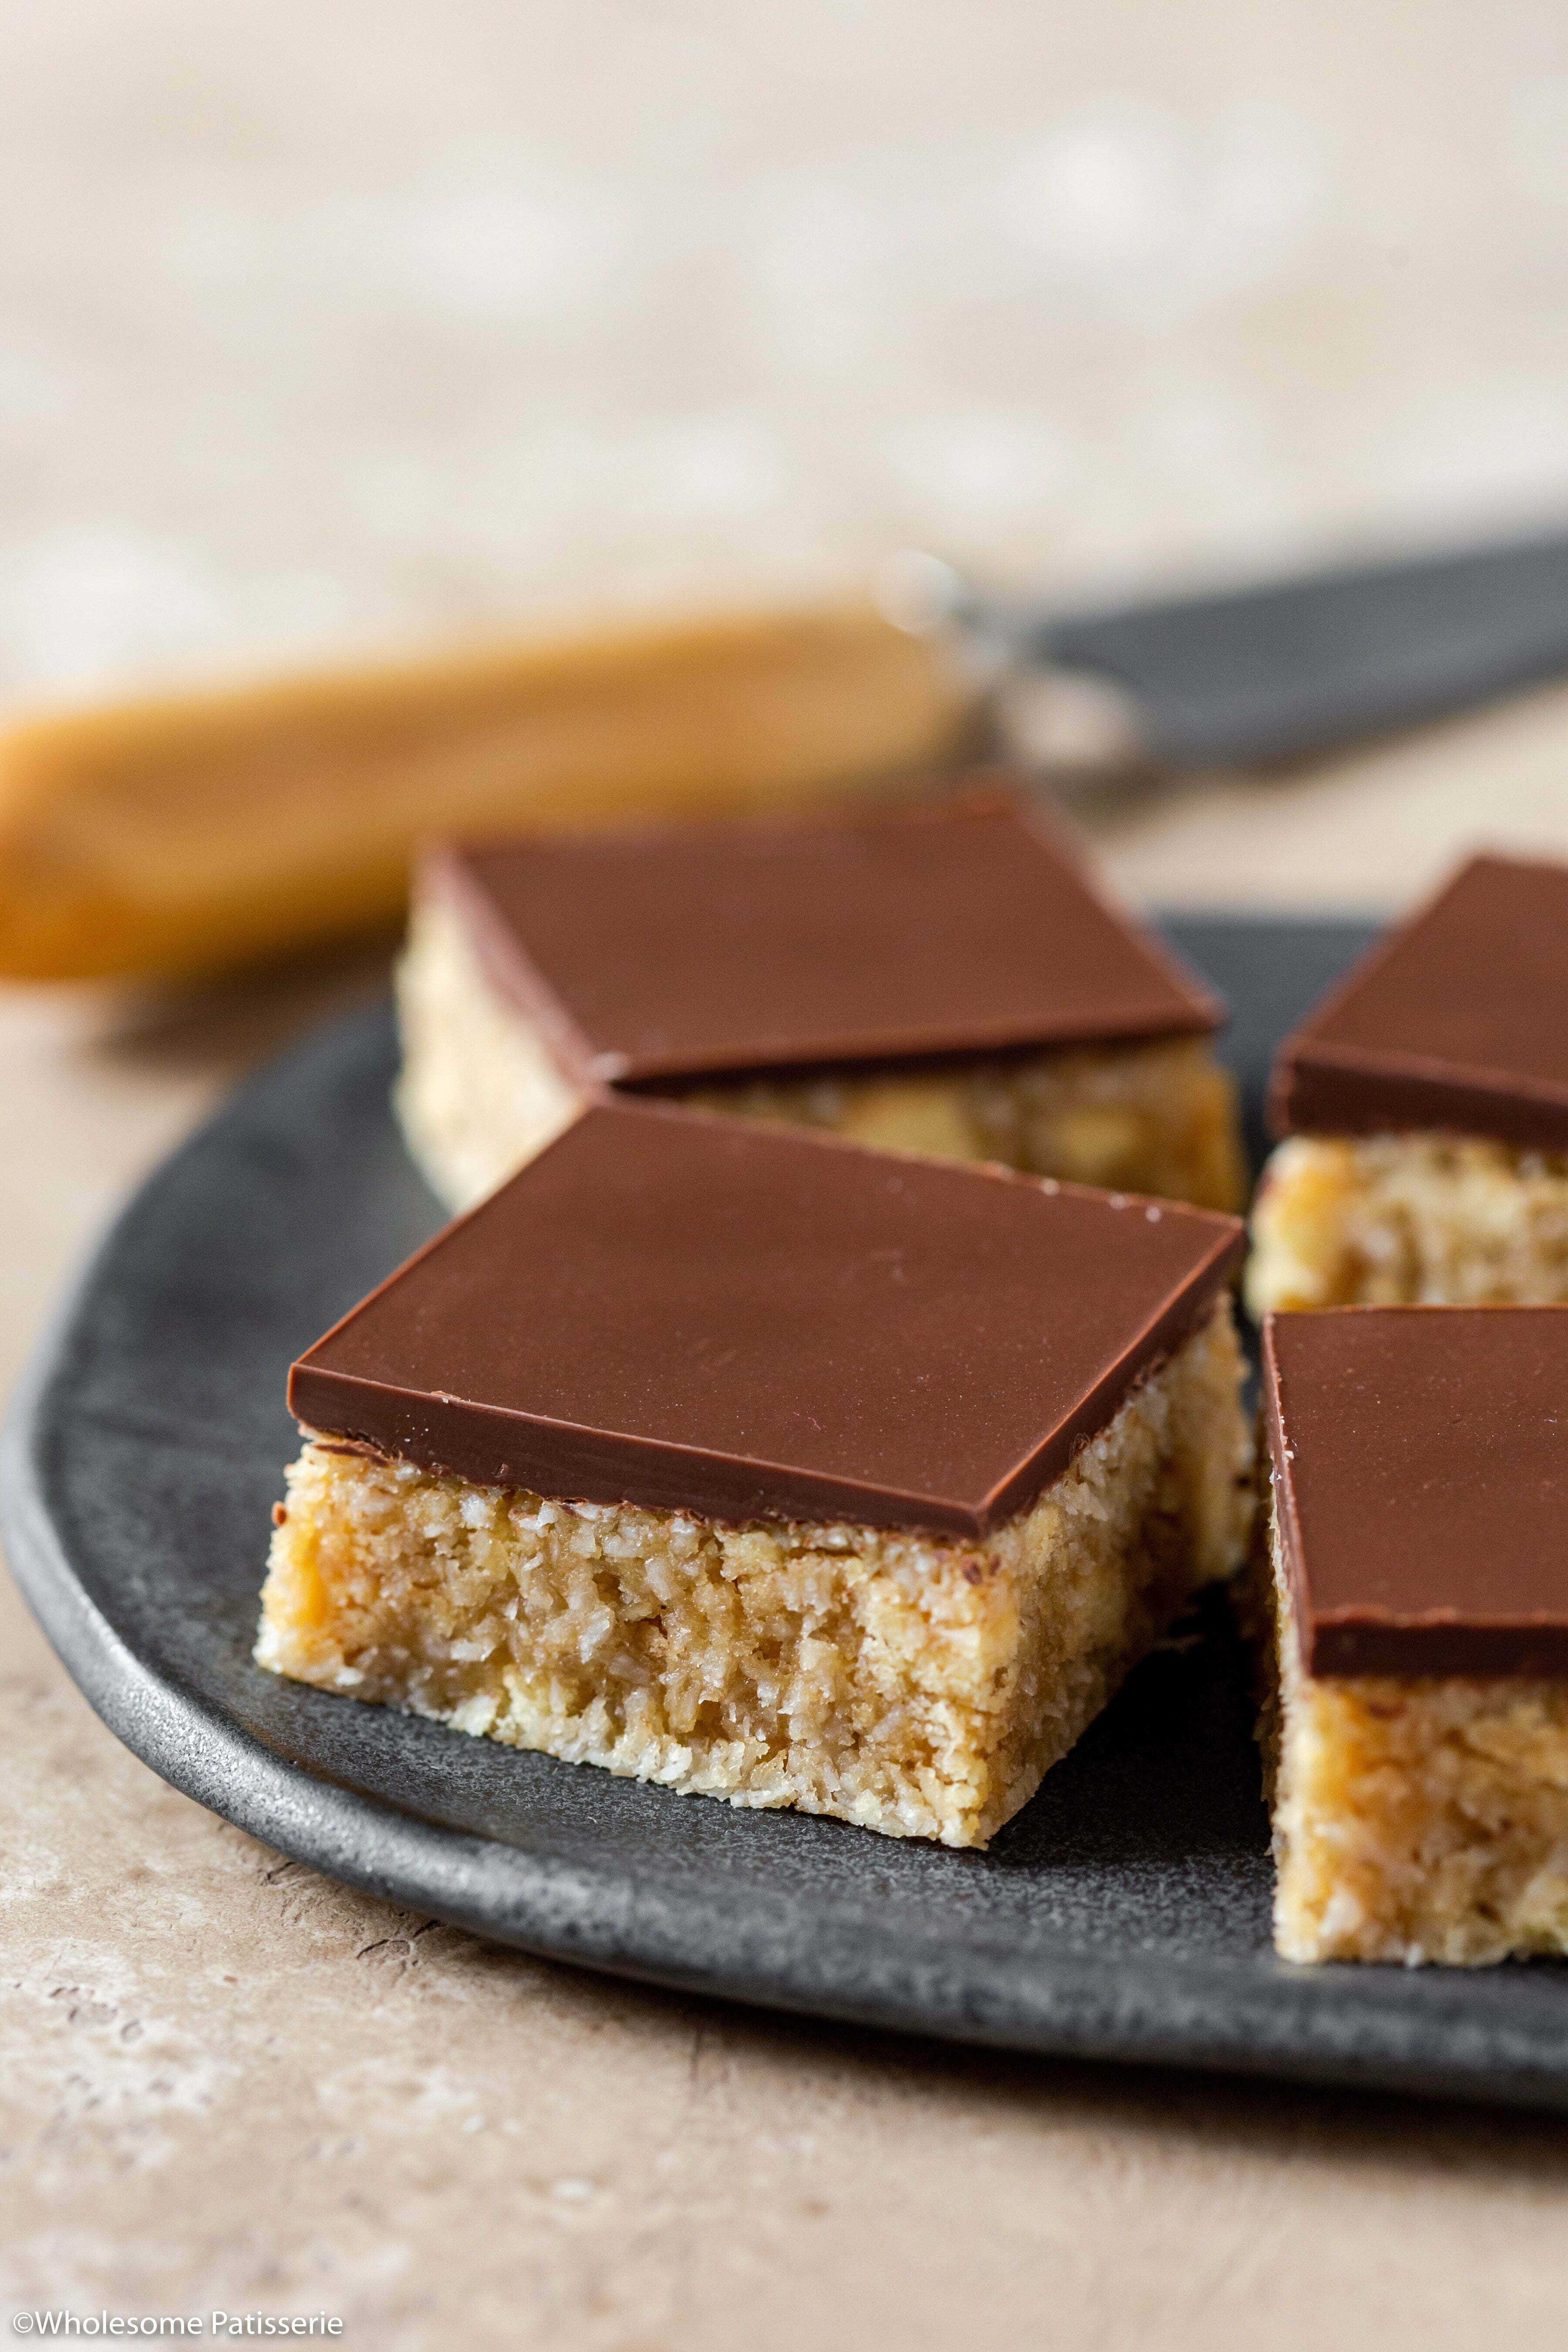
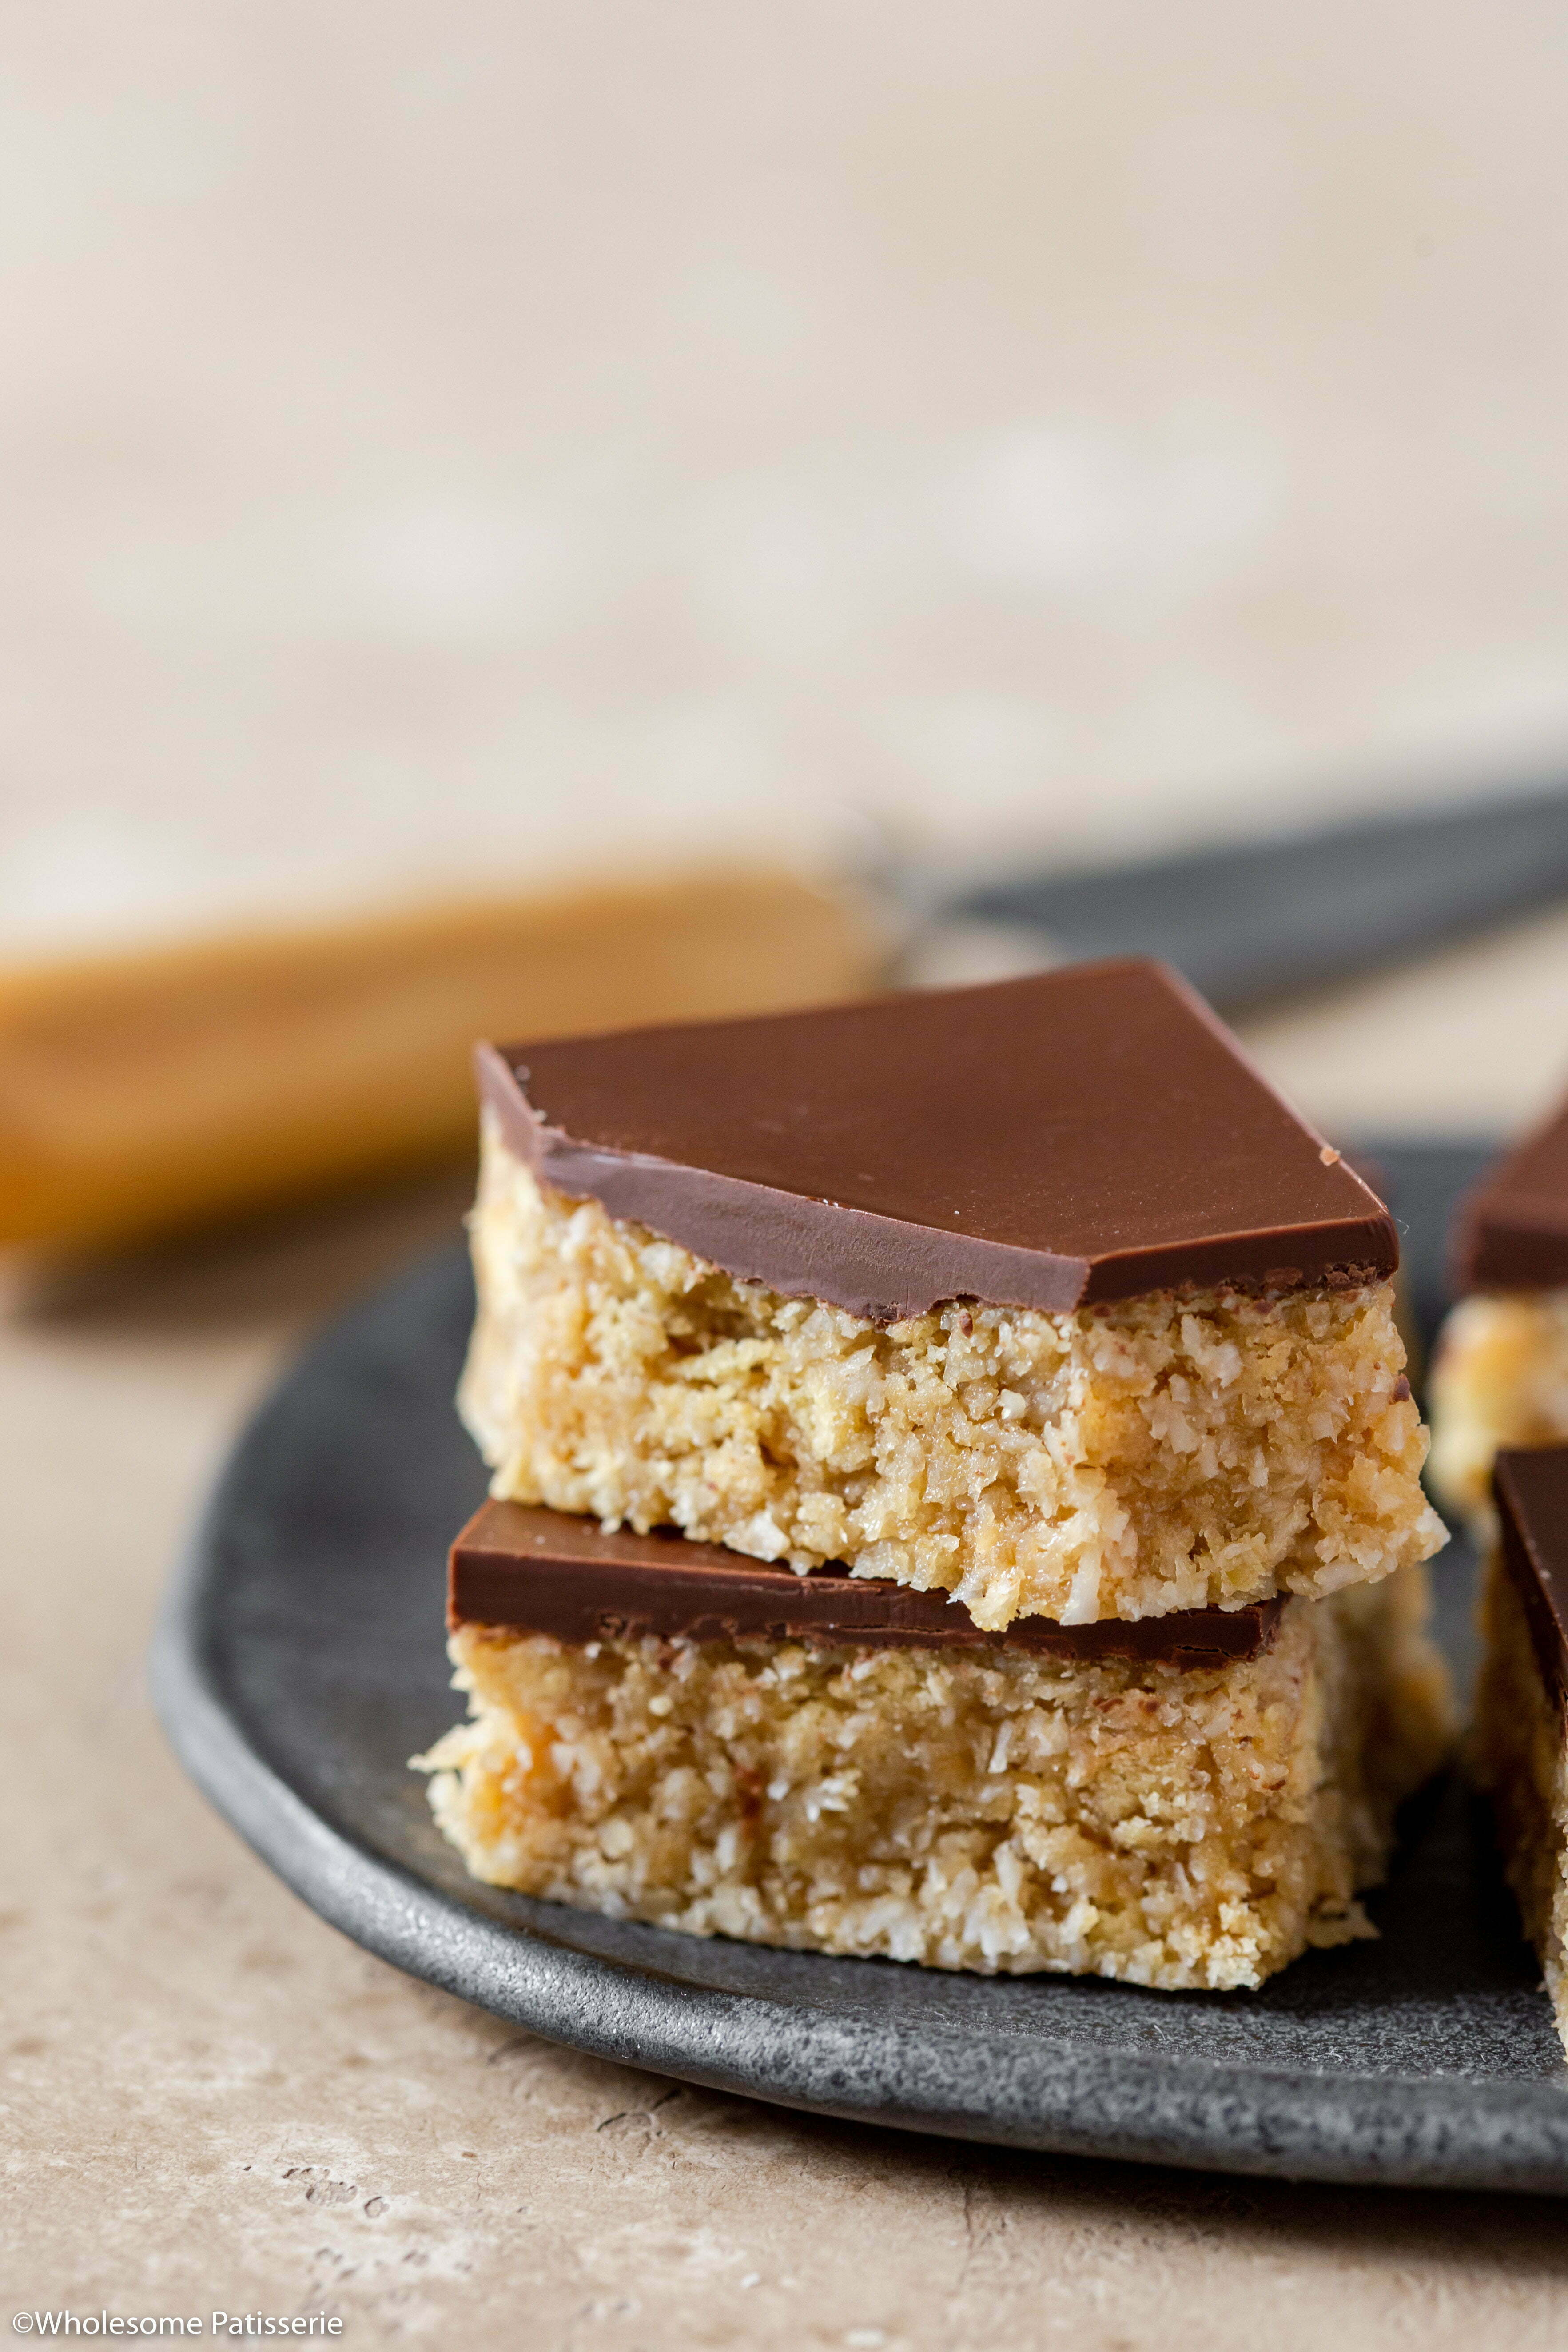
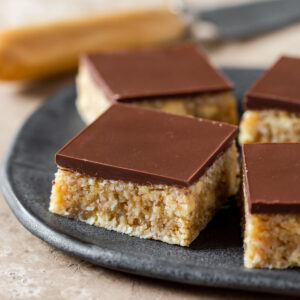
It has a gooey caramel sauce mixed through the biscuit base and a smooth dark chocolate topping.
The sauce is a 3-ingredient, dairy-free, no-fail caramel sauce recipe made without condensed milk.
The biscuit base is created with crushed gluten-free biscuits, desiccated coconut, homemade caramel sauce and a layer of melted dark chocolate.
You also don’t need to bake this caramel slice. Its crushed biscuit base only needs to be refrigerated to set.
⭐ Why You Will Love This Recipe
- Easy caramel slice recipe that is only two layers instead of three.
- Delicious homemade and quick dairy-free caramel sauce recipe.
- You don’t have to turn on your oven.
- It’s made without condensed milk.
If you’re interested in more easy slice recipes, try my Easy Lemon Coconut Slice, this sweet Apricot Slice, Hedgehog Slice and my delicious No-Bake Chocolate Fudge Slice.
For another easy bar recipe, my caramel topped chocolate brownies have homemade caramel sauce poured on top of them!
📋 Ingredient Notes & Substitutions
- Coconut cream: Use canned coconut cream and don’t shake the can before opening it as you’ll need the solid part of the cream that sits on top of the can.
- Maple syrup: Pure maple syrup without any added sweeteners works best.
- Coconut sugar: This offers a rich caramel-like sweetness. I have not tested this caramel sauce using regular brown sugar.
- Coconut oil: Use virgin coconut oil and not liquid MCT coconut oil.
- Salt: A fine sea salt or Kosher salt is perfect.
- Gluten-free biscuits: Use plain and sweet gluten-free biscuits such as arrowroot biscuits. You can also use plain Marie Biscuits or plain Digestive Biscuits however these are not gluten-free.
- Desiccated coconut: A fine desiccated coconut is best. If you use a shredded or flaked coconut, it will change the texture of the biscuit base and it will turn crumbly.
- Dark chocolate block: Use a plain dairy-free dark chocolate block of choice that you would be happy to consume. Cadbury baking chocolate or Lindt works great! If you don’t mind including some dairy in your caramel slice, go ahead and use a regular, quality block of plain dark chocolate.
🥣 Step By Step Instructions
A full and detailed recipe card is at the bottom of this post.
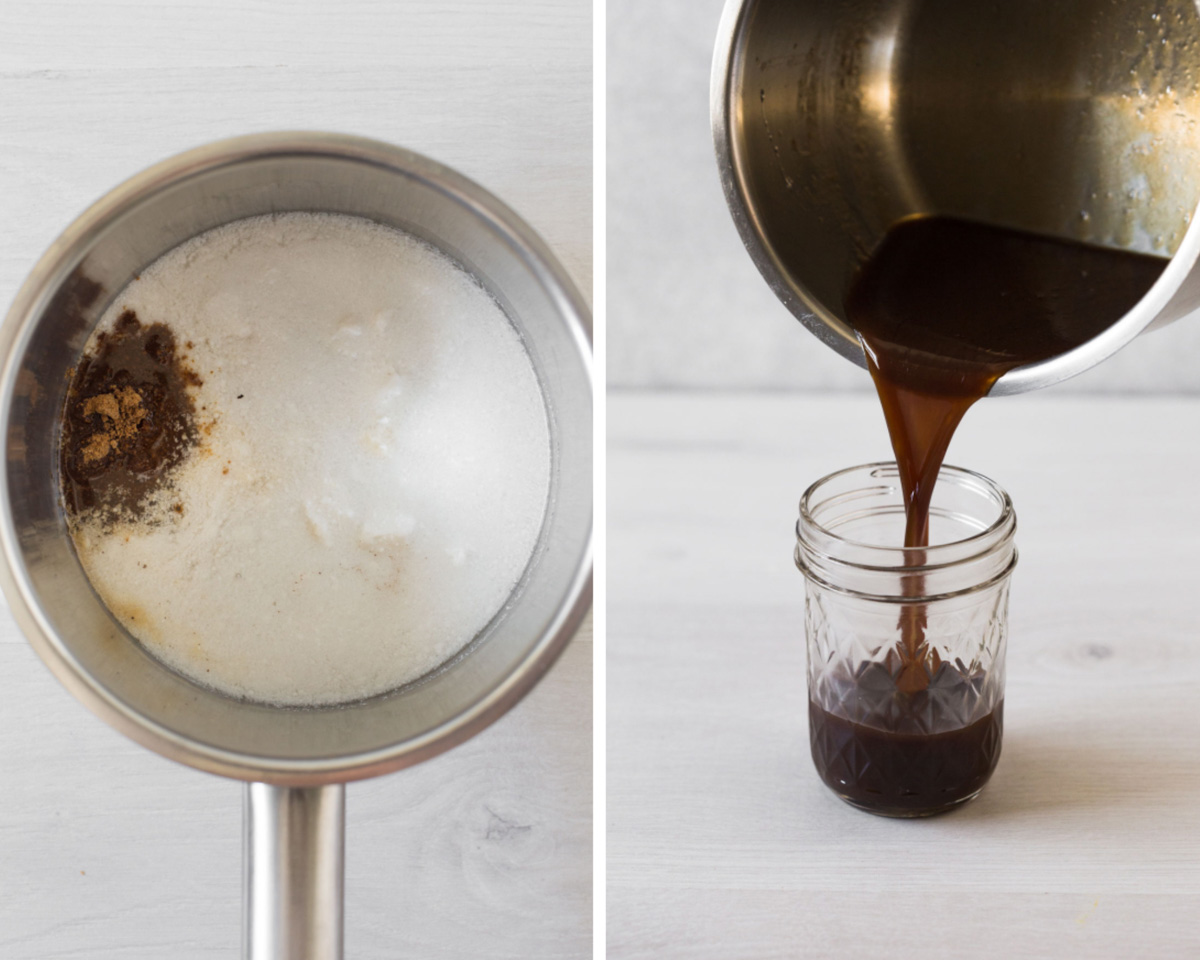
Step one: In a medium-sized pot over low heat whisk together the coconut cream (scooping out only the solid part), maple syrup, sugar, and salt.
Step two: Once the sugar has dissolved, bring it to a boil, reduce heat, and simmer for 10 minutes.
Step three: Remove from heat and whisk through the coconut oil and salt. Pour it into a heat-proof glass jar and refrigerate for 1 hour.
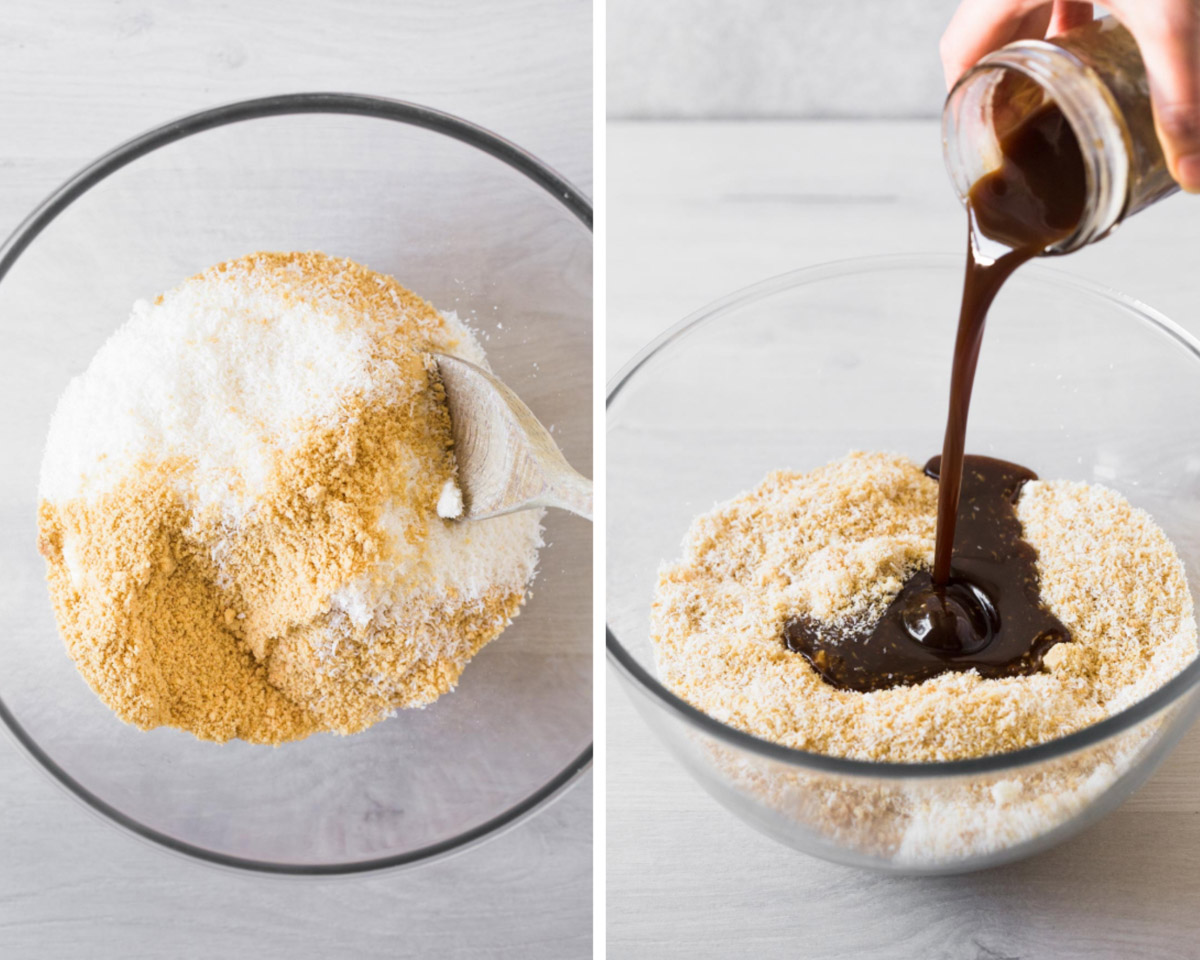
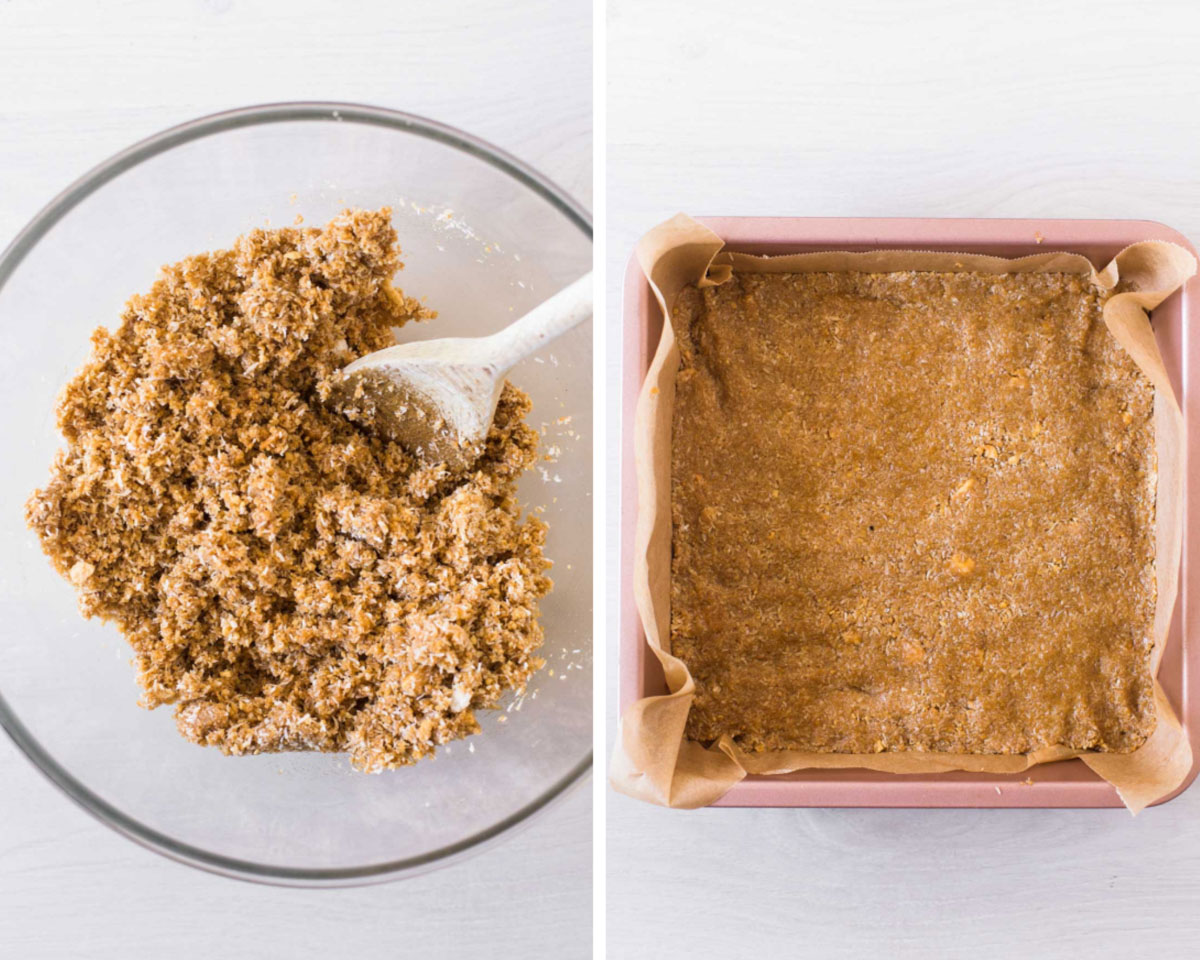
Step four: Pour crushed biscuits into a large mixing bowl and mix through the desiccated coconut.
Step five: Pour in the caramel sauce and mix with a wooden spoon until well combined.
Step six: Press the mixture firmly into the lined tin. Place in the refrigerator while you prepare the chocolate topping.
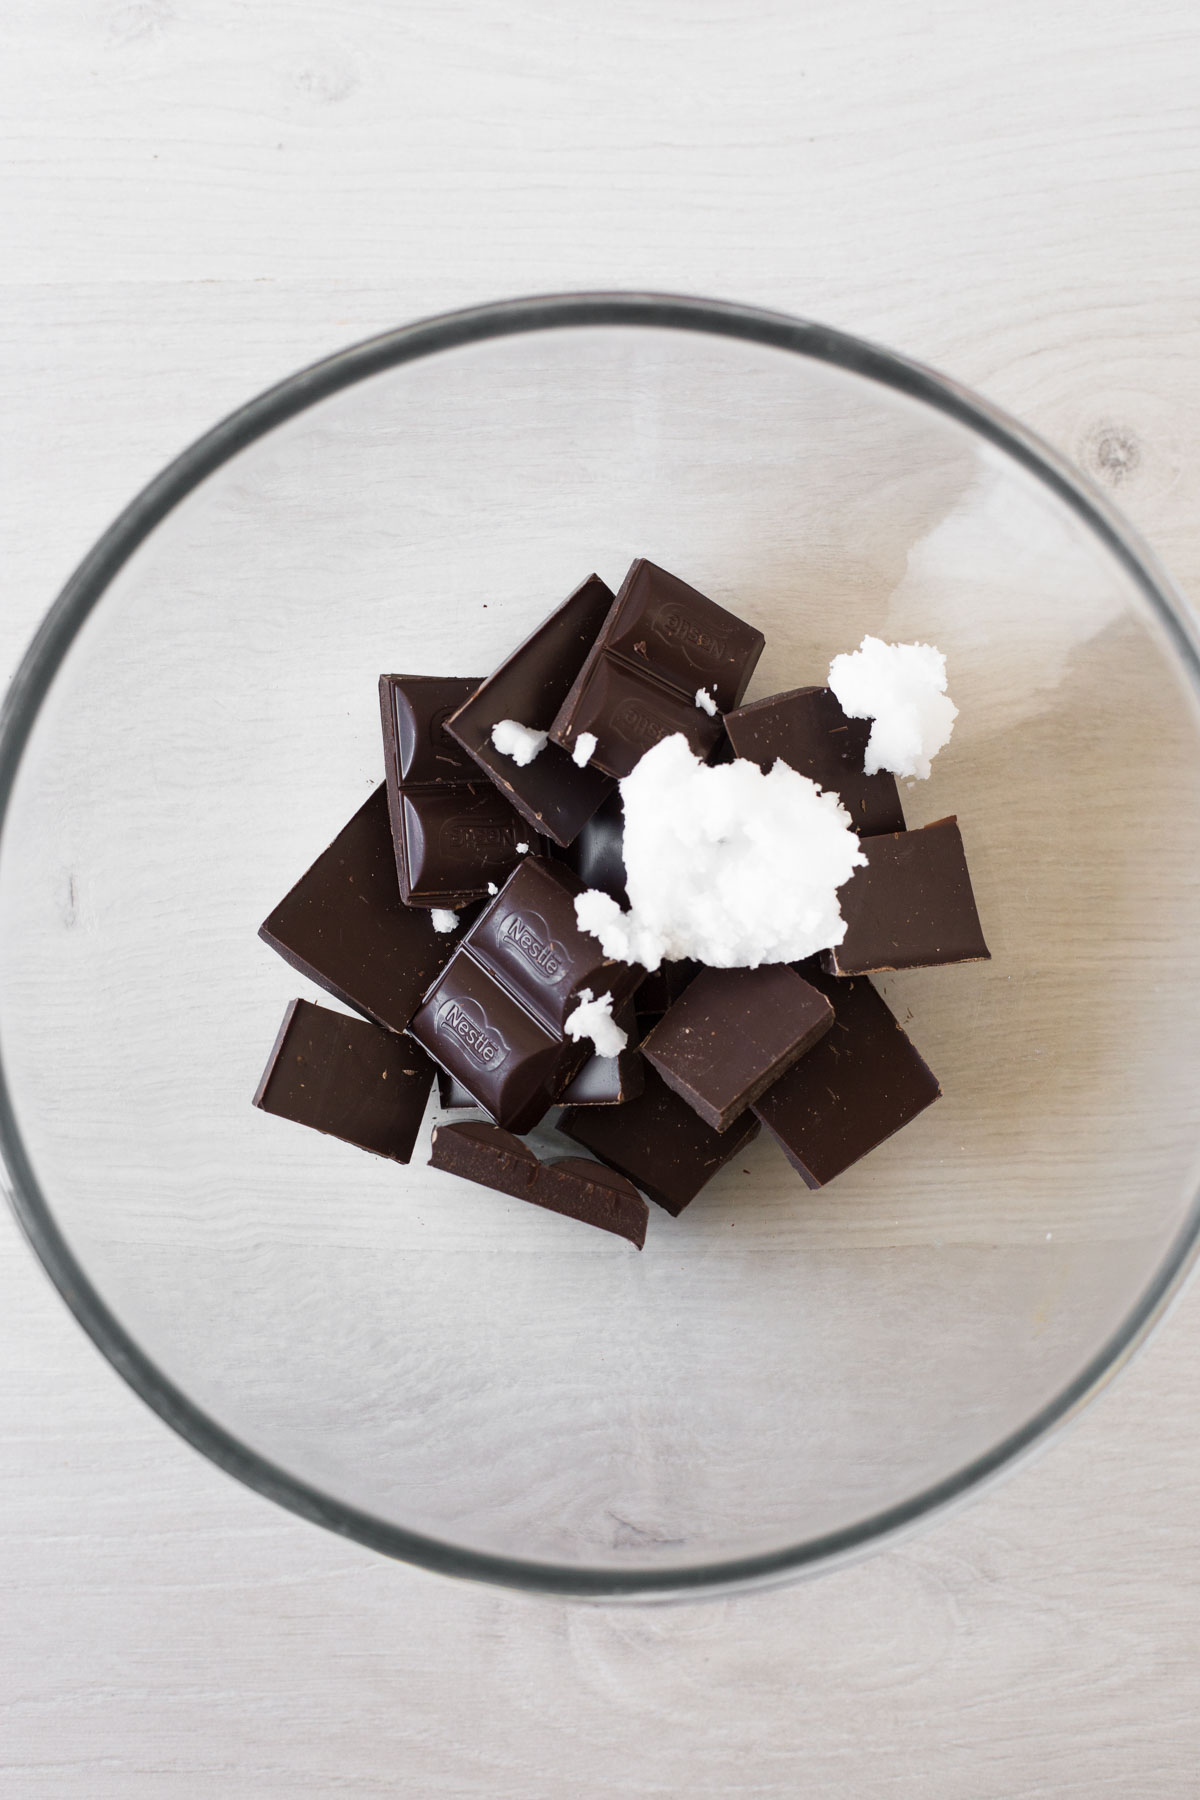
Step seven: Add the broken-up chocolate and coconut oil to the bowl of the double boiler and gently melt over low-medium heat. Once melted and smooth, remove it from the heat.
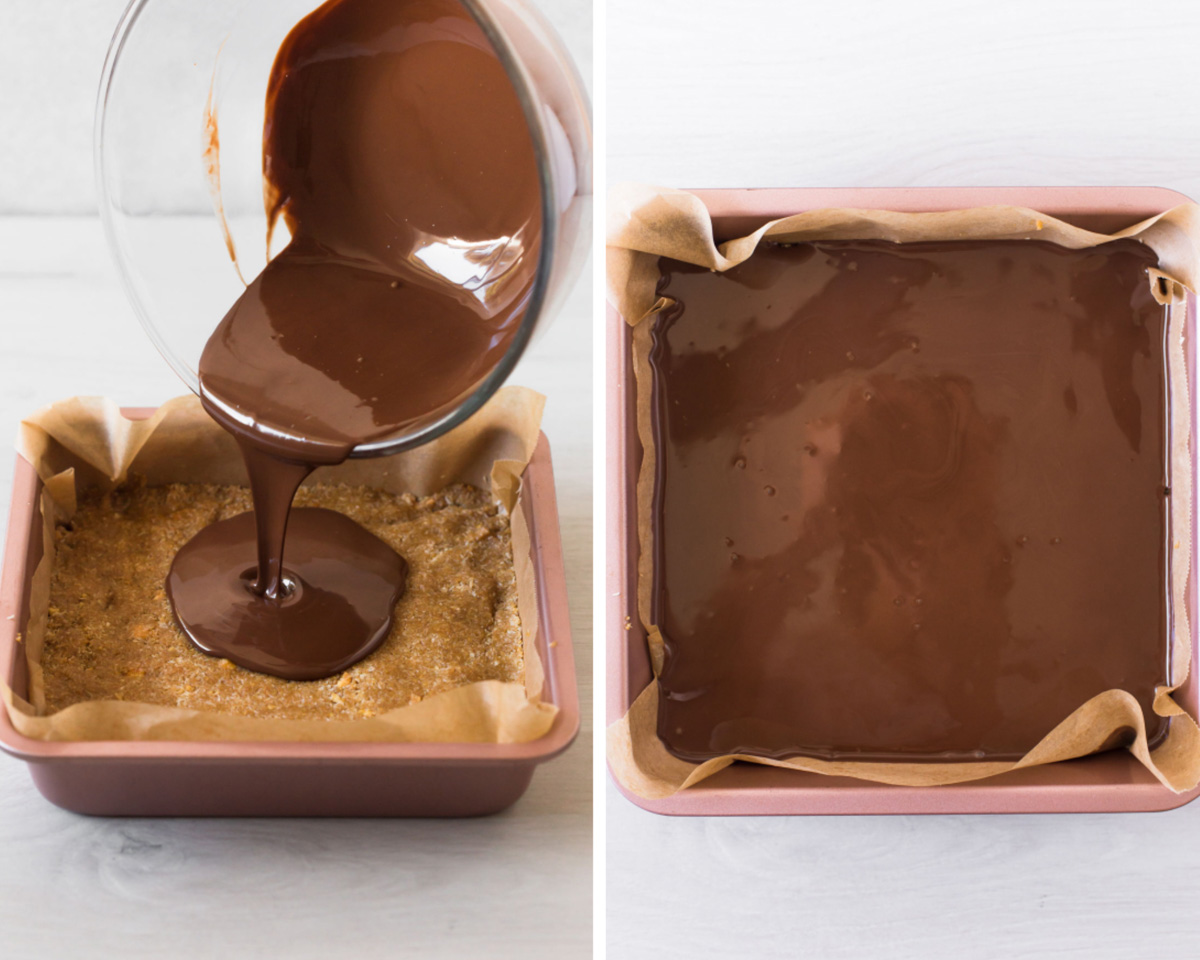
Step eight: Pour melted chocolate over the base. Pick up the pan and gently move it around so the chocolate spreads into an even layer on top.
Step nine: Refrigerate for 2-3 hours or until the chocolate has completely hardened and the base is firm. Enjoy!
💭 Expert Tips
- Refrigerate your caramel sauce for 1 hour as it needs to thicken up slightly.
- Melt chocolate in a double boiler: This gentle method ensures the chocolate doesn’t burn.
- Avoid the chocolate from cracking when slicing: Run a sharp knife under hot water for a few seconds, wipe it dry, and cut the slice. This helps to minimize the chocolate from cracking.
⏲️ Storing Instructions
Store this caramel slice in an airtight container, refrigerated, for 1 week.
You can freeze this caramel slice in individual slices, wrapped tightly in plastic wrap, in a freezer-friendly container for up to 3 months. It’s best to wrap them tightly to prevent discoloration of the chocolate when it freezes and defrosts, which is known as chocolate bloom.
To thaw/defrost this caramel slice, remove your container from the freezer, unwrap each piece and keep it in the container, in the refrigerator, until it’s soft again.
Recipe FAQ’s
No, you can use plain Marie Biscuits, plain Digestive Biscuits, or any plain sweet biscuit for this caramel slice recipe.
Before slicing, remove the slice from the pan and allow it to sit at room temperature for 10-15 minutes so the chocolate slightly softens, making it easier to cut through. Run a sharp knife under hot water for a few seconds, wipe it dry, and cut the slice. This helps to minimize the chocolate from cracking.
Yes, this homemade caramel sauce is 100% dairy-free!
Coconut cream solids, pure maple syrup, coconut sugar, coconut oil, and salt.
Yes, you can make this caramel sauce recipe the day before or when it suits you. It needs to have a pouring consistency when you use it in this recipe, if it’s too thick or firm after being refrigerated for multiple days, just leave it out at room temperature before using it.
If you enjoy this recipe, please consider leaving a ⭐️ star rating and a comment review below. I love to hear what you think and it’s much appreciated. Thank you! Your email address will not be published. Sam x
Easy Dairy-Free Caramel Slice (Gluten-Free)
Ingredients
Caramel Sauce – makes 3/4 cup (200ml) of caramel sauce
- 3/4 cup canned coconut cream, don’t shake the can and use the solids only
- 1/4 cup pure maple syrup
- 1/4 cup coconut sugar
- 1 Tbsp virgin coconut oil
- 1/4 tsp fine sea salt or Kosher salt
Biscuit Base
- 250 g packet plain gluten-free arrowroot biscuits, or any plain sweet gluten-free biscuits (see notes)
- 1 3/4 cups desiccated coconut
- 3/4 cup homemade caramel sauce, recipe above
Chocolate Topping
- 200 g block dairy-free plain dark chocolate, broken into squares or roughly chopped
- 1 Tbsp coconut oil
Instructions
Caramel Sauce
- In a medium-sized pot over low heat, combine coconut cream (scooping out only the solid part), maple syrup, sugar, and salt.
- Whisk the mixture over low heat until the coconut sugar has dissolved.
- Increase the heat to high and bring the mixture to a boil.
- Once boiling, reduce heat to low and allow to simmer for 10 minutes, stirring occasionally to prevent burning.
- Remove from heat and whisk through the coconut oil and salt until the coconut oil has completely melted through.
- Pour caramel sauce into a heat-proof glass jar, such as a mason jar, and place it in the refrigerator for 1 hour.
Biscuit Base
- Line a 9 x 9 inch (22cm x 22cm) square baking pan with parchment paper. Set aside.
- In a high-speed food processor, add biscuits and crush to a crumb.
- Pour crushed biscuits into a large mixing bowl.
- Pour in desiccated coconut and mix until well combined.
- Gradually pour in the caramel sauce and mix with a wooden spoon until well combined.
- Press mixture firmly into the lined pan into an even layer.
- Place in the refrigerator while you prepare the chocolate topping.
Chocolate Topping
- Prepare a double boiler by placing a heat-proof mixing bowl over a small/medium-sized pot of simmering water.
- Add broken-up/chopped chocolate to the bowl along with the coconut oil.
- Gently melt over low-medium heat, stirring occasionally until completely melted and smooth. Once the chocolate has melted, remove it from the heat.
- Pour melted chocolate over the base. Pick up the pan and gently move around so chocolate spreads into an even layer on top.
- Refrigerate for 2-3 hours or until chocolate has completely hardened and the base is firm. Or leave it refrigerated overnight.
- Before slicing, remove the slice from the pan and allow it to sit at room temperature for 10-15 minutes so the chocolate slightly softens, making it easier to cut through. TIP: run a sharp knife under hot water for a few seconds, wipe it dry, and cut the slice. This helps to minimize the chocolate from cracking.
- Serve and Enjoy!
Notes
Nutrition
If you enjoy this recipe, please consider leaving a ⭐️ star rating and a comment review below. I love to hear what you think and it’s much appreciated. Thank you! Your email address will not be published. Sam x

Made this today to share at granddaughters baby shower. It was delicious and a big hit. I’ll definitely make
It
Hi Julie, congratulations on the new addition to your family! I’m thrilled to hear that the slice was a success at your granddaughter’s baby shower 🙂 Thank you so much for choosing to share one of my recipes on such a special occasion. It’s wonderful to know that it was enjoyed by everyone. Kindest, Sam x
Made this caramel slice yesterday and so happy with how it turned out! It’s a lot easier and faster than other caramel slice recipes I’ve made. Great for anyone who needs a quick no-bake recipe for the family! Thanks for sharing. Louise
Hi Louise! That’s so nice to hear. Happy you and your family enjoyed this easy caramel slice recipe. Definitely quicker to make than more traditional caramel slices! Sam x