No Bake Pumpkin Cheesecake (Easy!)
This fall favorite No Bake Pumpkin Cheesecake has a spicy gingersnap crust with a rich and creamy cheesecake filling. No oven, no fuss!
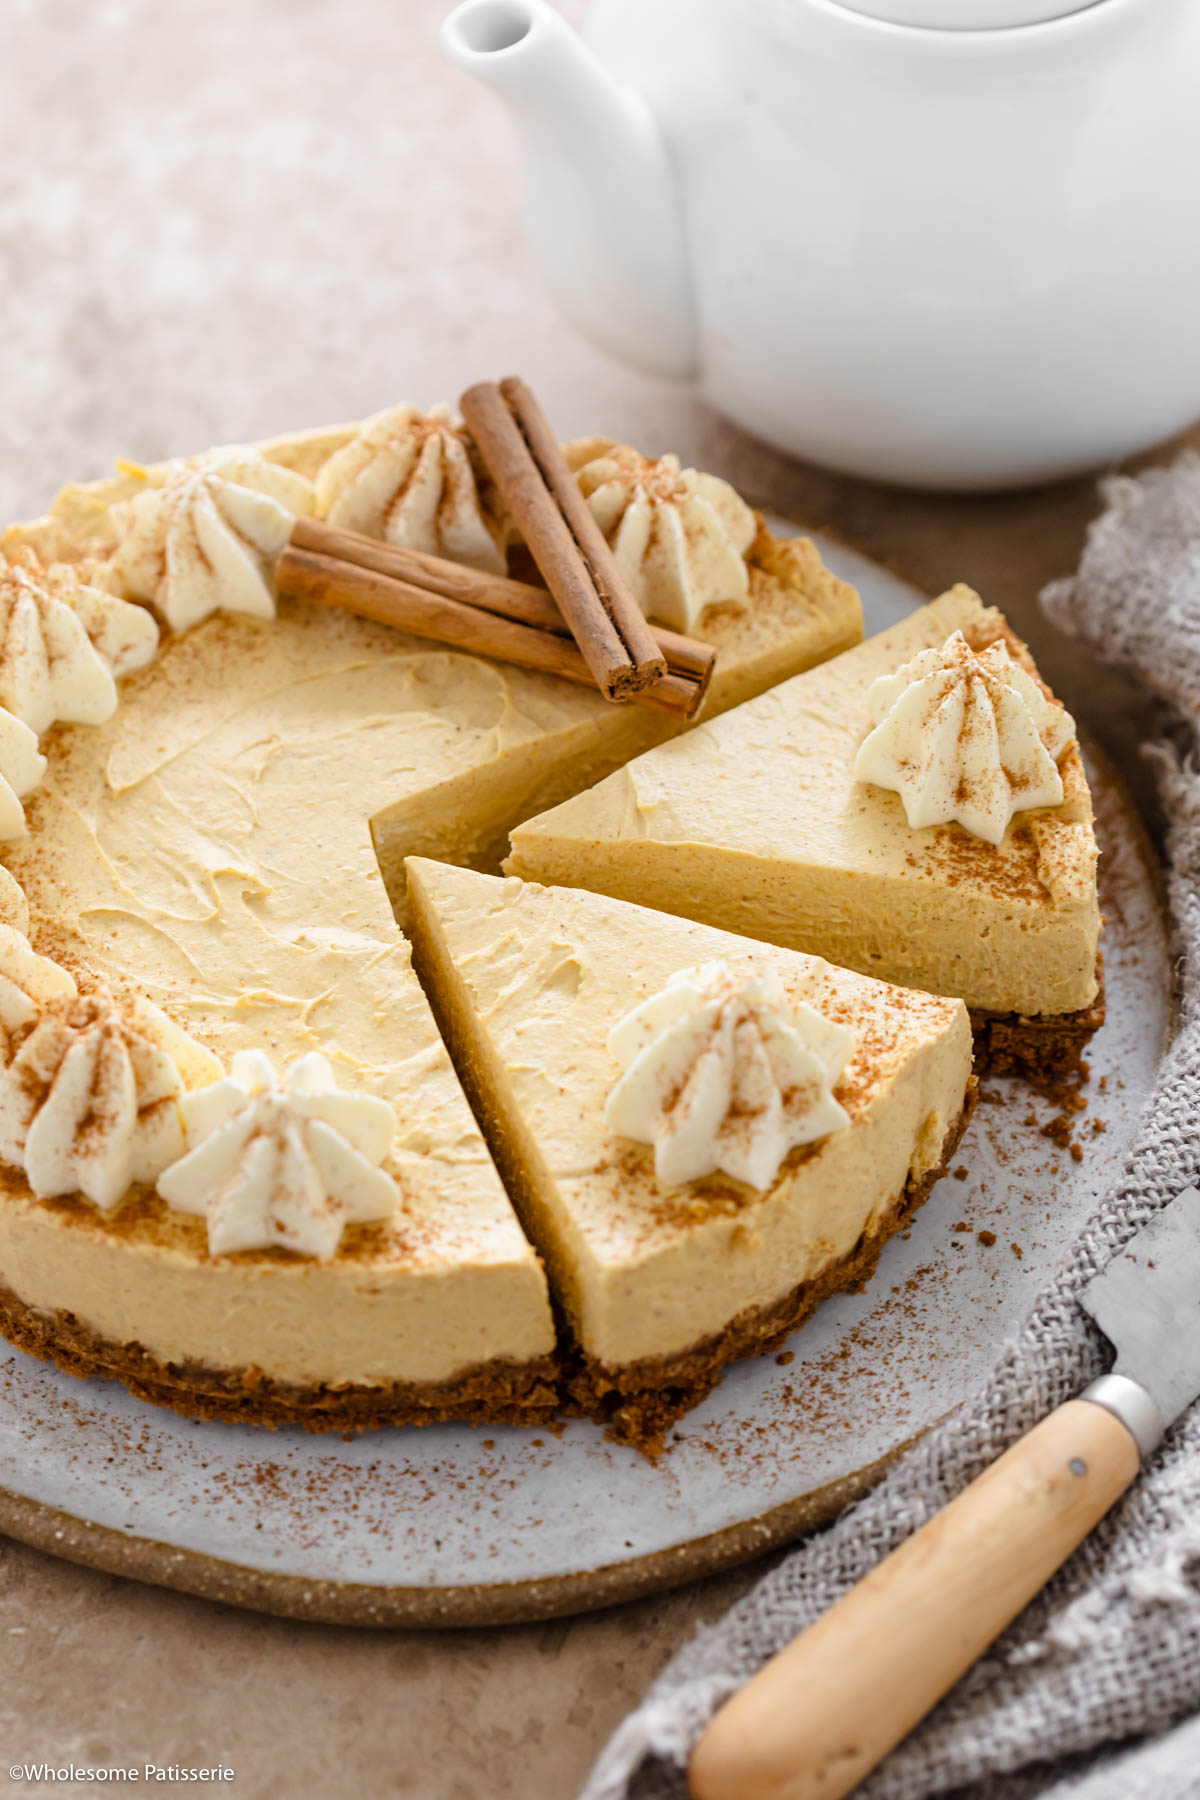
Fall is in the air, and the craving for pumpkin has arrived.
What could be better than a creamy blend of pumpkin pie and cheesecake?
How about an easy no bake pumpkin cheesecake with a gingersnap crust?
Yep, that’s right. Like my no-bake Biscoff cheesecake, no oven is required.
Trust me, your oven will thank you for the day off.
It starts with a 3 ingredient crust made with gingersnap biscuits. No pie crust needed!
What I love about this cheesecake crust is that it’s thick and not too thin.
The crushed gingersnap cookies balance out the rich cream cheese pumpkin filling.
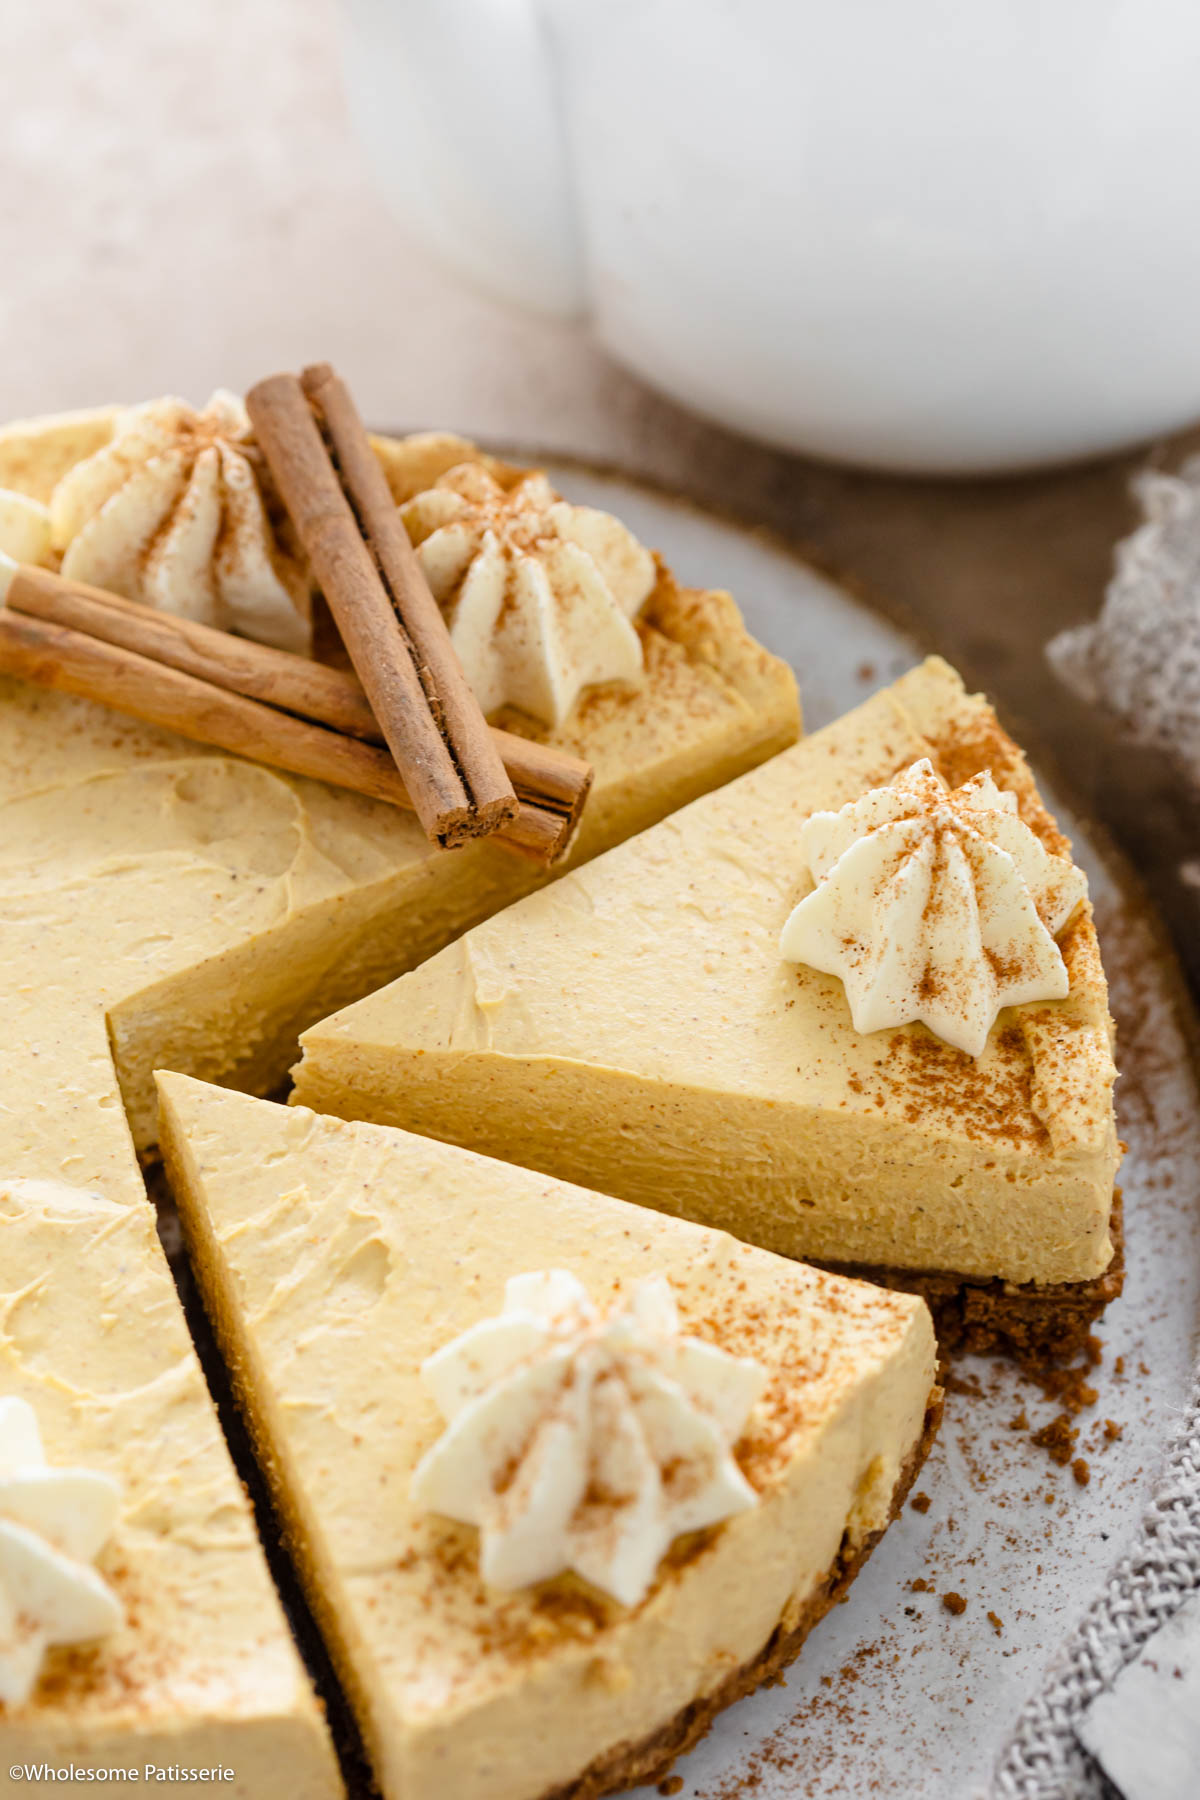
It’s then layered with a creamy filling featuring cream cheese, canned pumpkin puree, and pumpkin pie spice.
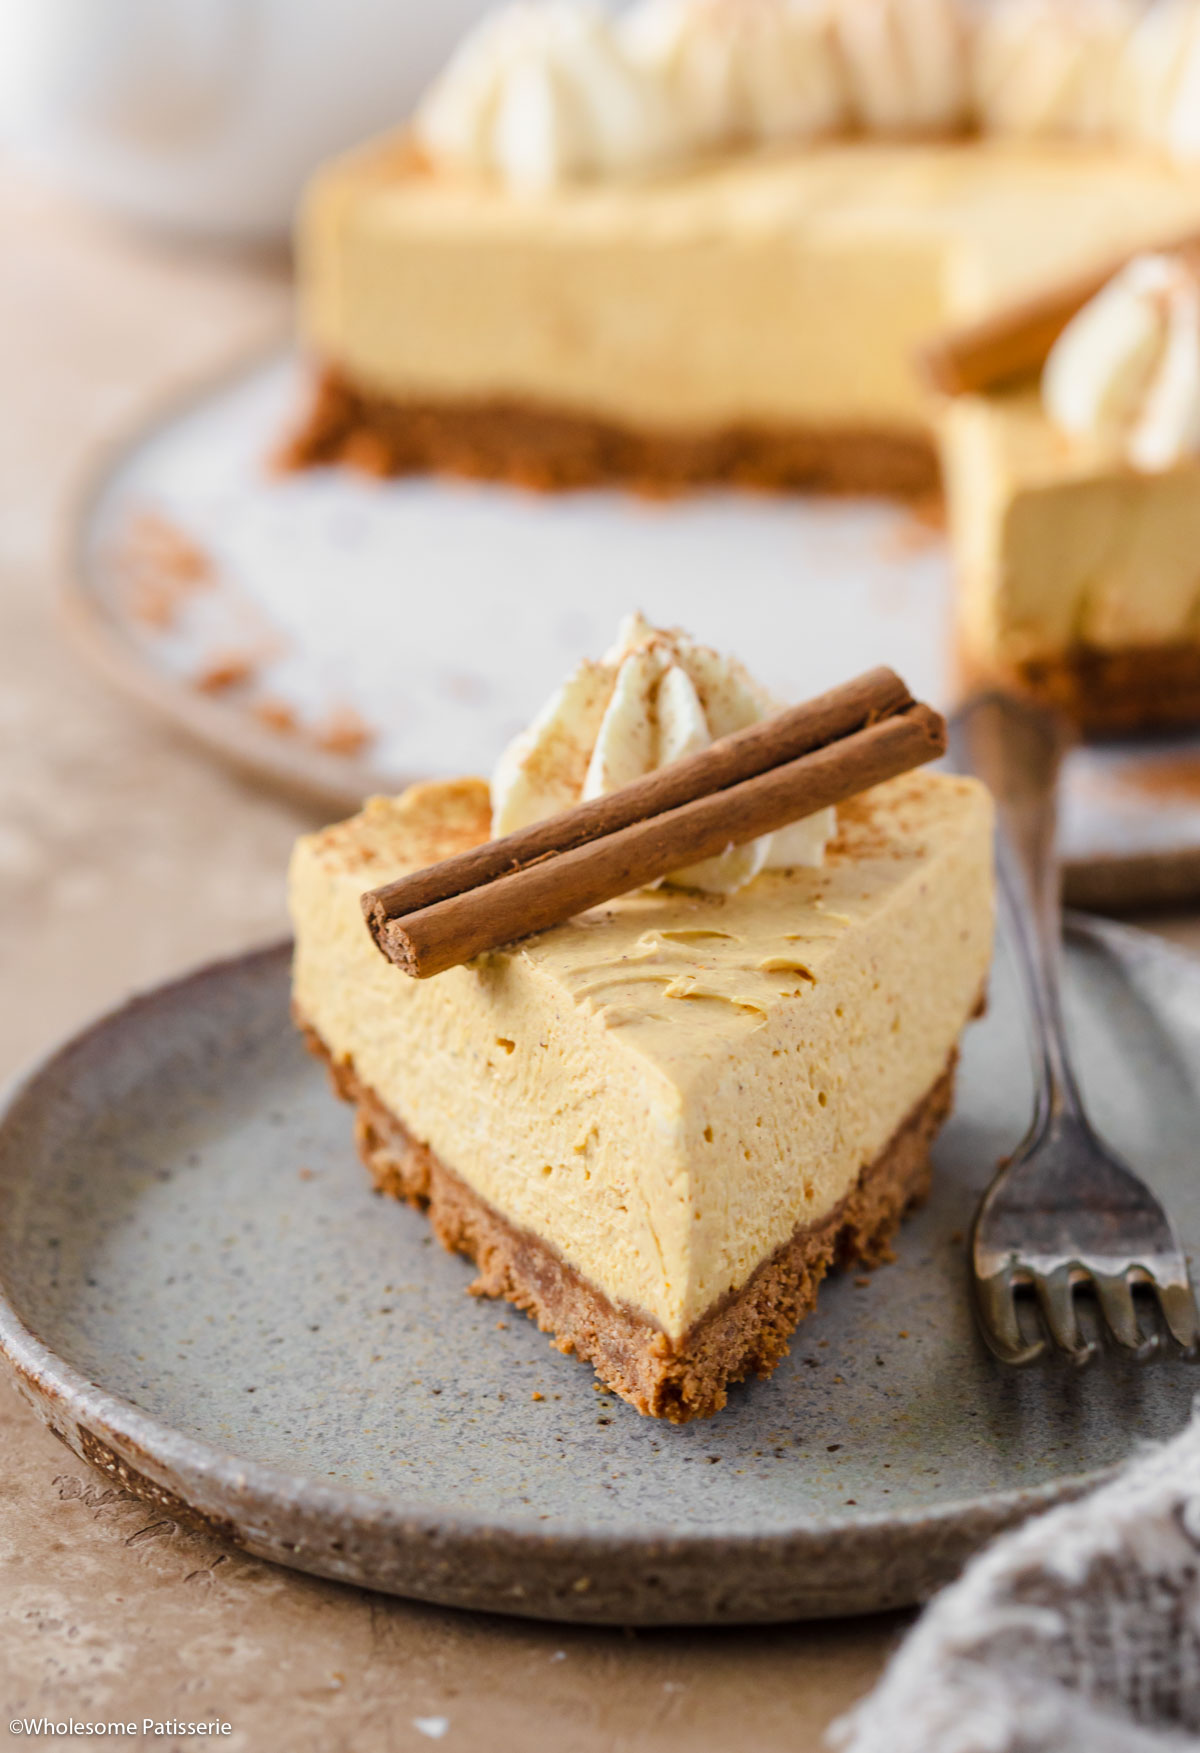
It’s worth noting the cake tin I used for the images is a 7-inch springform tin.
It will also work in a regular 9-inch size springform tin, just keep in mind the crust and filling will be slightly thinner.
🍰 Why You Will Love This Recipe
- Perfect blend of pumpkin pie and cheesecake
- Gingersnap biscuit crust
- Effortless to make
- Infused with pumpkin pie spice
- Cozy fall dessert
I mean, if pumpkin pie and cheesecake were on a dating app, they’d be the ultimate swipe right!
Because this easy pumpkin cheesecake is the ultimate love child of fall desserts!
The best thing since baked pumpkin pie.
Speaking of this season’s desserts, as another cold dessert option, make this easy semifreddo.
Or try my stewed apple crisp for a warmer alternative!
So, let your friends and family indulge at Thanksgiving and over the holiday season by making this pumpkin cheesecake the centerpiece dessert!
📋 Ingredient Notes & Substitutions
A comprehensive recipe card featuring all the ingredients can be found at the end of this post.

- Gingersnap cookies: In the United States, you can use Stauffer’s Ginger Snaps Cookies, in Australia, use Arnott’s Ginger Nut Biscuits. Substitute with Lotus Biscoff Cookies or Digestive Biscuits.
- Light brown sugar: Do not substitute this with granulated sugar or caster sugar. The brown sugar is used for its higher moisture content and softer consistency.
- Unsalted butter: Use block butter. You can substitute it with salted butter, but the additional salt will slightly alter the flavor.
- Full-fat cream cheese block: Use the blocks of full-fat cream cheese, not the spreadable cream cheese. This recipe has not been tested using mascarpone.
- Canned pumpkin puree: Do not use pumpkin pie filling. I use Libby’s 100% Pure Pumpkin Puree.
- Powdered sugar: Also known as icing sugar and confectioners sugar. I’ve tested this cheesecake using caster sugar and although it still turns out very good, I prefer the powdered sugar as it blends seamlessly into the filling, leaving no tiny grainy bits of sugar.
- Pumpkin pie spice: Can be found in the US at your local grocery store. If you live elsewhere such as Australia, you can make your own pumpkin pie spice blend!
- Double cream: Use double cream for the best results; avoid pre-whipped cream as it alters the texture. Alternatively, substitute with thickened cream (Australia) or heavy/whipping cream (US). If substituting, whip to firm peaks, but note that the texture will be softer and won’t set as firmly as double cream.
- Whipped cream: For the piped topping, use store-bought whipped cream or whip it yourself using thickened cream or heavy cream.
🥣 Step By Step Instructions (with photos)
There is a full and detailed recipe card at the bottom of this post.
Line a round 8-inch (20cm) springform cake tin with a circle of parchment paper to line the base. There is no need to grease or line the sides. Here’s how to line just the base:
Step one: Separate the rim from the base and place a sheet of parchment paper over the top of the base.
Step two: Secure the outside rim back onto the base with the paper still in place and close the side latch.
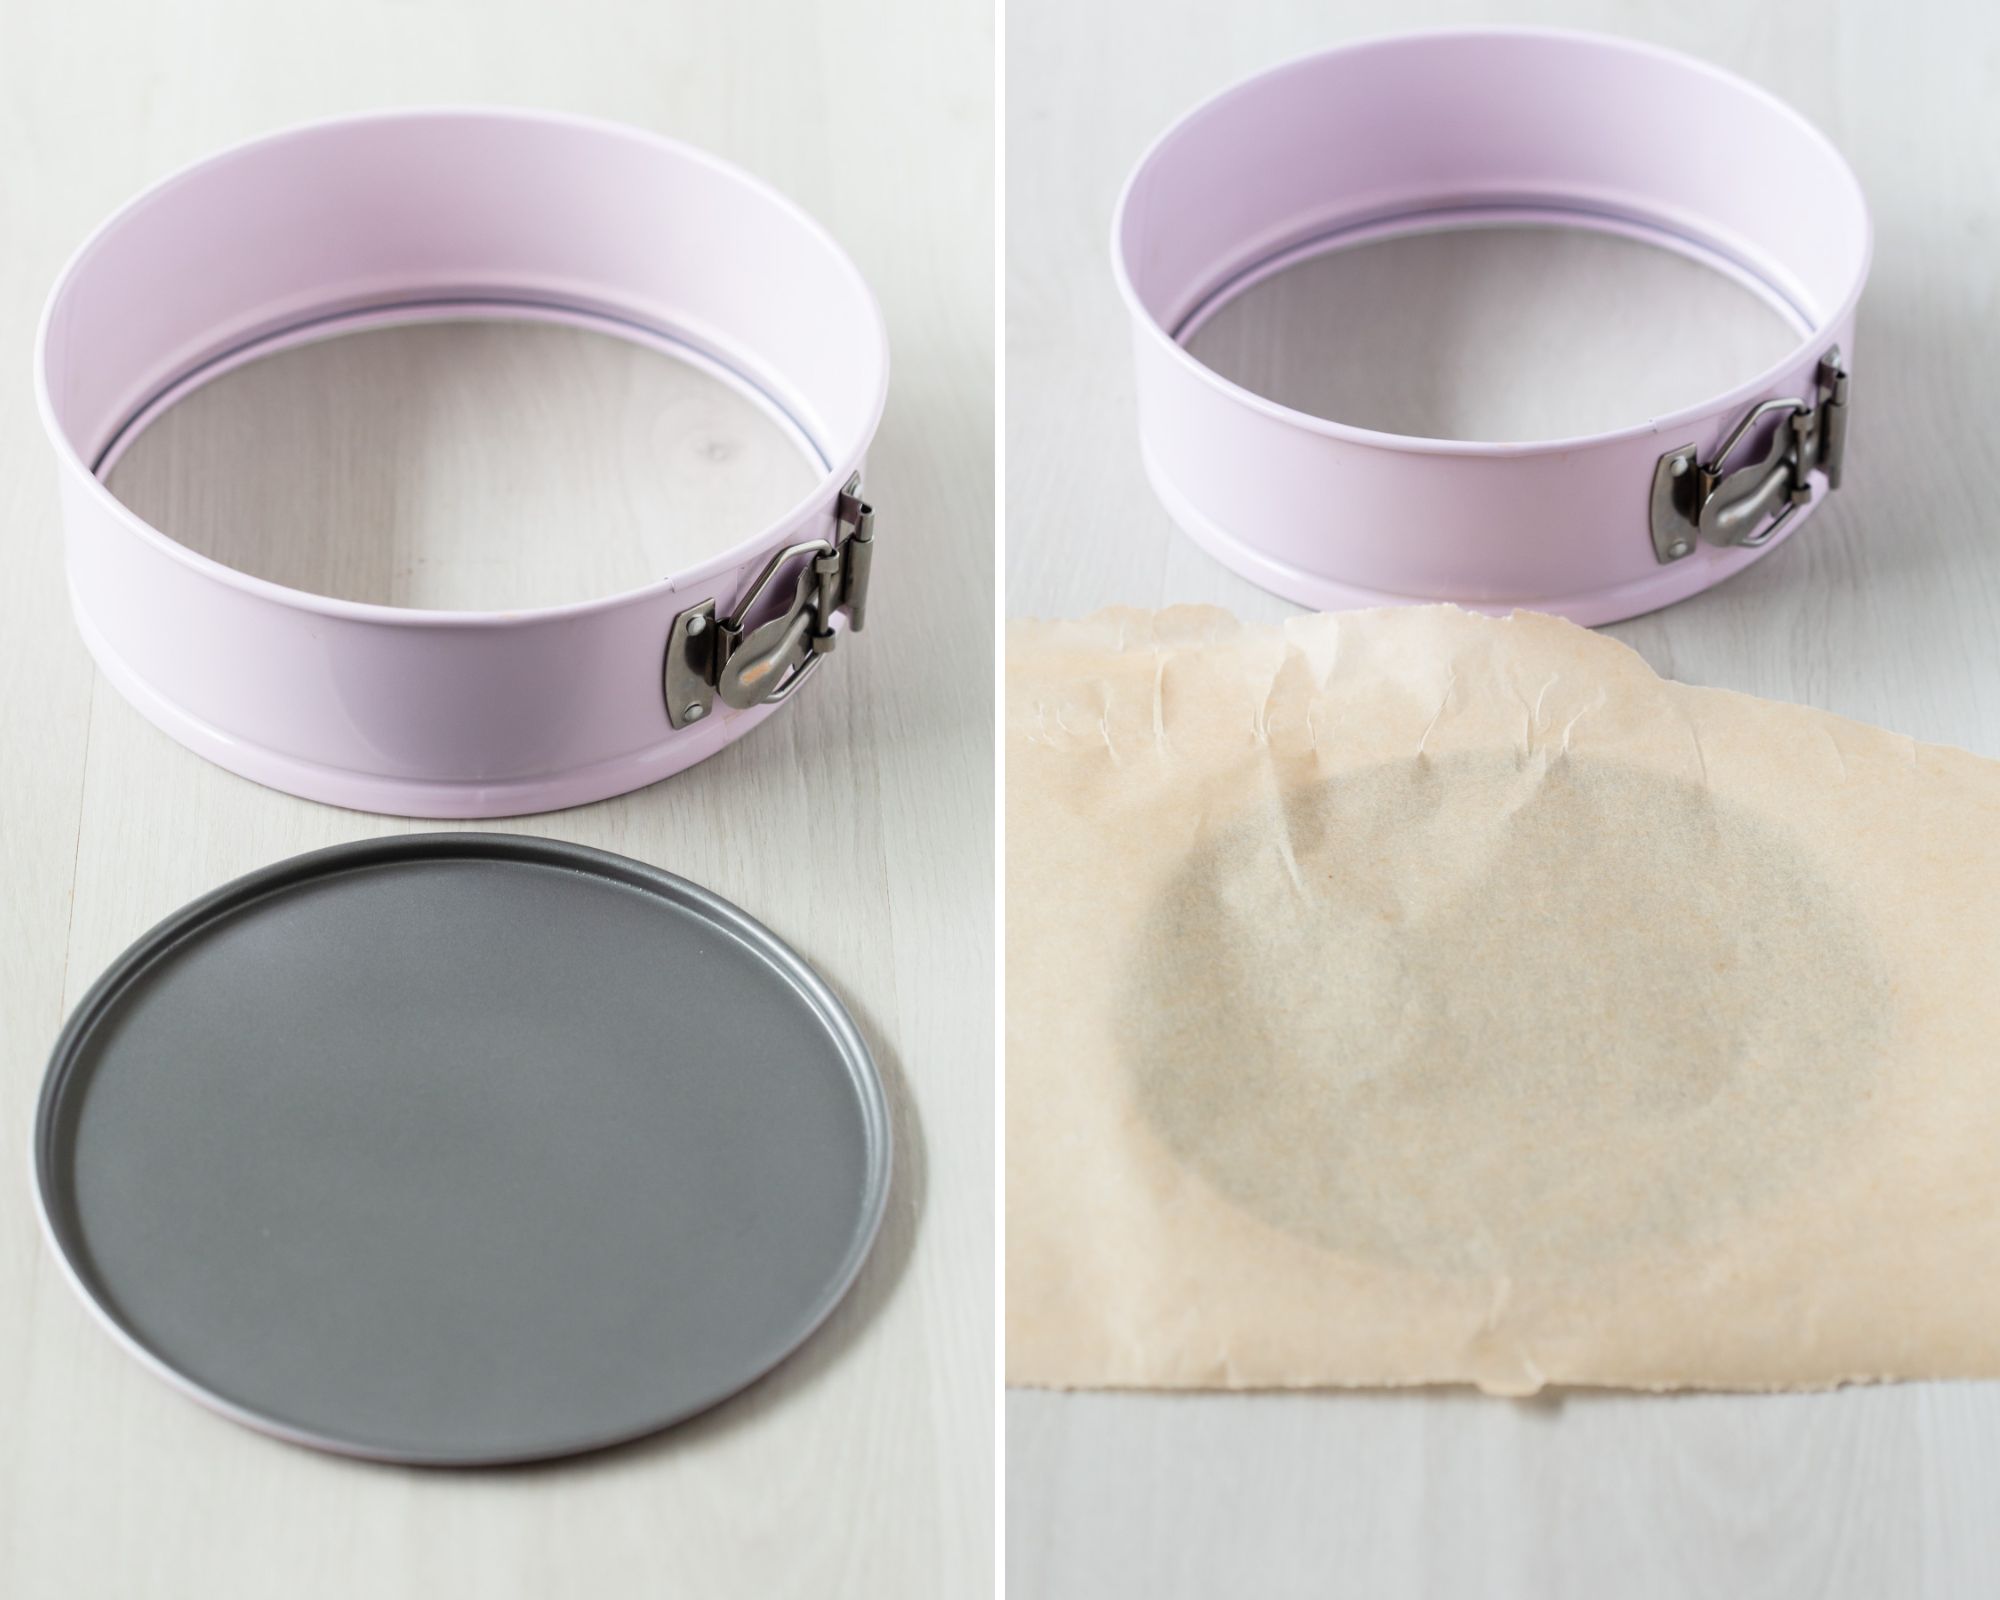

Step three: Trim the excess paper with scissors so the paper sits flush with the tin.
Step four: The base is now lined with parchment paper.


Now let’s make the cheesecake!
Step one: In a high-speed food processor, crush biscuits to a fine crumb.

Step two: Stir through the brown sugar.

Step three: Pour in the melted butter and mix with a wooden spoon until it’s well combined. It should resemble wet sand.
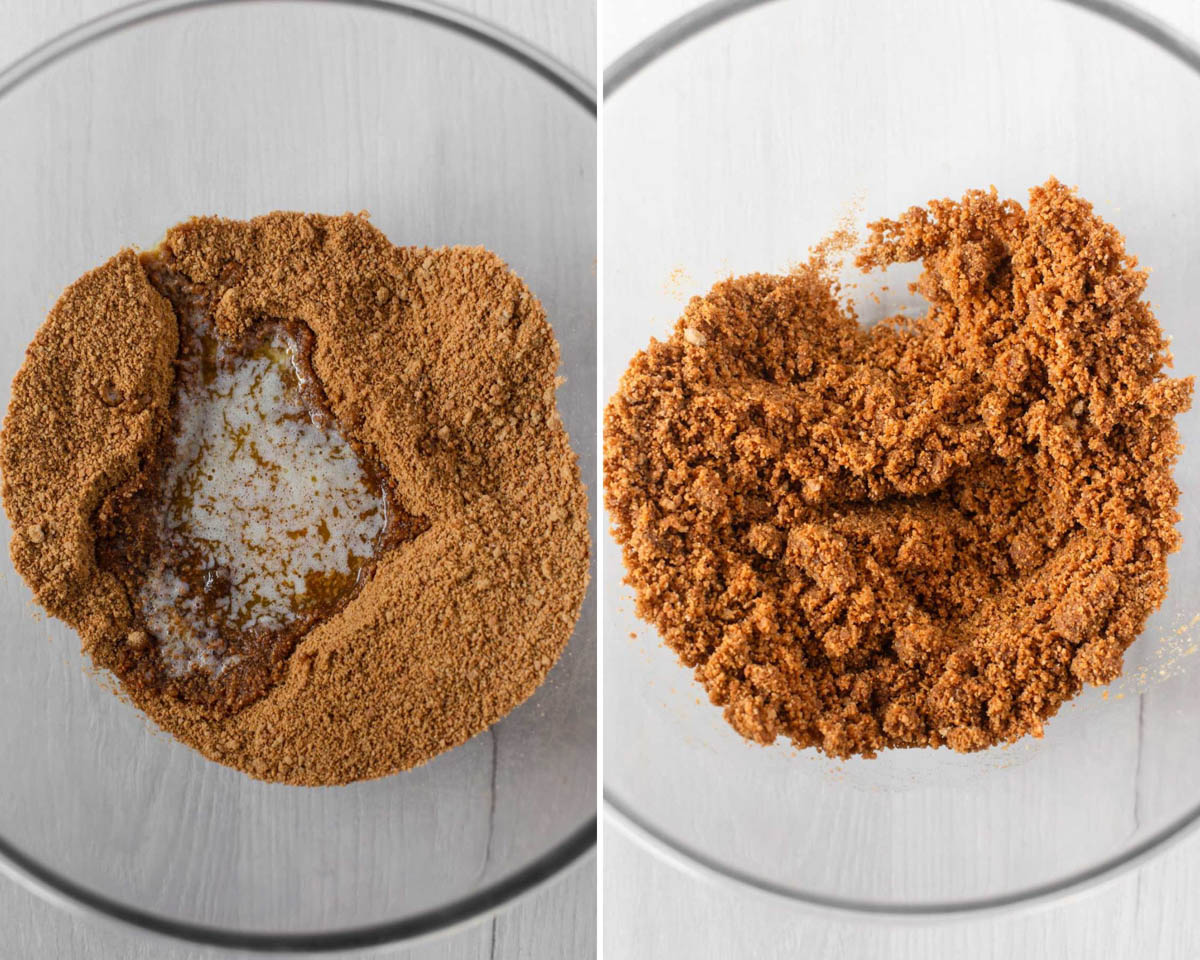
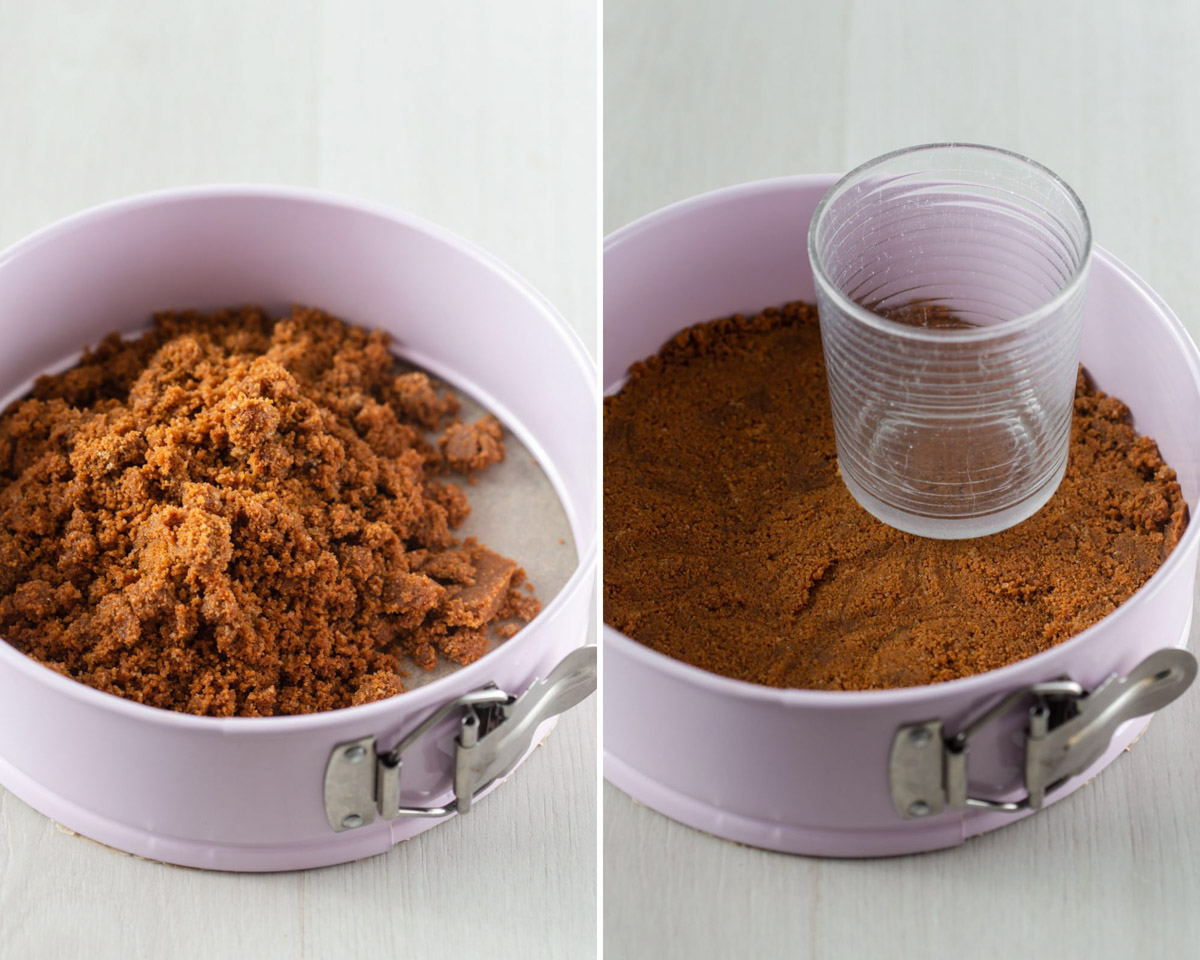
Step four: Spoon the mixture into the lined springform tin.
Using the back of a spoon or a drinking glass with a flat bottom, spread biscuits out and firmly press them into the base to create the crust, you may also use your hands.
TIP: Don’t pack the crumbs in too much otherwise the base will be too hard but don’t make it too loose as the base will be crumbly.
Transfer to the refrigerator to chill while you make the filling.
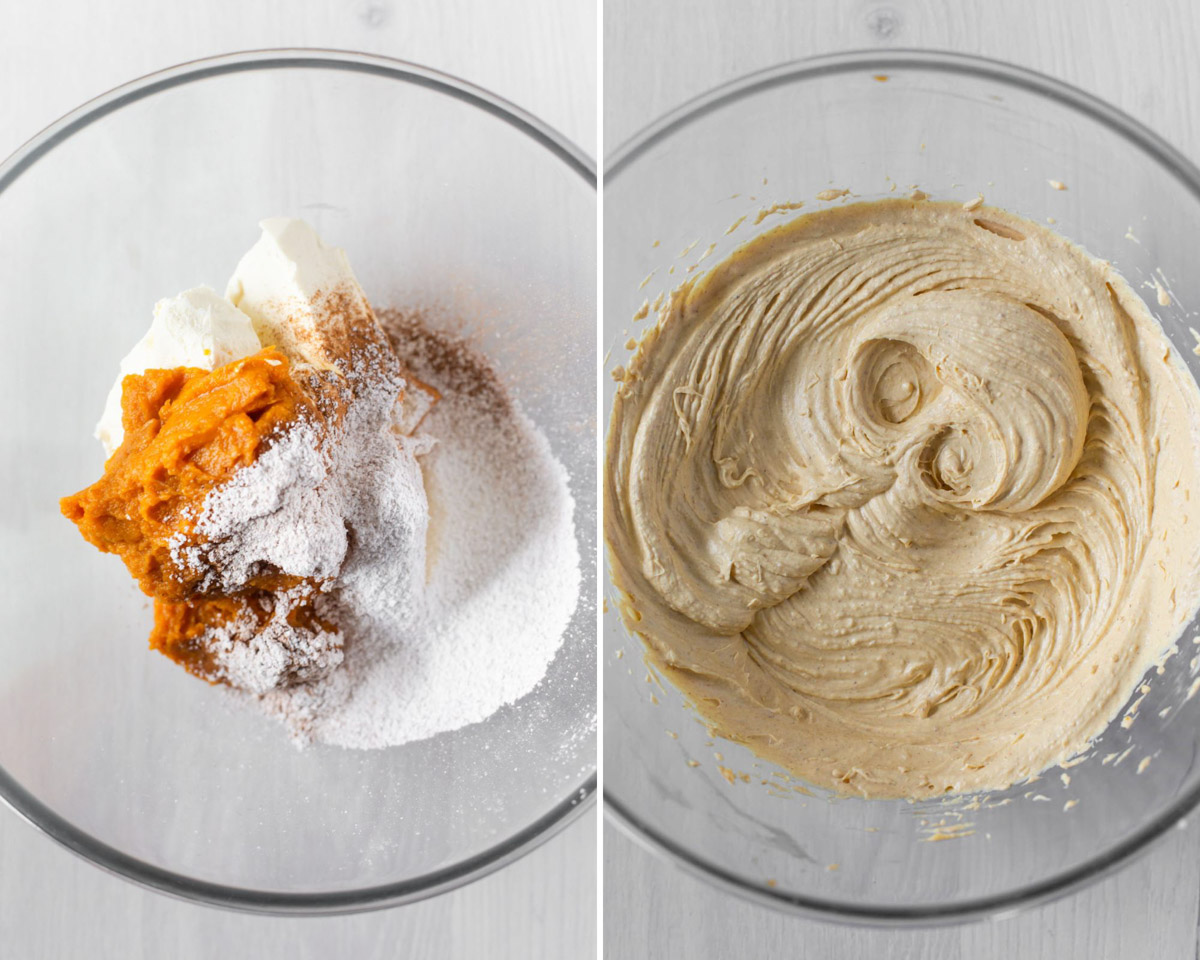
Step five: In a clean large mixing bowl, add softened cream cheese, pumpkin puree and sift over the powdered sugar and pumpkin pie spice.
Using electric hand beaters, beat for 2 minutes until well combined and fluffy. Set aside.
Step six: Add double cream in a separate medium-sized mixing bowl and beat on medium speed until it reaches medium-firm peaks, about 1 minute, do not over-beat.
TIP: Make sure your cream is chilled straight from the fridge. I’ve tested this with room temperature cream and it curdled and separated.

Step seven: Spoon whipped double cream into the pumpkin mixture and fold it through with a rubber spatula until well combined and no white streaks of cream remain.
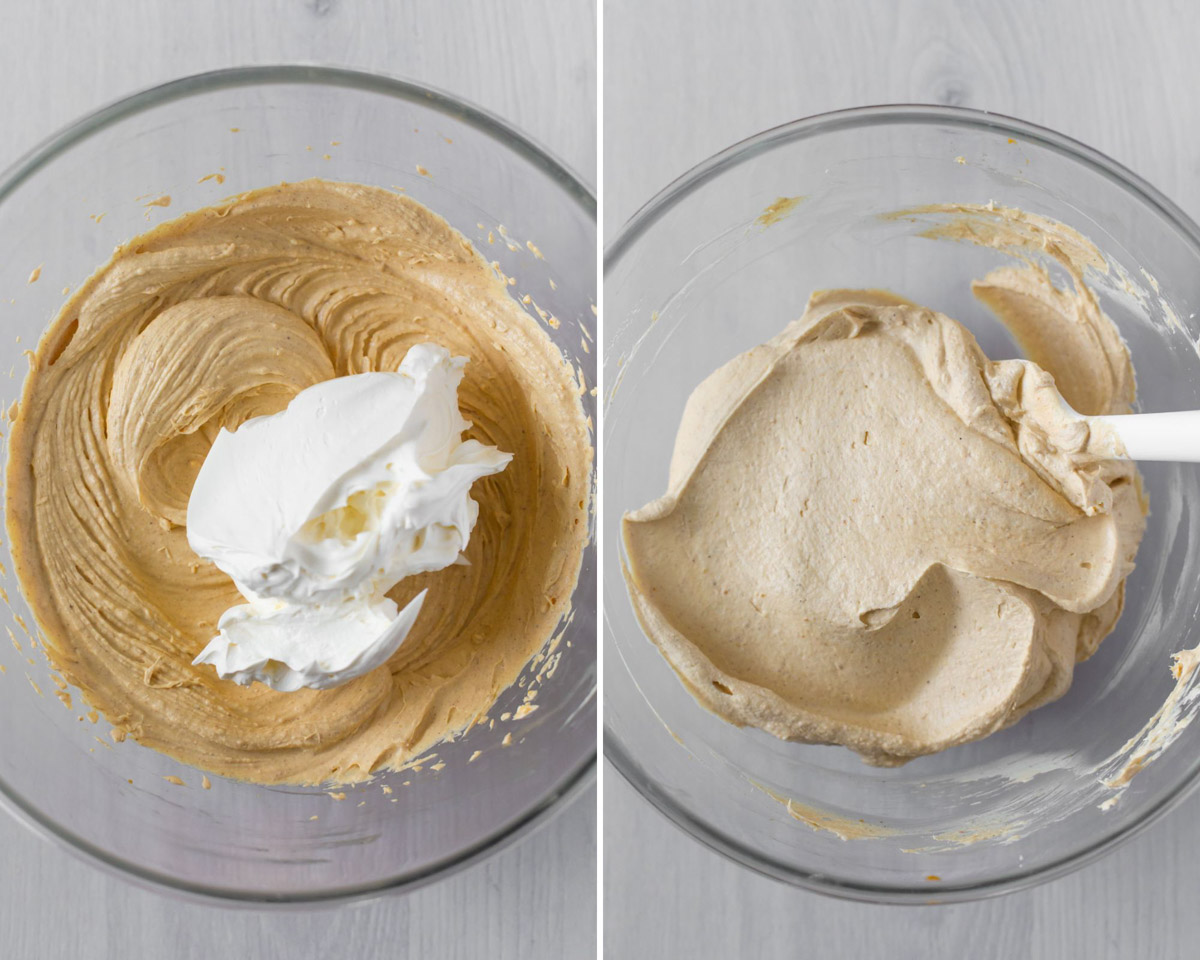
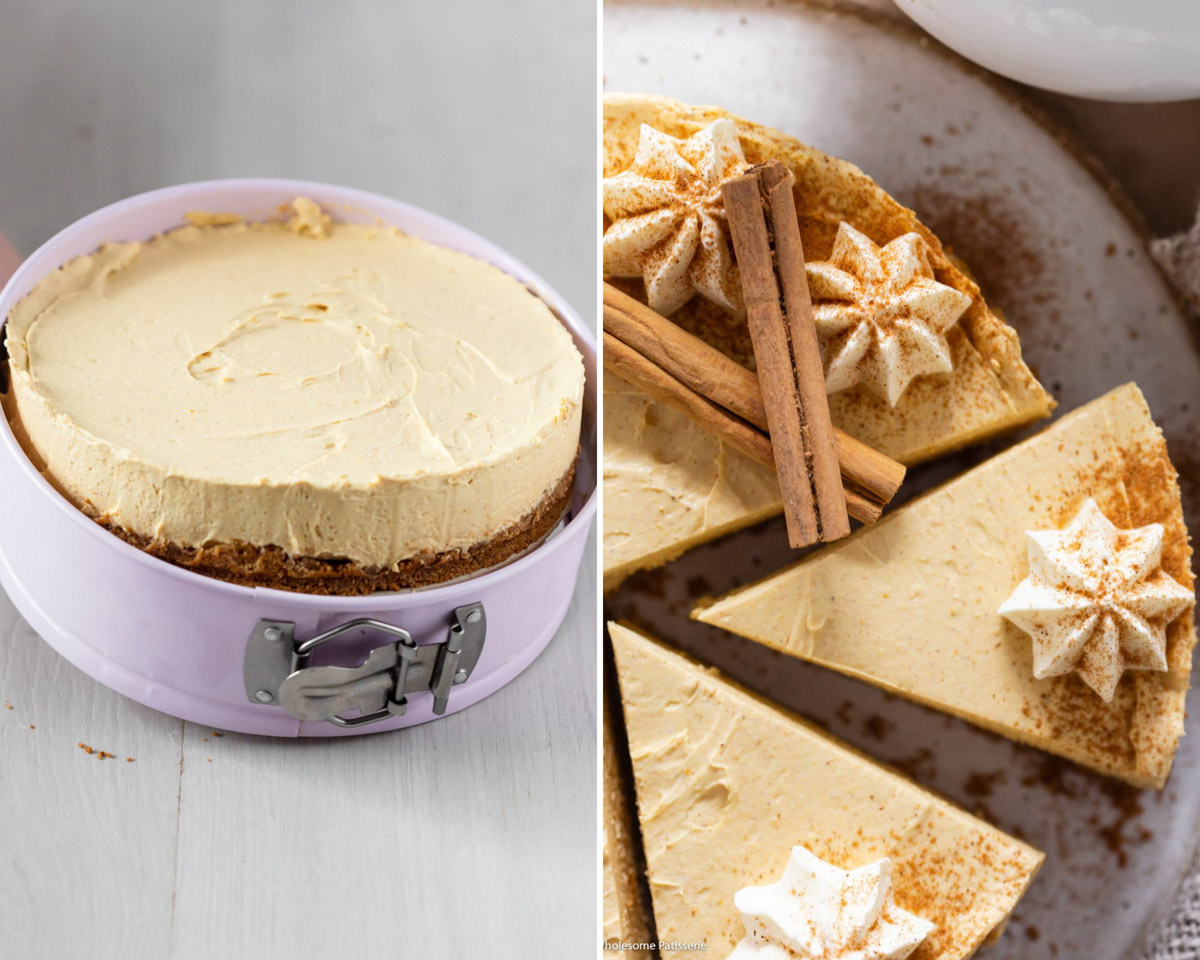
Step seven: Spoon filling over the base and spread out evenly with a rubber spatula or the back of a spoon.
Refrigerate the cheesecake for 6-8 hours or ideally overnight. Until it’s set and firm to the touch.

Step ten: To remove the cheesecake from the tin:
Using a butter knife, gently and slowly run it around the outer edges to loosen it from the tin.
Gently unclip the latch on the tin and remove the outside rim. TIP: It’s easiest to lift the base up and out through the rim using your hands.

While holding the cheesecake in your palm with the base of the tin still attached to the cheesecake, maneuver the base to slide the cake off into your other hand. Then, peel away the parchment circle underneath.
Place cheesecake on a plate or serving board/platter.
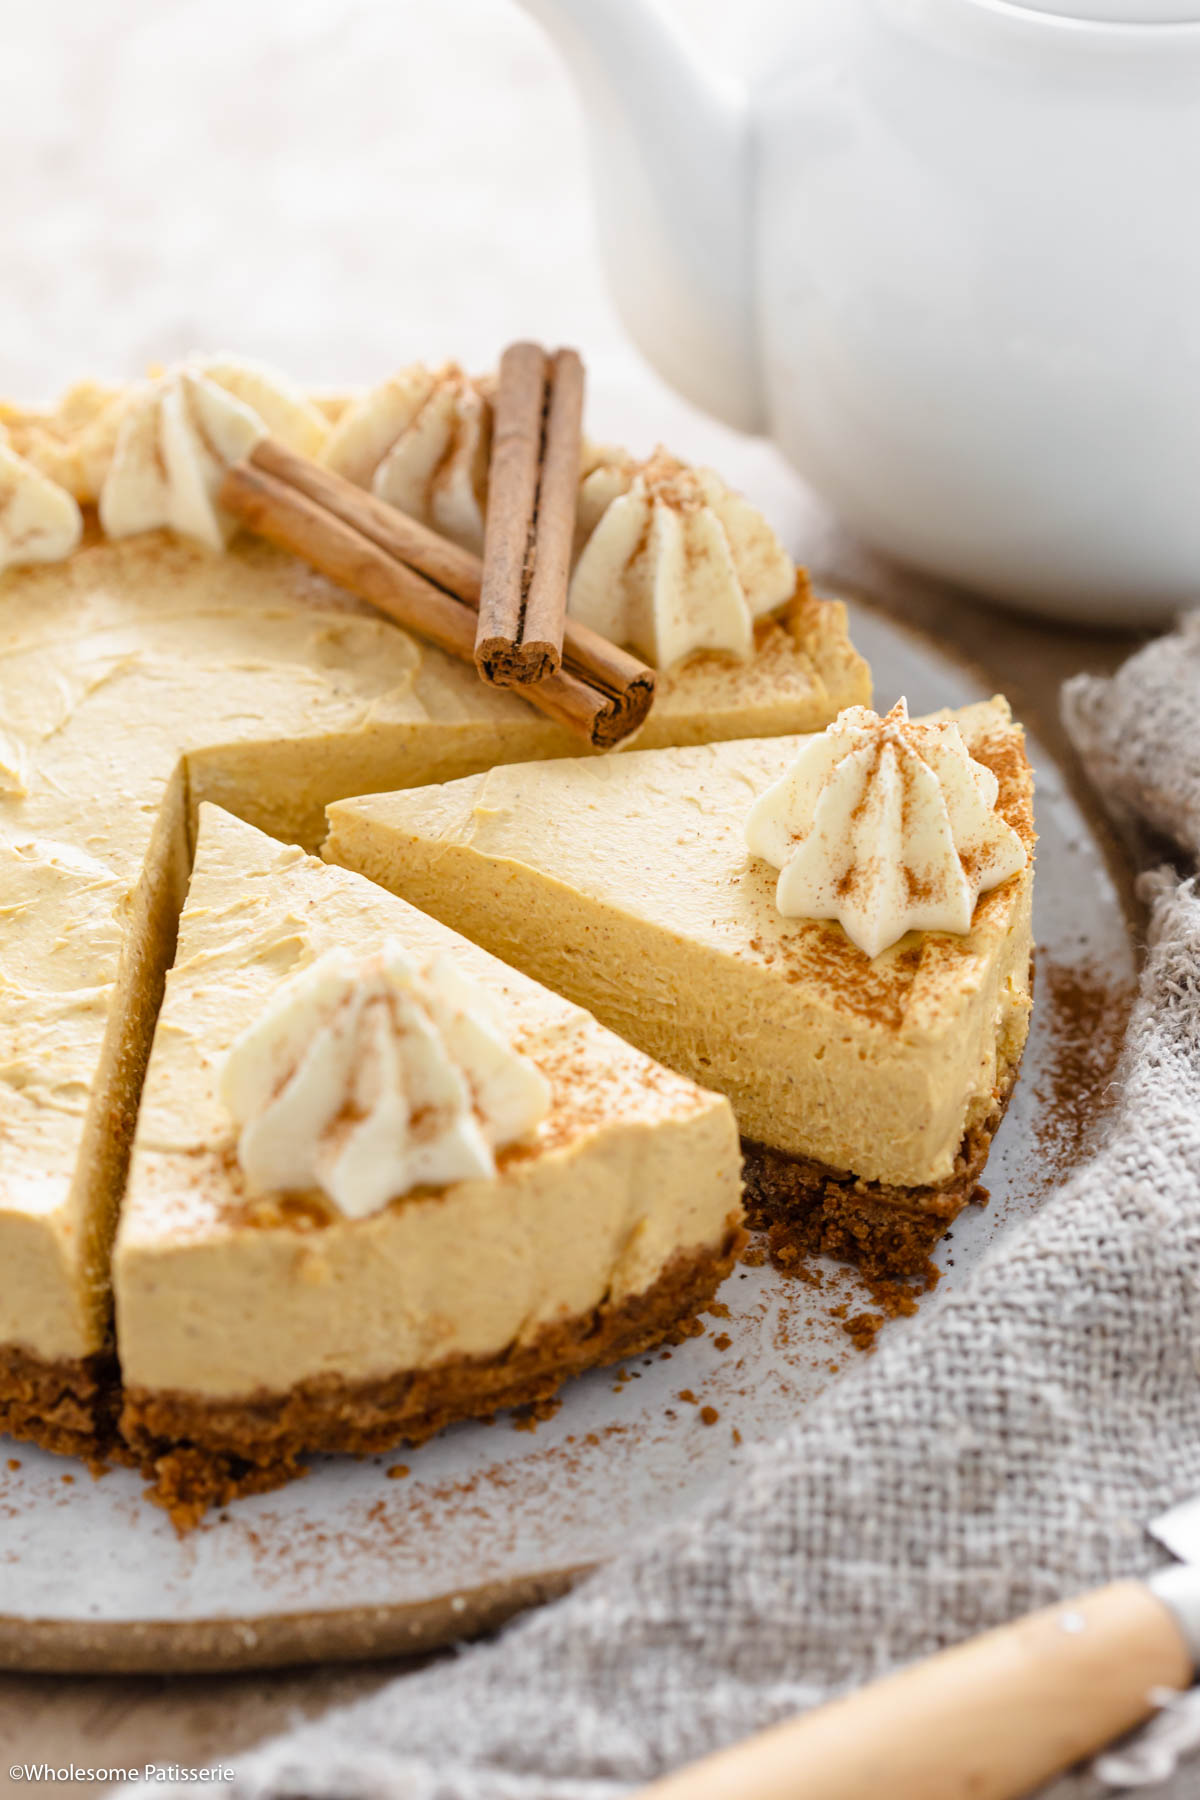
Step eleven: Pipe with whipped cream to decorate. Serve and enjoy!
🍨 Serving Suggestions
- Whipped Cream: Pipe homemade or store-bought whipped cream on top or on each individual slice.
- Dust with pumpkin pie spice: Nothing says fall like warm spices. dust pumpkin pie spice, nutmeg, or cinnamon over the whipped cream or plain cheesecake.
- Gingerbread Latte: Pair it with a mug of homemade gingerbread latte during the holidays for a cozy evening by the fireplace.
- Rum Hot Chocolate: Make this rum nightcap for guests or just yourself, alongside a slice of this pumpkin cheesecake.
- Caramel Drizzle: Either homemade or store-bought, a drizzle of caramel sauce is decadent and pairs beautifully with pumpkin.
- Vanilla Ice Cream: A scoop of vanilla ice cream will balance the richness with a cool and sweet contrast.

💭 Expert Tips
- Use a springform tin: A springform tin is ideal for making a no-bake cheesecake, as it makes it easy to remove the cheesecake from the tin once it’s set.
- Cream cheese must be at room temperature: To ensure a smooth and creamy texture, it’s important to let your cream cheese come to room temperature before beginning the recipe. This will also prevent lumps from forming.
- Quality pumpkin puree: Opt for the best, like Libby’s, for a rich flavor.
- Sift the sugar: Along with the pumpkin pie spice, to avoid lumps.
- Double cream must be cold: Make sure your cream is chilled straight from the fridge when you beat it. I’ve tested this with room-temperature cream and it curdled and separated. Cold cream will prevent this from happening.
- Gentle Folding: Fold ingredients gently to maintain a fluffy texture.
- Chill the cheesecake for a minimum of 8 hours: It’s important to chill it in the refrigerator for at least 8 hours (or ideally overnight) before serving. This will help to ensure that the filling is firm and holds its shape.
🌡️ Don’t Set it in the Freezer
Avoid setting your cheesecake in the freezer, as it can lead to an icy texture, uneven setting, dulled flavors and more. Let’s explore why.
- Texture Troubles: Freezing can cause the filling to become too hard and icy, losing that creamy, velvety smooth consistency.
- Uneven Setting: The edges might freeze while the center remains soft, leading to an uneven texture that’s neither here nor there.
- Loss of Flavor: Rapid chilling in the freezer might dull the wonderful flavors of the pumpkin and spices.
- Cracking Crisis: The rapid temperature change can cause the top to crack, and we all know a cracked cheesecake is a sad cheesecake 🙁
- Condensation: As it thaws, your cheesecake might become soggy due to condensation, turning that glorious dessert into a mushy mess.

♨️ Common Mistakes to Avoid
- Ignoring the crust: A well-pressed and even crust ensures a good foundation. Pressing too hard can make it difficult to cut into, applying not enough pressure will make it crumble.
- Over-mixing the batter: Keep it gentle when folding in the cream to avoid a dense, heavy cheesecake.
- Under or over-whipping the cream: Too soft, and it won’t set; too stiff, and it may curdle.
- Rushing the chill time: Patience is key; let it set in the fridge for 6-8 hours, overnight is ideal, to achieve the perfect consistency.
⏲️ Storage Instructions
Store your cheesecake in an airtight container or loosely wrapped in plastic wrap or aluminum foil, in the refrigerator for 3-4 days.
Steps to freeze this pumpkin cheesecake:
- First, allow it to set for 8 hours or overnight in the fridge.
- Remove it from the springform tin following the recipe. Do not add the whipped cream or spices on top.
- Leave it whole or cut it into individual slices.
- Either the whole cheesecake or slices, arrange them onto a tray/board/plate, something that will fit into your freezer comfortably.
- Place this into your freezer for 1-2 hours or until the cheesecake is solid.
- While firm straight from the freezer, wrap the whole cake in one layer of plastic wrap and then in one layer of aluminum foil. If you have slices, wrap each just in plastic wrap.
- Label with the date and store in the freezer for 2-3 months.
Steps to thaw the frozen cheesecake:
- Simply remove it from the freezer and let it thaw in the refrigerator overnight.
- Alternatively, thaw individual slices at room temperature for 30 minutes – 1 hour or until it’s just soft enough to eat.
- NOTE: After the cake has thawed, this is the point when you can pipe the whipped cream and dust your spices to decorate if you desire.
💬 Recipe FAQ’s
You can make your own pumpkin pie spice blend!
I haven’t tested this recipe with homemade pumpkin puree due to its higher moisture content. For a drier consistency, I recommend using canned pure pumpkin puree, like Libby’s.
Yes! Use the same quantity as called for in the recipe. I use these in my Lotus cheesecake!
🥄 Related Recipes
If you enjoy this recipe, please consider leaving a ⭐️ star rating and a comment review below. I love to hear what you think and it’s much appreciated. Thank you! Your email address will not be published. Sam x
No Bake Pumpkin Cheesecake (Easy!)
Equipment
- 7-inch or 9-inch non-stick springform tin
Ingredients
Base
- 200 g gingersnap cookies
- 2 Tbsp light brown sugar
- 70 g unsalted butter, melted
Filling
- 400 g (14-ounce) full-fat cream cheese block, at room temperature
- 3/4 cup (6-ounce) canned pure pumpkin puree, use Libby's
- 4 Tbsp powdered sugar
- 2 1/2 tsp pumpkin pie spice
- 200 ml (3/4 cup) cold double cream, or heavy cream/heavy whipping cream
Topping
- Whipped cream, homemade or store-bought
- Pumpkin pie spice, or ground nutmeg or cinnamon
Instructions
- Works in 7-inch or 9-inch springform tin. Images show 7-inch version. 9-inch makes a slightly shorter crust and filling layer.
Base
- Line a round 7-inch (18cm) springform cake tin with a circle of parchment paper to line just the base, no need to grease or line the sides. Set aside.
- In a high-speed food processor, crush biscuits to a fine crumb.
- Transfer biscuit crumbs into a large mixing bowl.
- Stir through brown sugar.
- Pour in melted butter and mix with a wooden spoon until well combined.
- Spoon mixture into the lined springform tin.
- Using the back of a spoon, rubber spatula or a drinking glass with a flat bottom, spread biscuits out and firmly press them into the base to create the crust, you may also use your hands. TIP: don’t pack the crumbs in too much otherwise the base will be too hard but don’t make it too loose as the base will be crumbly.
- Transfer to the refrigerator to chill while you make the filling.
Filling
- In a clean large mixing bowl, add softened cream cheese and pumpkin puree.
- Sift over powdered sugar and pumpkin pie spice.
- Using electric hand beaters, beat for 2 minutes until well combined and fluffy. Set aside.
- In a separate medium-sized mixing bowl, add cold double cream and beat on medium speed until it reaches medium-firm peaks, about 1 minute and 10 seconds, do not over-beat.
- Spoon whipped double cream into cream cheese mixture and fold it through with a rubber spatula until well combined and no white streaks of cream remain.
- Remove base from fridge.
- Spoon filling over base and spread out evenly with a rubber spatula or the back of a spoon.
- Refrigerate cheesecake for 6-8 hours or overnight is ideal, until set and firm to the touch.
Serve
- Remove cheesecake from fridge.
- Using a butter knife, gently and slowly run it around the outer edges to loosen it from the tin.
- Gently unclip the latch on the tin and remove the outside rim. TIP: it's easiest to lift the base up and out through the rim using your hands.
- While holding the cheesecake in your palm with the base of the tin still attached to the cheesecake, maneuver the base to slide the cake off into your other hand. Then, peel away the parchment circle underneath.
- Place cheesecake on a plate or serving board/platter.
- Pipe whipped cream around the edges or decorate how you desire.
- Place pumpkin pie spice into a sieve and dust it over the cream.
- Serve immediately and enjoy!
Notes
- Use double cream for the best results; avoid pre-whipped cream as it alters the texture.
- Store your cheesecake in an airtight container or loosely wrapped in plastic wrap or aluminum foil, in the refrigerator for 3-4 days.
- Freeze after setting it in the fridge for 8 hours. Then remove from the tin and don’t add the toppings. Leave whole or cut if desired. Place on a tray and freeze for 1-2 hours until solid. Wrap the whole cake, or slices, in plastic wrap, then in foil. Label with the date and freeze for up to 3 months.
- Thaw the cheesecake overnight in the fridge, or at room temperature for 30 minutes to 1 hour. Once thawed, add whipped cream and spices if desired.
