
No-Bake Peanut Butter Brownies

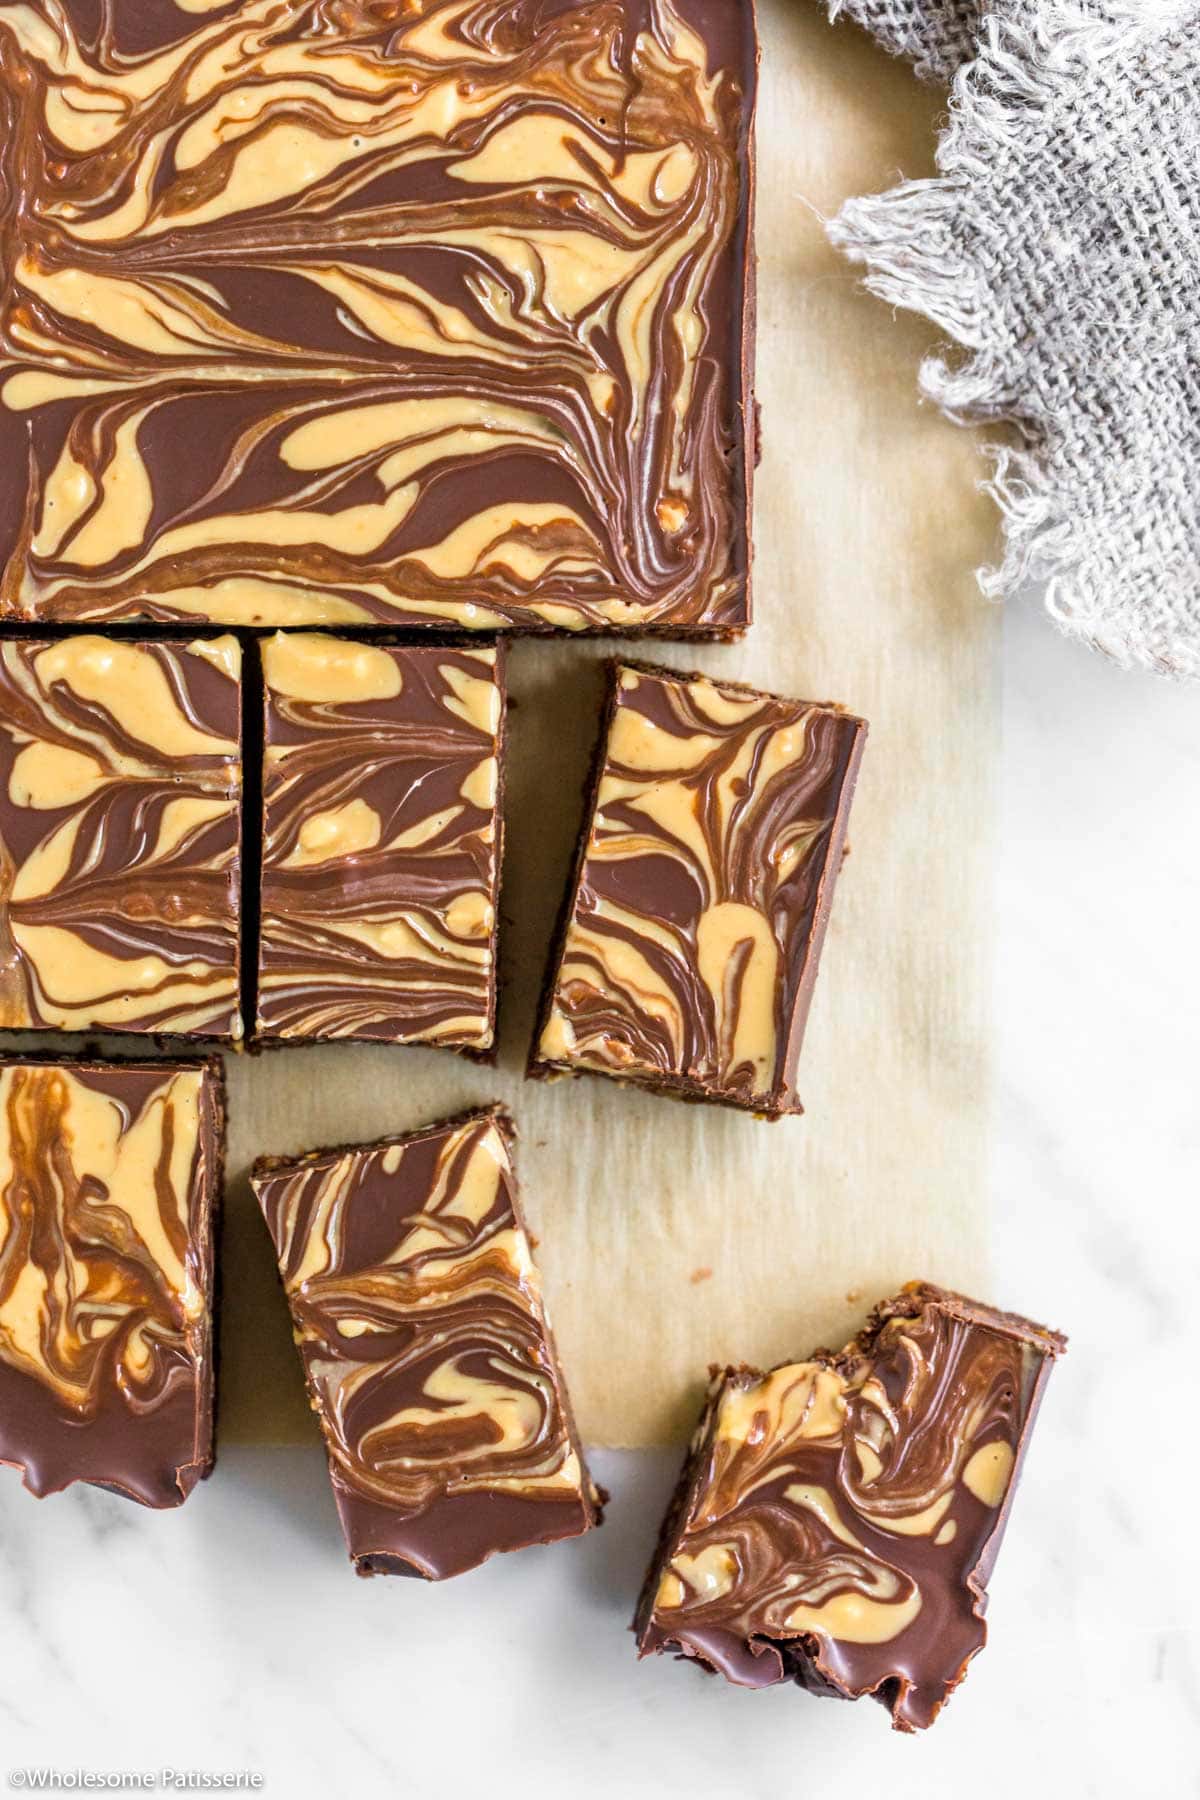
I make these No-Bake Peanut Butter Brownies whenever I need a quick chocolate fix without turning on the oven. The fudgy brownie layer is made with dates, almonds, cocoa, and peanut butter, then topped with a simple chocolate layer and swirled with creamy peanut butter.
I’ve tested these brownies countless times over the years, and they’re one of my favourite no-bake treats because they’re easy to make, naturally gluten-free, and keep well in the fridge for days. Perfect for afternoon snacks, lunchboxes, or when you’re craving something chocolatey with minimal effort.
Love easy no-bake brownies? Try my No Bake Brownies with Chia Seeds or No Bake Matcha Brownies.
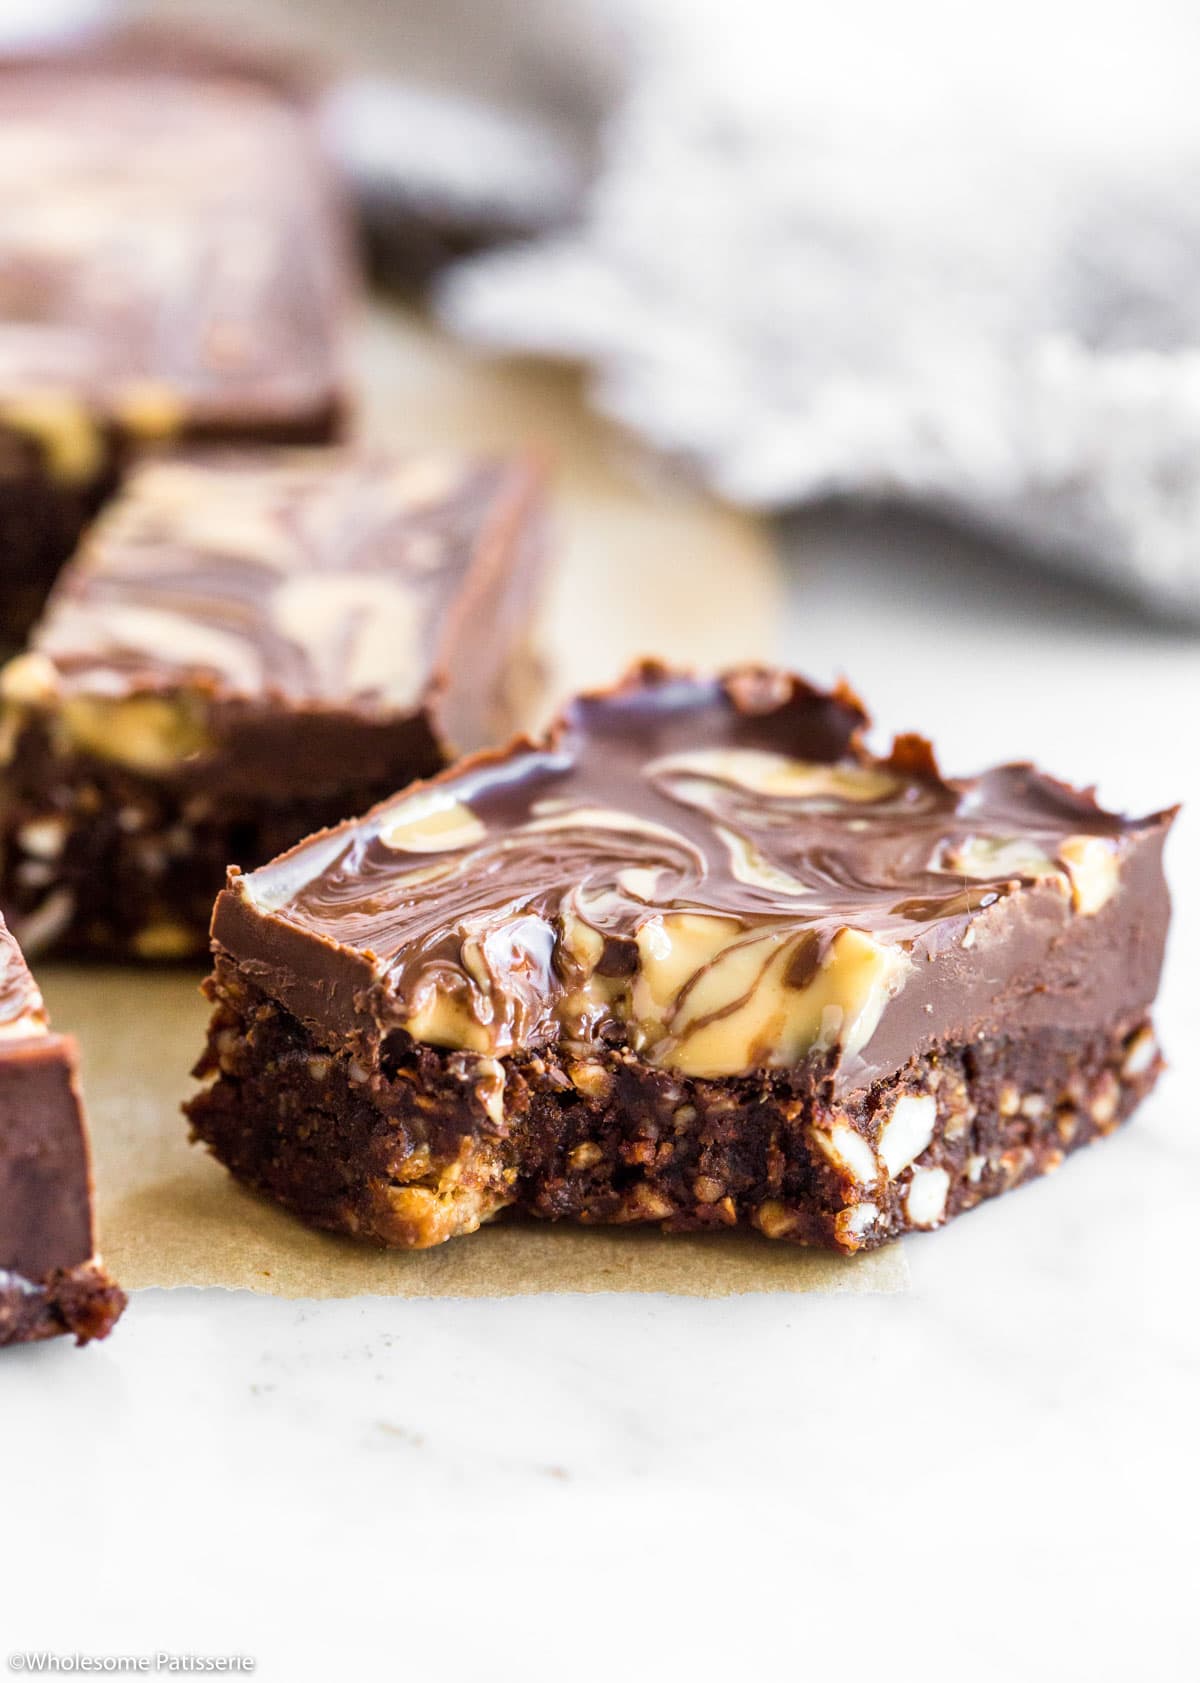
No Bake Peanut Butter Brownies Recipe At A Glance
Prep Time: 15 minutes
Chill Time: 1–2 hours
Total Time: 2 hours 15 minutes
Servings: 12 squares
Difficulty: Easy
Main Ingredients: Dates, almonds, cocoa powder, peanut butter, dark chocolate, and coconut oil.
Technique: Blending a fudgy date brownie base, topping with melted chocolate and peanut butter, then chilling until firm and sliceable.
Why this recipe works
I tested these no-bake peanut butter brownies until the base was fudgy enough to feel like a brownie, but firm enough to slice cleanly straight from the fridge. The dates provide natural sweetness and help bind everything together, while the chocolate and peanut butter topping adds the perfect finishing touch.
- Only 4 Base Ingredients: Dates, almonds, cocoa powder, and peanut butter create a rich brownie-like texture with minimal ingredients.
- No Baking Required: Everything comes together in a food processor before being chilled until firm, making this an easy recipe for warm days or when you don’t want to turn on the oven.
- Naturally Sweetened: Dates provide all the sweetness needed while also helping create a soft, fudgy texture without refined sugar.
- Chocolate & Peanut Butter Swirl: The combination of dark chocolate and peanut butter creates a classic flavour pairing that’s hard to resist.
- Tested and Reliable: All recipes are thoroughly tested before sharing, so you can make them with confidence and enjoy reliable results every time.
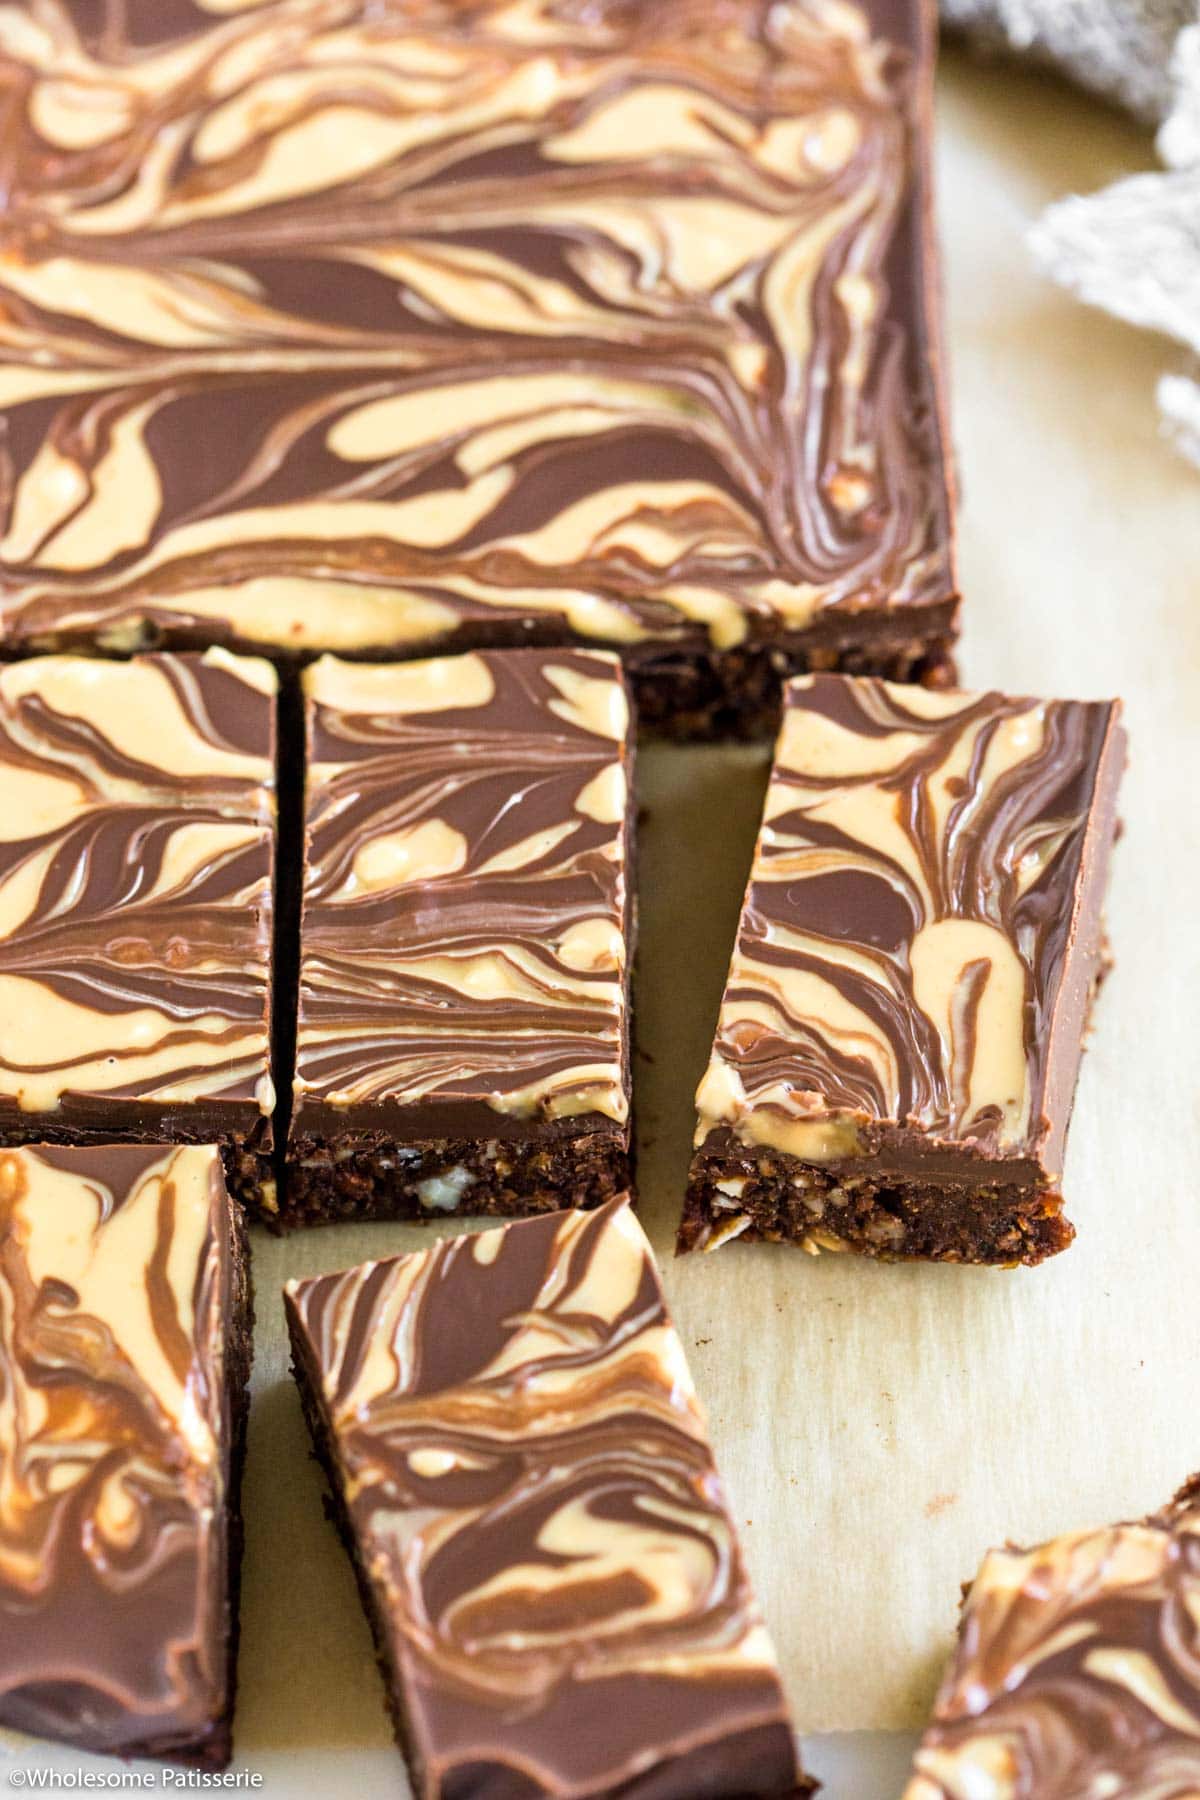
Ingredients you’ll need
These no-bake peanut butter brownies use simple ingredients to create a rich, fudgy brownie base with a smooth chocolate topping and creamy peanut butter swirl in every slice.
- Dates: Provide natural sweetness and create the soft, fudgy texture that holds the brownie base together.
- Almonds: Add structure, texture, and a subtle nutty flavour.
- Cocoa Powder: Provides rich chocolate flavour throughout the brownie layer.
- Peanut Butter: Helps bind the brownie base together while adding flavour and richness.
- Dark Chocolate: Creates a firm chocolate topping that contrasts beautifully with the fudgy brownie base.
- Coconut Oil: Helps the chocolate topping set smoothly and keeps the peanut butter swirl creamy and easy to spread.
Refer to the recipe card at the bottom of this post for a full list of ingredients and quantities.
How to make this recipe
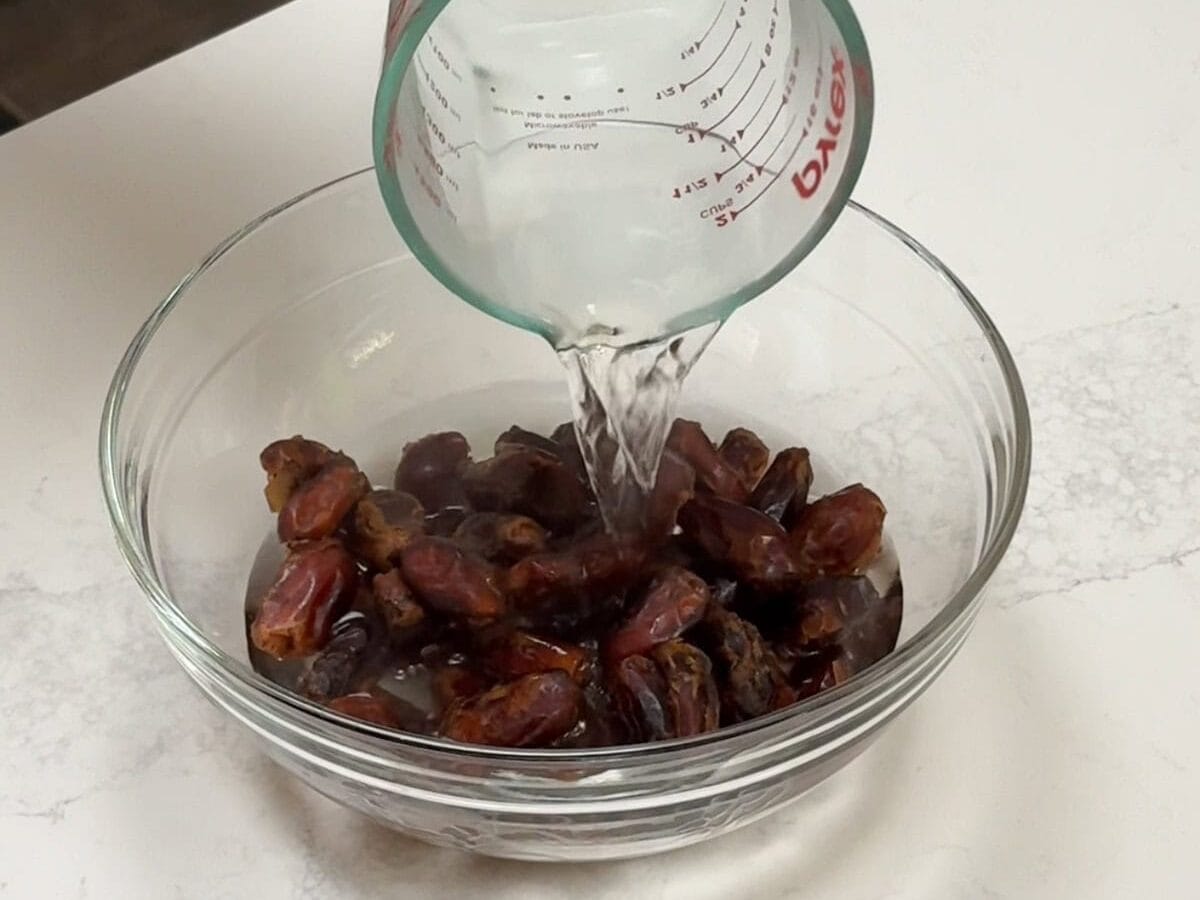
Step 1: Place the pitted dates in a heatproof bowl and pour the boiling water over them. Allow the dates to soak in the boiling water for 15 minutes then drain off the water.
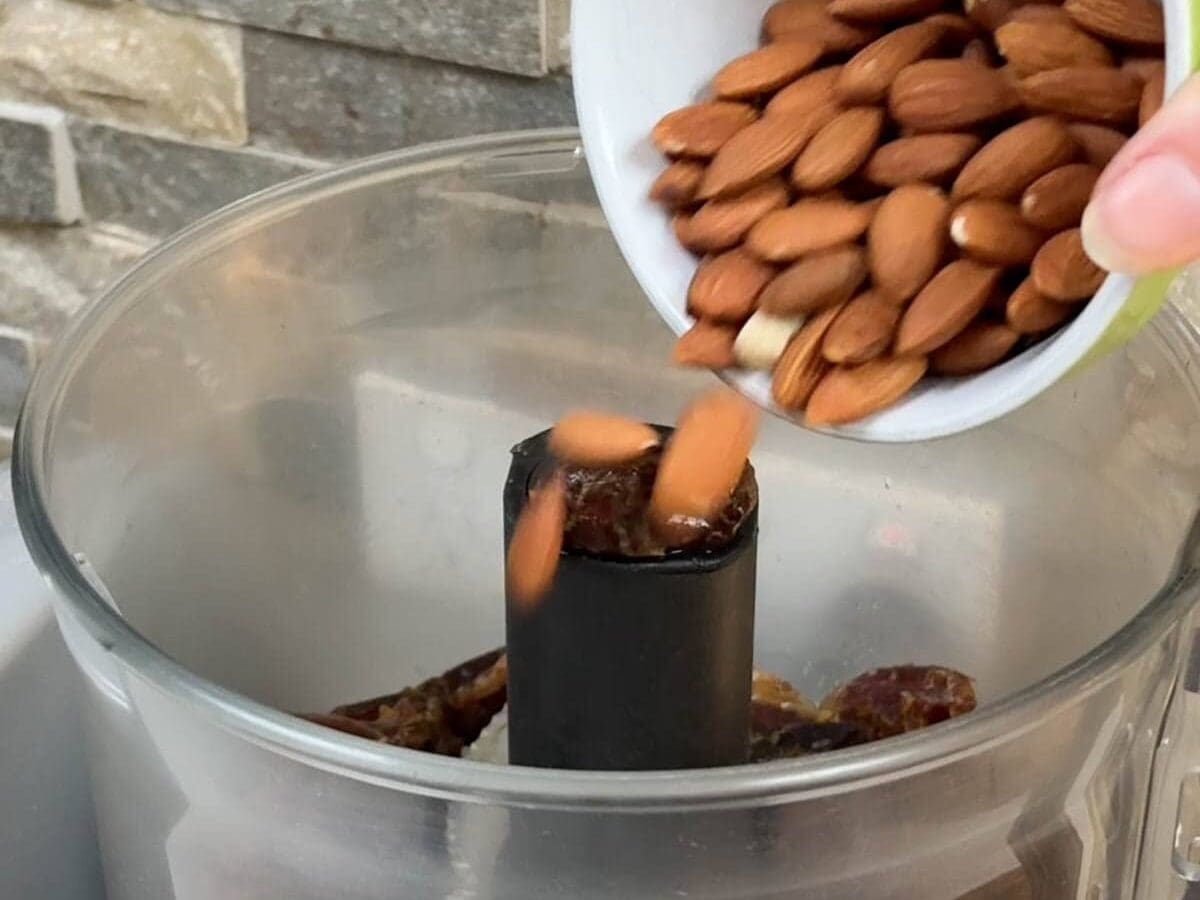
Step 2: In a food processor, add the drained soaked dates and the almonds and pulse until the dates are finely chopped and the mixture
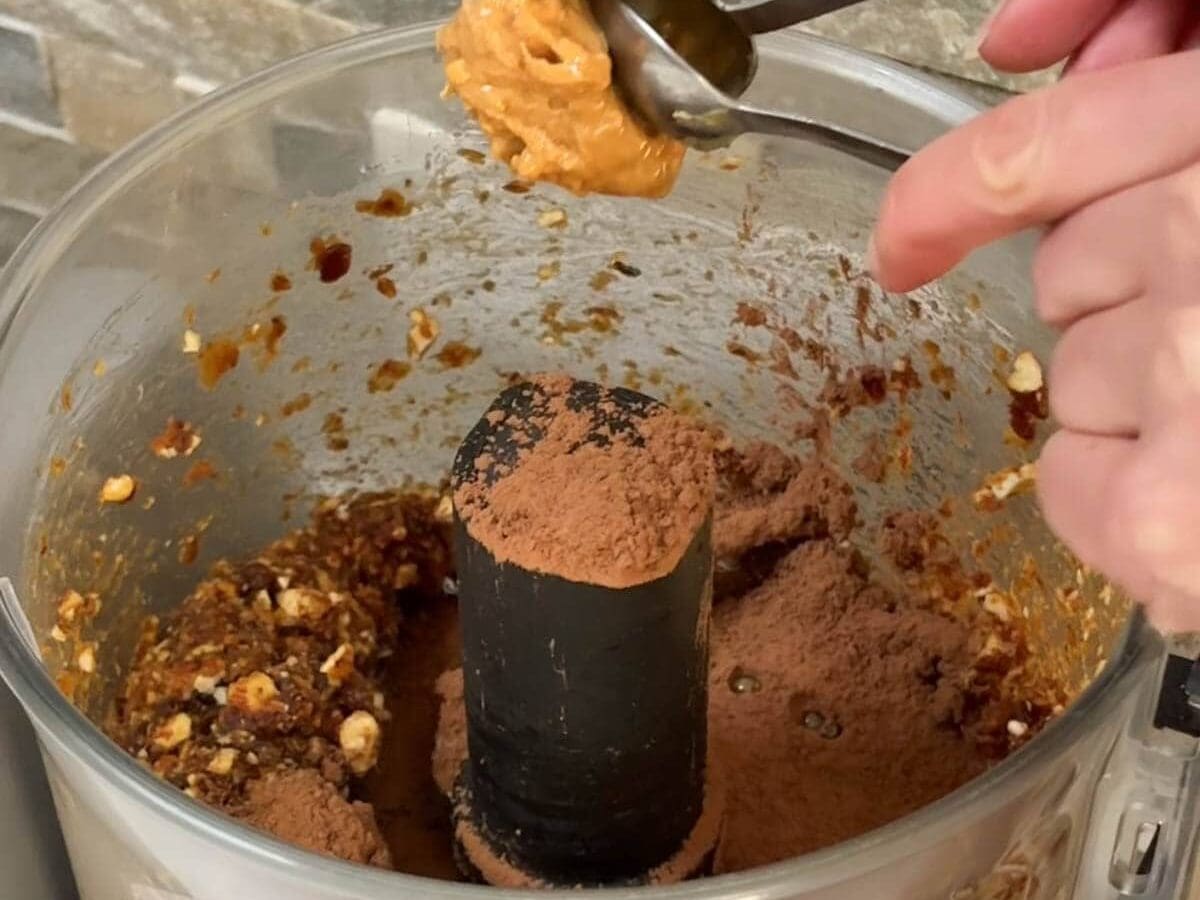
Step 3: Add the cocoa powder and peanut butter, then blend until the mixture comes together and forms a sticky, fudgy ball.
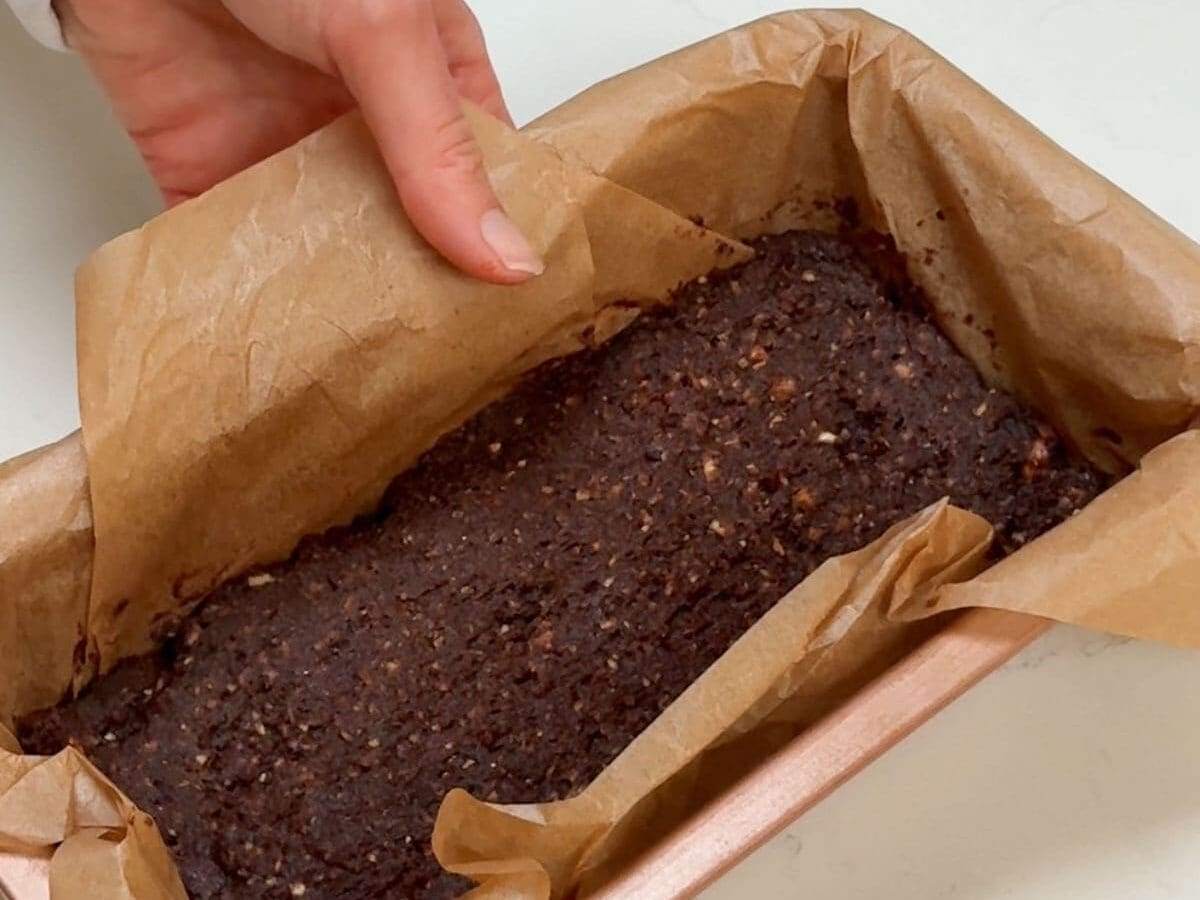
Step 4: Transfer the mixture to the lined loaf pan and use a spatula to press it firmly and evenly into the pan. Take your time to compact the mixture well, as this helps the brownies hold together when sliced. Place in the refrigerator while you prepare the topping.
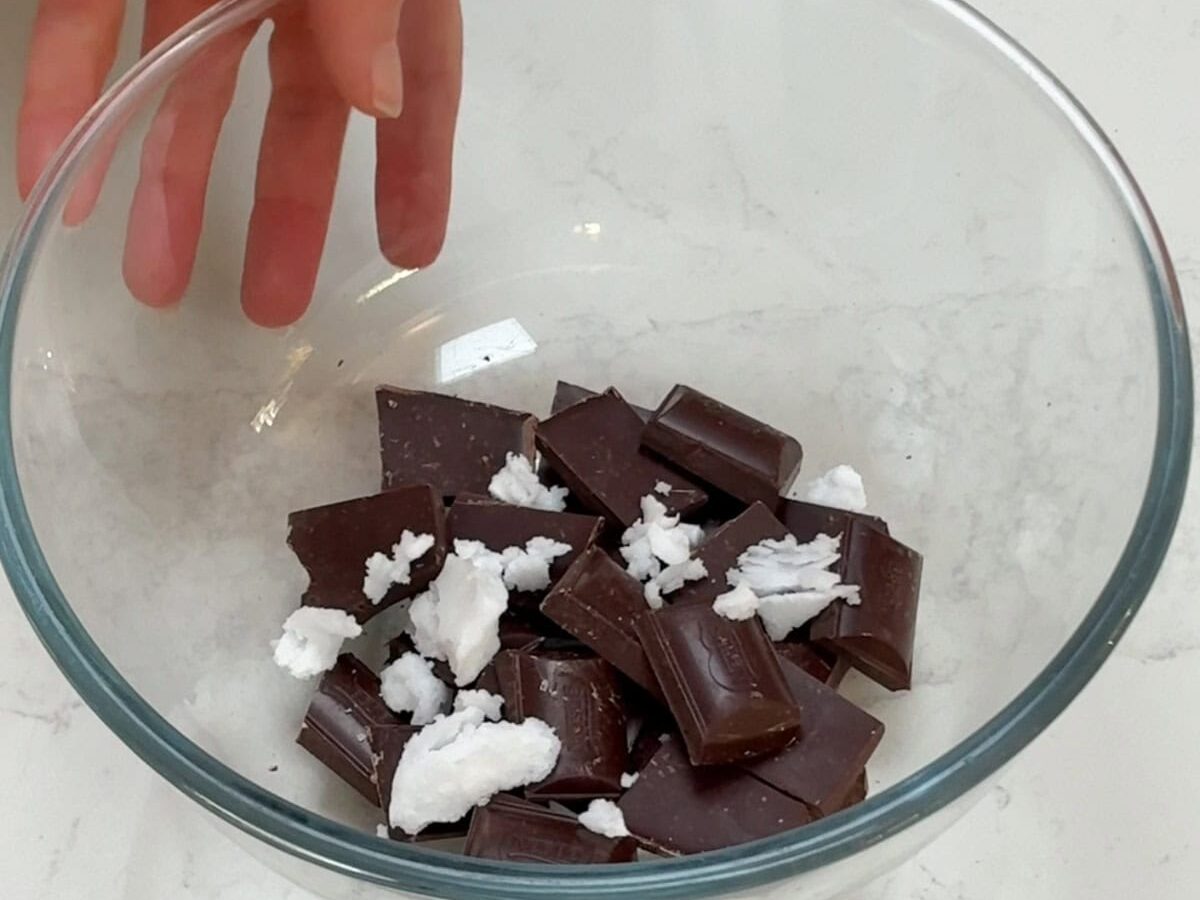
Step 3: Melt the dark chocolate and coconut oil together in a double boiler over low heat, stirring occasionally, until smooth and glossy. Alternatively, microwave in a microwave-safe bowl in 20-second intervals.
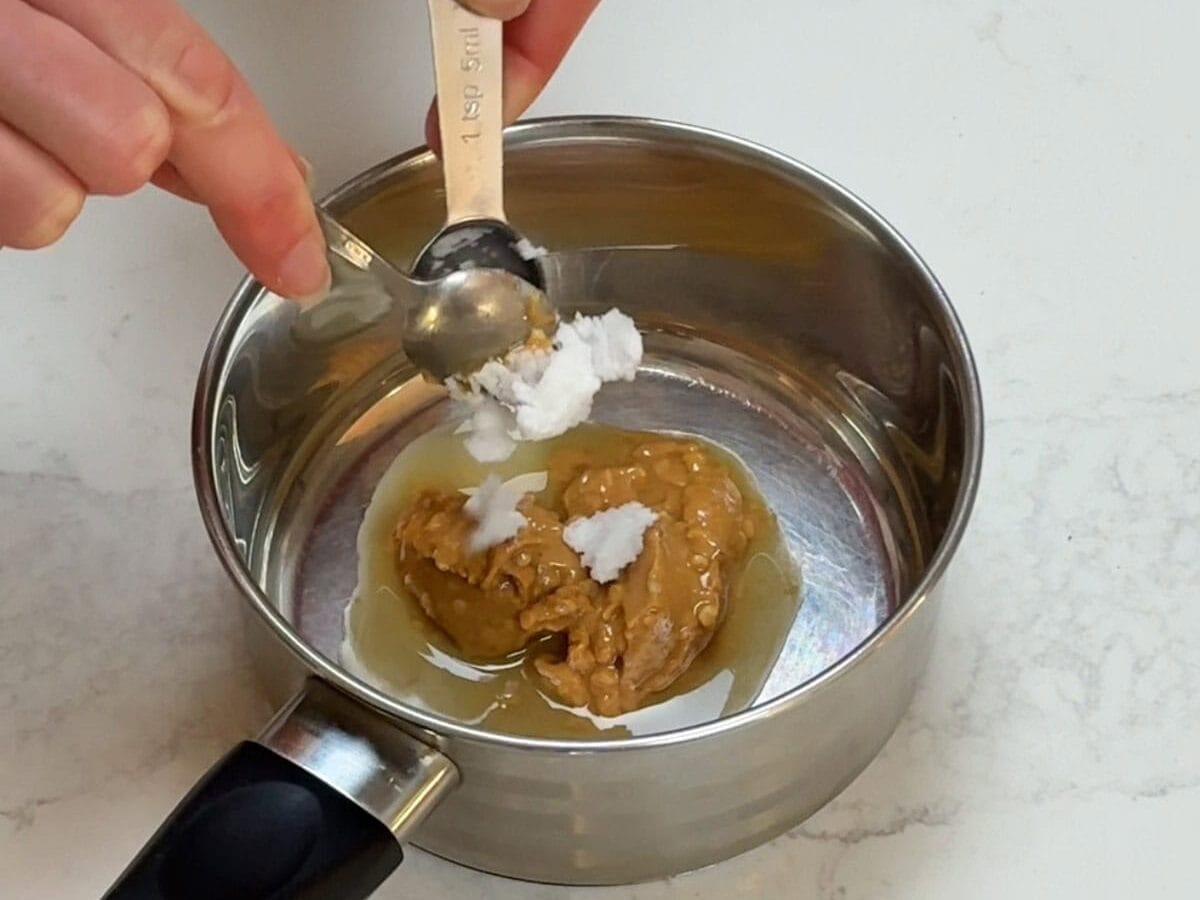
Step 4: Melt the peanut butter and coconut oil together in a small saucepan over low-medium heat until smooth. Alternatively, microwave in a small microwave-safe bowl for 10–15 second intervals.
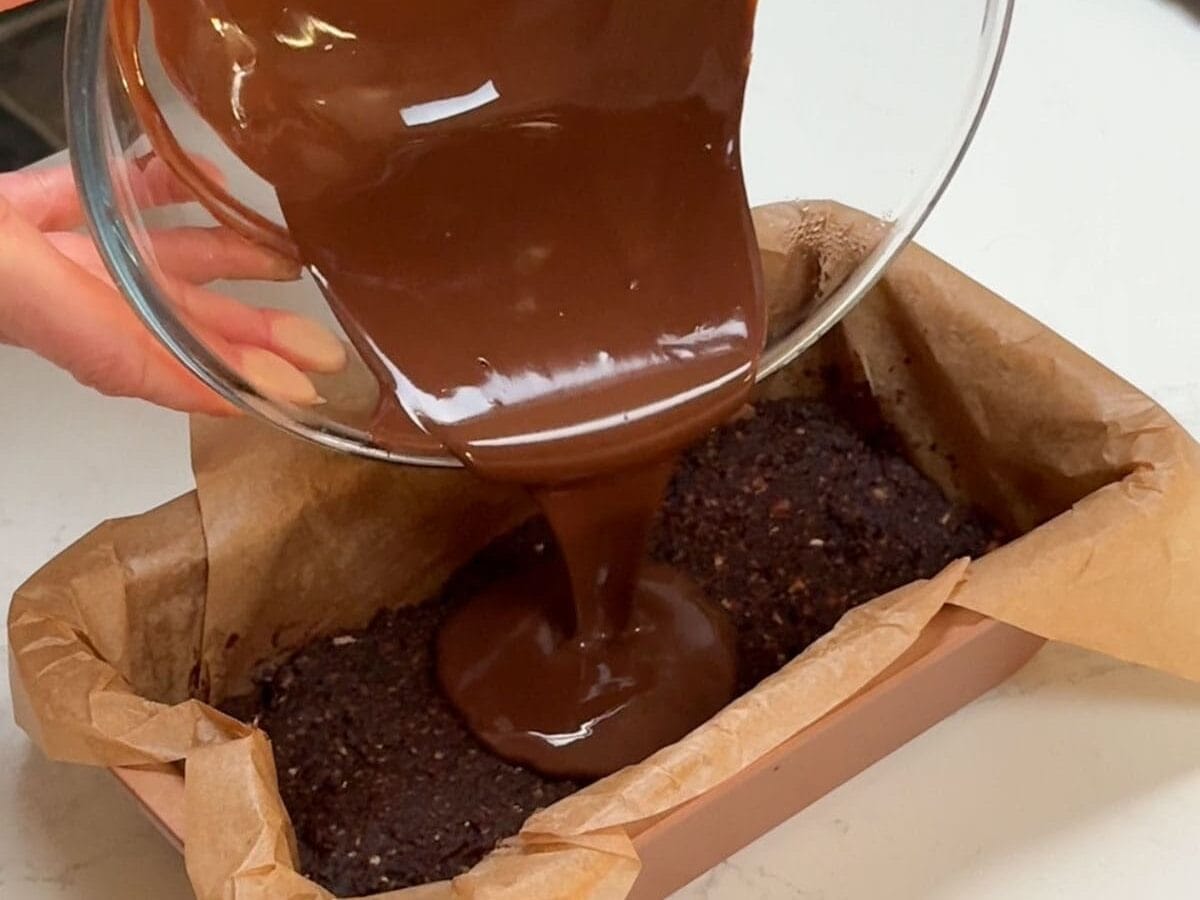
Step 3: Pour the melted chocolate over the chilled brownie base. Gently tilt and move the pan in different directions to help the chocolate spread evenly across the surface.
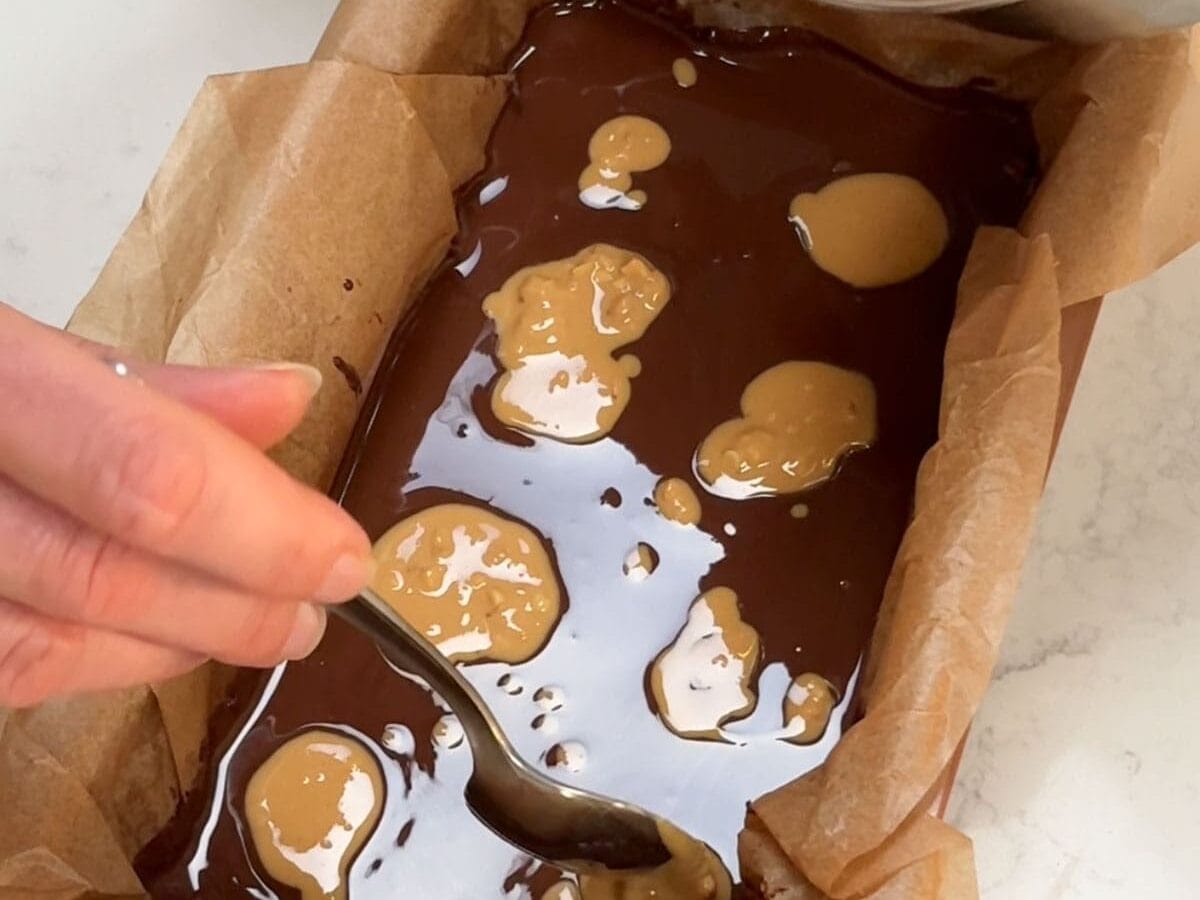
Step 4: Spoon small dollops of the peanut butter mixture over the chocolate layer.
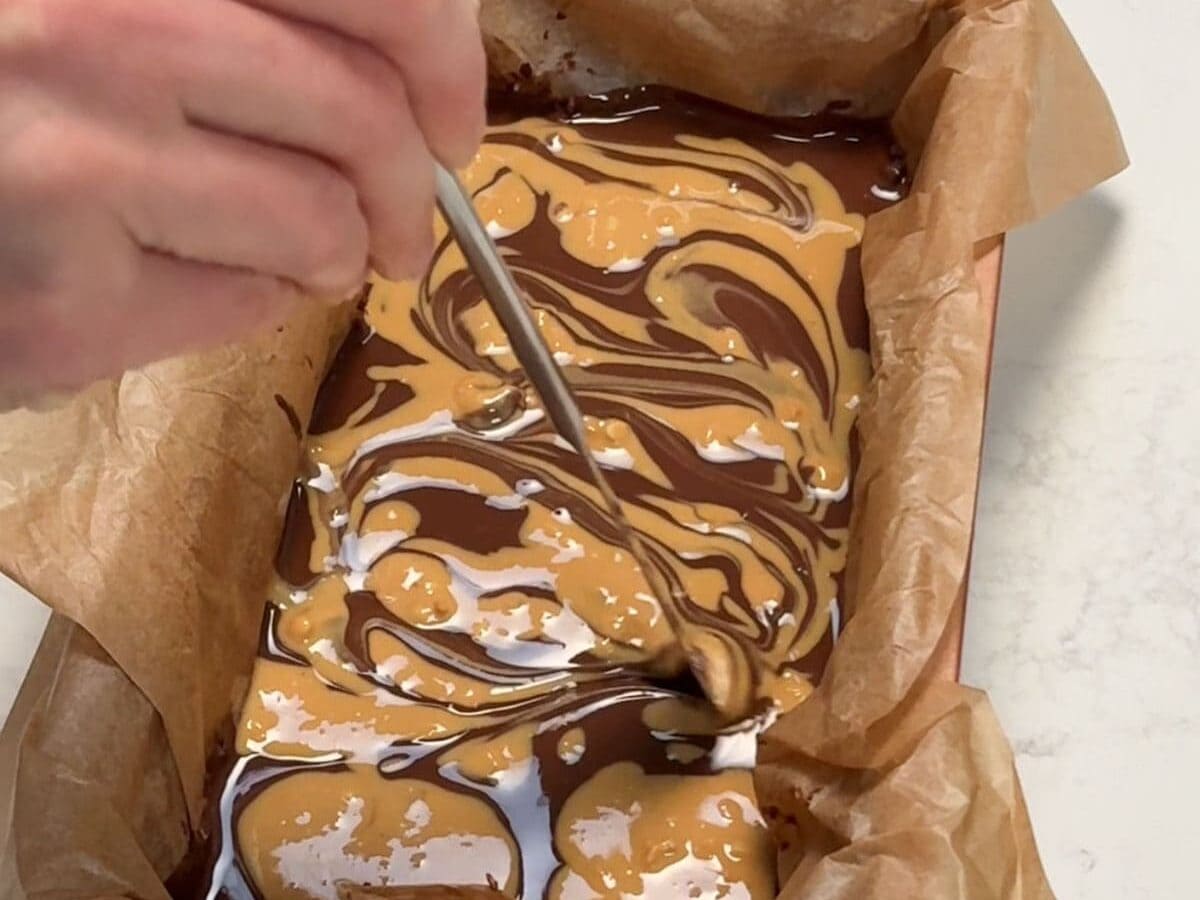
Step 3: Use a knife or skewer to gently swirl the peanut butter through the chocolate. Refrigerate for 3–4 hours or overnight, until the chocolate topping is set and the brownies are firm enough to slice.
Sam’s expert tips
- Don’t skip soaking the dates: Softer dates blend more easily and create a smoother brownie texture.
- Press firmly into the pan: Compacting the mixture well helps the brownies hold together when sliced.
- Use a warm knife for clean cuts: Run your knife under hot water, wipe dry, then slice.
- Allow 10-15 minutes at room temperature before serving: This softens the chocolate topping so it’s easier to cut through.
Watch how to make it
Recipe FAQ’s
Can I use different nuts in the base instead of almonds?
Yes. You can substitute the almonds with peanuts, walnuts, pecans, or cashews. Keep in mind that different nuts will slightly change the flavour and texture of the brownie base. For the closest texture, use another firm nut like peanuts or cashews.
Can I use a different nut butter in the topping?
Yes. Almond butter or cashew butter work well as substitutes for peanut butter swirl in the melted chocolate.
What’s the best way to cut the brownies without them cracking?
Run a sharp knife under hot water for a few seconds, then wipe it completely dry before slicing. The warm knife helps glide through the chocolate topping and creates cleaner slices without cracking. For the best results, let the brownies sit at room temperature for 10–15 minutes before cutting.
How to store
Store: Place the brownies in an airtight container and store them in the refrigerator. They will stay good for up to 1 week.
If you enjoy this recipe, please consider leaving a ⭐️ star rating and a comment review below. I love to hear what you think and it’s much appreciated. Thank you! Your email address will not be published. Sam x


No-Bake Peanut Butter Brownies
Ingredients
Method
- Soak Dates: Place the pitted dates in a heatproof bowl and pour the boiling water over them. Allow the dates to soak in the boiling water for 15 minutes then drain off the water.
- Prepare the Base: Line an 9 x 5 inch (23 x 13 cm) rectangle loaf tin with parchment paper. Set aside.
- Combine Dates and Almonds: In a food processor, add the drained soaked dates and the almonds and pulse until the dates are finely chopped and the mixture is combined. Continue blending until no large pieces of dates remain.
- Add Remaining Ingredients: Add the cocoa powder and peanut butter, then blend until the mixture comes together and forms a sticky, fudgy ball.
- Press into Pan: Transfer the mixture to the lined loaf pan and use a spatula to press it firmly and evenly into the pan. Take your time to compact the mixture well, as this helps the brownies hold together when sliced. Place in the refrigerator while you prepare the topping.
- Melt Chocolate: Melt the dark chocolate and coconut oil together in a double boiler over low heat, stirring occasionally, until smooth and glossy. Alternatively, microwave in a microwave-safe bowl in 20-second intervals, stirring between each interval, until melted and smooth. Set aside.
- Melt Peanut Butter: Melt the peanut butter and coconut oil together in a small saucepan over low-medium heat until smooth. Alternatively, microwave in a small microwave-safe bowl for 10–15 second intervals, stirring between each interval, until smooth and easy to drizzle.
- Add Melted Chocolate: Pour the melted chocolate over the chilled brownie base. Gently tilt and move the pan in different directions to help the chocolate spread evenly across the surface. If needed, use a spatula to smooth out any areas.
- Swirl Peanut Butter: Spoon small dollops of the peanut butter mixture over the chocolate layer. Use a knife or skewer to gently swirl the peanut butter through the chocolate.
- Chill: Refrigerate for 3–4 hours or overnight, until the chocolate topping is set and the brownies are firm enough to slice.
- Slice and Serve: Remove the brownies from the refrigerator and let them sit at room temperature for 10–15 minutes before slicing. For clean slices, run a sharp knife under hot water for a few seconds, then wipe it completely dry before cutting. The warm knife will help glide through the chocolate topping without cracking. Enjoy!
Nutrition
Video
Notes
-
Store: Place the brownies in an airtight container and store them in the refrigerator. They will stay good for up to 1 week.
Tips:
- Don’t skip soaking the dates: Softer dates blend more easily and create a smoother brownie texture.
- Press the mixture firmly: Compacting the brownie layer well helps the slices hold together and creates that dense brownie texture.
- Use a warm knife for clean cuts: Run your knife under hot water, wipe dry, then slice.
- Allow 10-15 minutes at room temperature before serving: This softens the chocolate topping so it’s easier to cut through.
Love Love Love these!!!
Super easy to make and super delicious!!
Hi Sophie, thank you so much! Happy to hear you enjoyed the brownies, yum!
Delish! Turned out perfect
Hi Annie! Oh that’s great news! Thanks for letting me know, so happy you enjoyed these brownies, one of my new favourites! Enjoy 🙂