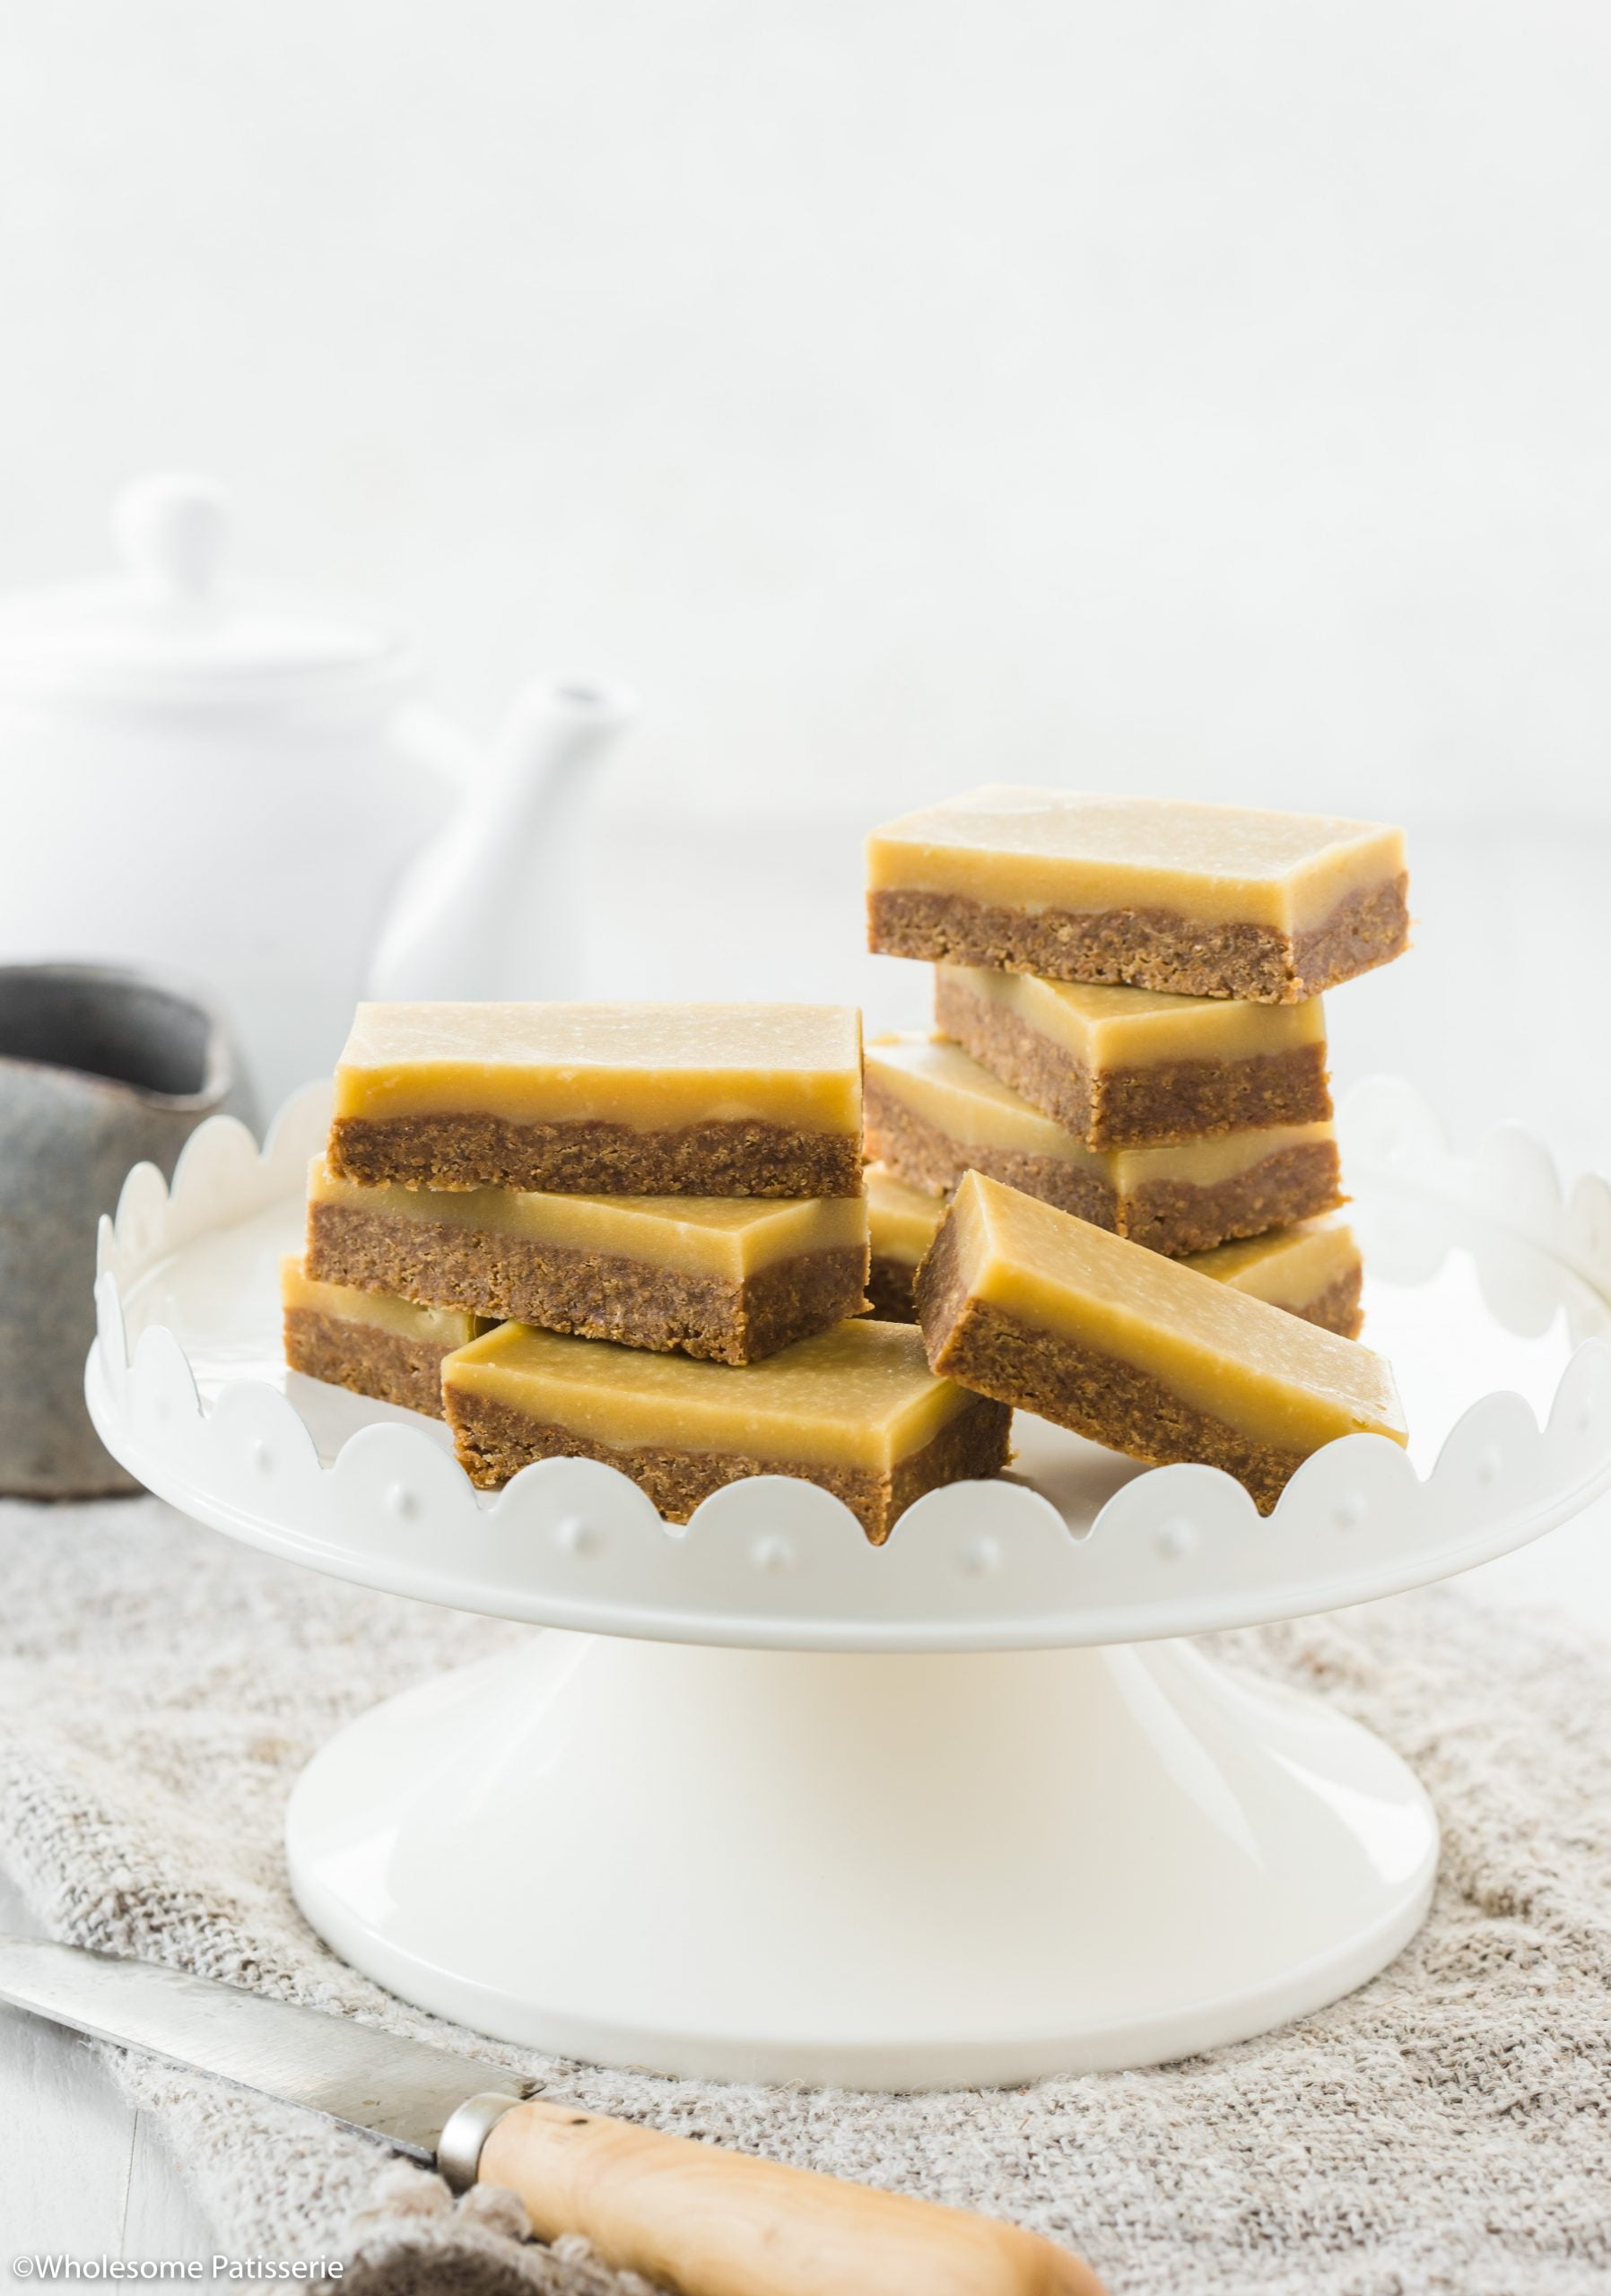
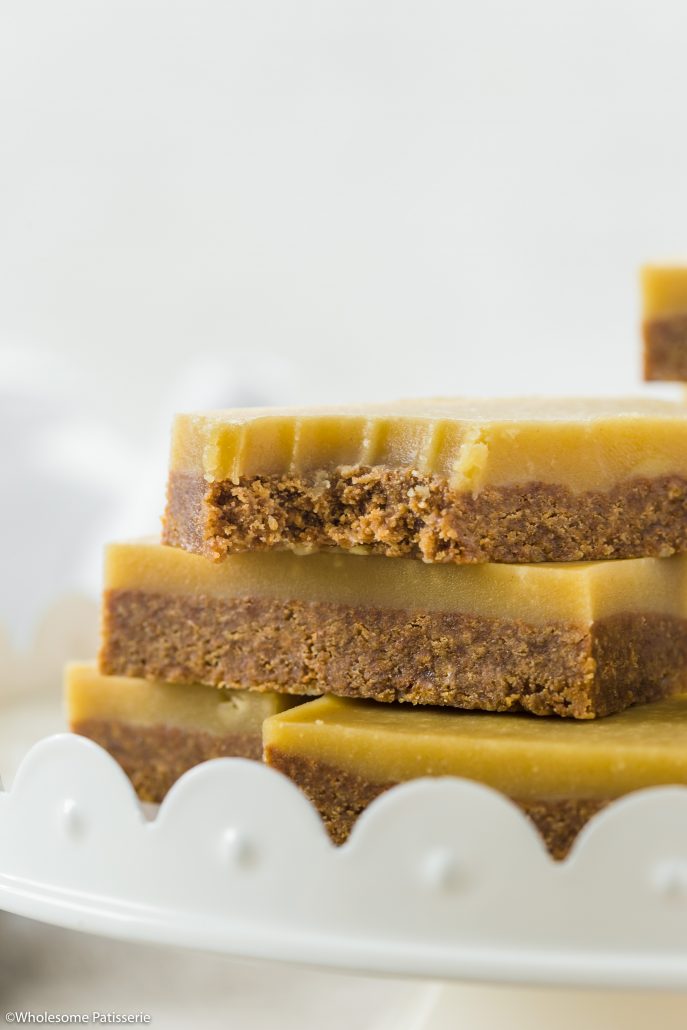
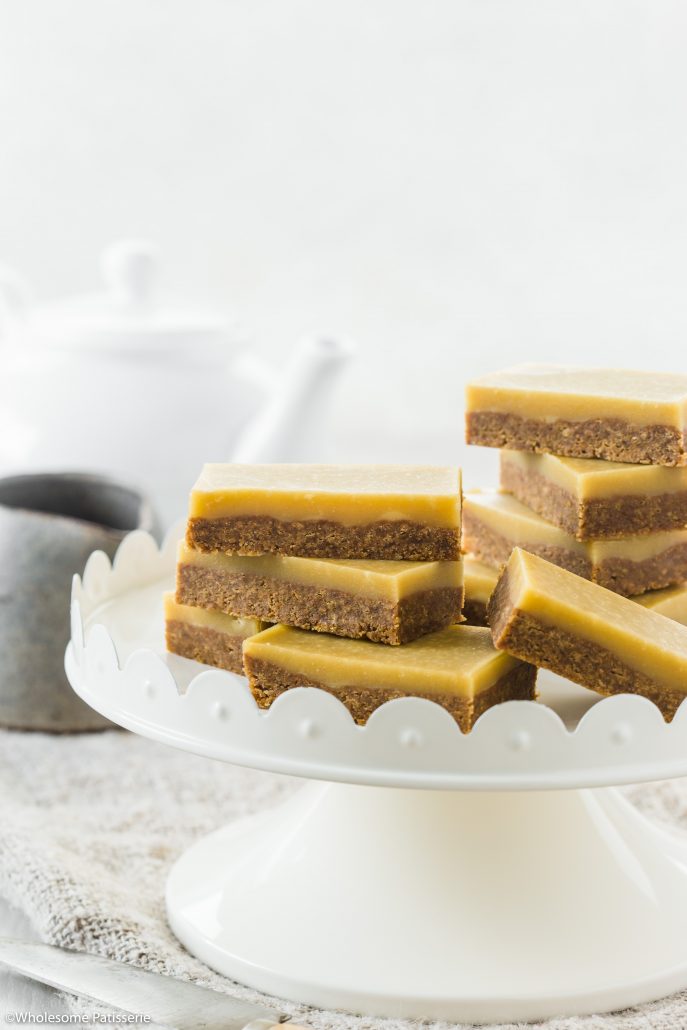
No Bake Ginger Slice
This glorious Ginger Slice Recipe has a ginger nut biscuit base and creamy golden icing with an extra touch of ground ginger. It has the perfect ratio of sweetness paired with the warm and sharp taste of ginger.
Easy 3-ingredient base that requires no baking paired with a delicious icing that is velvety smooth. I love easy slice recipes like this!
Have you ever enjoyed a ginger slice or made one at home? Until creating this recipe, I don’t recall a time that I actually had a ginger slice, I think I would have remembered. I’m sure I have tasted something similar as the icing is quite familiar. I say familiar as I did a little studying of classic ginger slices and what I discovered was, many have a base that you bake, similar to a shortcrust pastry/cake base. The icing across most recipes I saw were all relatively the same.
I was so intrigued with ginger slice that I had to create my own version pronto! Since this slice already exists, there’s not much different we can do without accidentally developing a brand new recipe. I really wanted to make a super simple version though and a baked base wasn’t doing it for me. Although most likely absolutely delicious, I knew I could make it easier and just as yummy.
That is when I thought of ginger nut biscuits! Do I have any gingernut biscuit fans here? This classic biscuit tis one that my Nanna always had in her pantry, just waiting for her grandchildren to come and gobble them up. I love gingernut biscuits, especially with a cuppa tea, a nostalgic afternoon tea treat indeed. I thought using these particular biscuits would be perfect for this slice recipe. They already have ginger infused, making it a lot easier to just add a small amount of extra ginger in the icing.
Key Ingredients
Gingernut biscuits as the base and for that beautiful ginger flavour.
Unsalted butter to add flavour and bind with the crushed biscuits.
Unsweetened condensed milk to help stick the base together and add sweetness.
Golden syrup adds sweetness and adds a level of richness.
Icing sugar as the foundation to the icing.
Ground Ginger to add an extra hint of overall ginger. Not too much, just enough. This also balances out the sweetness in the base and icing.
How To Make No Bake Ginger Slice Or Watch It Here
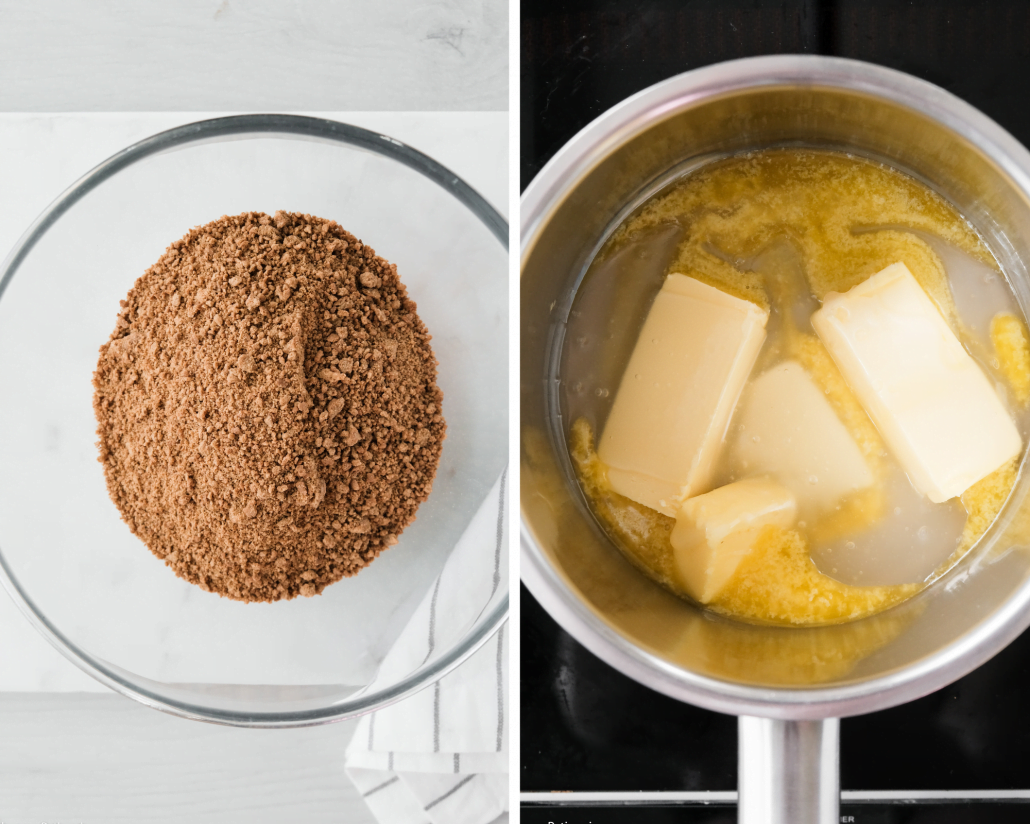
- You first crush the biscuits in your food processor and if you don’t have one, I’ve shared an alternative method for you in the recipe. Then add your crushed biscuits to a mixing bowl.
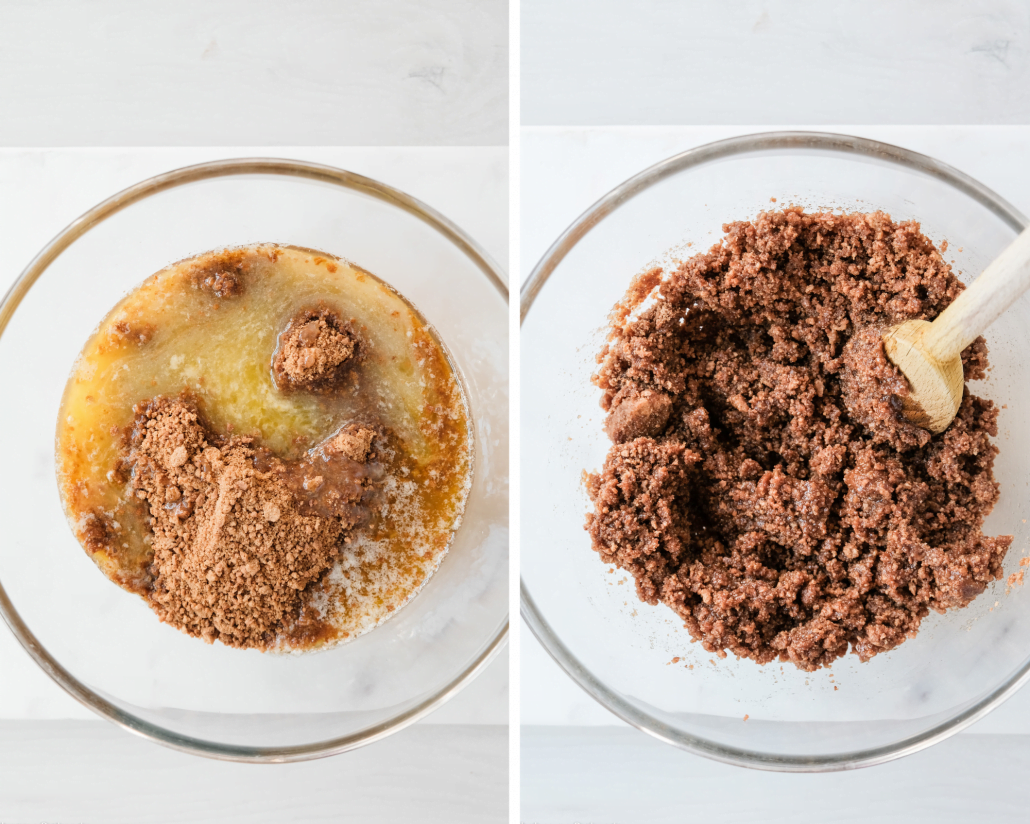
- In a small pot you melt together your butter and condensed milk until smooth. Pour this over your crushed biscuits, mix until well combined, press into the lined pan, refrigerate until firm and voila, your base is made.
- One note I would like to make here is when you have pressed the base mixture into the pan, you’ll notice some melted butter beginning to settle on top, as though it hasn’t been mixed through the crushed biscuits enough. This occurrence is completely ok! It will set and then be covered up with the icing.
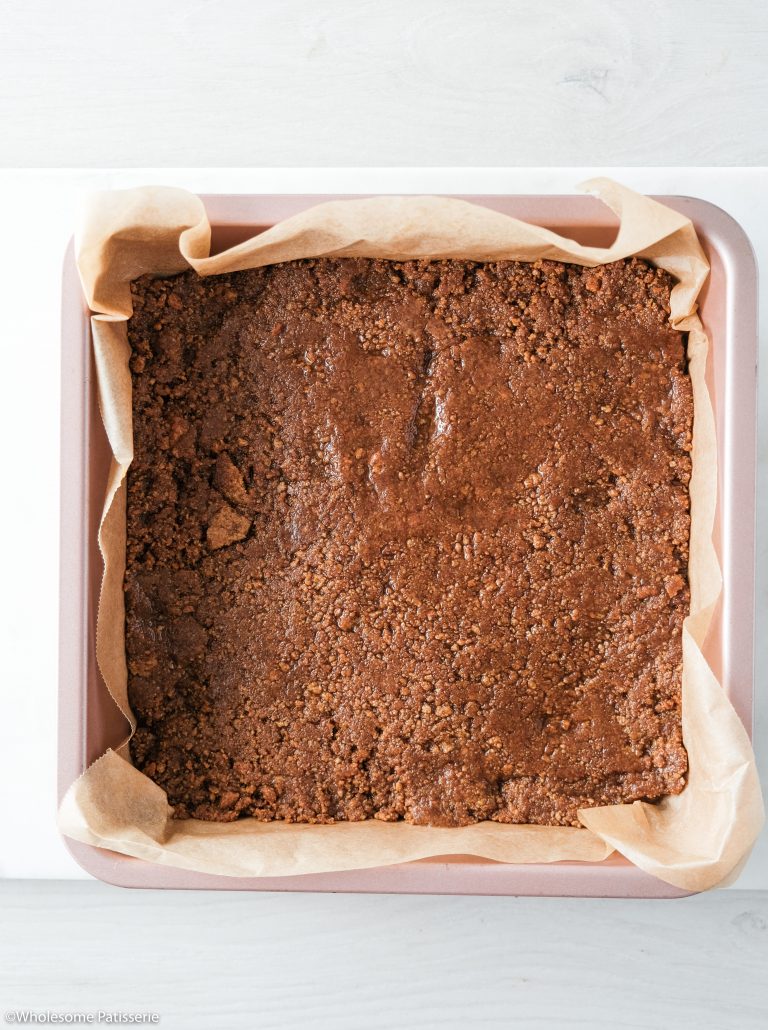
- Press base mixture into your lined square pan and refrigerate.
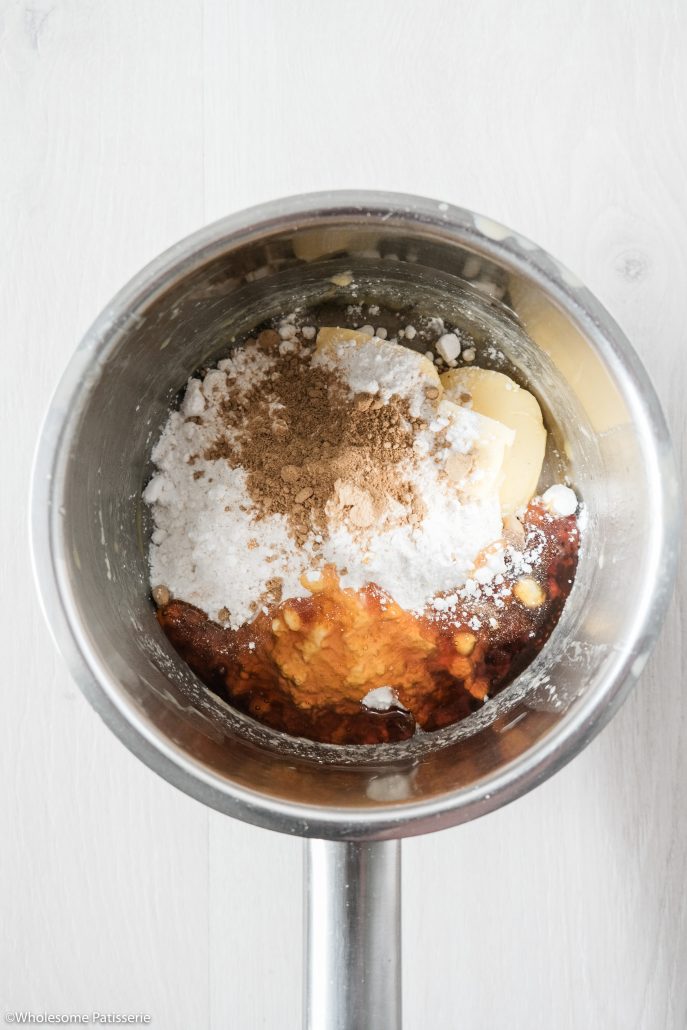
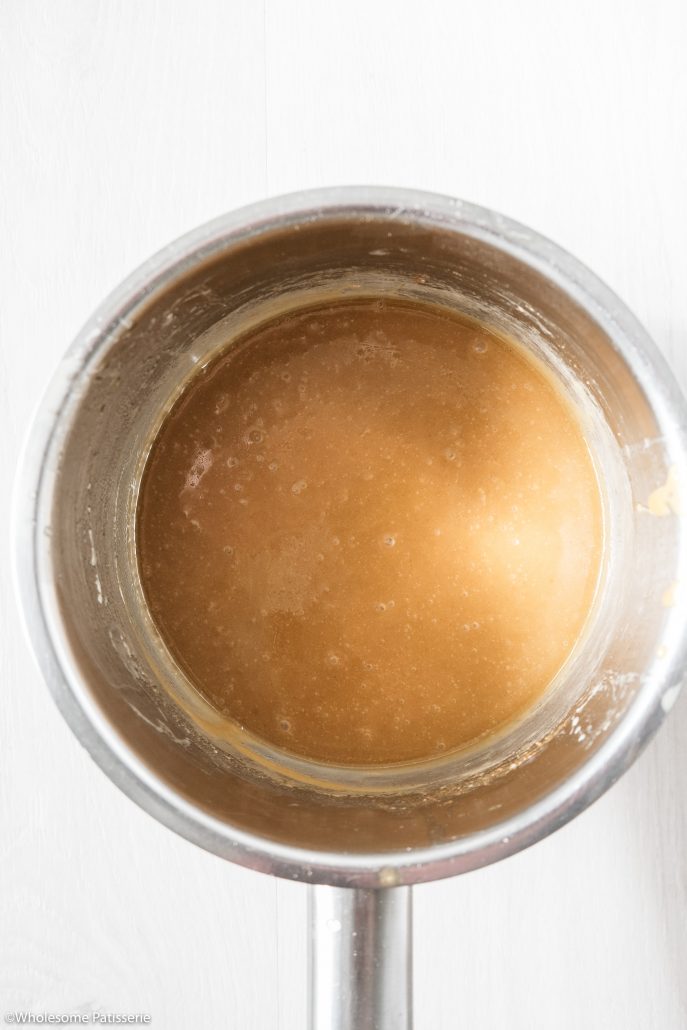
- To create the icing, you will use the same pot as you before. Add all the icing ingredients, mix over a medium heat until golden and smooth with no lumps remaining. This icing is thick!
- Time to pour the icing over your set base. Because it’s on the thicker side, like a warm pliable buttercream frosting, you’ll want to move the pan around immediately after pouring over the icing. Moving the pan around will allow the icing to spread out evenly without you having to touch it with a spatula. Although I have suggested you still use a spatula if needed to get the icing to spread right into the corners.
- Now place your slice back into your refrigerator for 30 minutes to 1 hour until the icing is completely set! It will be firm and the longer it’s left in the fridge, it will harden quite a bit, you’ll notice it the next day.
How To Make This Delicious Ginger Slice
Recipe Tips & Substitutions
You can use either regular gingernut biscuits or a gluten free version. I have made this recipe using both and I found by using gluten free ginger biscuits, it doesn’t absorb the melted liquids as much as the regular non-gluten free gingernuts. That is not to say it doesn’t work in the overall recipe, it certainly does still work. Just be aware that if you choose to use gluten free biscuits, the melted butter can settle/pool on top of the base. There is nothing wrong with is, just affects the appearance, it’s still delicious! This will also depends on what brand you use. I use these regular gingernut biscuits and these gluten free gingernut biscuits.
For the condensed milk, I always have coconut condensed milk on hand and not the regular dairy version. You can however use either, coconut or regular. These are two of my favourite condensed coconut milks, here and here.
The icing sets well in the refrigerator and also can set at room temperature. I like to store this slice in the fridge as it firms it up, yum!
Looking for more no bake slice recipes? Here are some favourites:
Pumpkin Seed & Apricot Chocolate Slice
If you make this recipe please be sure to let me know how you go in the comments below and tag me on Instagram with your delicious photos & video! I love to see what you guys are making from the blog and enjoying with your loved ones.
Related Recipes
Print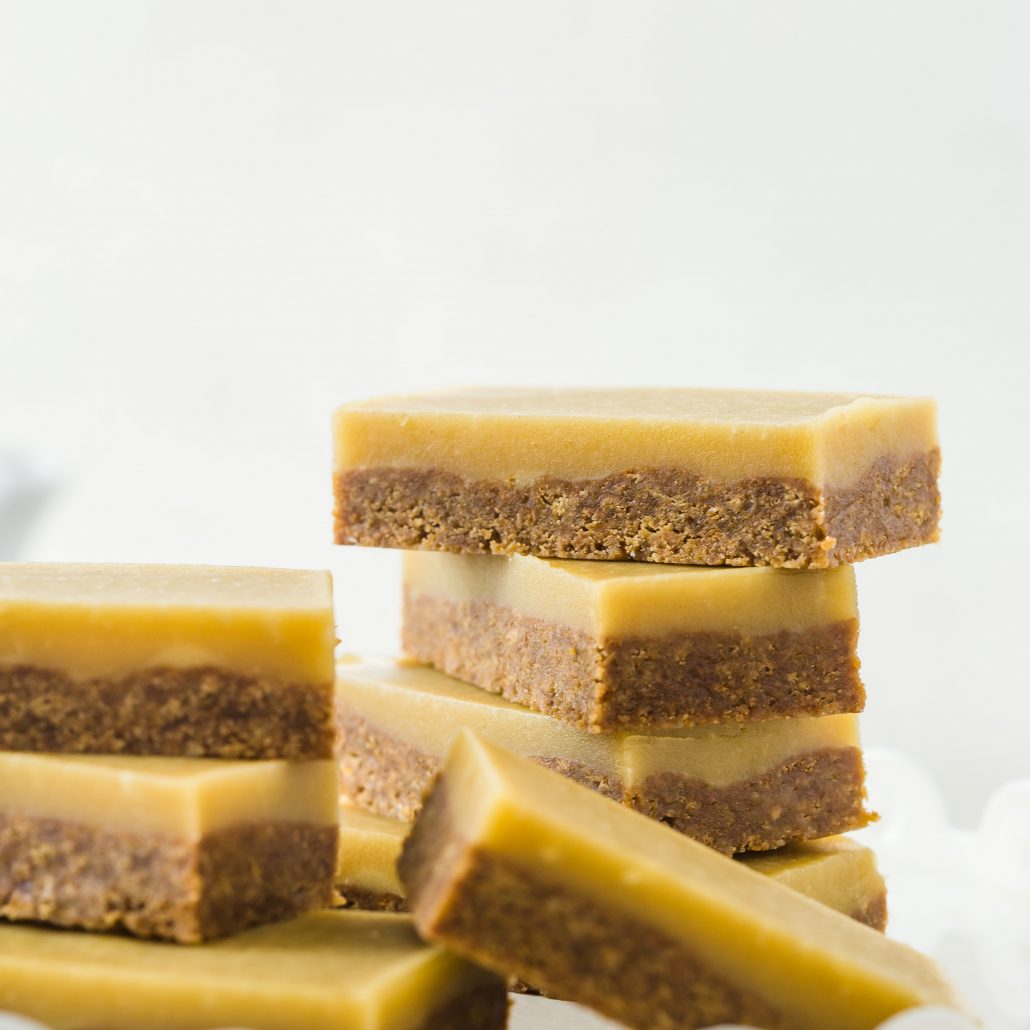
No Bake Ginger Slice
- Total Time: 25 minutes
- Yield: 15–20 rectangles/squares 1x
Description
This glorious slice has a ginger nut biscuit base and a creamy golden icing with an extra touch of ground ginger. It has the perfect ratio of sweetness paired with the warm and sharp taste of ginger. Easy 3-ingredient base that requires no baking paired with a delicious icing that is velvety smooth.
Ingredients
- Base
- 250g packet ginger nut biscuits
- 115g unsalted butter
- 1/4 cup (80g) unsweetened condensed milk or condensed coconut milk
- Icing
- 80g unsalted butter
- 2 Tbsp (60g) golden syrup
- 1 cup (150g) icing/powdered sugar
- 1/2 tsp (5g) ground ginger
Instructions
- Base
- Line a square pan 9 inch x 9 inch (20cm x 20cm) with baking/parchment paper and set aside.
- Crush biscuits in a food processor until it turns to crumb. Alternatively, crush biscuits in a plastic zip lock bag and use a rolling pin to roll over them until they turn to crumb.
- Place crushed biscuits in a medium sized mixing bowl and set aside.
- In a small pot, add butter and condensed milk. Place over a low-medium heat until butter is completely melted and mixture is smooth, stirring occasionally, do not let it to boil or simmer.
- Remove butter mixture from heat and pour over crushed biscuits. Mix with a wooden spoon until well combined. Set pot aside as you’ll use it again for the icing.
- Press mixture into lined pan, evening/smoothing out the top. Place in the refrigerator to chill for 45 minutes – 1 hour or until firm. NOTE: There will be excess melted butter that settles on top of the base, this is ok, it will set and be extra delicious!
- Icing
- In the same pot, add all icing ingredients; butter, golden syrup, icing sugar and ginger.
- Place over a medium heat and mix with a spatula until completely melted and smooth, it will thicken up. Keep stirring until no lumps remain, don’t let it simmer or boil, you may need to turn the heat to low.
- Once icing is smooth, remove from heat and take the base out of the fridge.
- Pour icing over base and move pan around to allow the icing to spread out evenly, you may want to use your spatula to spread it out.
- Return to refrigerator and allow icing to set, about 30 minutes – 1 hour.
- Once icing is set and firm, remove from pan by lifting up the baking paper and place on a board.
- Slice into rectangles or squares.
- Enjoy!
- Store in an airtight container, refrigerated, for 1 week – 10 days.
- Prep Time: 15 min
- Cook Time: 10