
Rice Krispie Ghost Mummies

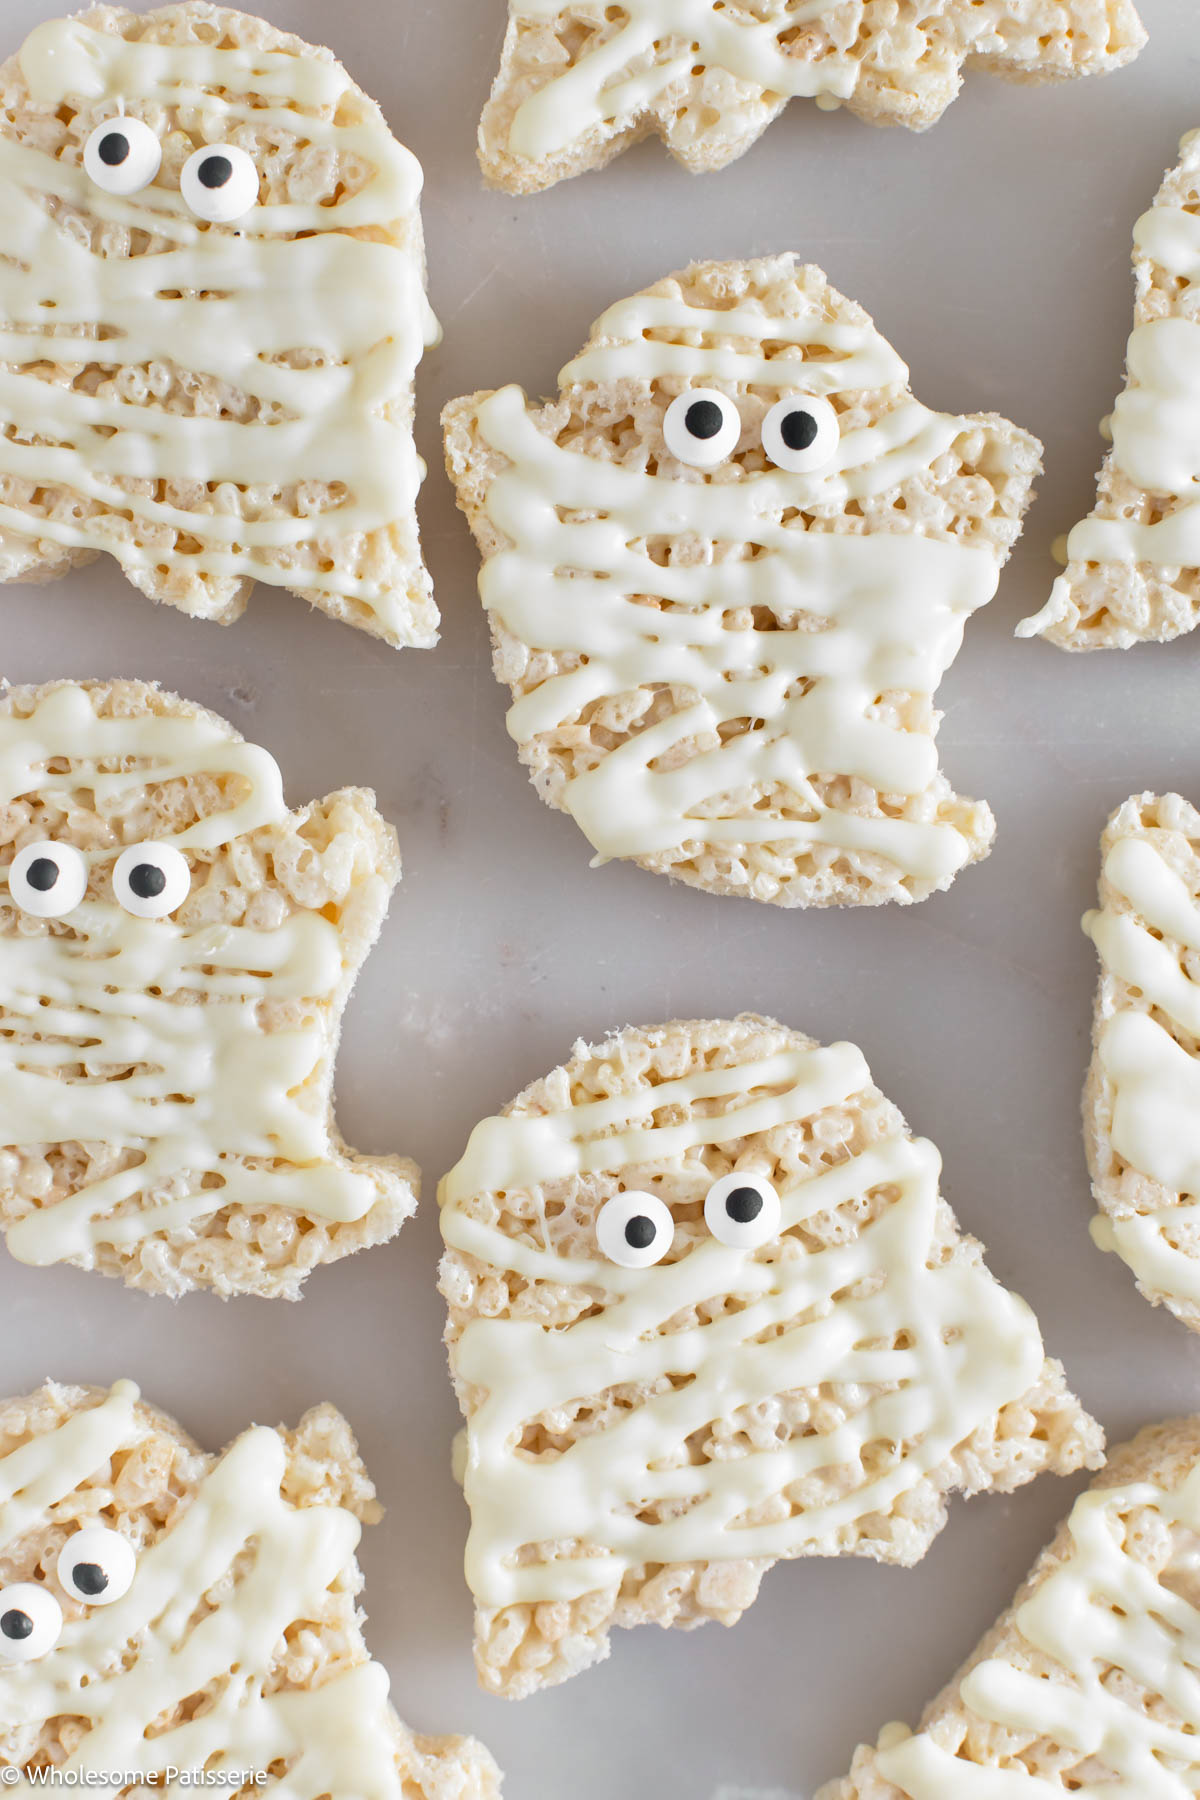
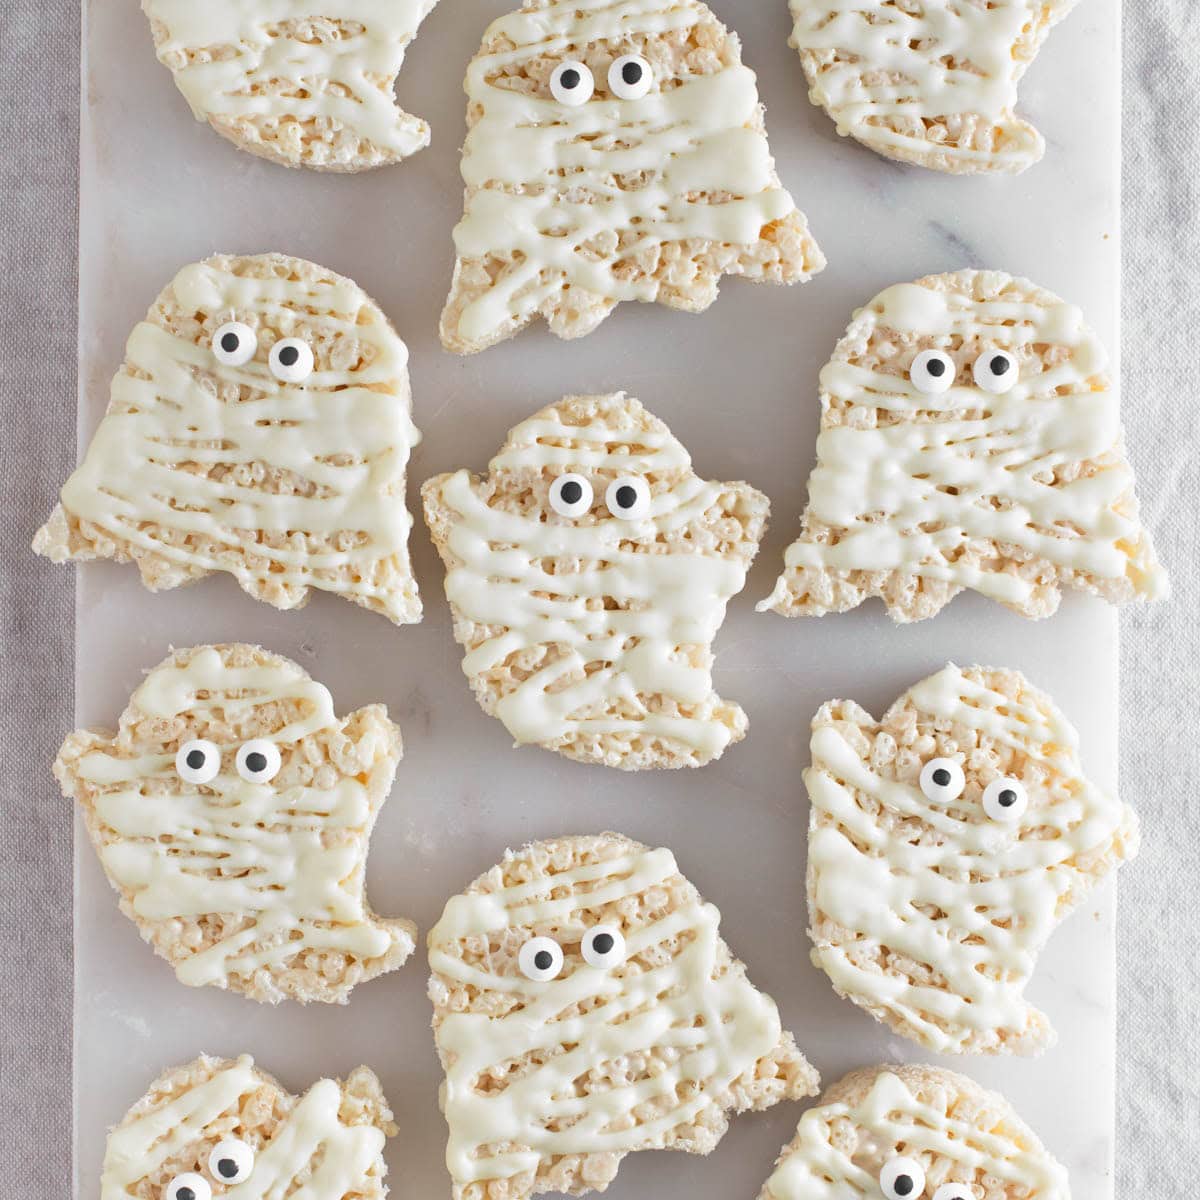
These Rice Krispie Ghost Mummies are such a fun Halloween treat! Classic gooey Rice Krispies are pressed into a pan, cut into ghost shapes and decorated with white chocolate mummy wrapping and little candy eyes.
I used two different ghost cookie cutters for mine, but you can use any size or design you have. The ghost shapes are what make these a little different from the usual mummy Rice Krispie treats, and they’re so much fun to make for Halloween parties or just a spooky baking day at home!
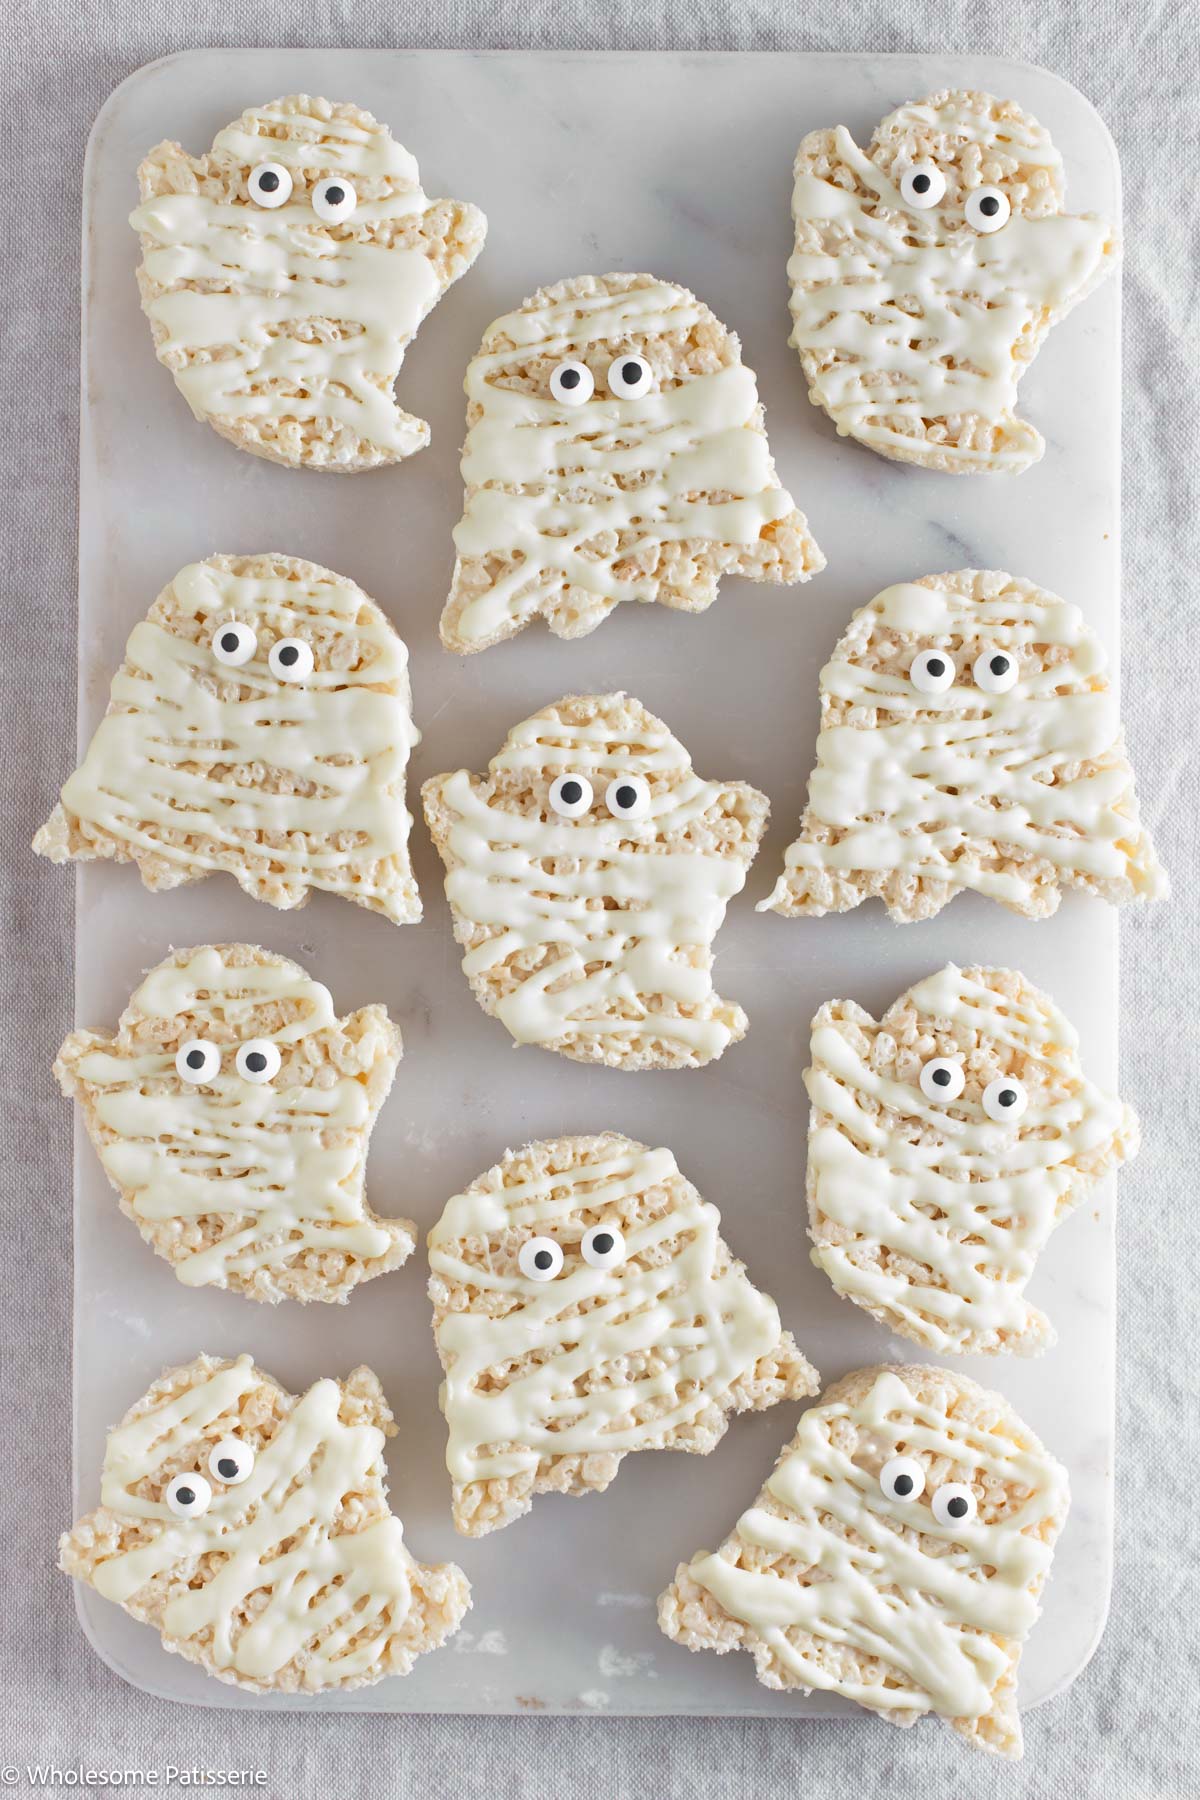
Recipe at a glance
Prep Time: 20 minutes
Chill Time: 30 minutes
Total Time: 50 minutes
Servings: 11 ghosts
Difficulty: Very Easy
Main Ingredients: Rice Krispies, mini marshmallows, butter and white chocolate.
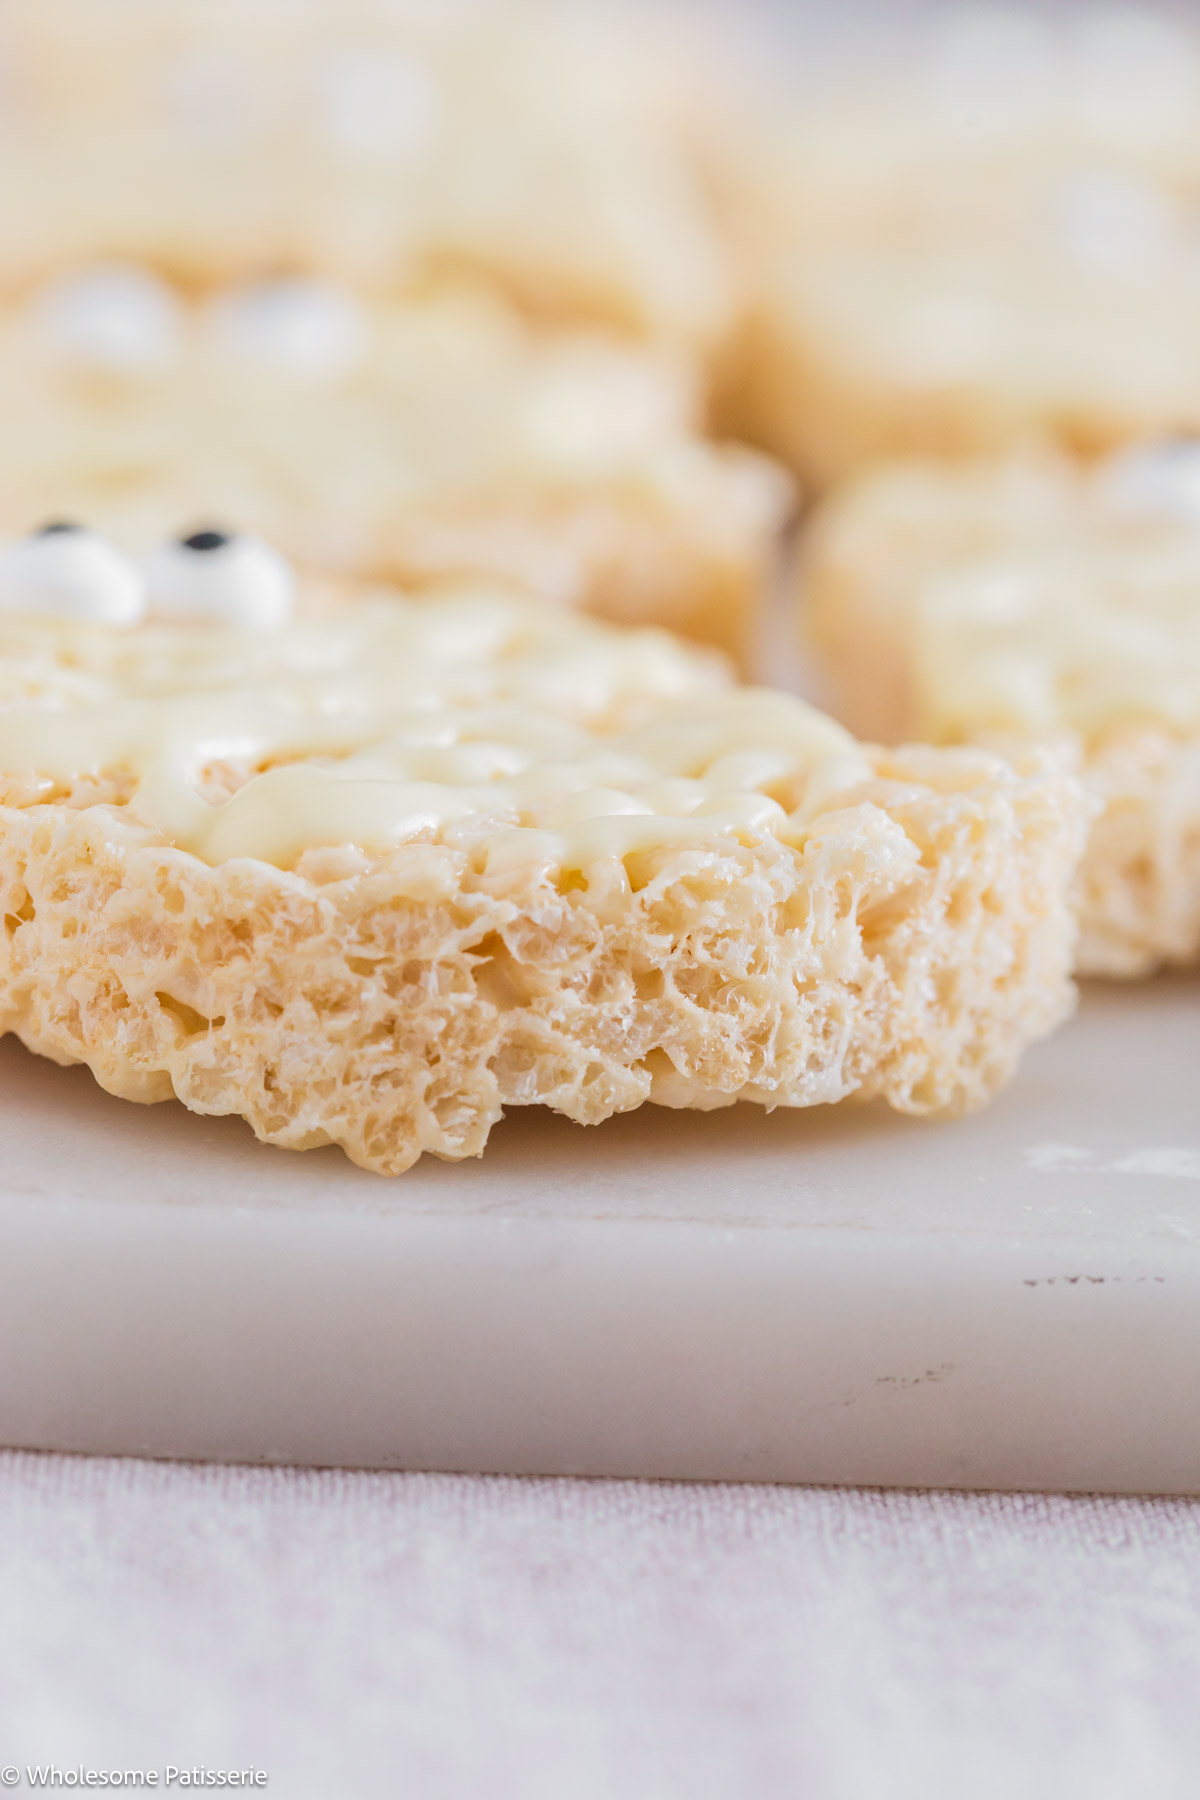
Texture: Chewy, gooey Rice Krispie treats with a smooth white chocolate coating and crunchy candy eyes.
Technique: Melt, mix, press, chill, cut and decorate. That’s really all there is to it.
Watch how to make ghost mummies
Why you’ll love these
- They’re made with just a handful of simple ingredients.
- You can use any size or design of ghost cookie cutter, so you don’t need a specific cutter.
- The white chocolate mummy wrapping makes them instantly recognisable as little mummies.
- They’re a fun Halloween treat to make with kids, or to take along to a Halloween party.
How to store
- Store the Rice Krispie Ghost Mummies in an airtight container at room temperature for up to 3 days.

Rice Krispie Ghost Mummies
Ingredients
Equipment
Method
- Prepare the pan: Grease a 9 x 13 inch baking pan with a little butter, then line with parchment paper, leaving some overhang for easy removal. Foil can also be used.
- Melt the butter: Add the butter to a large pot and melt over low heat.
- Melt the marshmallows: Add the mini marshmallows and continue stirring continuously with a wooden spoon over low heat until completely melted and smooth.
- Add the cereal: As soon as the marshmallows are melted and smooth, turn off the heat and immediately add the Rice Krispies/Rice Bubbles.
- Mix quickly: Stir the cereal through the melted marshmallow mixture until evenly coated. Work quickly, as the mixture starts to cool and firm up quite fast.
- Press into the pan: Transfer the mixture to the prepared pan.
- Prevent sticking: Dip a paper towel into some soft spreadable butter and wipe it over the silicone spatula.
- Firmly press: Use the buttered spatula to spread the mixture evenly, then use your hands/palm to press it down firmly.
- Chill: Refrigerate for about 30 minutes to set.
- Cut the ghosts: Lift the Rice Krispie slab from the pan and transfer it to a large lined tray, board or work surface. Cut out the ghosts using ghost cookie cutters. Any size or design will work. I used two different ghost cookie cutters.
- Turn them over: Turn each ghost over so the flatter underside is facing up. This gives you a smoother surface for decorating.
- Arrange: Place the ghosts on a lined baking tray with the flatter underside facing up.
- Melt the chocolate: Place the white chocolate in a heatproof bowl over a saucepan of gently simmering water, making sure the bowl does not touch the water. Stir occasionally until completely melted and smooth. Alternatively, melt in the microwave in 30-second intervals, stirring between each interval until smooth.
- Pipe the mummy wrapping: Transfer the melted chocolate to a zip-top bag and snip a small piece from one corner. Pipe the chocolate back and forth over each ghost in a criss-cross pattern to create the look of mummy wrapping. Leave a small gap where the eyes will go.
- Add the eyes: Pipe a tiny amount of melted white chocolate onto the underside of each candy eye, then place them into the gaps in the mummy wrapping so they stick to the ghosts.
- Set: Allow the chocolate to set before serving. Enjoy!