Old-Fashioned Raisin Cake
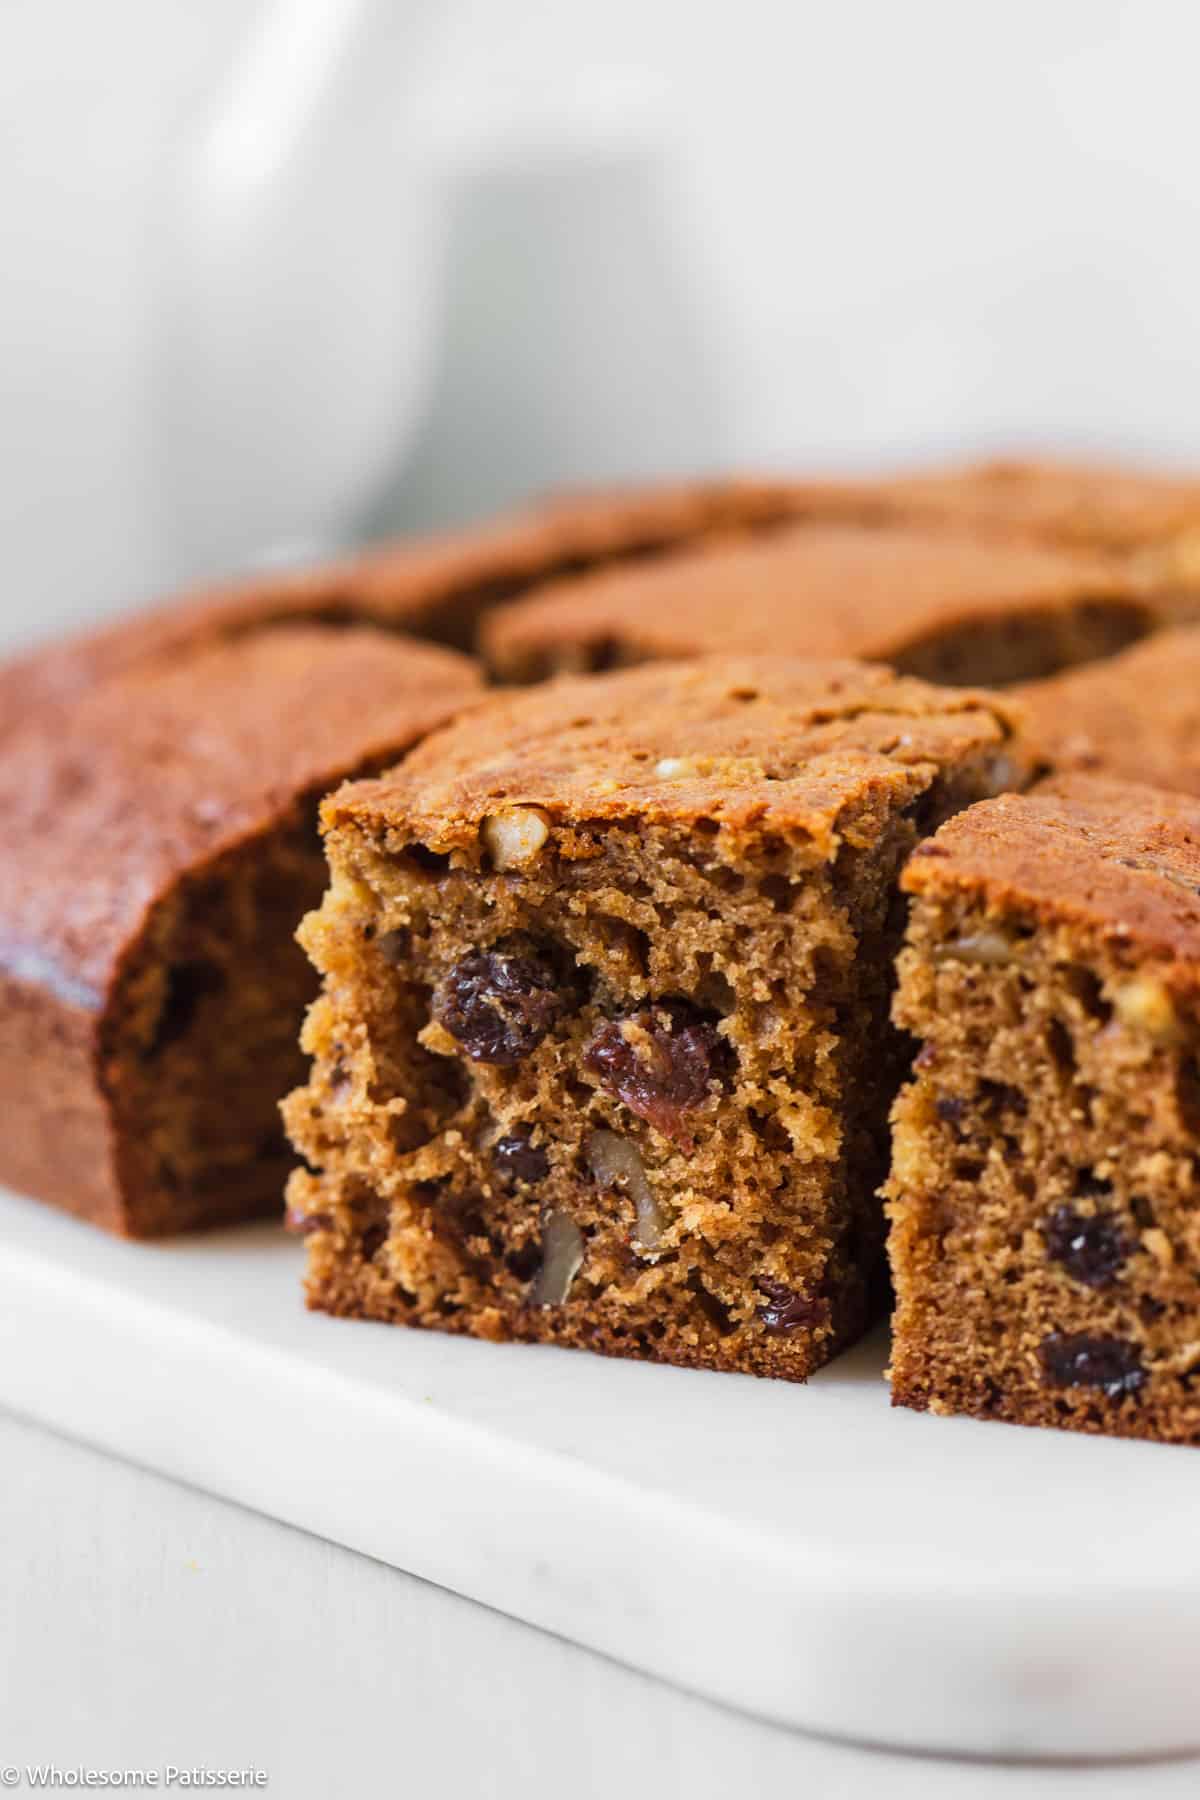
This Old-Fashioned Raisin Cake is a trip down memory lane, packed with warm spices, juicy raisins and crunchy walnuts. Raisin cake is the ultimate tea-time cake.
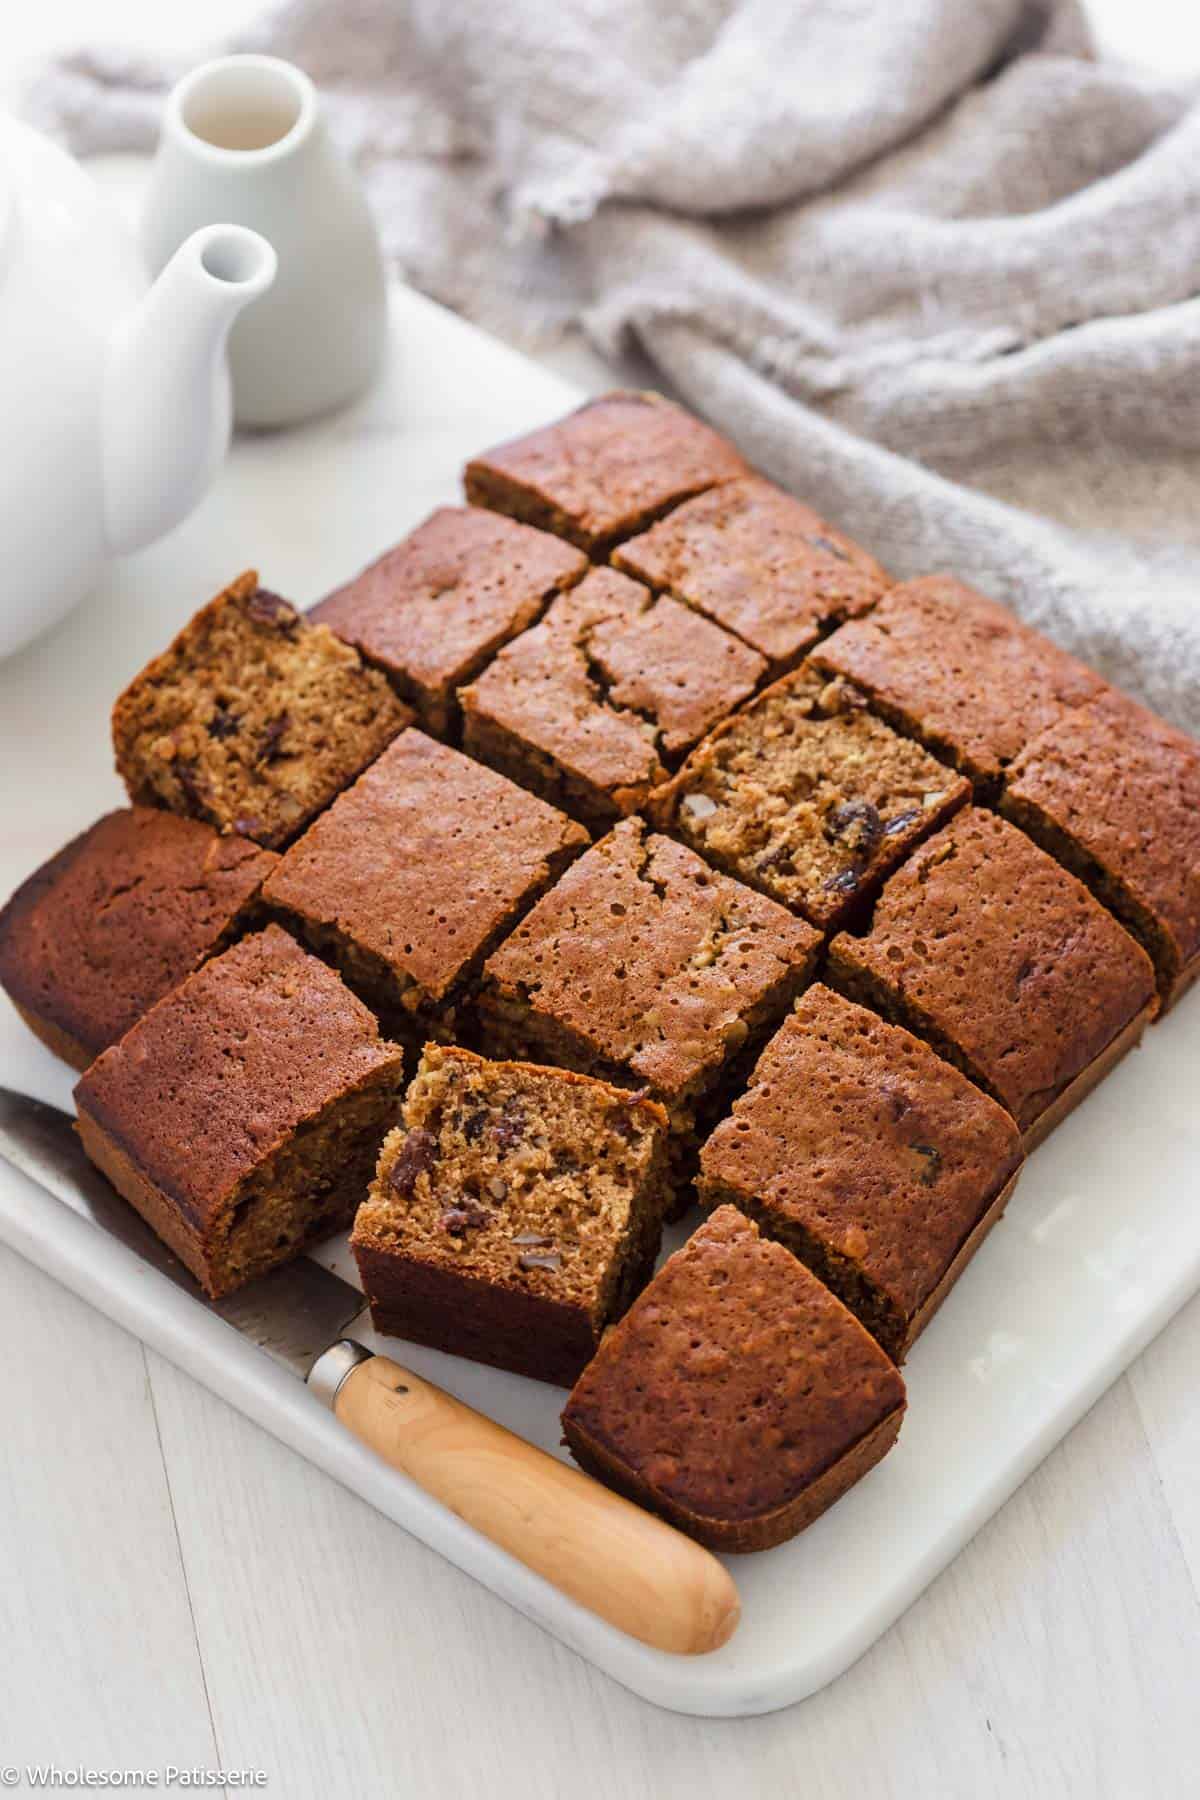
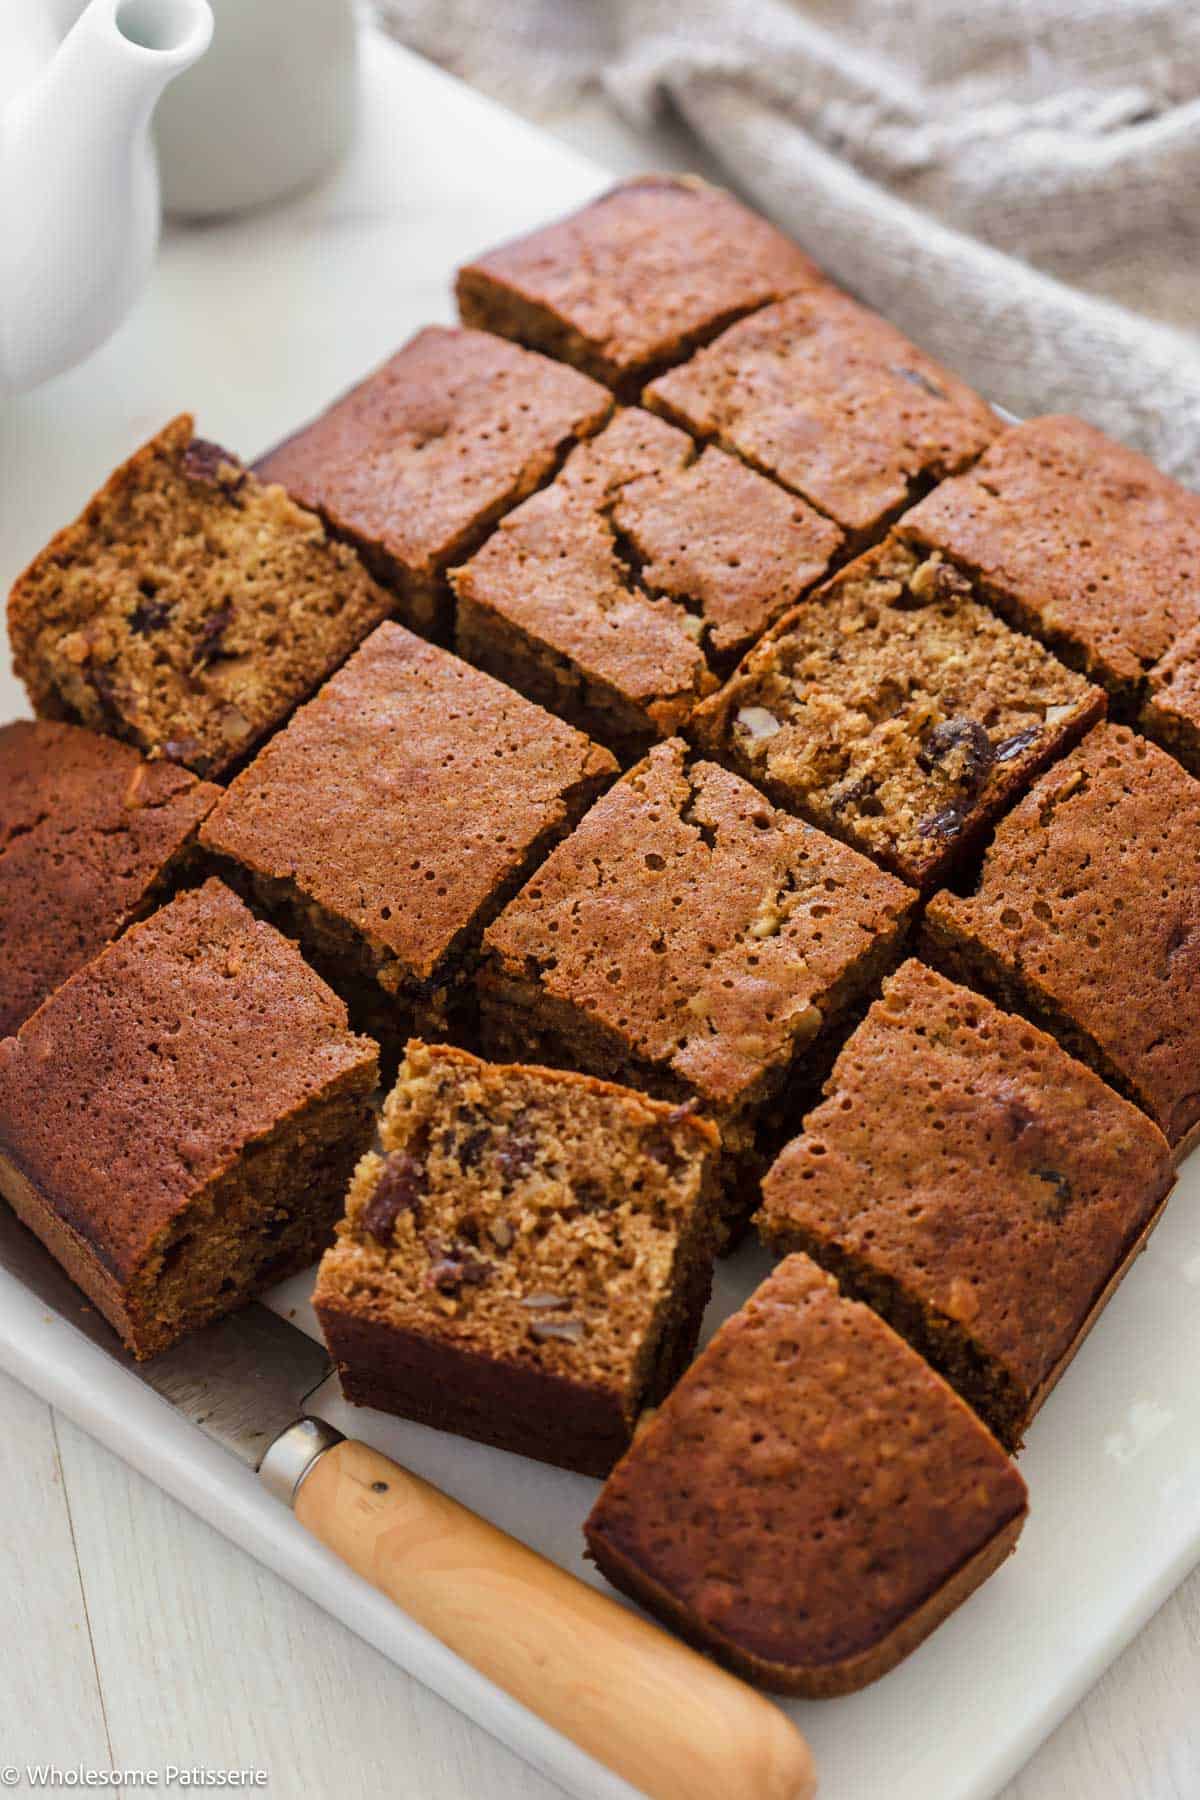
With its vintage charm and moist crumb, this old-fashioned raisin cake is a time-honored recipe.
Traditional cakes like date loaf or the seasonal favorite, Christmas fruit cake evoke a sense of nostalgia.
It’s kept classic by first boiling the raisins in water and mixing through the butter.
Followed by the remaining ingredients including cinnamon, nutmeg, and allspice, the luscious batter comes together to produce an aroma reminiscent of a cozy holiday kitchen.
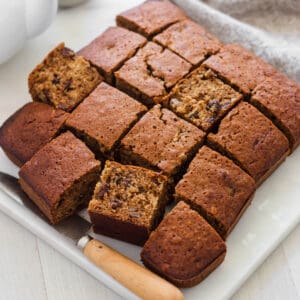
It’s baked in a square cake tin that’s as visually appealing as it is scrumptious. Making it ideal for slicing into squares that are easy to serve and share.
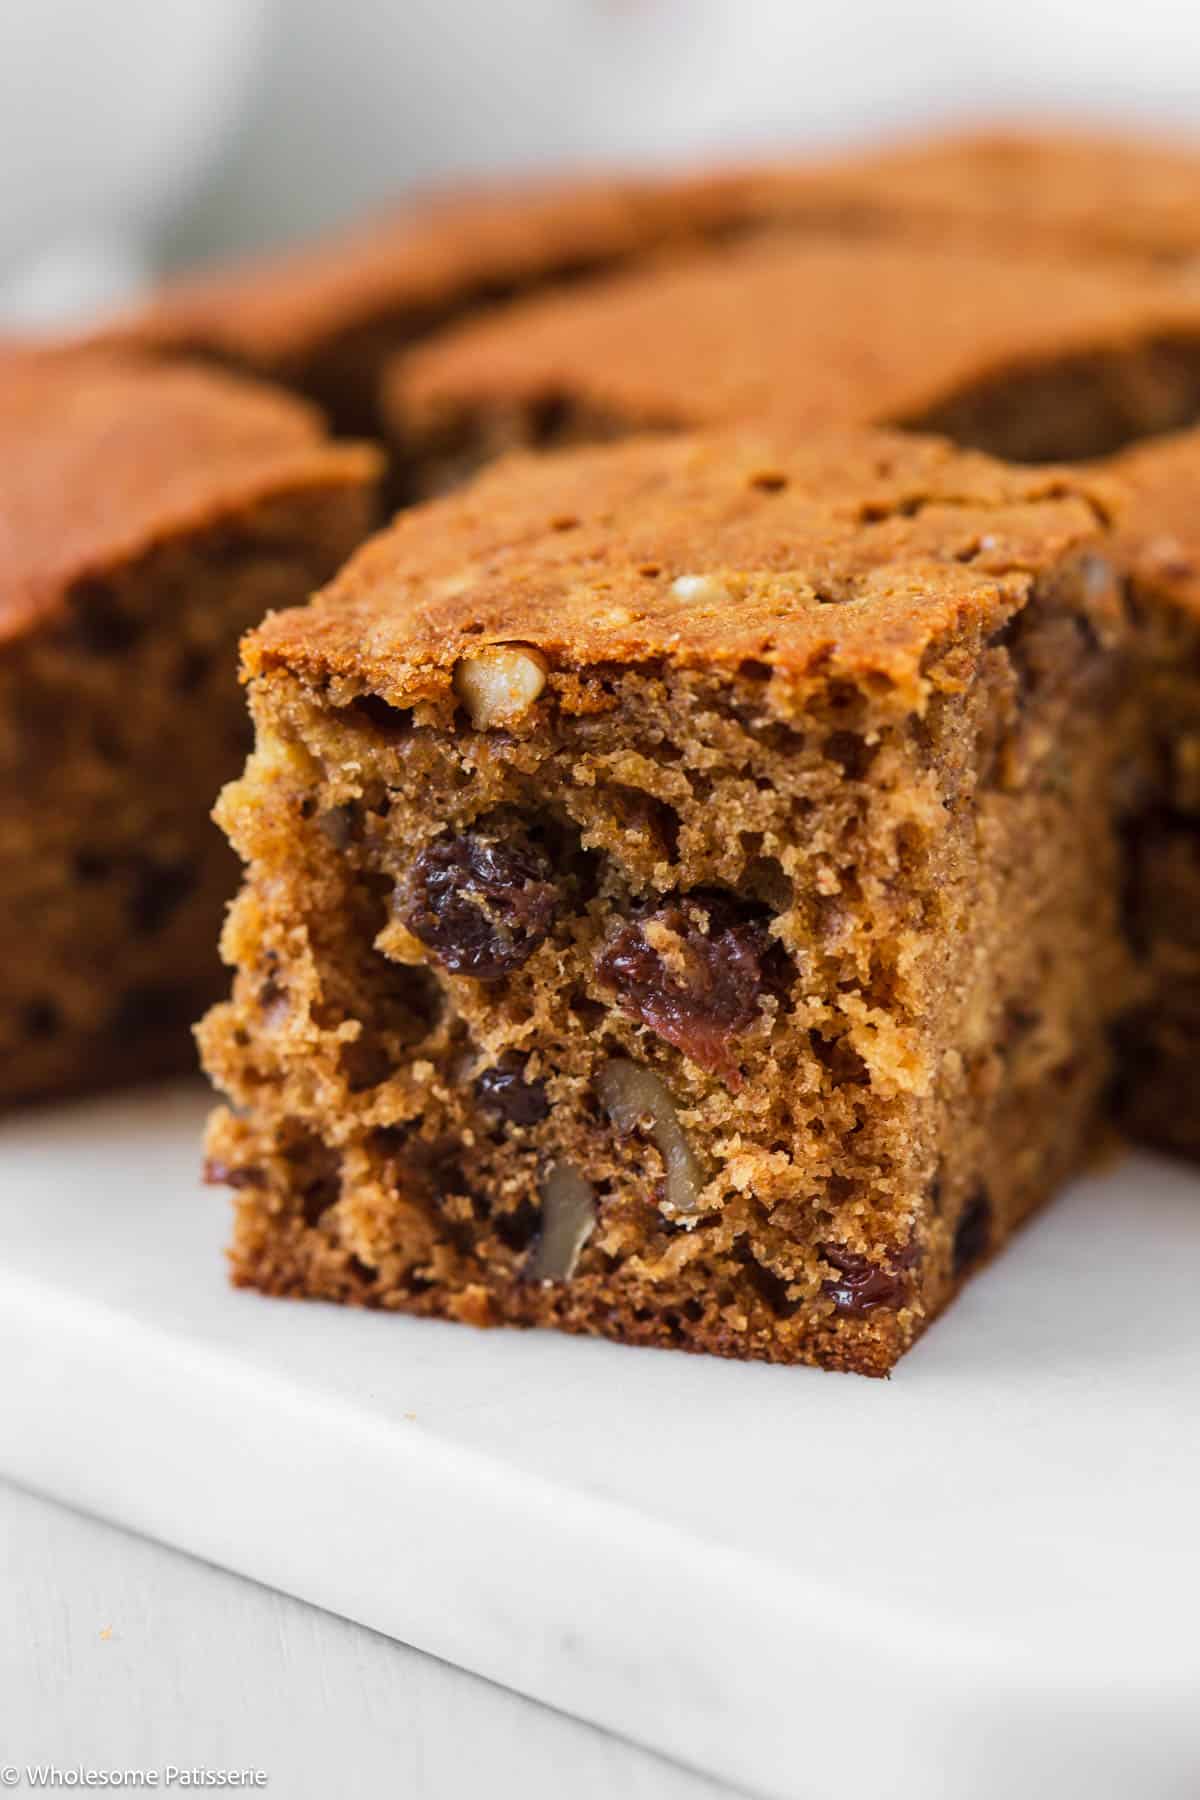
Its moist texture is a dream, striking that perfect balance between fluffy and dense.
To finish off the baked raisin cake, you can keep it plain or add a dusting of powdered sugar over top.
Or serve a slice with a spread of butter, delicious!
Why You Will Love This Recipe
- Easy, beginner-friendly cake.
- Old-fashioned raisin cake.
- Soft and moist.
- Perfect tea time cake.
- Loaded with plump raisins.
Ingredient Notes & Substitutions
A comprehensive recipe card featuring all the ingredients can be found at the end of this post.
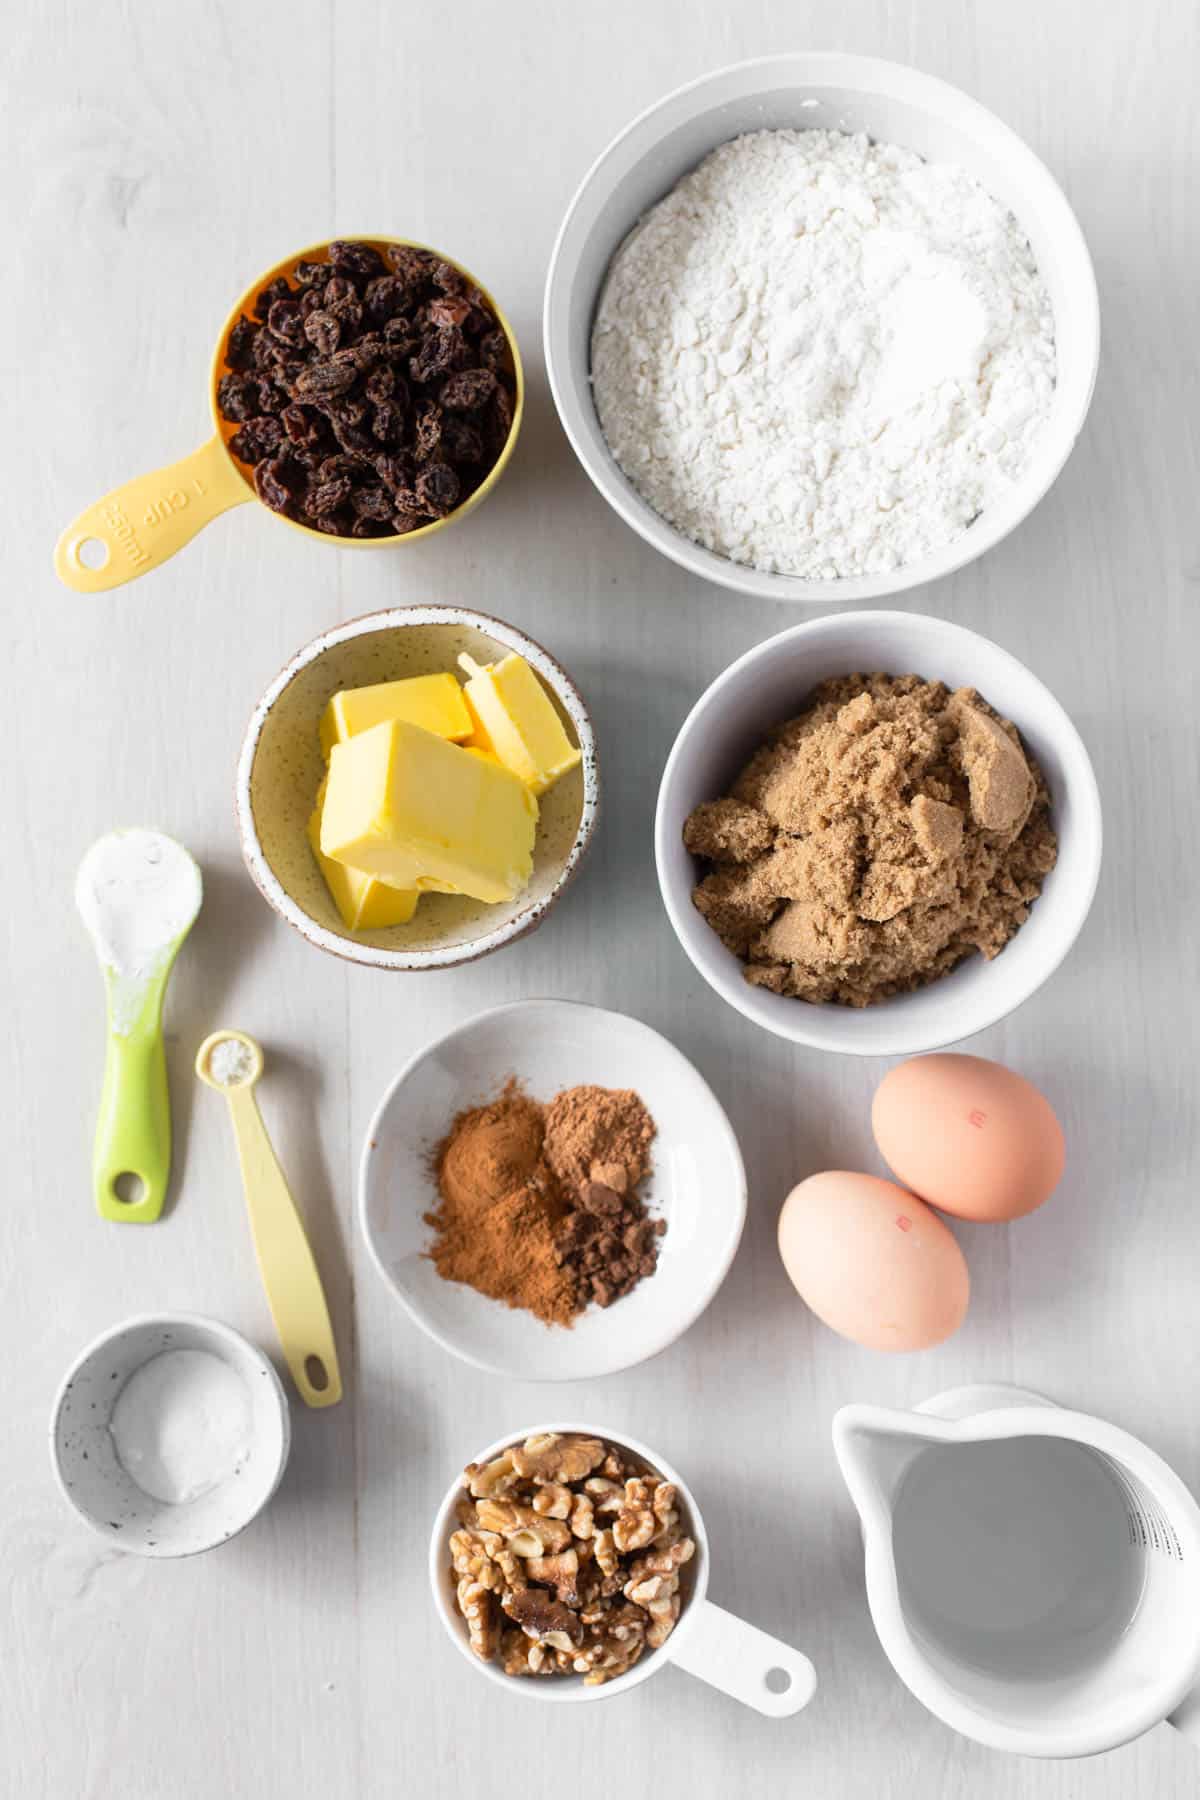
- Raisins: No need to chop them smaller. Can be substituted with sultanas.
- Water: Needed to boil the raisins.
- Unsalted butter: Use butter that comes in a block. Can be substituted with salted butter. If using salted butter, omit the 1/4 teaspoon of additional salt later in the recipe.
- Brown sugar: Use light brown sugar.
- Eggs: Must be at room temperature and lightly beaten before adding.
- All-purpose flour: Also known as plain flour in Australia. Make sure to accurately measure your flour for the best results.
- Baking soda: Ensure this is not expired. It’s easy to test if your leavers are still active.
- Cinnamon: Use ground cinnamon. Either Ceylon or Cassia cinnamon.
- Ground Nutmeg
- Ground AllSpice
- Salt: Any fine salt will do.
- Walnuts: Either use whole walnuts and chop them small or purchase pre-chopped walnuts.
- Powdered sugar: Optional, to dust over finished baked cake. Also known as icing or confectioners sugar.
Step By Step Instructions (with photos)
There is a full and detailed recipe card at the bottom of this post.
Step one: Preheat oven to 180ºC (350ºF) fan-forced. Line a square 9-inch x 9-inch (22cm x 22cm) baking tin with parchment paper and set aside.
Step two: In a medium-sized pot, add raisins and water. Place over a high heat and bring to a boil.
Boil for 1 minute, stirring occasionally with a wooden spoon, then remove it from the heat.
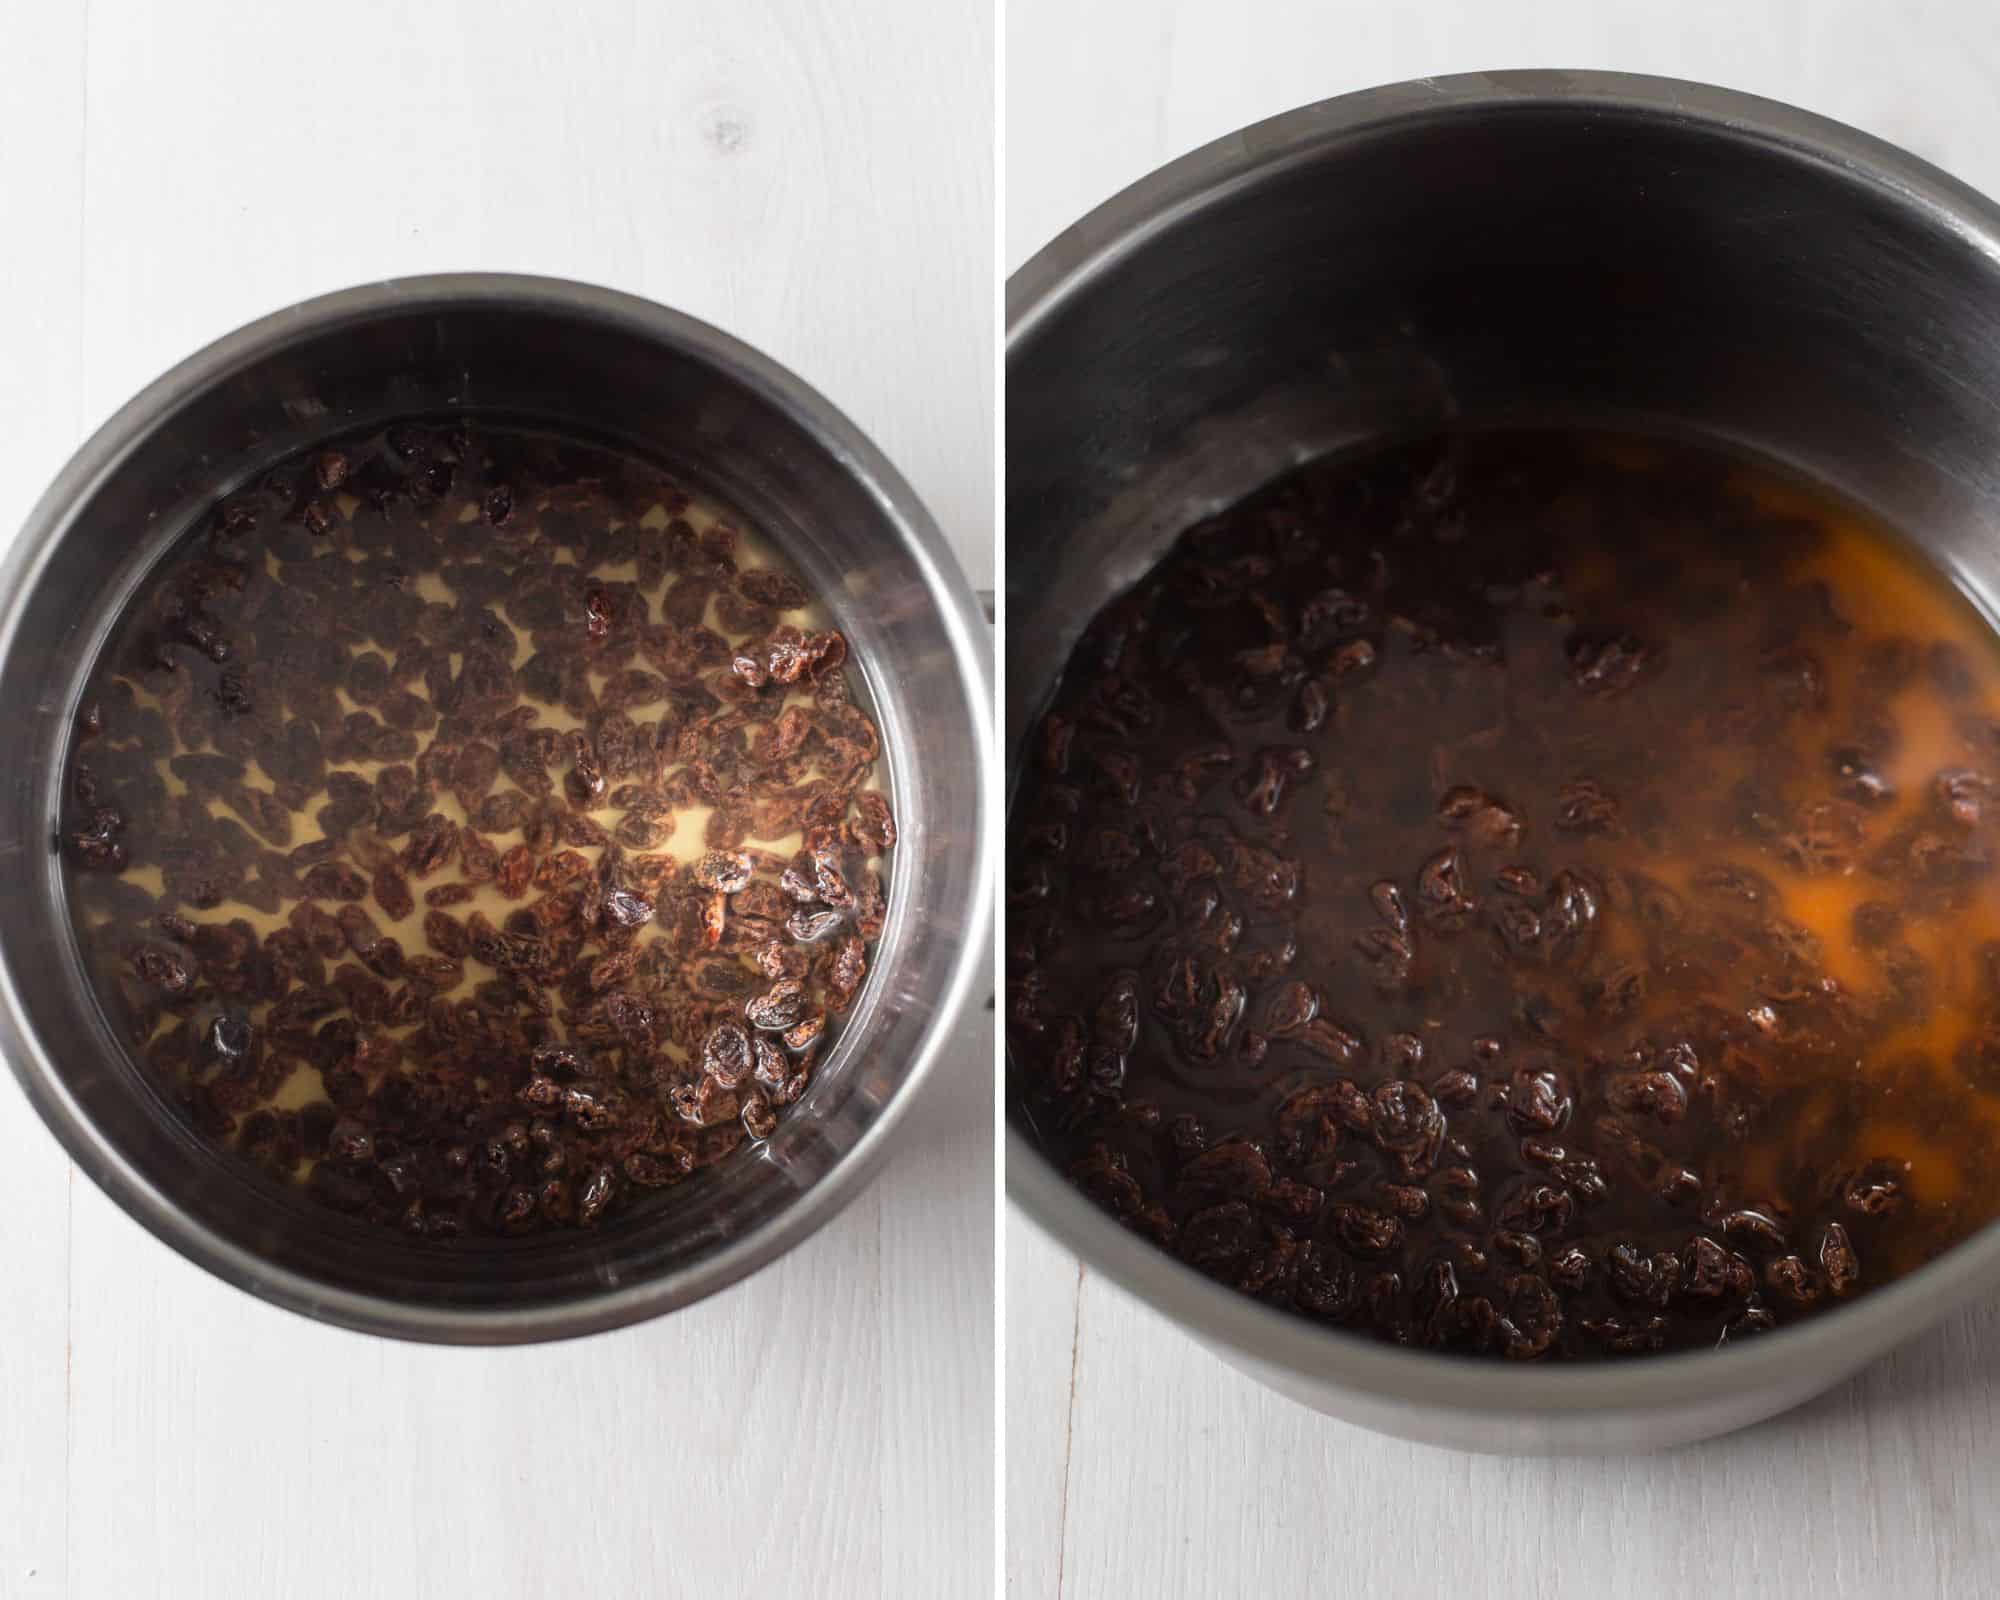
Step three: Add the cubed butter to the raisins and stir until completely melted.
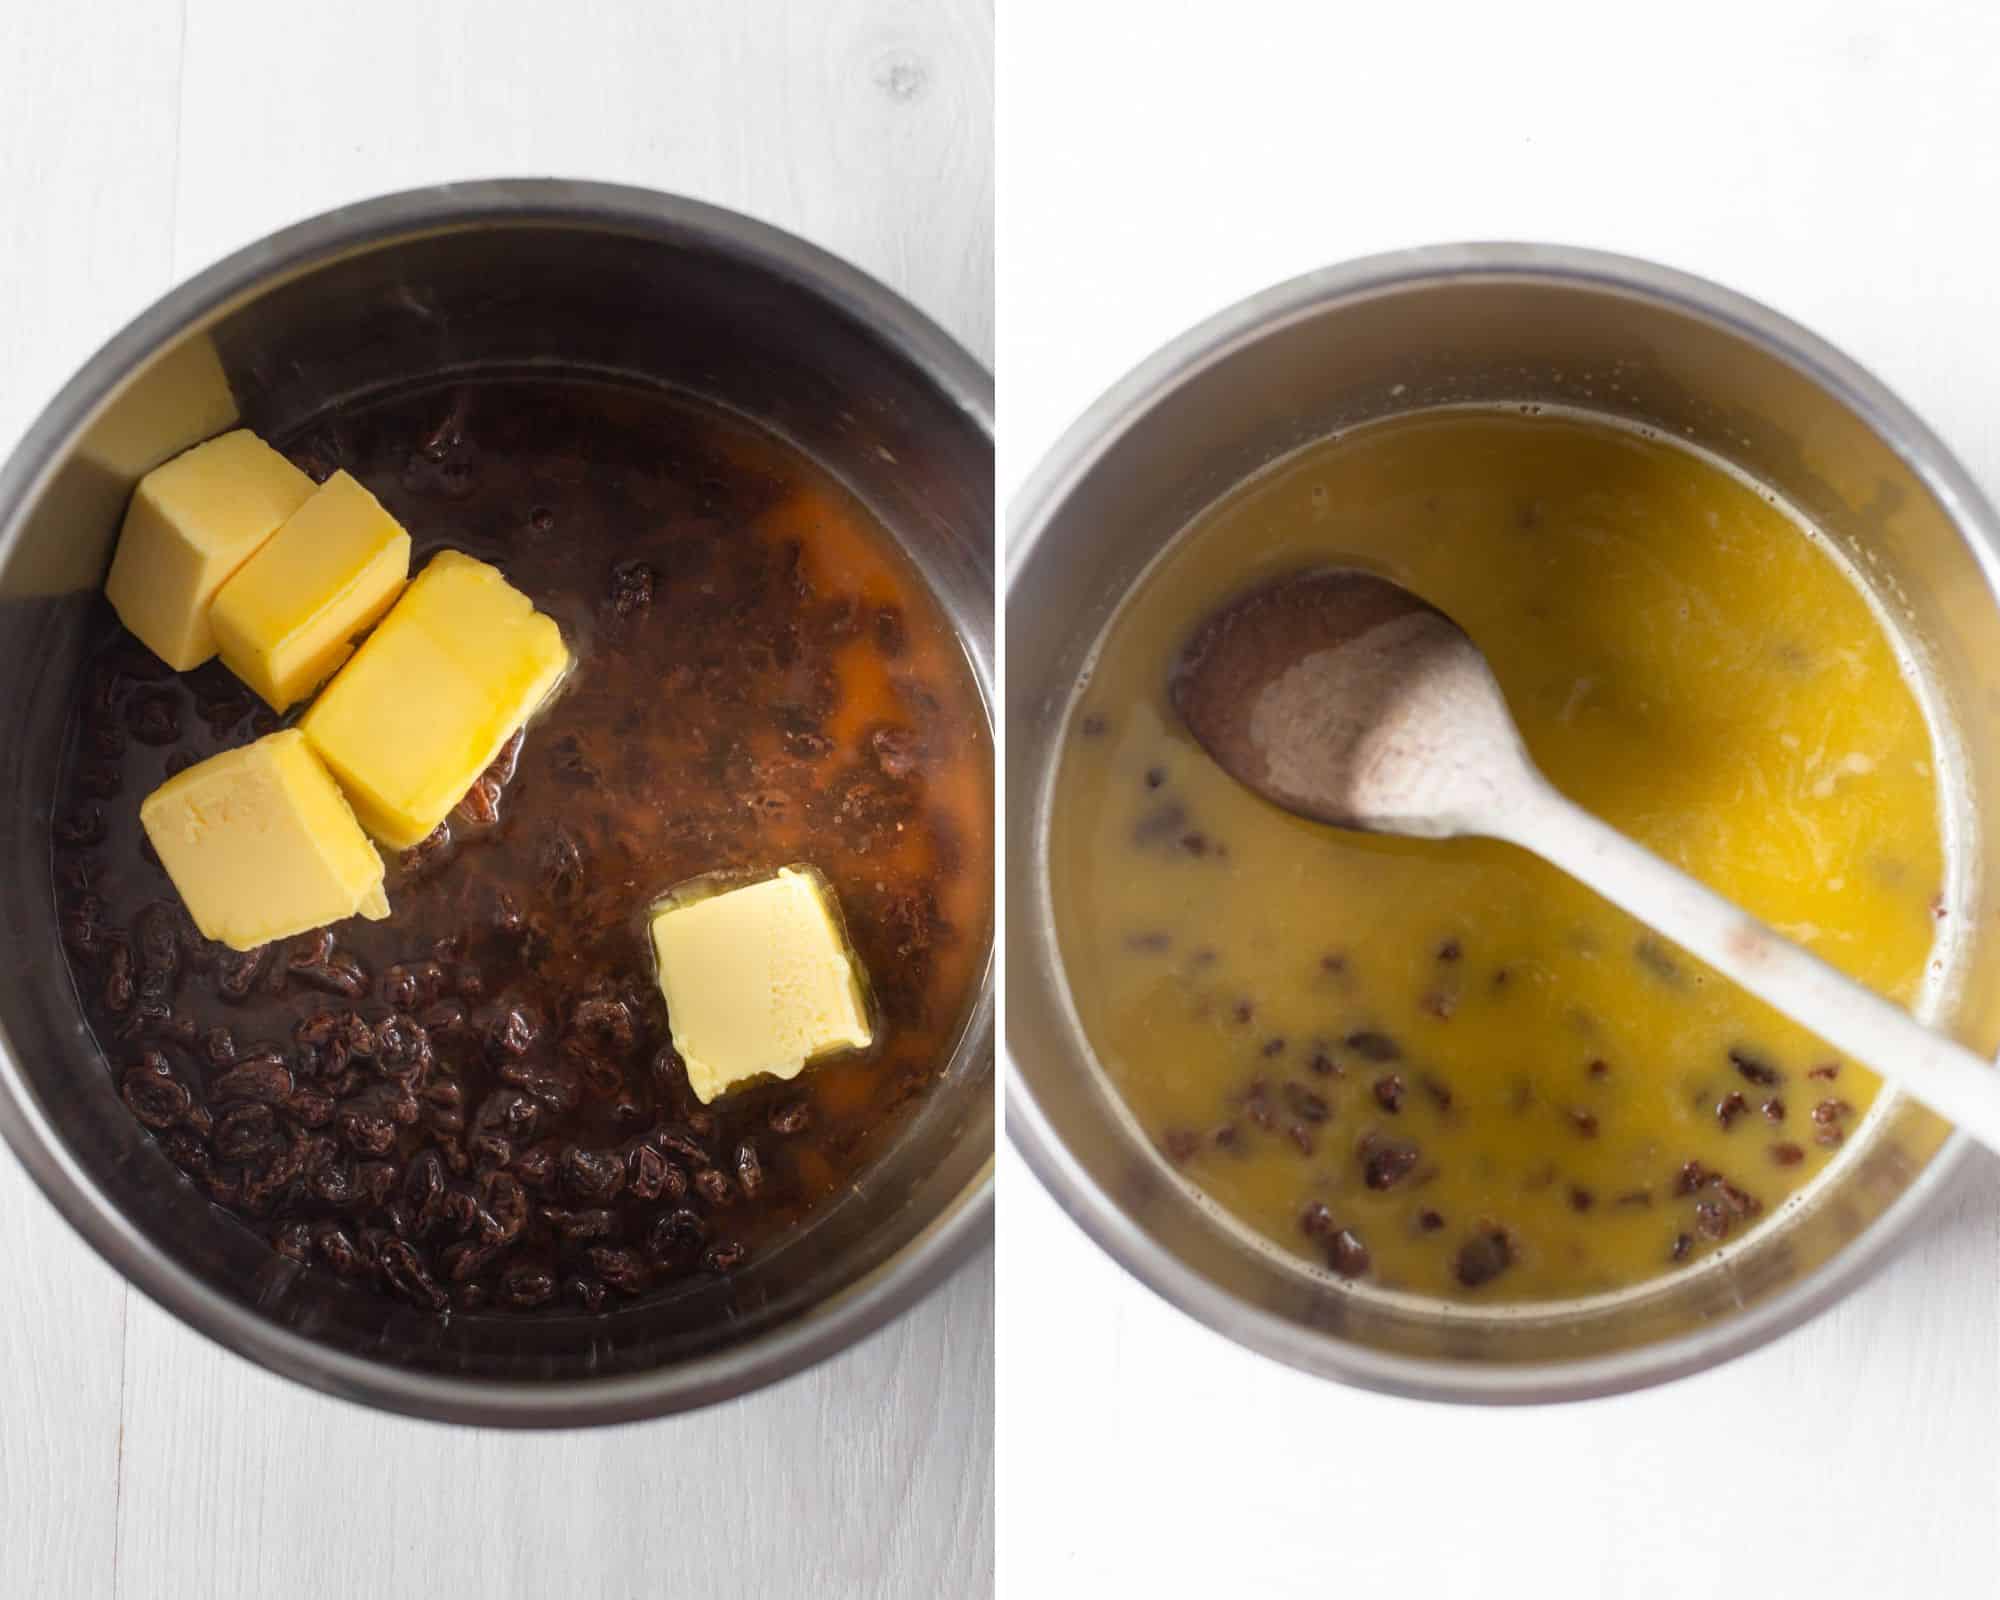
Step four: Pour mixture into a large clean mixing bowl and allow mixture to cool for 15-20 minutes, just until it’s not too warm, you don’t want your eggs to curdle when you add it.
Step five: Add sugar and beaten eggs. Mix until well combined, about 30 seconds.
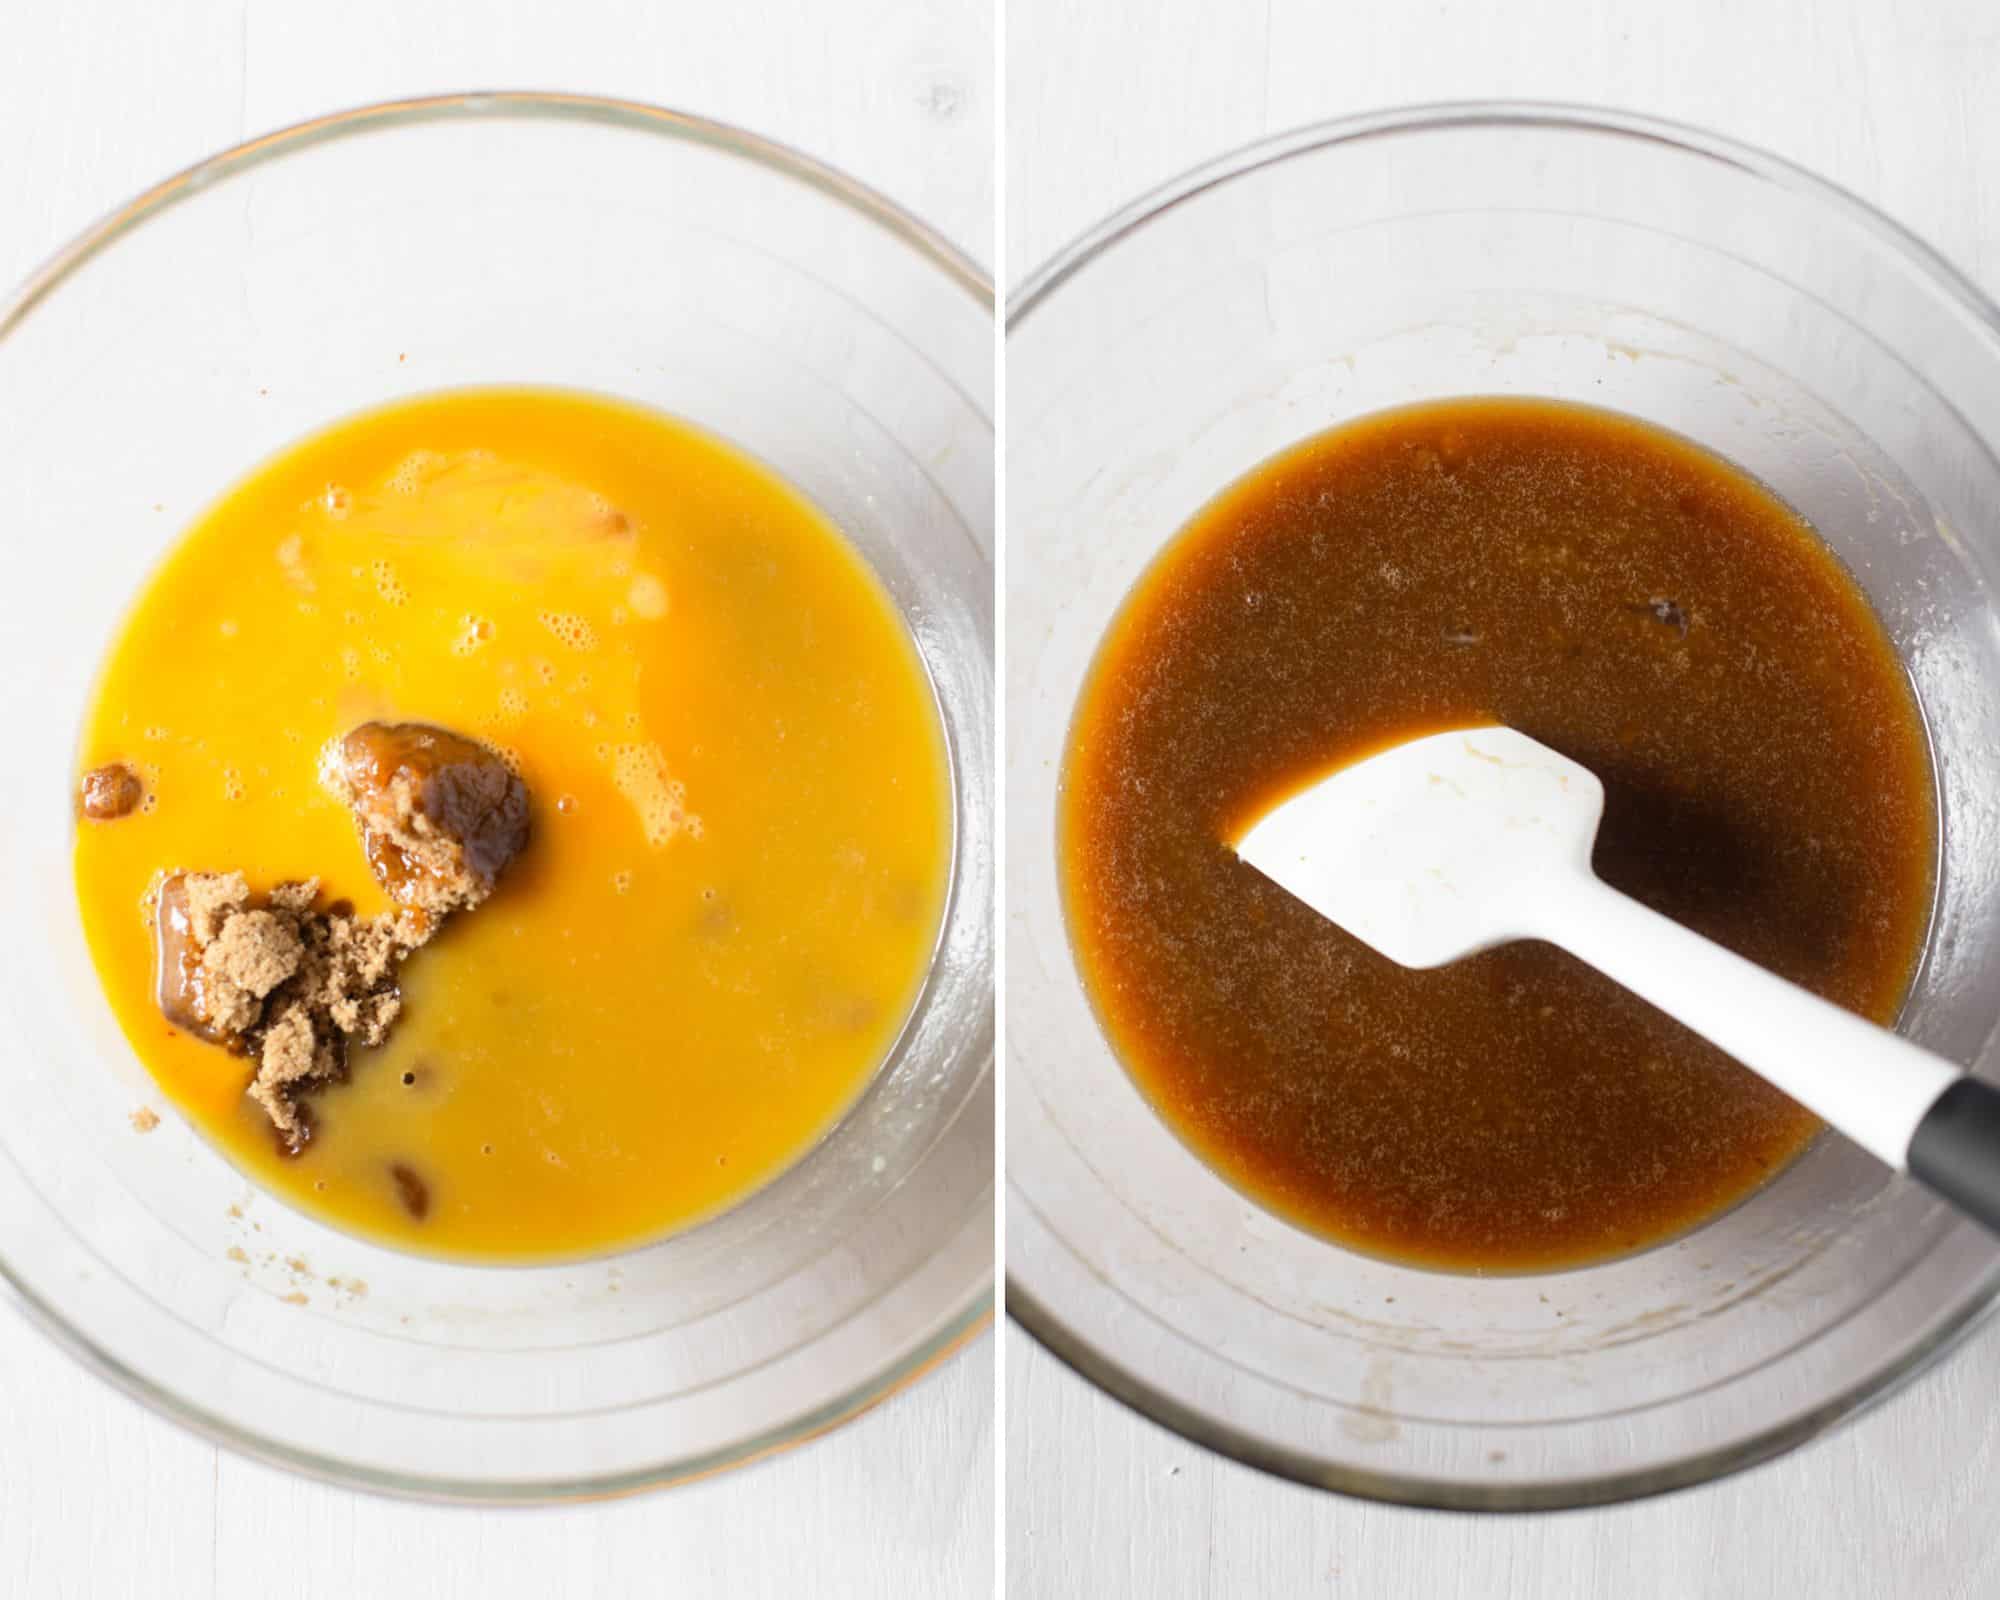
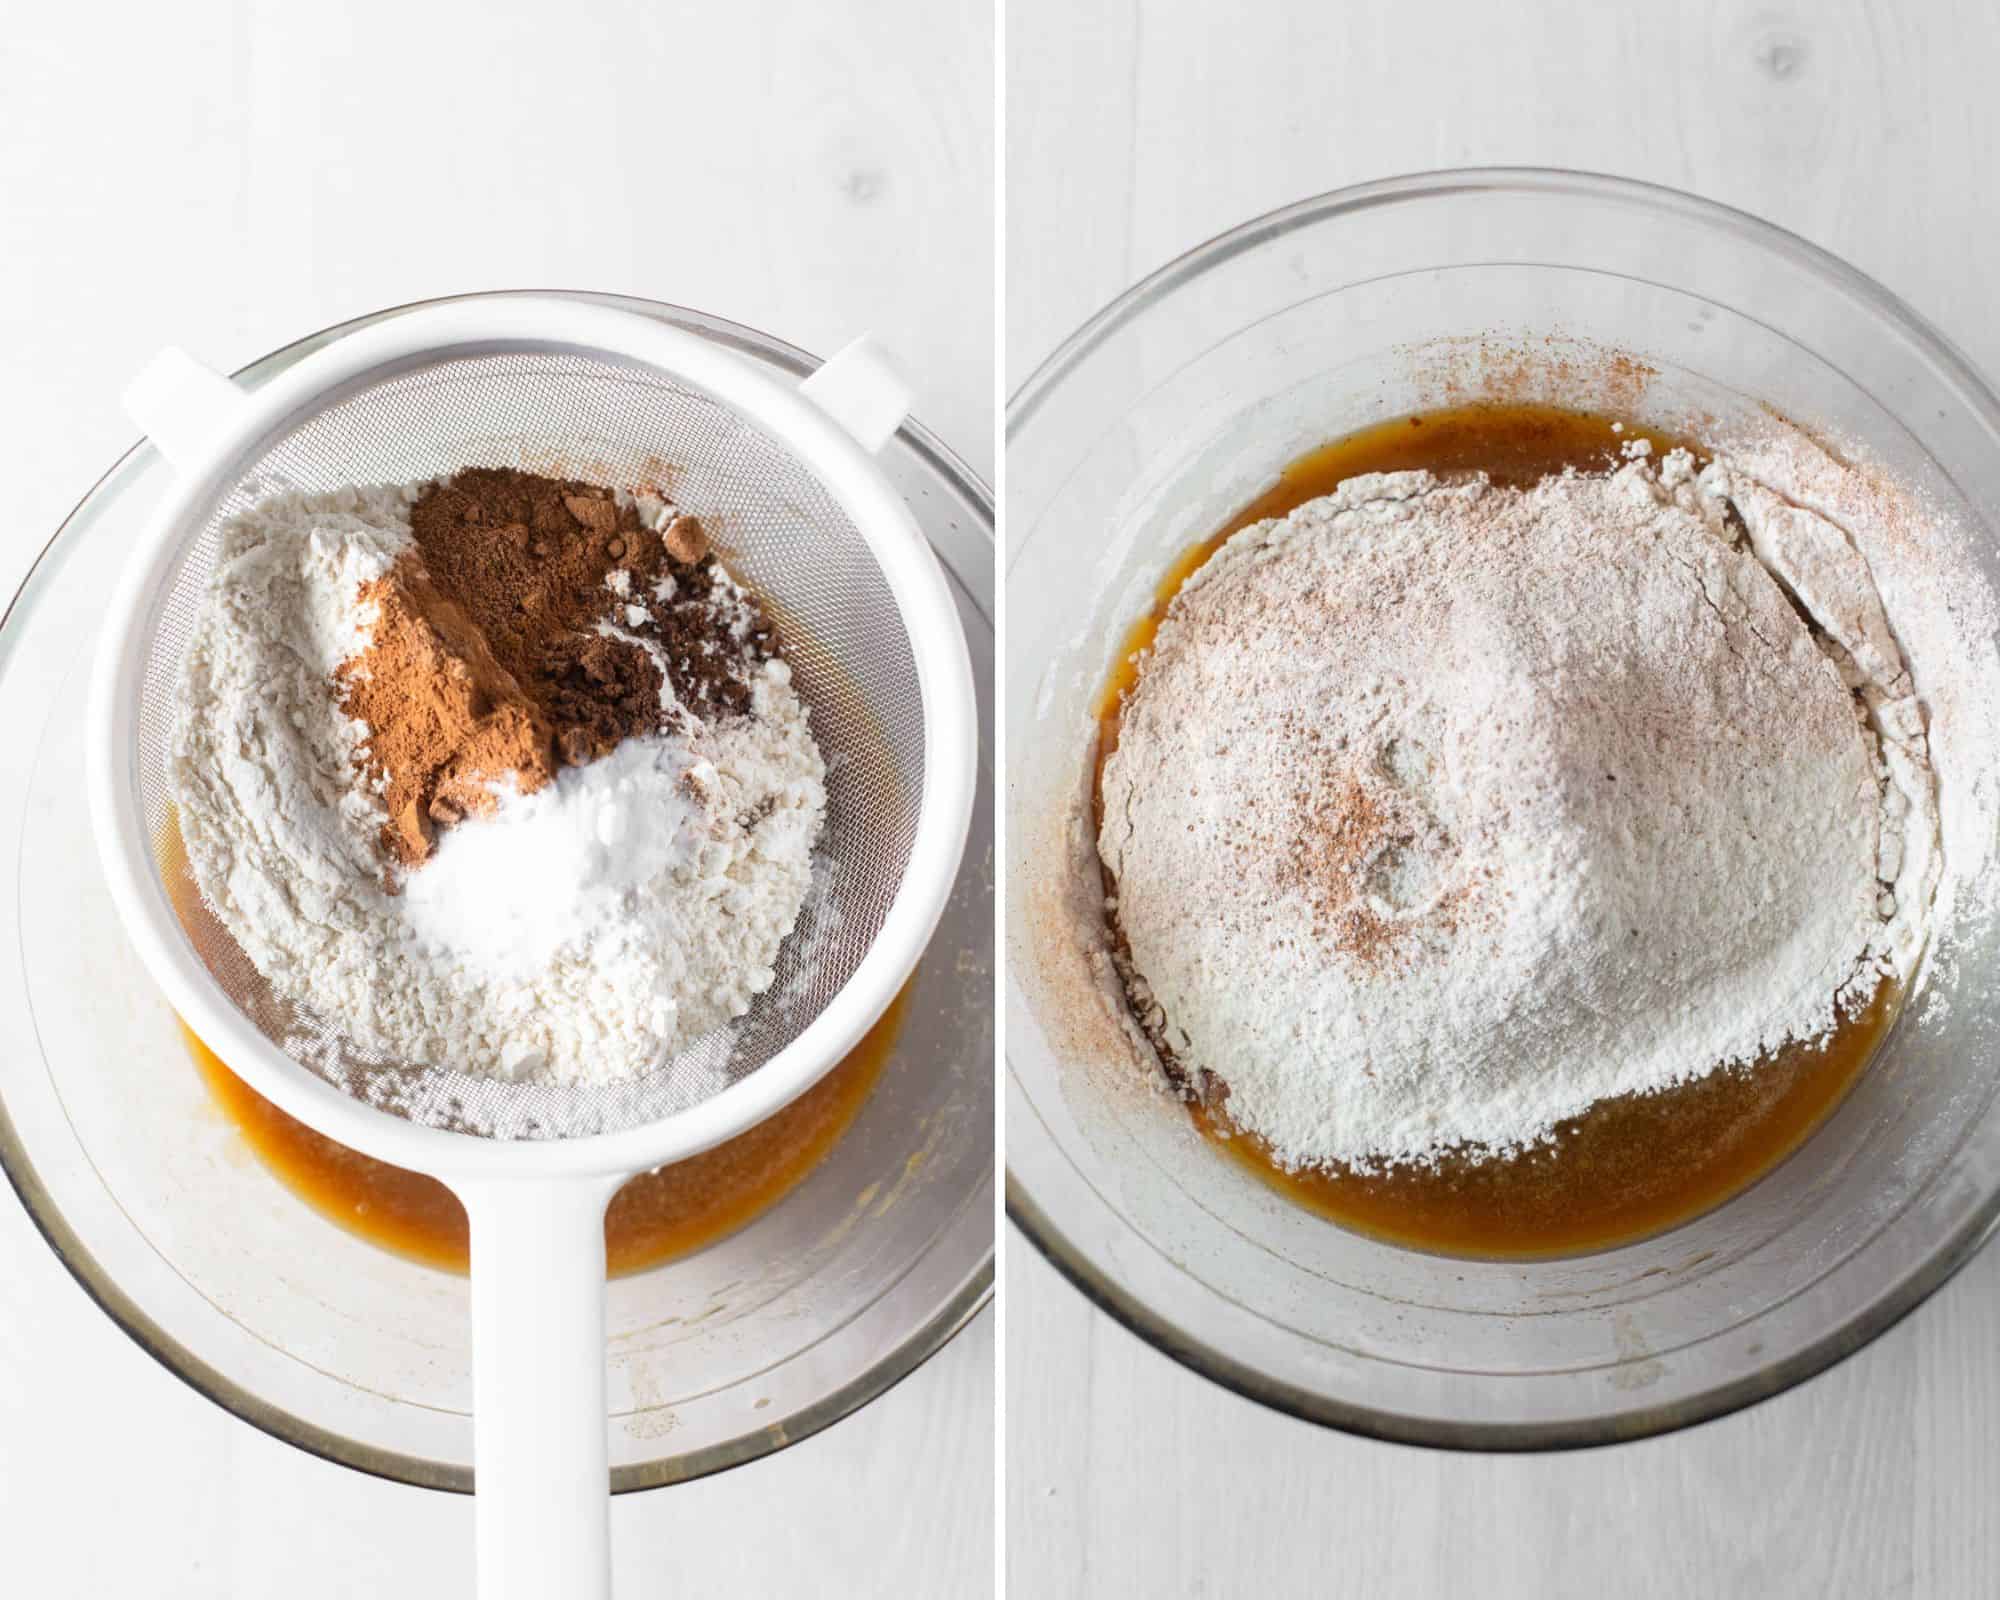
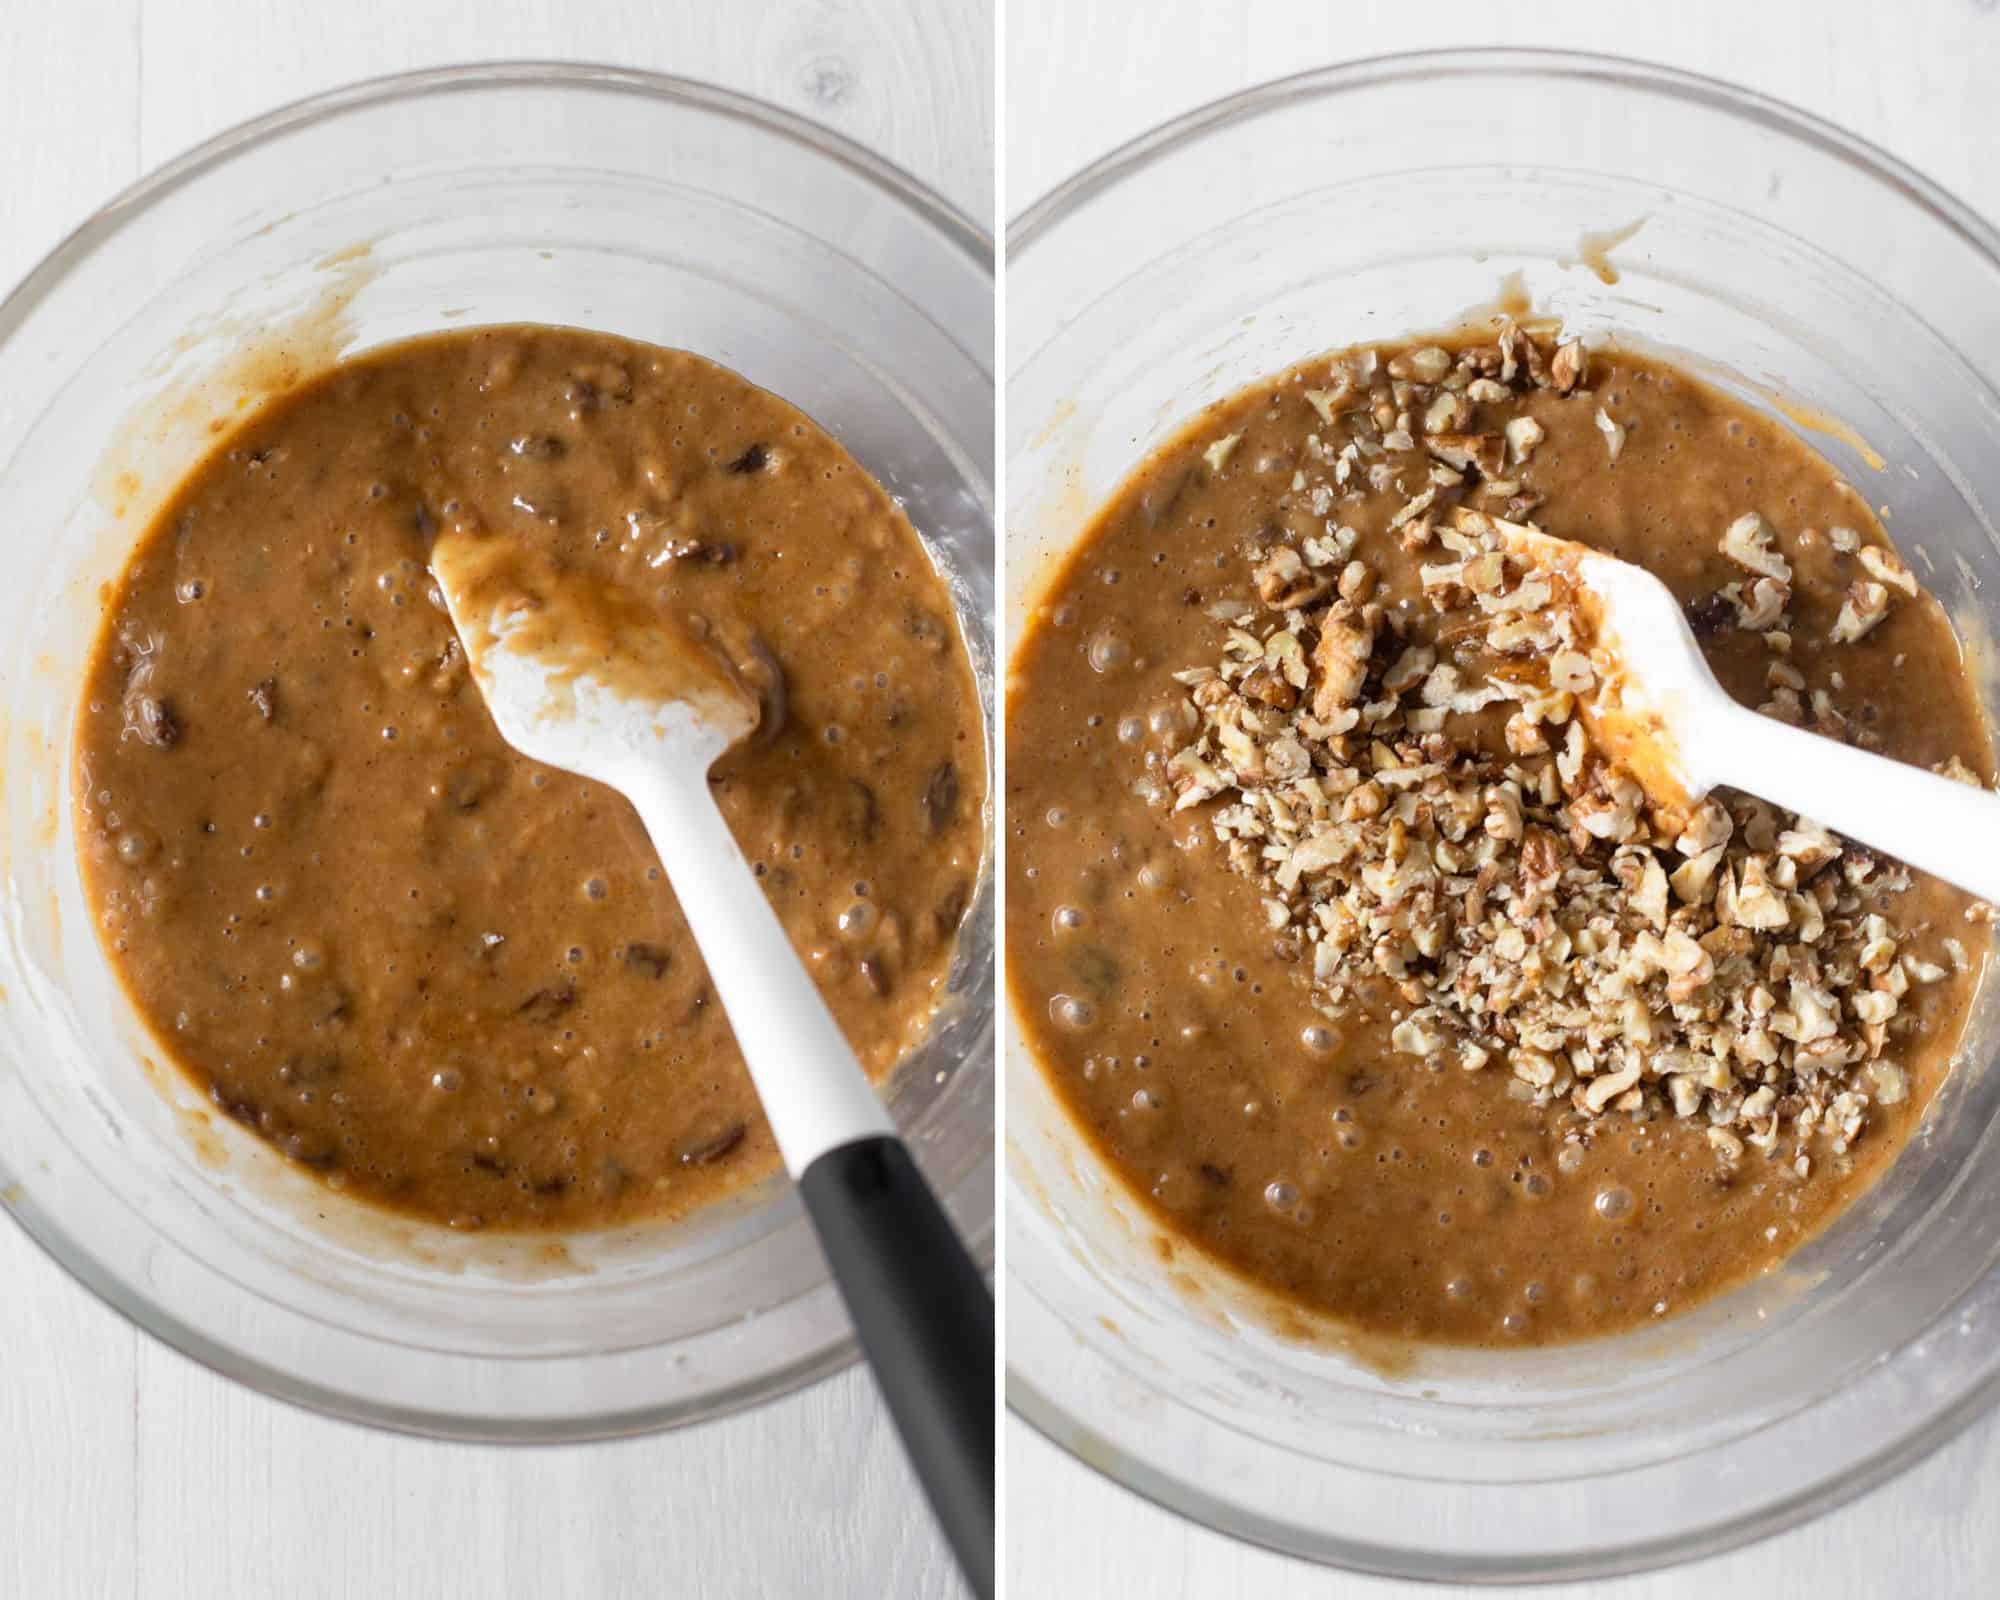
Step six: Sift over the flour, baking soda, cinnamon, nutmeg and allspice. Add the salt then gently fold until incorporated, do not over-mix, just until no streaks of flour remain.
Step seven: Fold through the chopped walnuts.
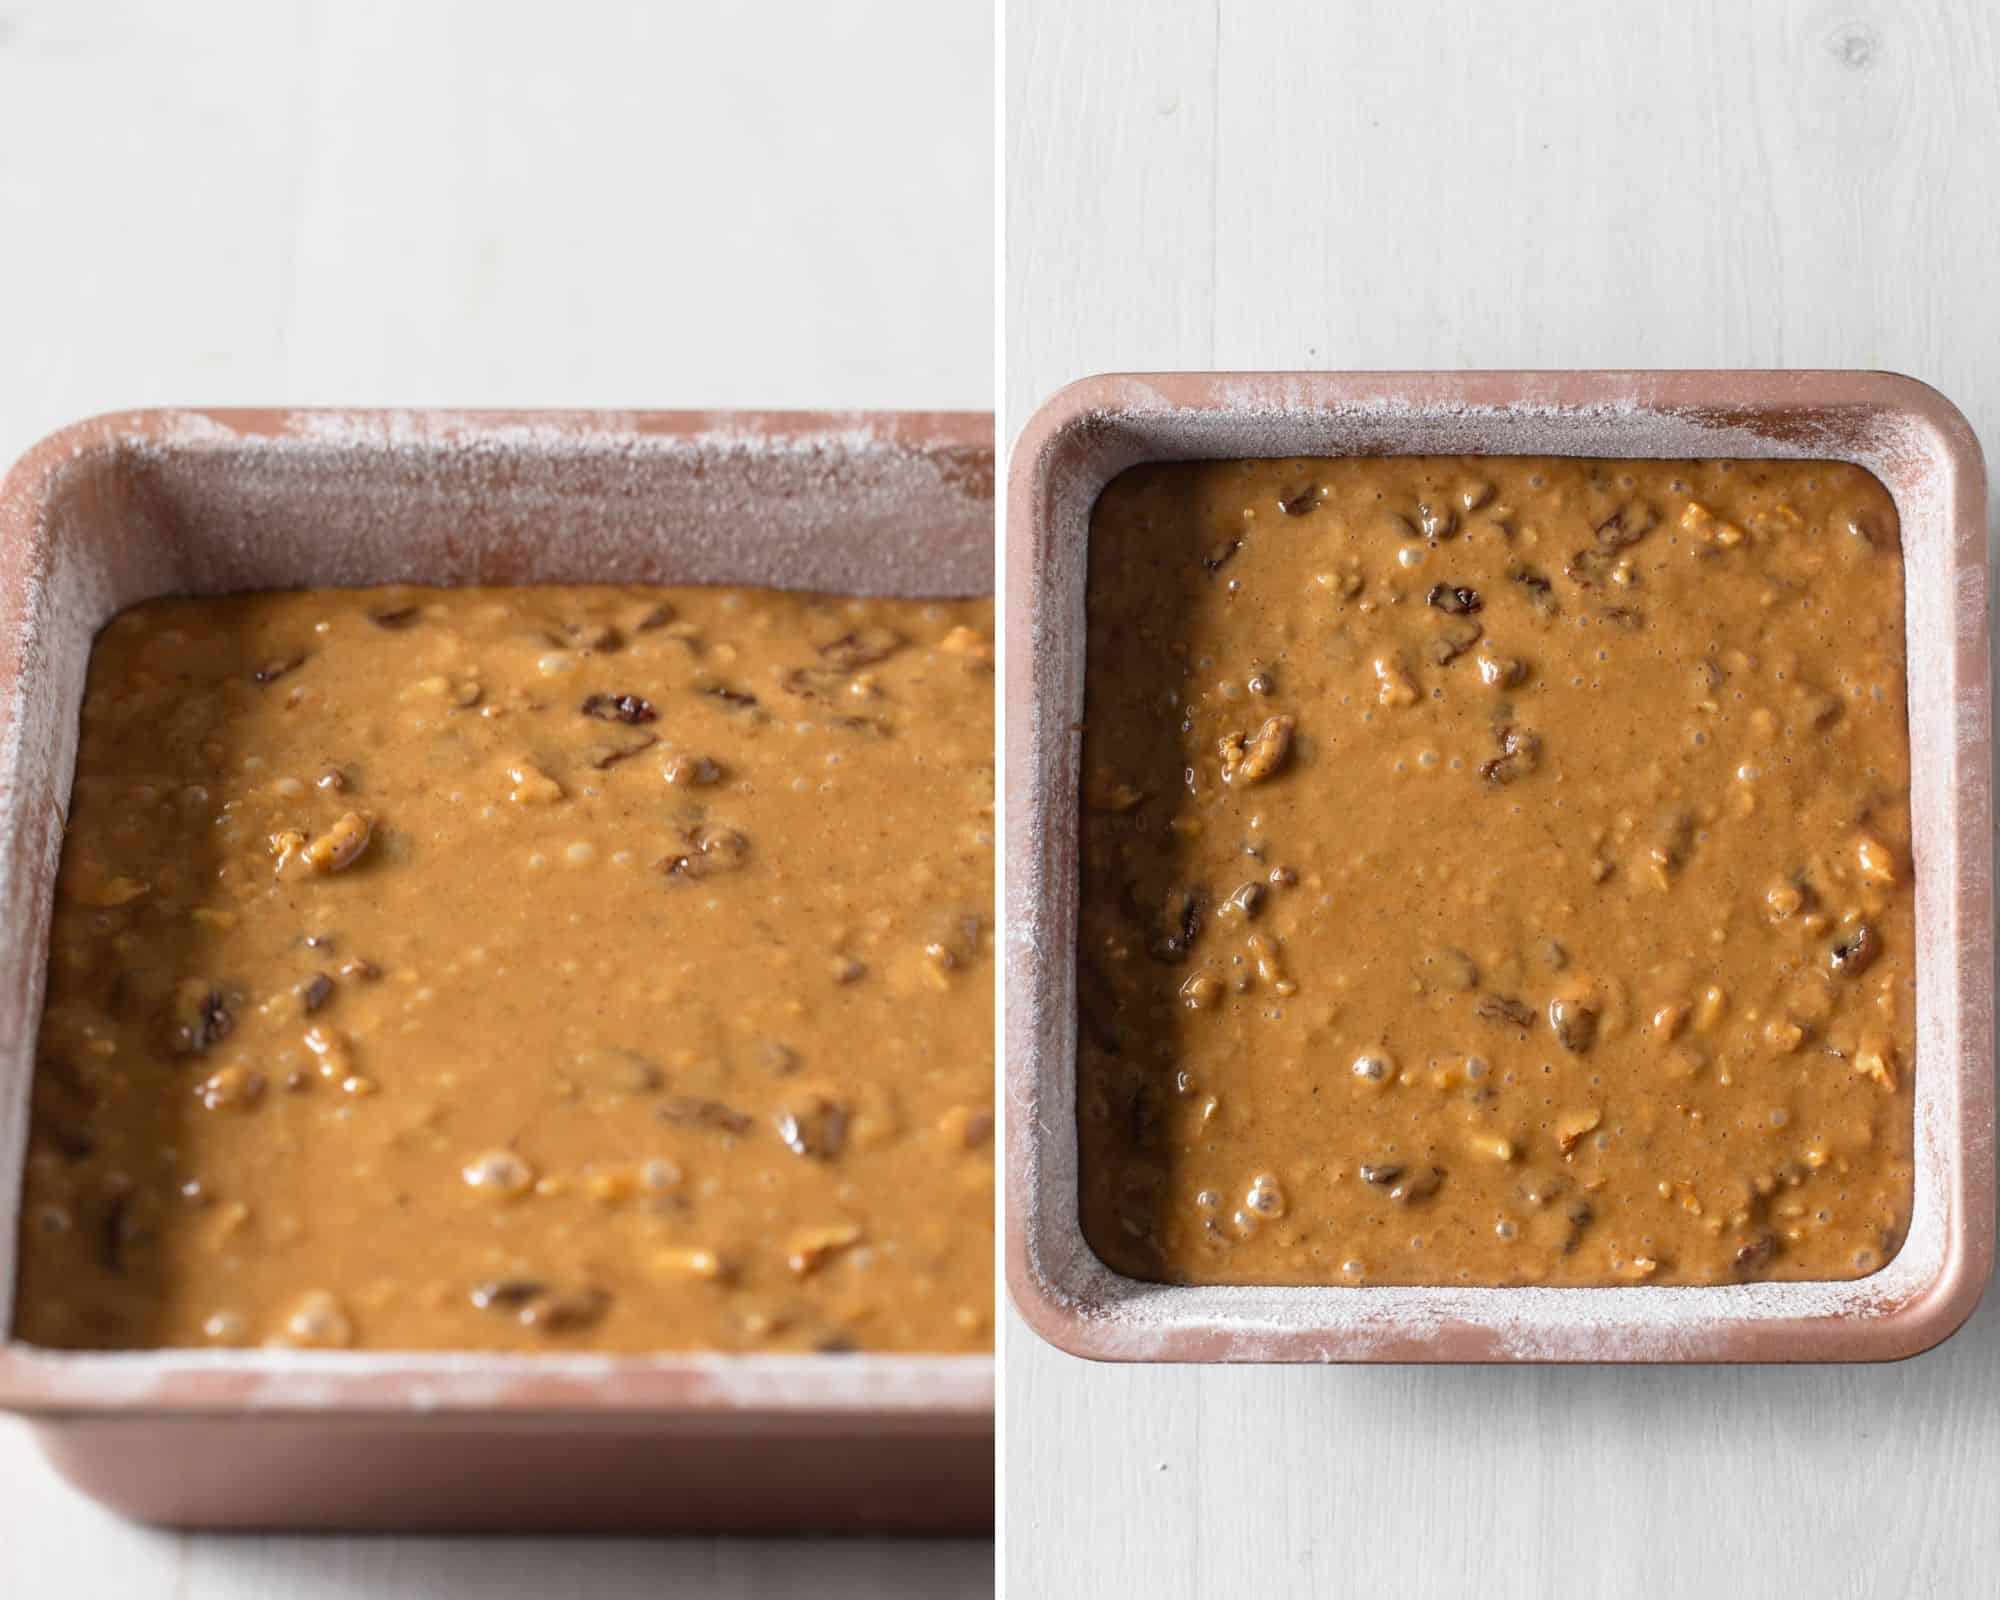
Step seven: Pour batter into the prepared tin, spreading it out evenly.
Step eight: Bake for 35-40 minutes or until a toothpick inserted into the middle comes out clean or with a few moist crumbs.
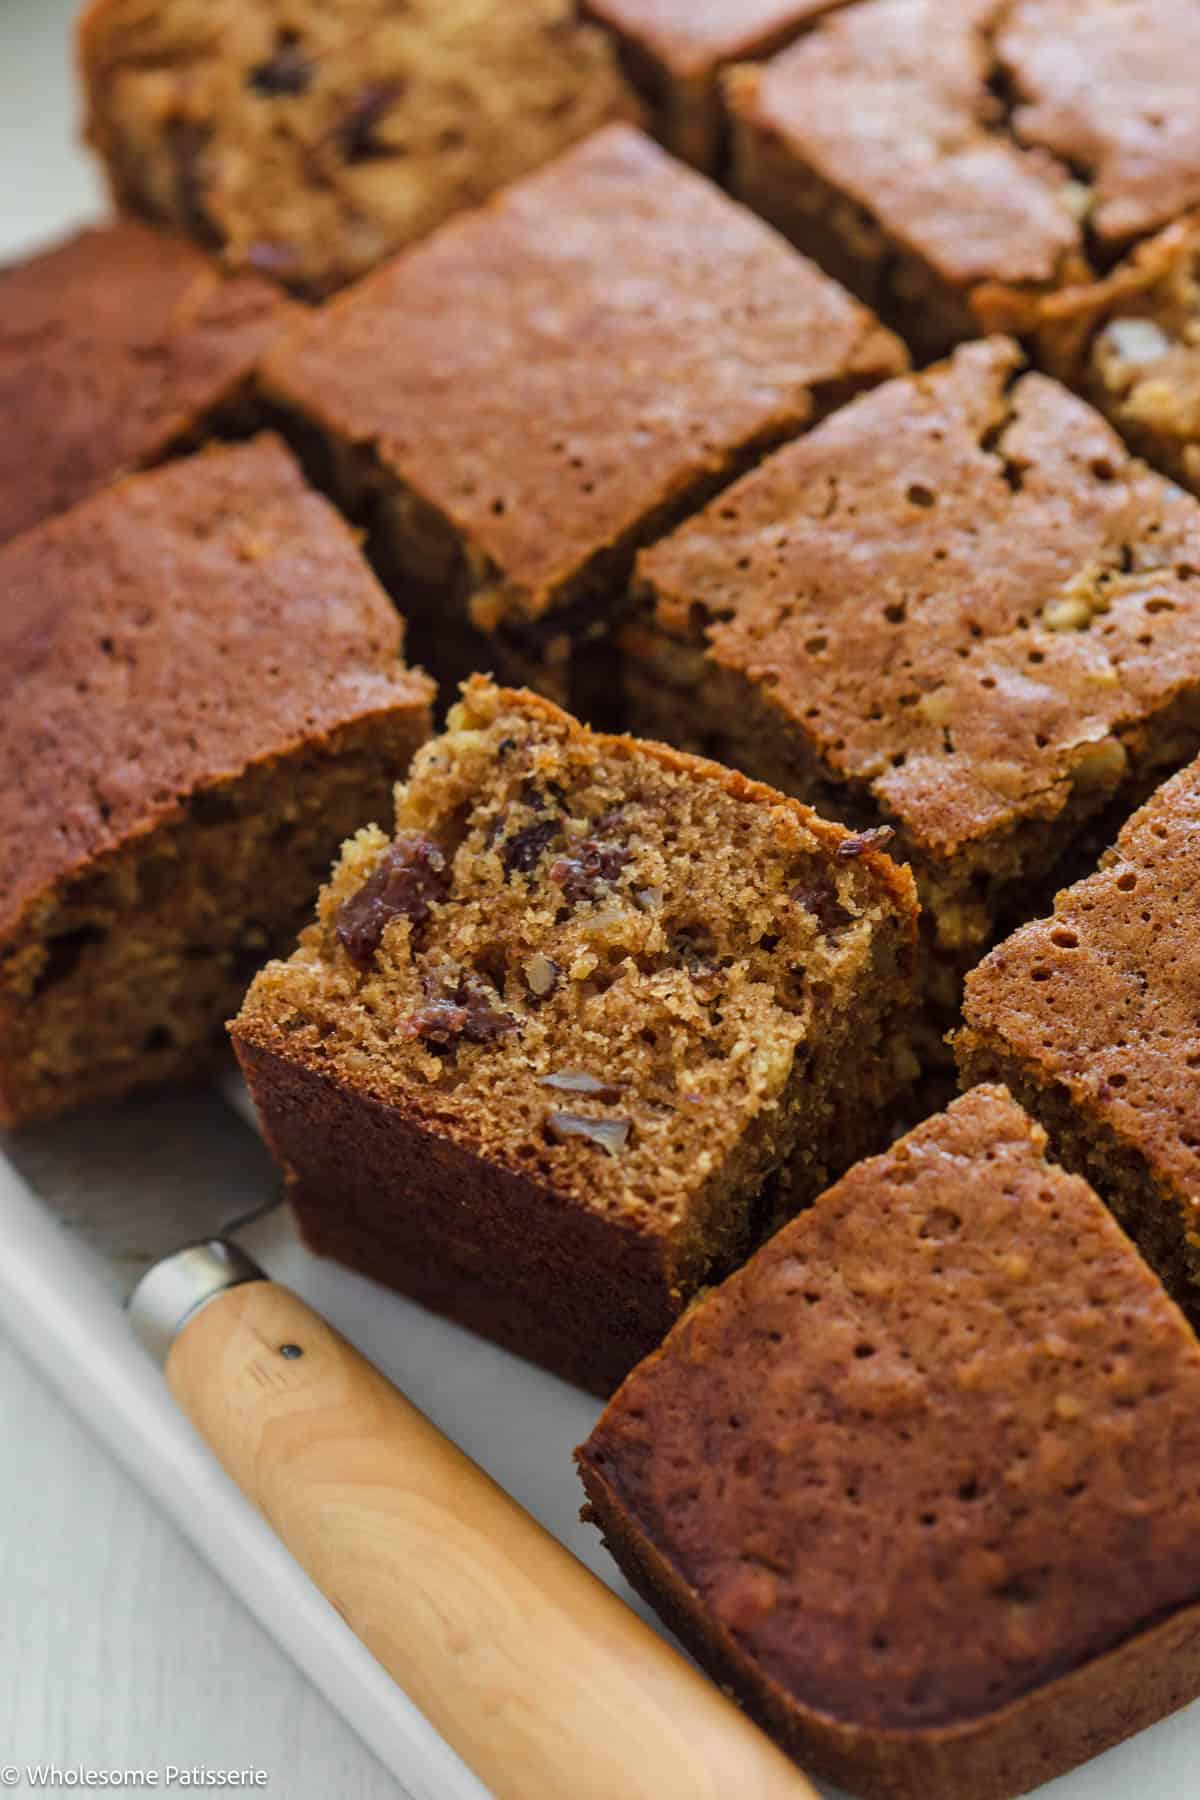
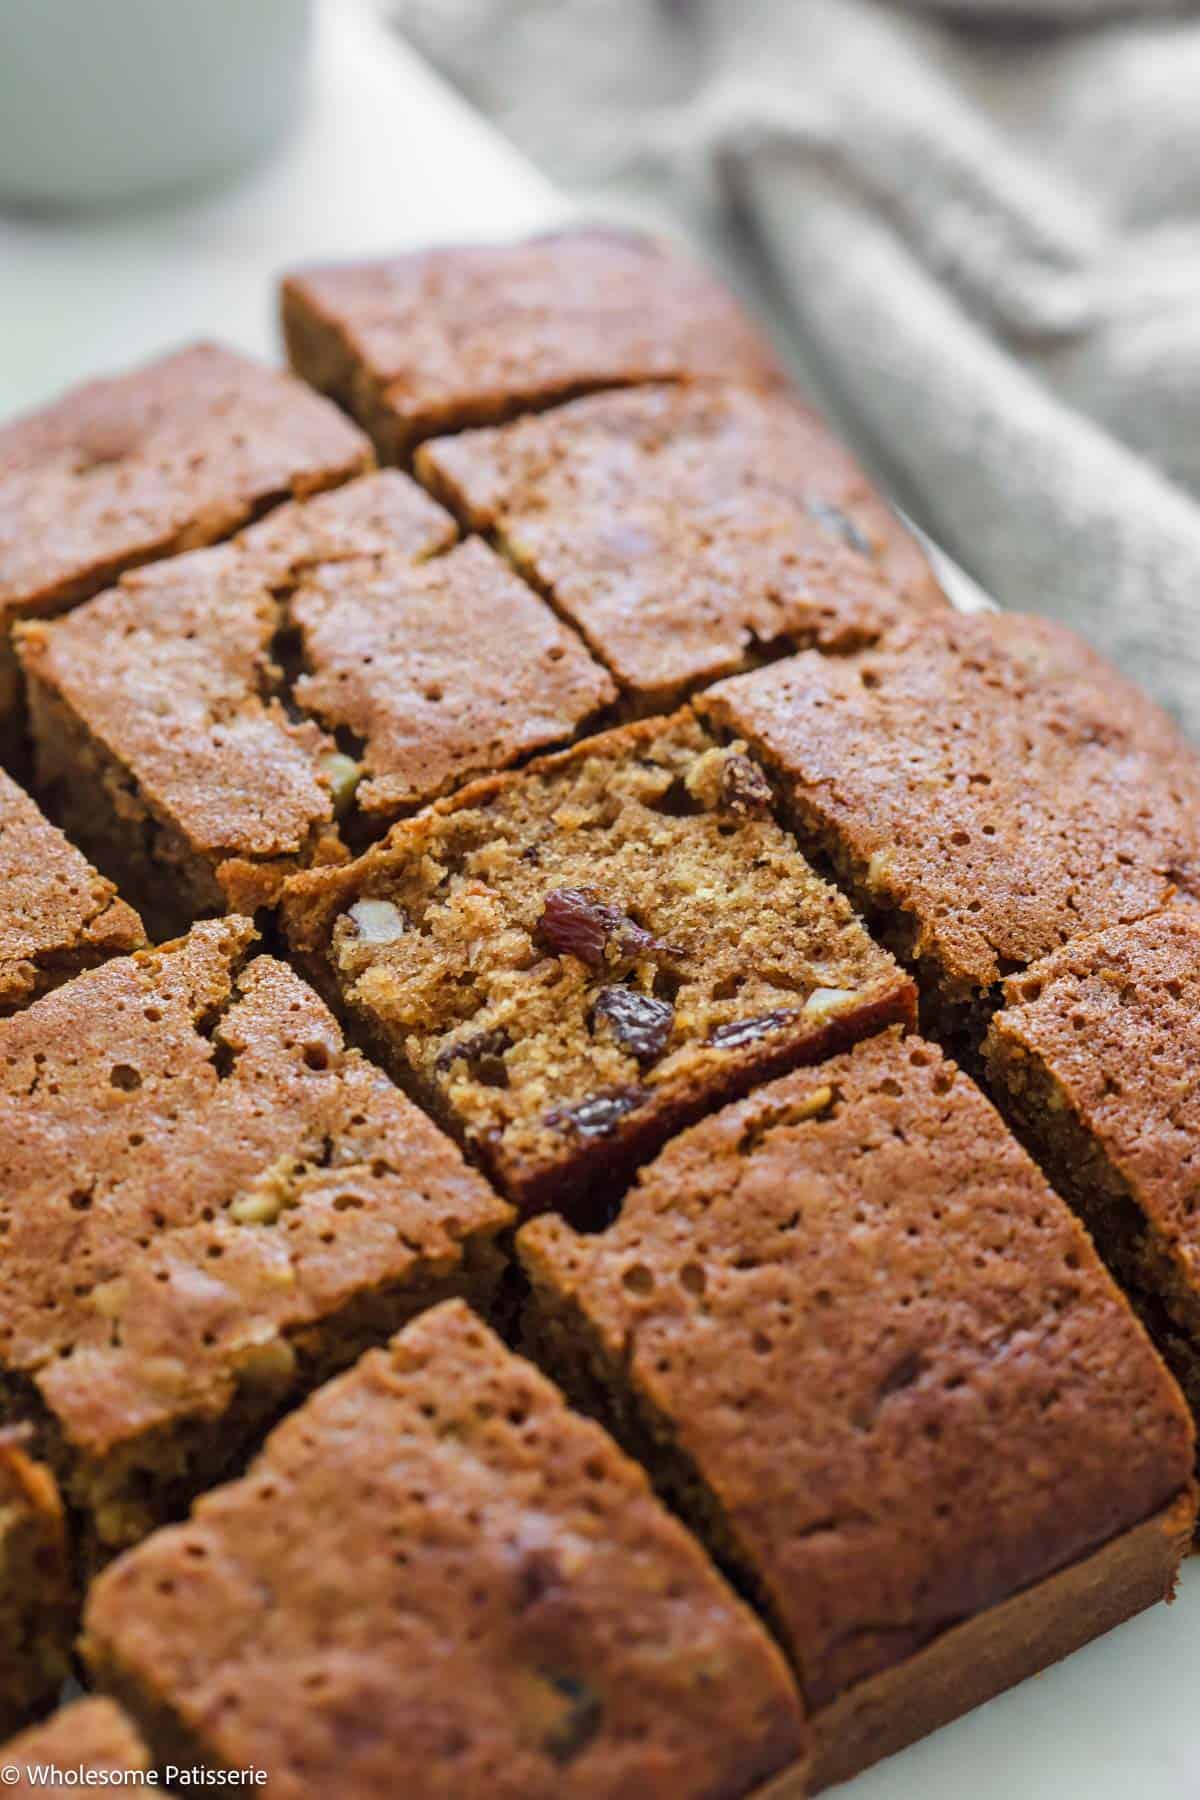
Step nine: Remove from oven and cool in the tin for 15 minutes before transferring to a wire rack to cool completely. Cut into squares, serve and enjoy!
Expert Tips
- Measure your baking ingredients accurately: Check out my helpful guide on how to measure basic ingredients.
- Use a non-stick baking tin: For a smooth-sided cake, grease the tin with butter, line the base with parchment paper, dust the sides with flour and tap out the excess.
- Cool Raisin Mixture: After boiling the raisins in the water and mixing through the butter, you must allow it to cool down before adding the eggs otherwise they will curdle.
- Do not over-mix the cake batter: It will result in a tough and dense textured cake after baking.
- How to check the cake is baked: Test the cake’s doneness by inserting a toothpick into the center. If it’s clean or has a few crumbs, you’re good to go!
Serving Suggestions
- A dusting of Powdered Sugar: Simple, classic and elegant.
- Ice Cream: Warm up a slice of cake and serve it with a scoop of vanilla ice cream.
- Drizzled Caramel or Honey: A drizzle of caramel or honey turns your cake into a delicious dessert.
- Coffee or Tea: For afternoon tea or as a relaxing dessert after dinner, enjoy it with a hot cup of tea, coffee or gingerbread latte.
Troubleshooting
Storage Instructions
Store: Once cooled, store your raisin cake in an airtight container, at room temperature, for 4-5 days.
How To Freeze
- Freeze the cake either in individual slices or as a whole cake.
- Wrap the whole cake/slices in one layer of plastic wrap and one layer of foil.
- Label the wrapped cake with the date of freezing for easy reference.
- Store the cake in the freezer for 2-3 months.
How To Thaw
Refrigerator Thawing:
This gradual thawing process helps retain the cake’s moisture and texture.
- Remove the wrapped cake from the freezer.
- Place the cake in the refrigerator, keeping it completely wrapped.
- Let the cake thaw slowly for several hours or overnight.
Room Temperature Thawing:
This quick thawing method ensures the cake softens fast.
- Keep the cake wrapped in plastic wrap and tin foil.
- Let it sit at room temperature for a few hours until softened.
Partial Thawing for Slicing:
If you freeze the entire cake but want only one or a few slices, this process allows you to enjoy individual slices while keeping the rest fresh for later.
- Remove the cake from the freezer and let it sit at room temperature for about 30 minutes to an hour.
- Allow it to partially thaw until it softens enough to be easily sliced.
- Slice the desired portions.
- Refreeze any remaining cake portions you don’t plan to serve immediately.
Recipe FAQ’s
If you enjoy this recipe, please consider leaving a ⭐️ star rating and a comment review below. I love to hear what you think and it’s much appreciated. Thank you! Your email address will not be published. Sam x
Old-Fashioned Raisin Cake
Ingredients
- 1 cup raisins
- 1 cup water
- 125 g unsalted butter, cubed
- 1/2 cup walnuts, roughly chopped
- 1 cup packed light brown sugar, how to pack
- 2 large eggs, beaten, at room temperature
- 1 1/2 cups (225g) all-purpose flour, scoop & leveled
- 1/2 tsp baking soda
- 1 tsp ground cinnamon
- 1/2 tsp ground nutmeg
- 1/2 tsp ground allspice
- 1/4 tsp fine salt
Instructions
- Preheat oven to 180ºC (350ºF) fan-forced. Line a square 9-inch x 9-inch (22cm x 22cm) baking tin with parchment paper and set aside. If using a non-stick tin, grease well with butter, line the base with parchment, and lightly flour the sides, tapping out excess flour. This ensures smooth cake edges.
- In a medium sized pot, add raisins and water. Place over a high heat and bring to a boil.
- Boil for 1 minute, stirring occasionally with a wooden spoon, then remove it from the heat.
- Add cubed butter to the raisins and stir until completely melted.
- Pour mixture into a large clean mixing bowl and allow mixture to cool for 15-20 minutes, just until it’s not too warm, you don’t want your eggs to curdle when you add it.
- While it’s cooling down, roughly chop your walnuts into small pieces.
- Add sugar and beaten eggs. Mix until well combined, about 30 seconds.
- Sift over flour, baking soda, cinnamon, nutmeg and allspice. Add the salt then gently fold until incorporated, do not over-mix, just until no streaks of flour remain.
- Fold through chopped walnuts.
- Pour batter into prepared tin, spreading it out evenly.
- Bake for 35-40 minutes or until until a toothpick inserted into the middle comes out clean or with a few moist crumbs. The cake should also spring back when lightly pressed in the middle.
- Remove from oven and cool in the tin for 15 minutes.
- Transfer to a wire rack to cool completely.
- Optional: Dust with powdered sugar.
- Cut into squares, serve and enjoy!
Notes
- Make it Dairy-Free: Use a block of dairy-free butter.
- Cool Raisin Mixture: After boiling the raisins in the water and mixing through the butter, you must allow it to cool down before adding the eggs otherwise they will curdle.
- Store: Once cooled, store your cake in an airtight container, at room temperature, for 4-5 days.
- Freeze: By cooling it completely after baking and wrap it plastic wrap then in foil. Label with the date and store for 2-3 months in the freezer. Please refer to above blog post for detailed storing, freezing and thawing instructions.
- Thaw: the frozen cake by choosing either refrigerator thawing (slow, several hours) or room temperature thawing (quick, a few hours).

This looks amazing. I cant wait to try it. Also, you have mentioned all the steps so clearly.
Thanks Alice! Hope you enjoy this recipe! xx
Is it okay to use white sugar instead of coconut sugar?
Hi Ari, apologies for delayed response. Yes you can use white sugar instead of the coconut sugar, hope you enjoy! x
Yummy! I’m eating it now! Thank you so much!
Yay! Your welcome Celeste, so happy you’re enjoying it! xx
Hello, we made your cake and it was delicious! I did alter it a little to stop the crumbling though. We have noticed with a lot of gluten free recipes that they are crumbly – not because of the raisin/nuts. To rectify this, we add one extra egg and a teaspoon of Guar Gum/Xanthan Mix (I found mixing these two gives me a better result).
Thank you for the recipe, it is the second cake my partner has made and it came out beautifully – his first failed years before- I may get more baking from him now!
Hi Vanessa! That’s wonderful to hear! I agree with the crumbly cake texture with gluten free baking. I have found a fantastic flour blend though recently from Bobs Red Mill, it’s his ‘Gluten Free 1-to-1 Baking Flour’. Still experimenting with my own blend for the very best gluten free baked goods. I’ll try your suggestion too, thank you! I hope you get to enjoy many more delicious cakes from your partner! xx