
4 Ingredient Coco Pop Slice

This easy 4 Ingredient Coco Pop Slice is a quick no bake treat. Crunchy Coco Pops are coated in a rich chocolate and condensed milk mixture to create a sweet, chocolatey no-bake slice that comes together in minutes.
Perfect for lunchboxes, parties, or an easy homemade dessert, this simple slice requires minimal preparation and no oven. It’s a great way to turn a classic childhood cereal into a delicious chocolate treat the whole family will enjoy.
If you love treats with cereal, try my Cornflake Slice, White Chocolate Rice Bubble Slice or Chocolate Weetbix Slice!

Recipe at a glance
Prep Time: 15 minutes
Chill Time: 4+ hours, or overnight
Servings: 16 squares
Difficulty: Very Easy
Main Ingredients: Coco Pops, dark chocolate, sweetened condensed milk, and butter.
Technique: Gently melting the chocolate, butter, and condensed milk together, stirring through the Coco Pops, firmly pressing the mixture into the tin, then chilling until set.
Why this recipe works
I tested this Coco Pop Slice to create a simple no bake recipe that holds together well while still keeping the crunchy texture of the Coco Pops.
With just four ingredients and minimal preparation, this recipe is an easy option for parties, lunchboxes, or making ahead when you need a quick homemade treat.
- Only 4 Ingredients: This slice uses simple pantry ingredients and comes together quickly without complicated steps.
- No Baking Required: The chocolate mixture is melted, combined with the cereal, then chilled until firm.
- Perfect for Sharing: This recipe makes 16 squares, making it ideal for parties, gatherings, or storing in the fridge for an easy treat.
- Tested and Reliable: This recipe has been tested to ensure clear instructions and a simple process, so you can make a Coco Pop Slice that sets properly and holds together when sliced.
Ingredients you’ll need
This easy Coco Pop Slice uses simple ingredients to create a crunchy chocolate no bake slice.
- Unsalted or Salted Butter: Butter creates a smooth chocolate mixture and adds richness to the slice.
- Sweetened Condensed Milk: Condensed milk adds sweetness and helps bind the ingredients together, creating a slice that holds its shape once chilled.
- Dark Chocolate: Dark chocolate adds a rich chocolate flavour and balances the sweetness of the condensed milk. You can use milk chocolate if you prefer a sweeter slice.
- Coco Pops: Coco Pops create the signature crunchy texture and chocolate flavour. If you are in the US or Canada, Cocoa Krispies can be used as a substitute.
Refer to the recipe card at the bottom of this post for a full list of ingredients and quantities.
Ingredient substitutions
- Chocolate: Dark chocolate can be replaced with milk chocolate for a sweeter slice. Keep in mind that milk chocolate may create a slightly softer texture. If you want to use white chocolate, try my rice bubble slice.
- Coco Pops: If you are located in the US or Canada, Cocoa Krispies can be used instead of Coco Pops.
How to make coco pop slice
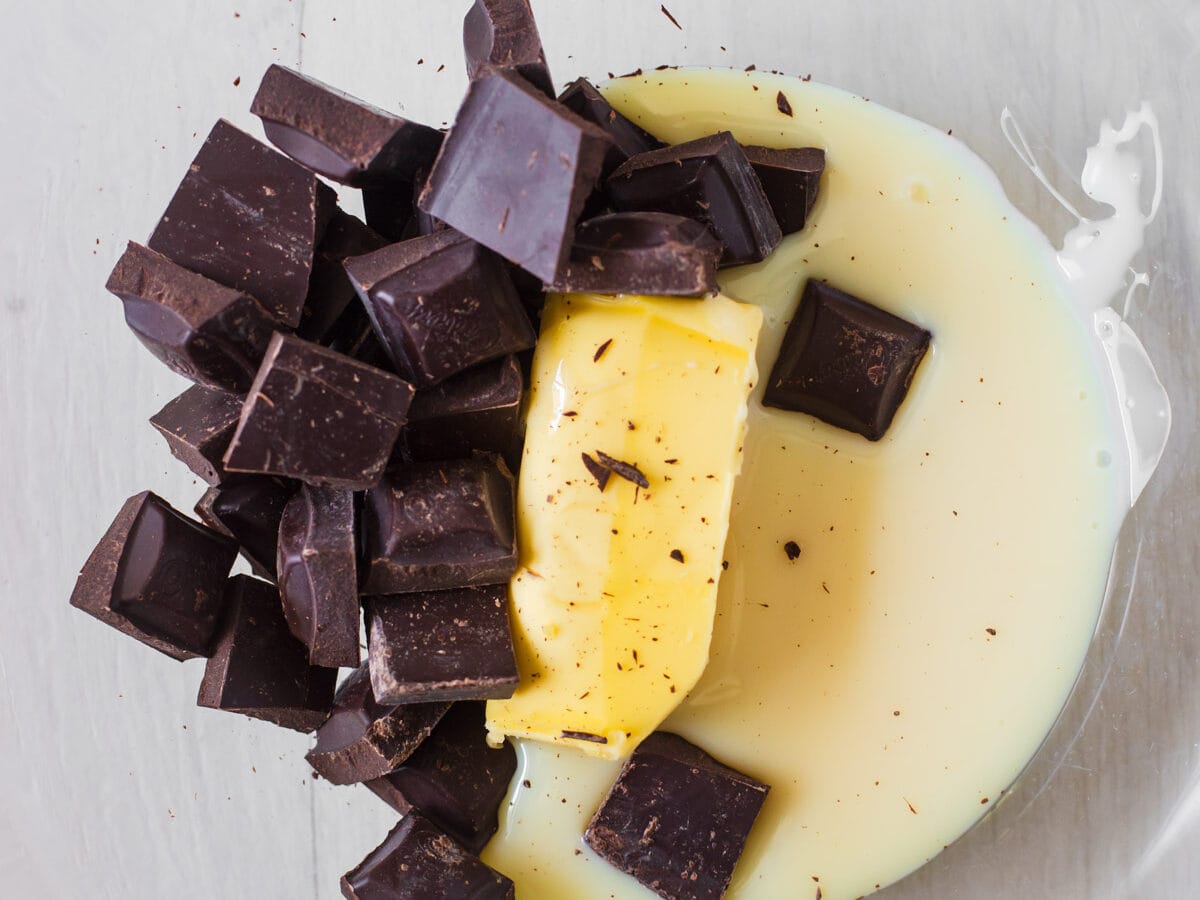
Step 1: Add the butter, sweetened condensed milk, and broken-up dark chocolate to a large heatproof mixing bowl.
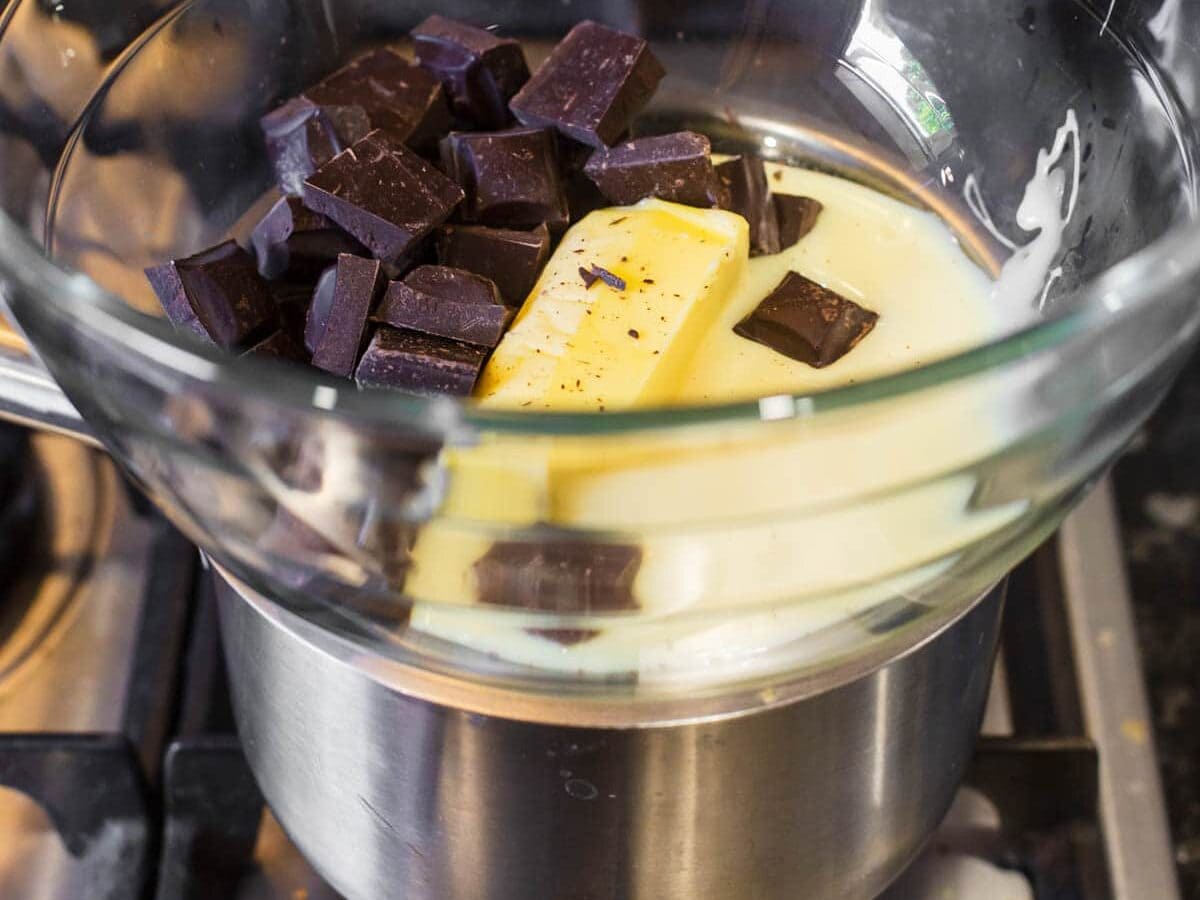
Step 2: Place the bowl over a small to medium saucepan of gently simmering water, making sure the bowl does not touch the water. Melt over low heat, stirring regularly, until smooth and fully combined. Remove from heat immediately once melted to prevent the mixture from separating.
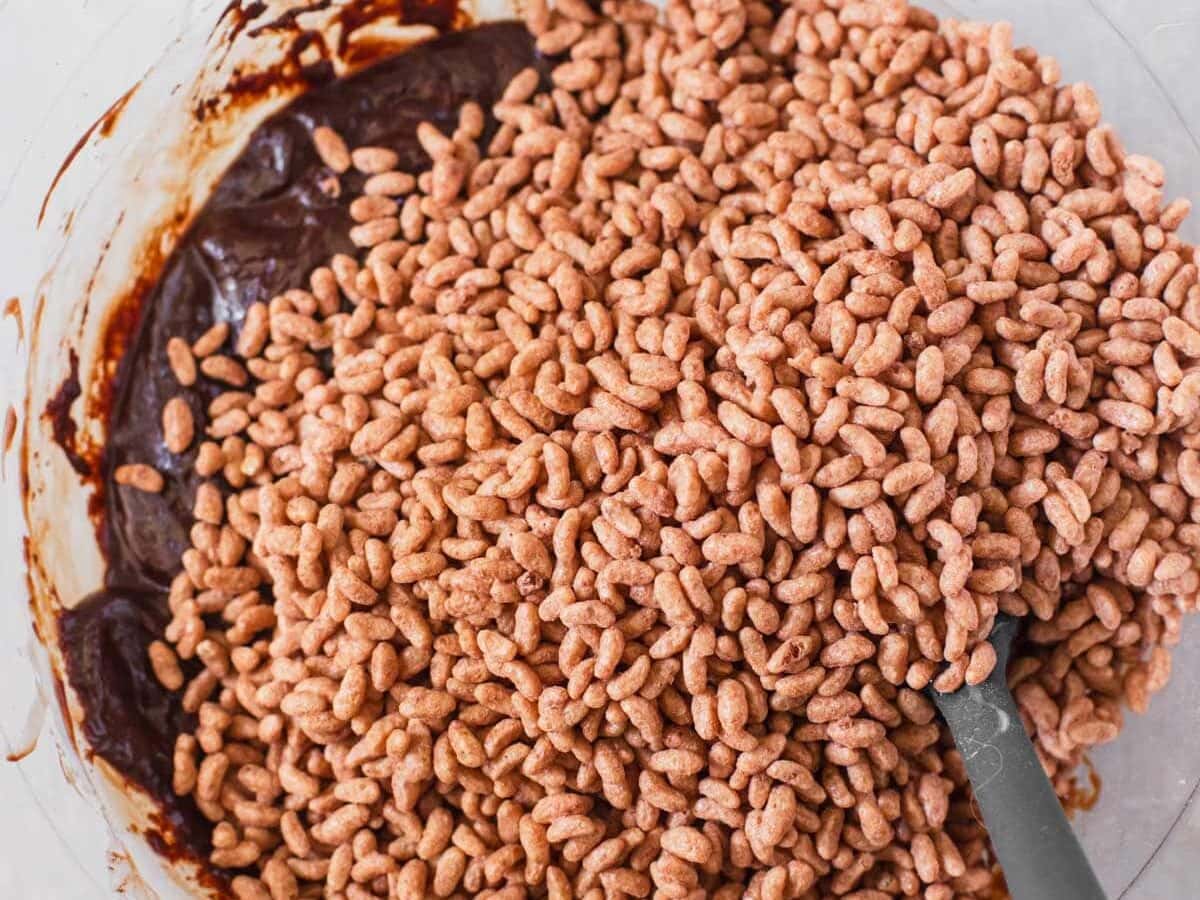
Step 3: Add the Coco Pops to the melted chocolate mixture and stir until every piece is evenly coated.
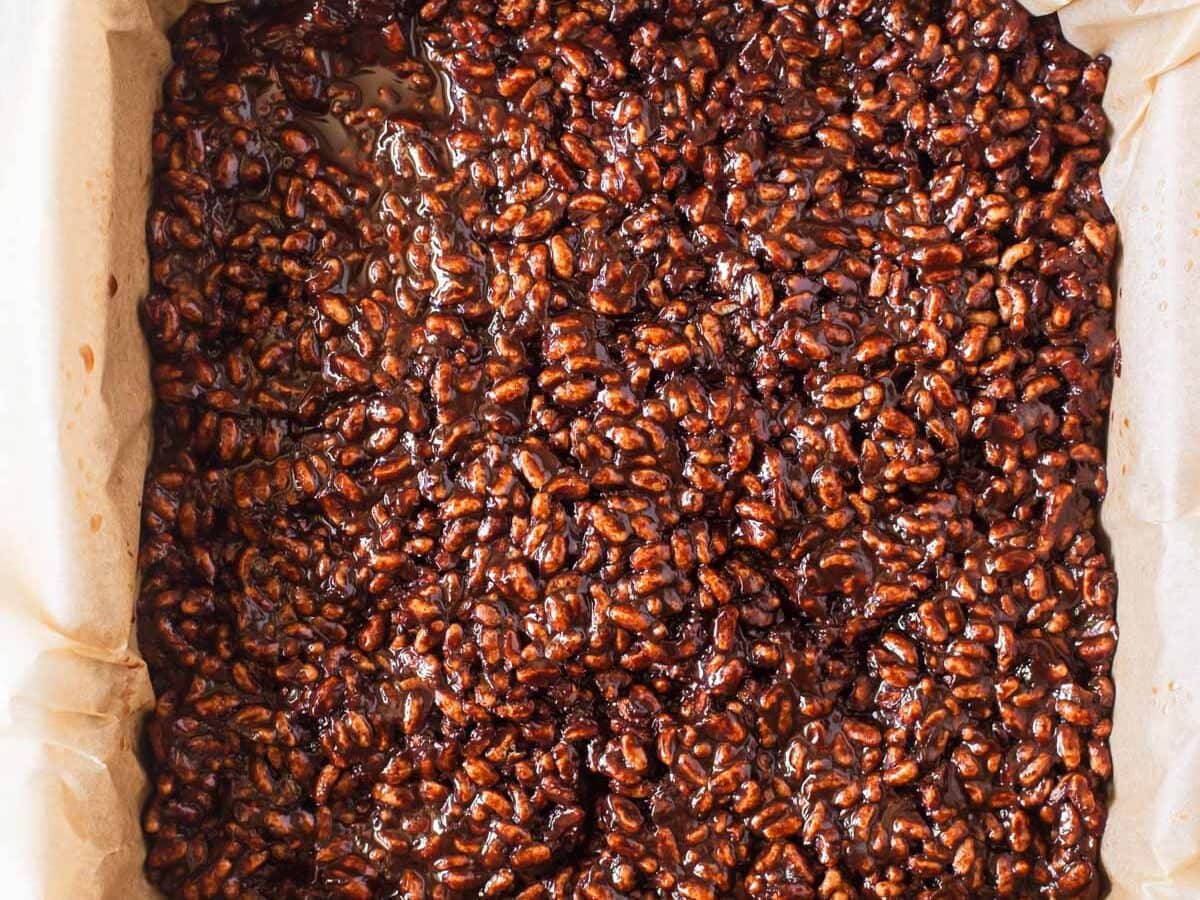
Step 4: Transfer the mixture to the prepared baking tin. Use a rubber spatula or the back of a spoon to firmly press the mixture into an even layer. Compacting the mixture helps prevent the slice from crumbling when sliced.
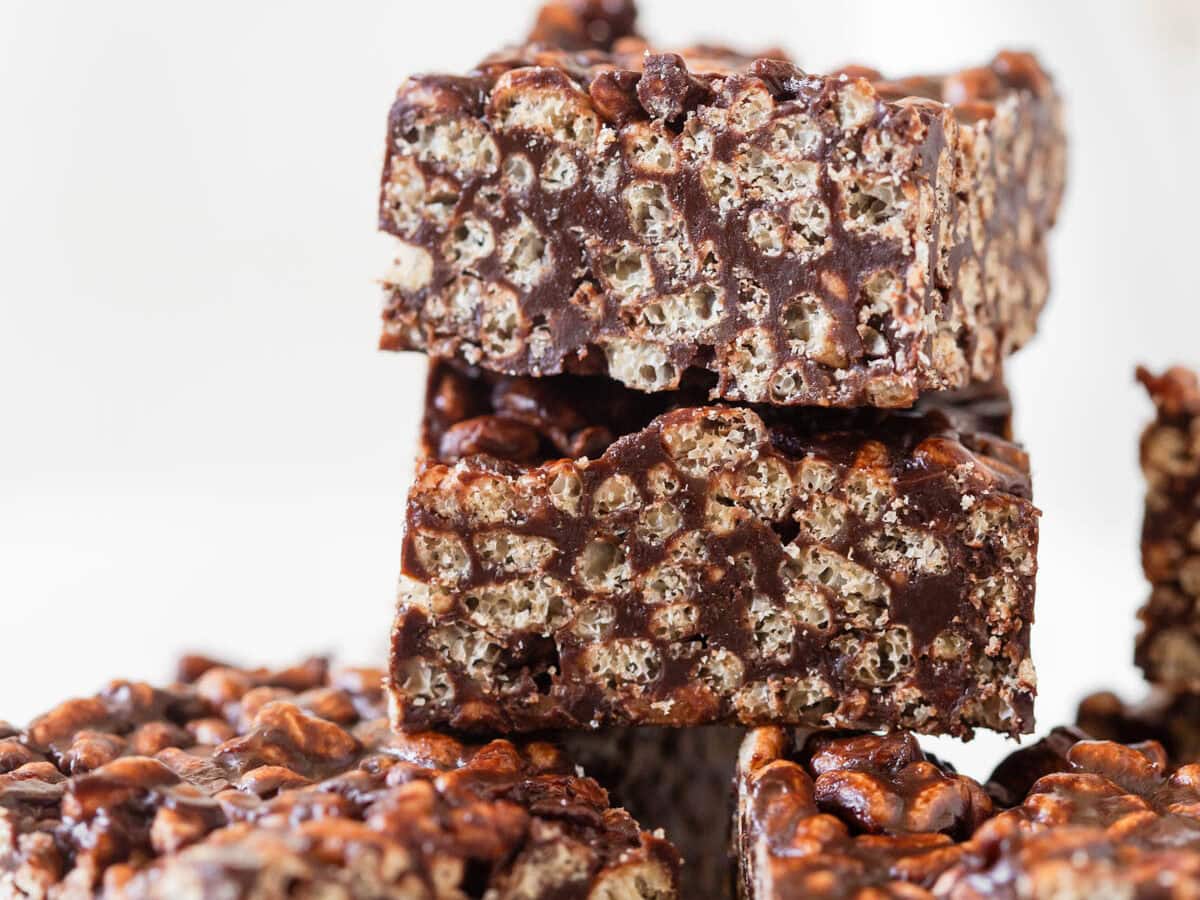
Step 5: Refrigerate for at least 4 hours, or overnight, until the slice is firm and fully set. Remove the slice from the tin using the parchment paper. Slice into squares and enjoy.
Watch how to make it
Sam’s expert tips
- Melt the chocolate mixture gently: Whether using a double boiler or microwave, avoid overheating the butter, condensed milk, and chocolate. Gentle melting on low heat helps create a smooth mixture and prevents the mixture from separating.
- Press the slice firmly: Take the time to compact the mixture firmly into the lined tin. This helps the slice hold together when cut and prevents it from becoming crumbly.
- Allow enough chilling time: Chill the slice for at least 4 hours, ideally overnight, before cutting. This allows the chocolate mixture to fully set and creates neat, firm squares.
- Use a sharp knife for clean slices: For the neatest squares, use a sharp knife and wipe it clean between cuts if needed.

Recipe FAQ’s
Can I use milk chocolate instead of dark chocolate?
Yes, milk chocolate can be used instead of dark chocolate for a sweeter slice. Keep in mind that milk chocolate will create a slightly softer texture once it’s set.
Why is my Coco Pop Slice falling apart?
If your slice is crumbly, it may not have been pressed firmly enough into the tin or chilled for long enough. Make sure the mixture is compacted well before refrigerating and allow at least 4 hours, ideally overnight, for the slice to fully set.
Can I use Cocoa Krispies instead of Coco Pops?
Yes, Cocoa Krispies can be used instead of Coco Pops. Coco Pops are a chocolate puffed rice cereal popular in Australia, while Cocoa Krispies are the closest equivalent available in the US and Canada.
How to store
Store: Store in an airtight container in the refrigerator for up to 1 week.
Freeze: Freeze for up to 1 month. Wrap individual slices or the entire slice tightly in plastic wrap, then place in a freezer-safe bag or container. Thaw in the refrigerator or at room temperature before serving.
If you enjoy this recipe, please consider leaving a ⭐️ star rating and a comment review below. I love to hear what you think and it’s much appreciated. Thank you! Your email address will not be published. Sam x


4 Ingredient Coco Pop Slice
Ingredients
Method
- Prepare Baking Tin: Line an 8×8 inch square baking tin with parchment paper, leaving some overhang for easy removal. Set aside.
- Melt Ingredients: Place a large heatproof mixing bowl over a small to medium saucepan of gently simmering water, making sure the bottom of the bowl does not touch the water. Add the butter, sweetened condensed milk, and broken-up dark chocolate to the bowl. Melt gently over low heat, stirring regularly, until the mixture is smooth and fully combined. Remove from the heat as soon as the ingredients have melted together, as continuing to heat the mixture can cause it to separate. Microwave: Alternatively, add the ingredients to a large microwave-safe bowl and microwave in 20–30 second intervals, stirring well between each interval, until smooth and melted. Avoid overheating the mixture, as gentle melting helps prevent the chocolate from separating.
- Combine with Coco Pops: Add the Coco Pops to the melted chocolate mixture and stir until every piece is evenly coated.
- Press into Tin: Transfer the mixture to the prepared baking tin. Use a rubber spatula or the back of a spoon to firmly press the mixture into an even layer. Compacting the mixture helps prevent the slice from crumbling when sliced.
- Chill and Set: Refrigerate for at least 4 hours, or ideally overnight, until the slice is firm and fully set.
- Serve: Remove the slice from the tin using the parchment paper. Slice into squares and enjoy.
Nutrition
Video
Notes
- Dark Chocolate: Dark chocolate creates a rich chocolate flavour and balances the sweetness of the condensed milk. Milk chocolate can be used instead for a sweeter slice, but the texture may be softer. If you want to use white chocolate, try my Rice Bubble Slice instead.
- Coco Pops: Coco Pops create the signature crunchy texture in this slice. If you are located in the US or Canada, Cocoa Krispies can be used instead of Coco Pops.
- Melt Gently: Melt the chocolate mixture slowly over low heat or in short microwave intervals. Avoid overheating, as chocolate can separate when exposed to too much heat. Once the ingredients have melted together and the mixture is smooth, remove it from the heat immediately.
- Press Firmly: Firmly press the mixture into the lined tin before chilling. Compacting the slice helps it hold together and prevents it from crumbling when cut.
- Allow Enough Chilling Time: Refrigerate the slice for at least 4 hours, ideally overnight, before slicing. This allows the chocolate mixture to fully set and creates clean, firm squares.
- Use a Sharp Knife: For neat slices, use a sharp knife and wipe it clean between cuts if needed.
- Store: Store in an airtight container in the refrigerator for up to 1 week.
- Freeze: Freeze for up to 1 month. Wrap individual slices or the entire slice tightly in plastic wrap, then place in a freezer-safe bag or container. Thaw in the refrigerator or at room temperature before serving.