Easy Chocolate Chip Scones
These Easy Chocolate Chip Scones are a heavenly breakfast and high tea treat, boasting a perfect balance of buttery and flakey layers with decadent bursts of melty dark chocolate chips.
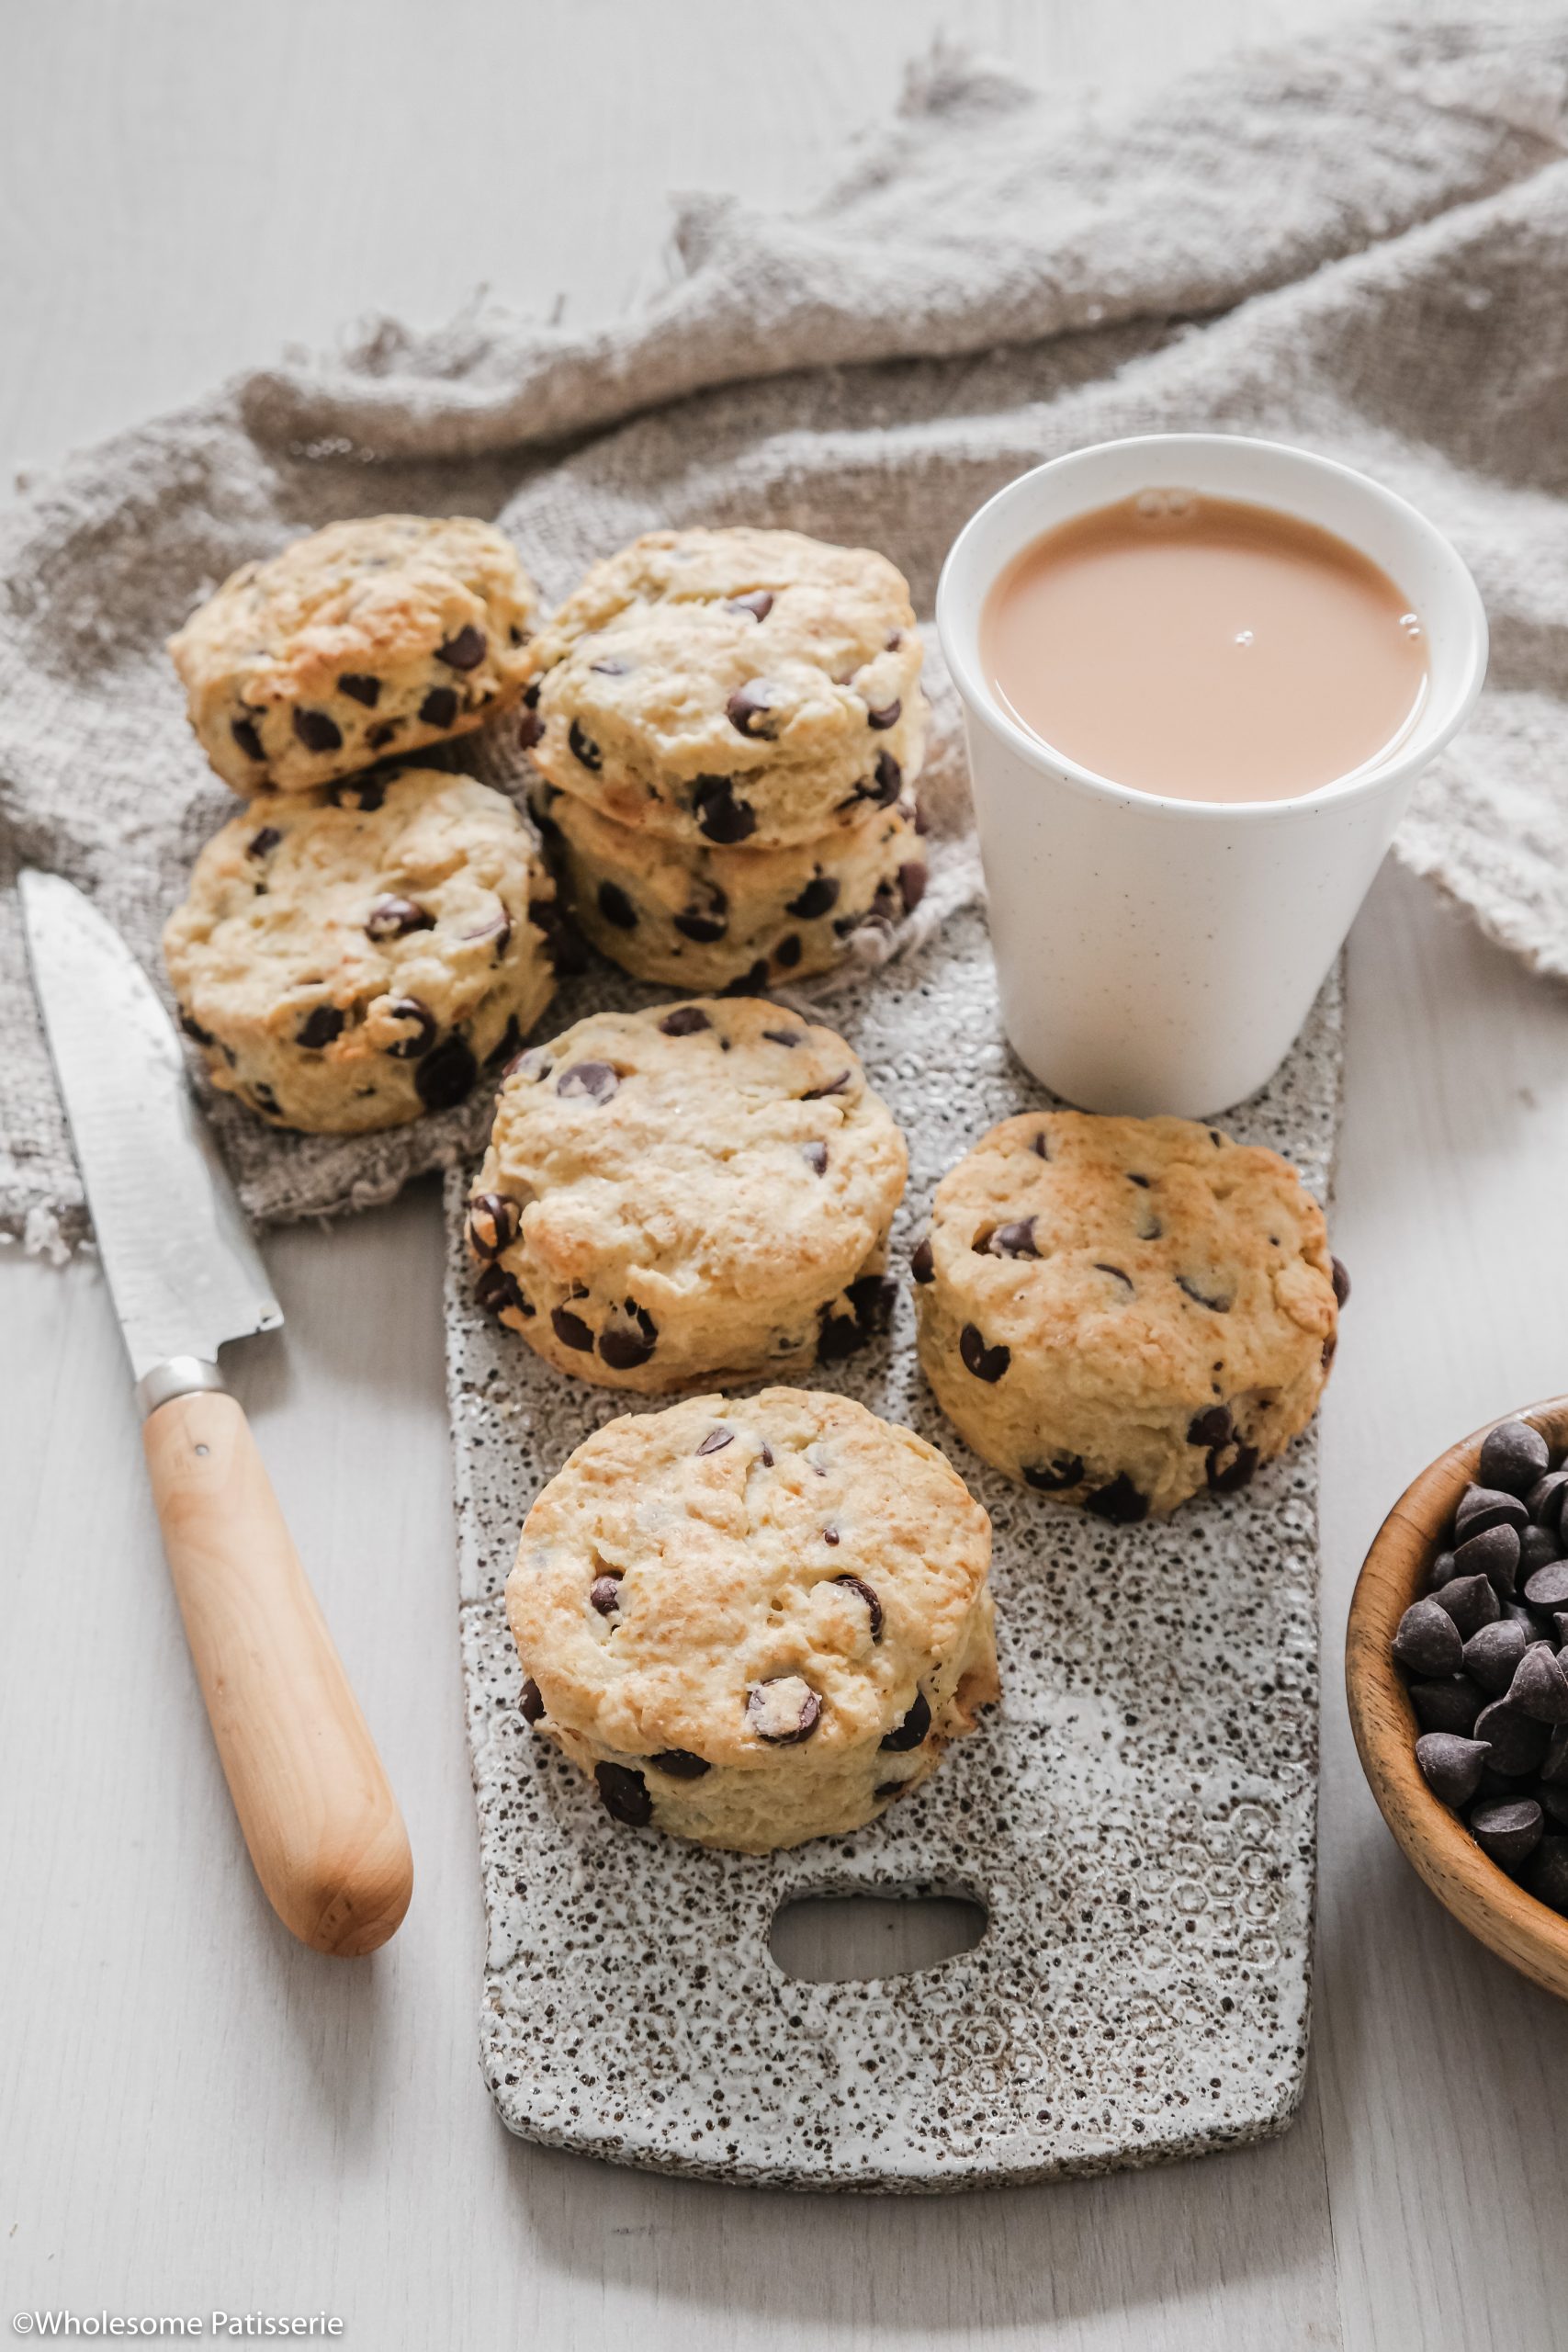
Indulge in the delightful pleasure of chocolate chip scones.
A traditional baked good that combines the rich decadence of chocolate with the comforting charm of freshly baked scones.
Along with their enticing companions of Raspberry and White Chocolate scones and Gluten-Free Blueberry Scones, they form a triumvirate of irresistible flavors to captivate all scone enthusiasts.
Whether enjoyed for a cream tea treat alongside a steaming cup of coffee or homemade hot chocolate, these scones never fail to bring a sense of indulgence and satisfaction.
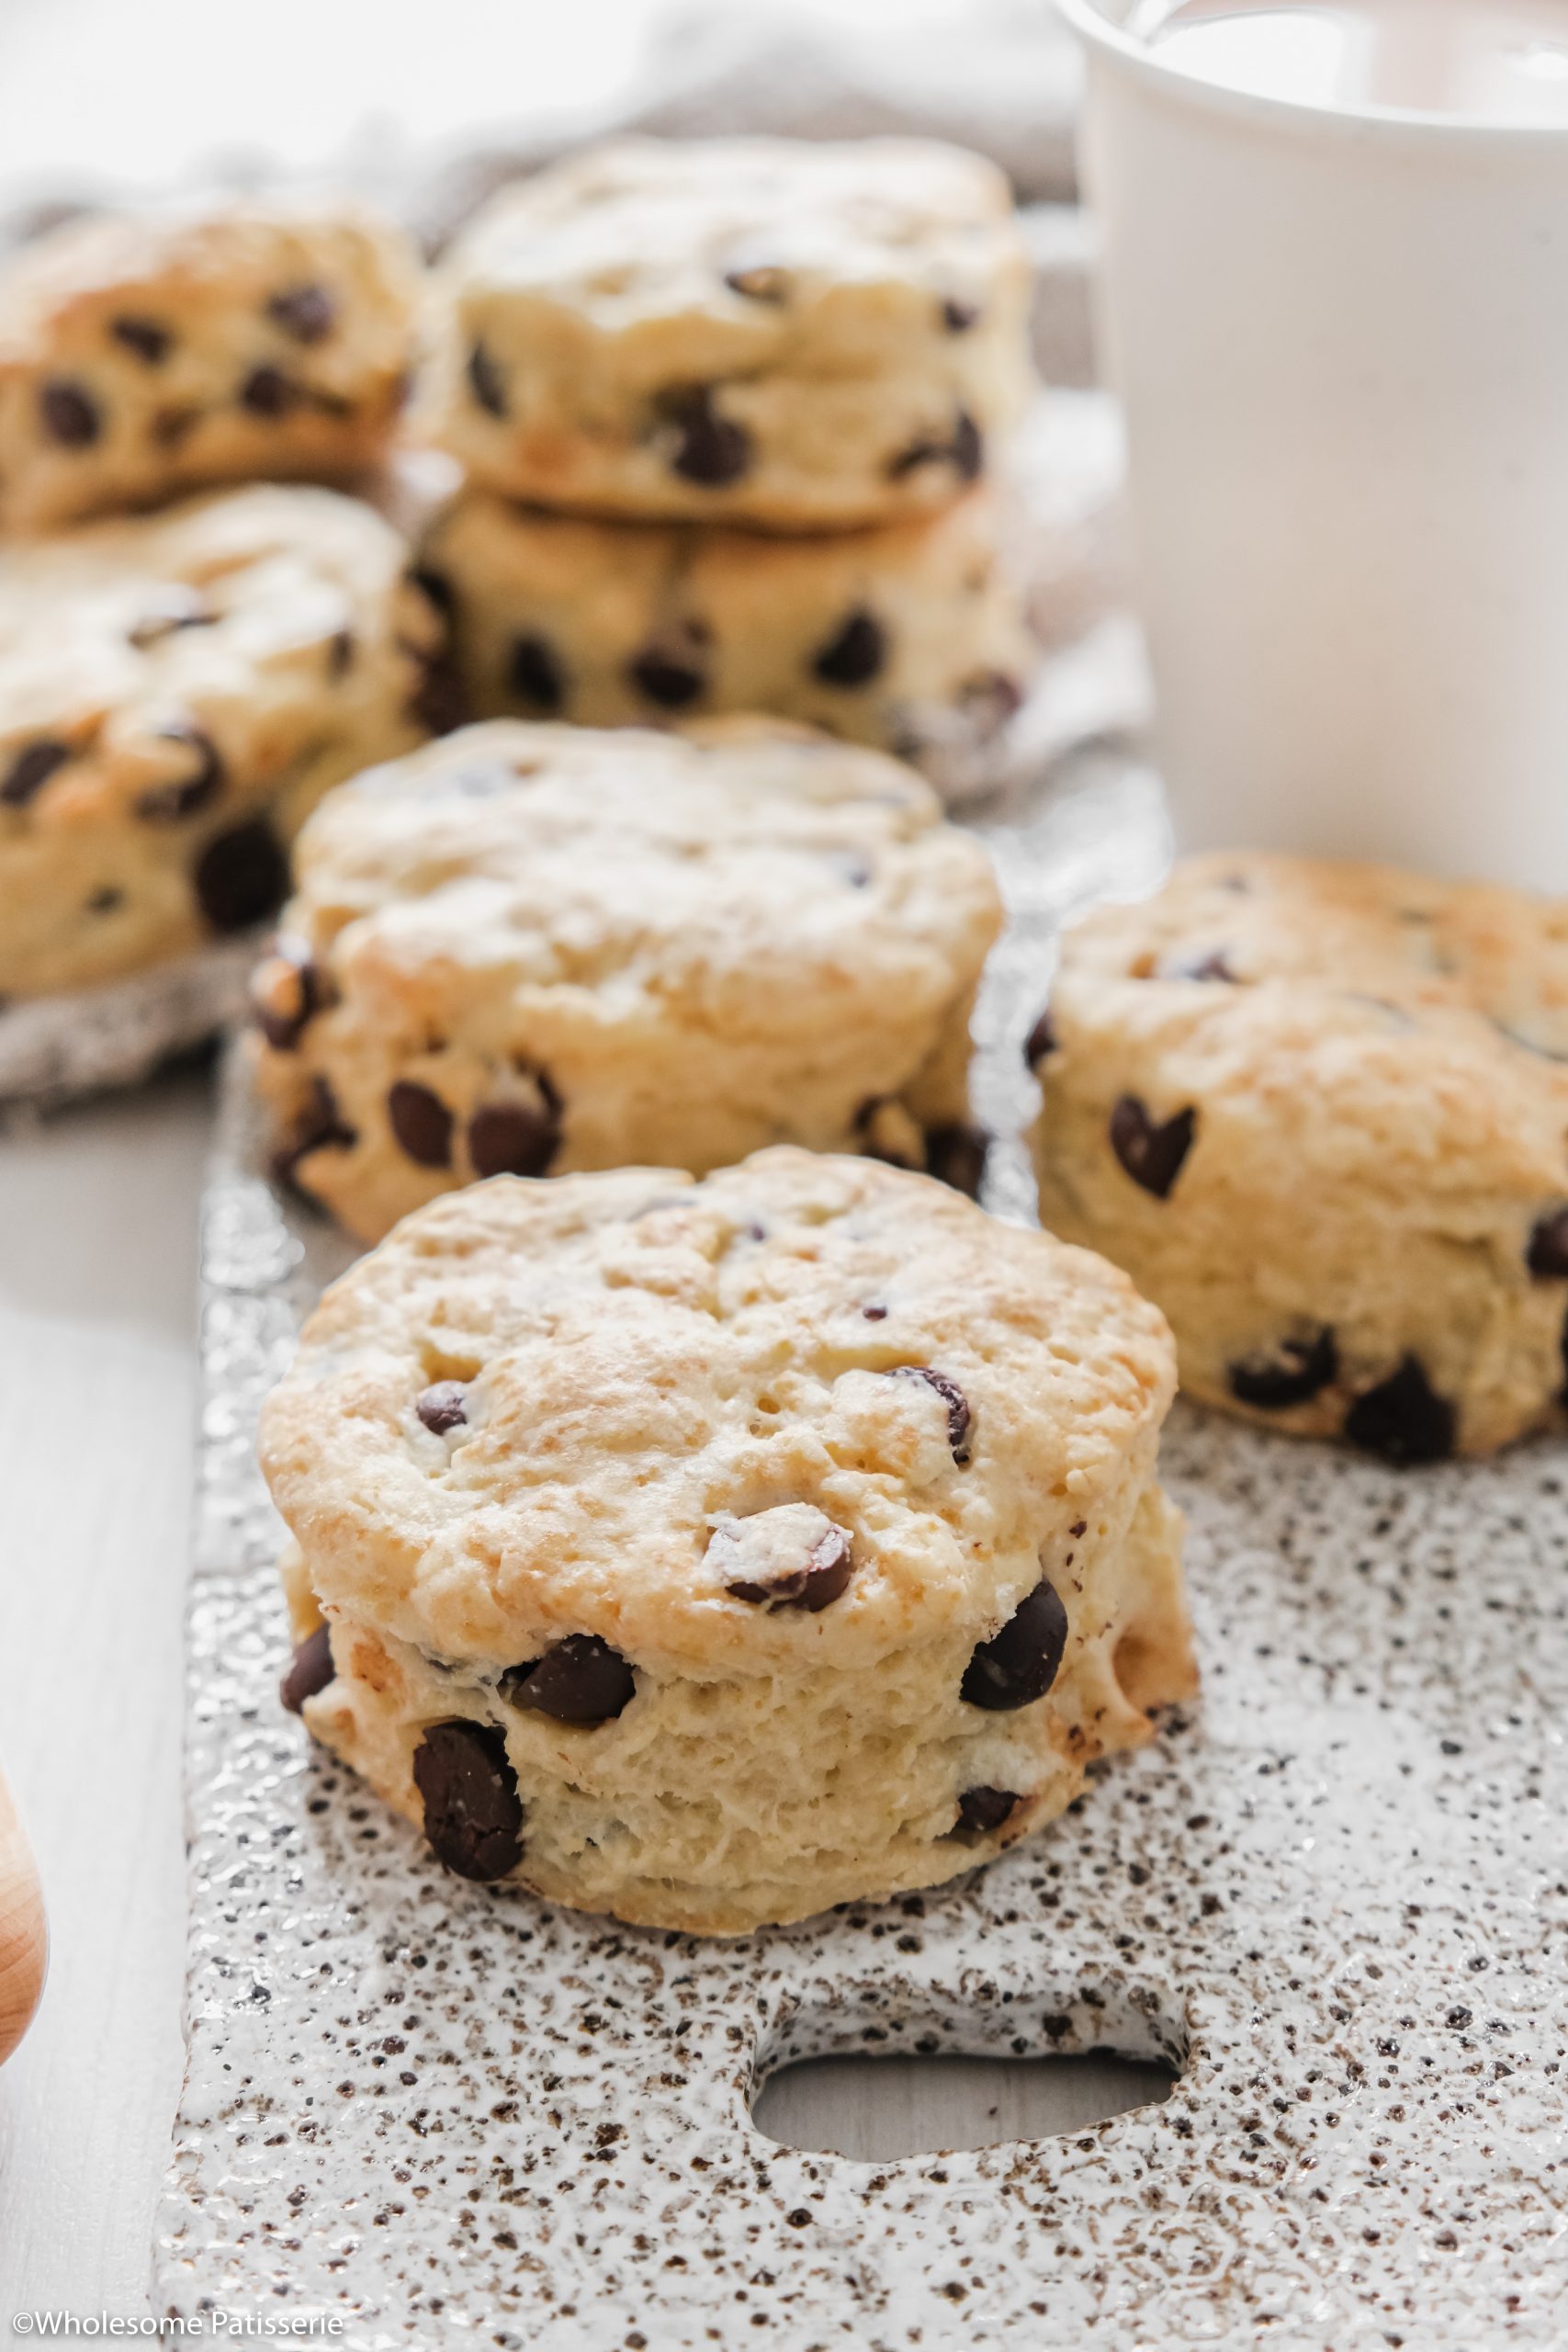
🍫 Why You Will Love This Recipe
- Easy and simple to follow scone recipe.
- Buttery, tender and flakey layers.
- Bursting with melty chocolate chips.
- Delightful for a morning breakfast treat.
- Perfect to serve at high tea.
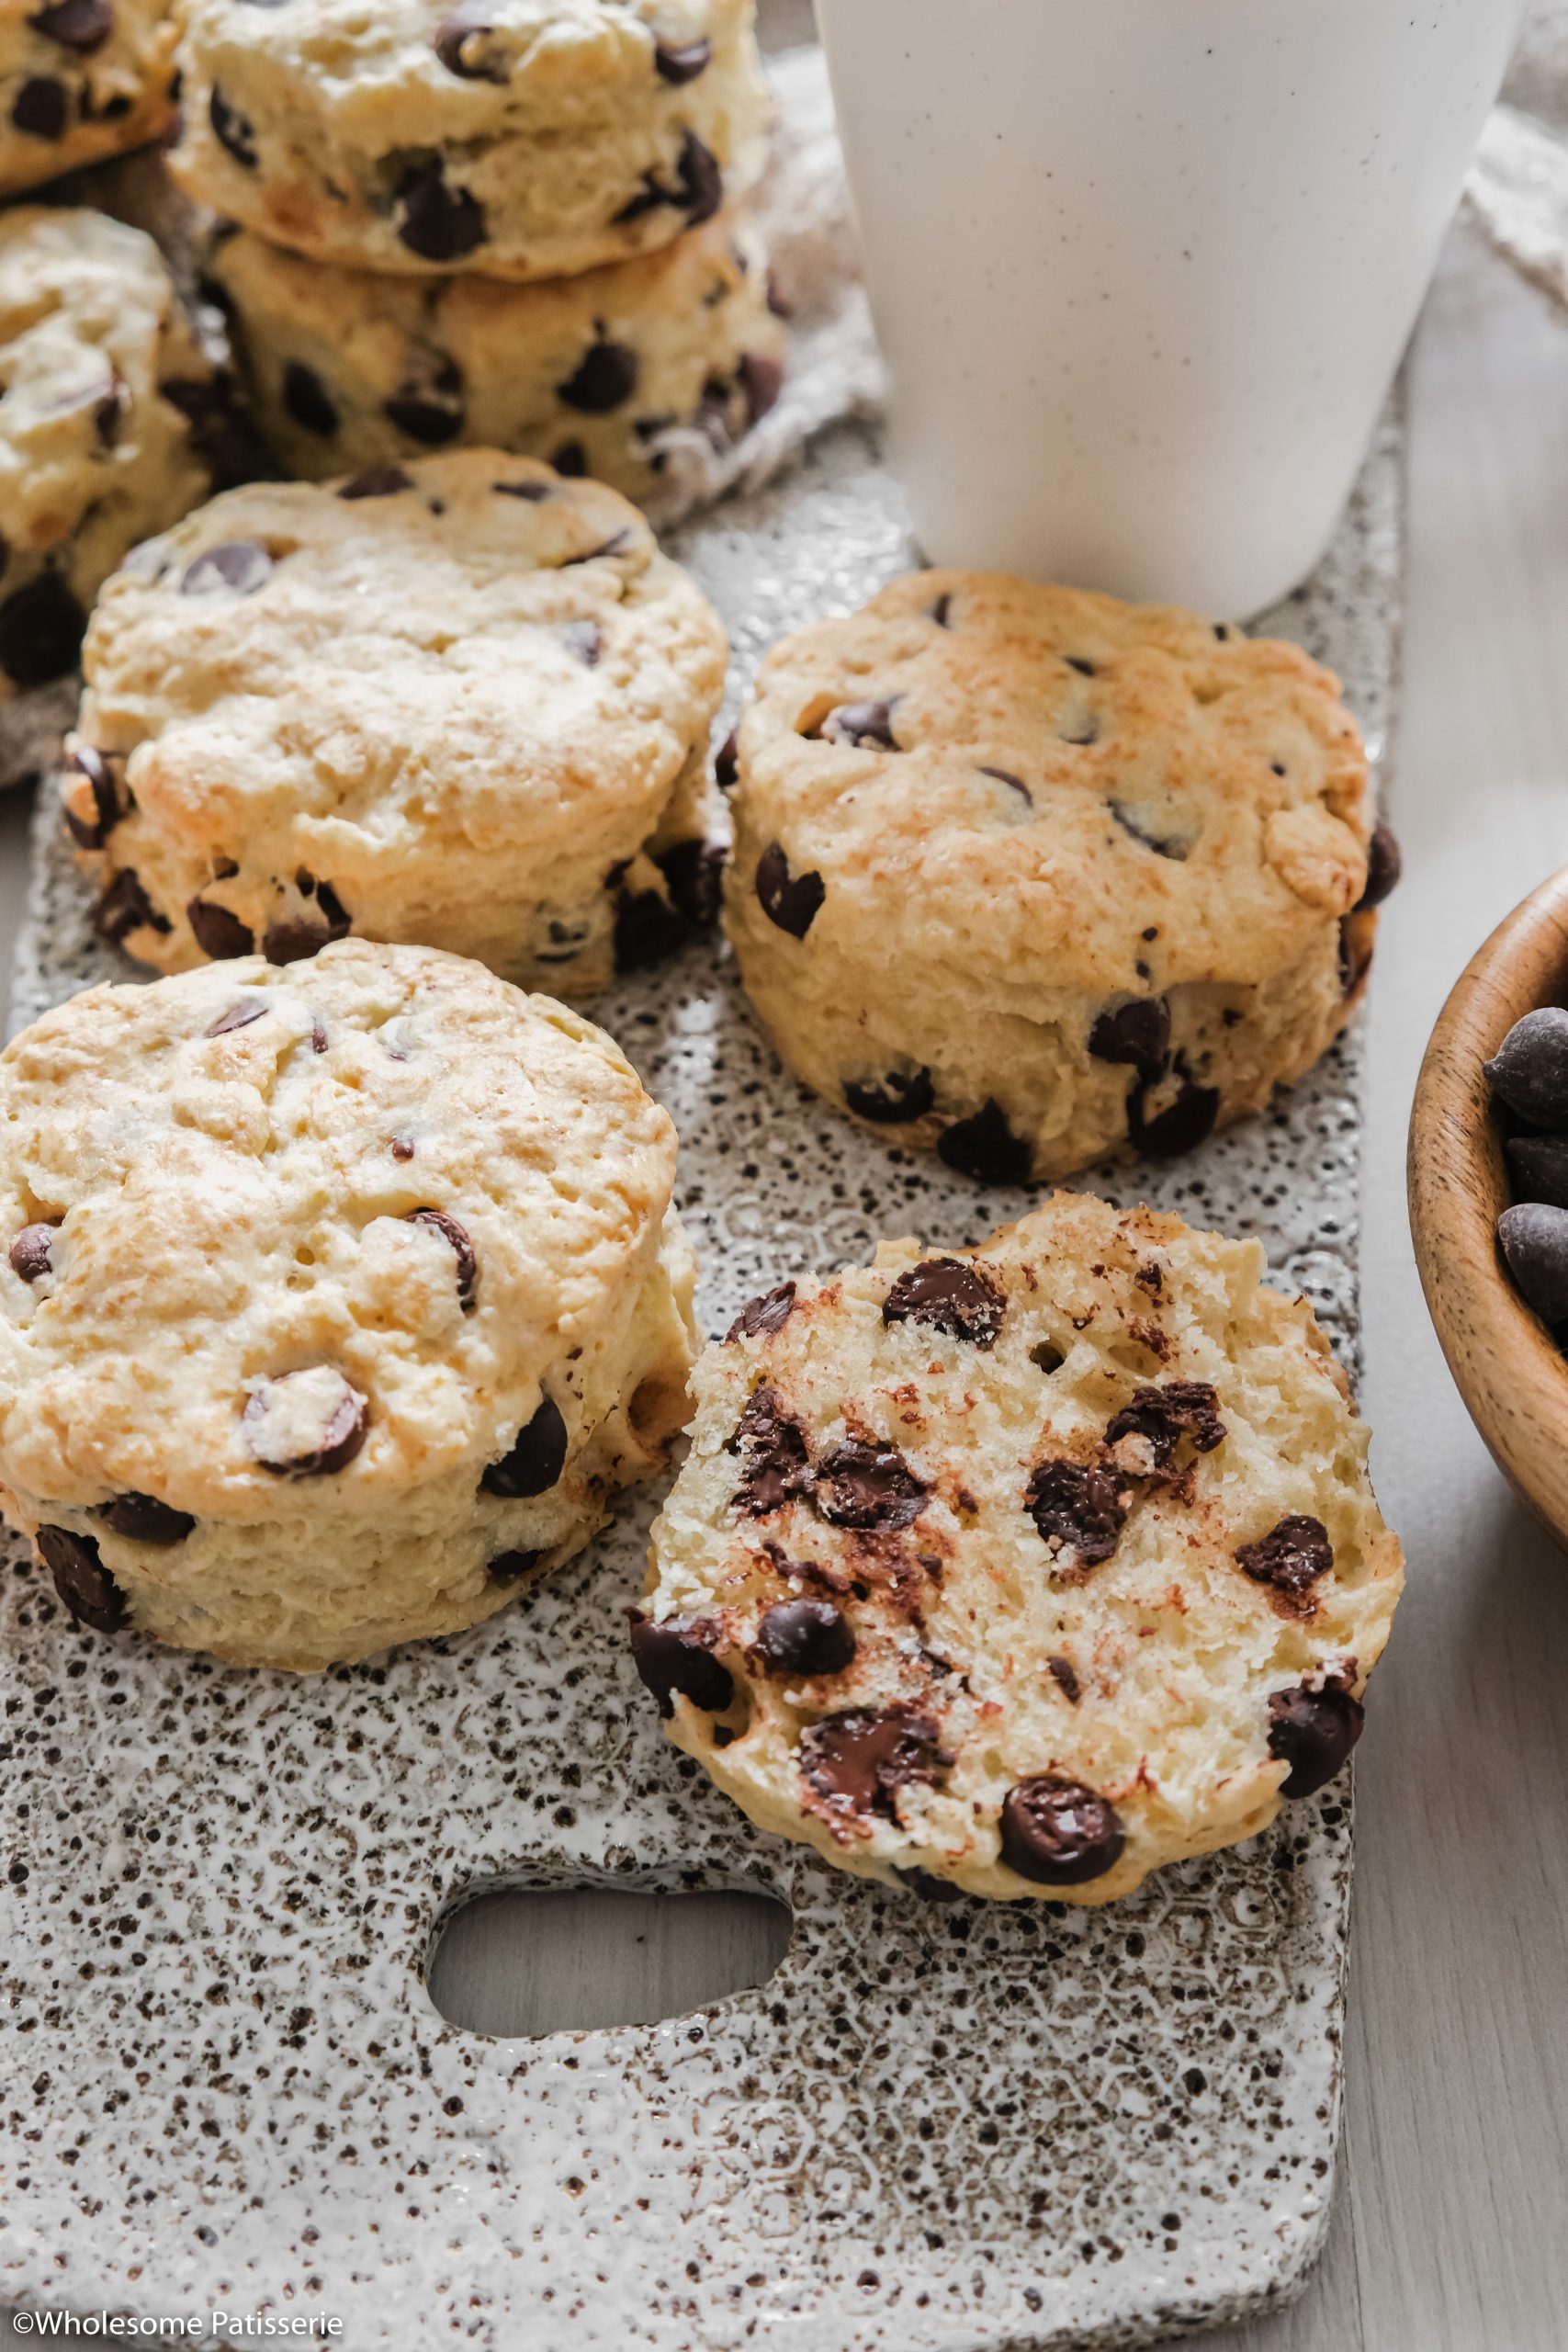
These irresistible scones have become a breakfast menu mainstay and bakery shelf standard, evoking images of cozy cafes and warm, comforting moments shared with loved ones.
In under 20 minutes, you can whip up these scones using a quick and simple method that requires no food processor.
All you need is one mixing bowl, a whisk, cookie cutter and your trusty hands.
🍓 Serving Suggestions
Enhance your chocolate chip scone experience with these serving suggestions:
- With a dollop of clotted cream, a spread of butter or a drizzle of melted chocolate for extra indulgence.
- Pair them with a cup of freshly brewed coffee, a hot cup of tea or hot chocolate.
- Serve them as part of a brunch spread, alongside a selection of jams, spreads, and fresh fruits.
- For a special touch, dust the scones with powdered sugar before serving.
- Get creative and use them as a base for a decadent dessert, such as strawberry shortcake or a chocolate chip scone trifle.
📋 Ingredient Notes & Substitutions
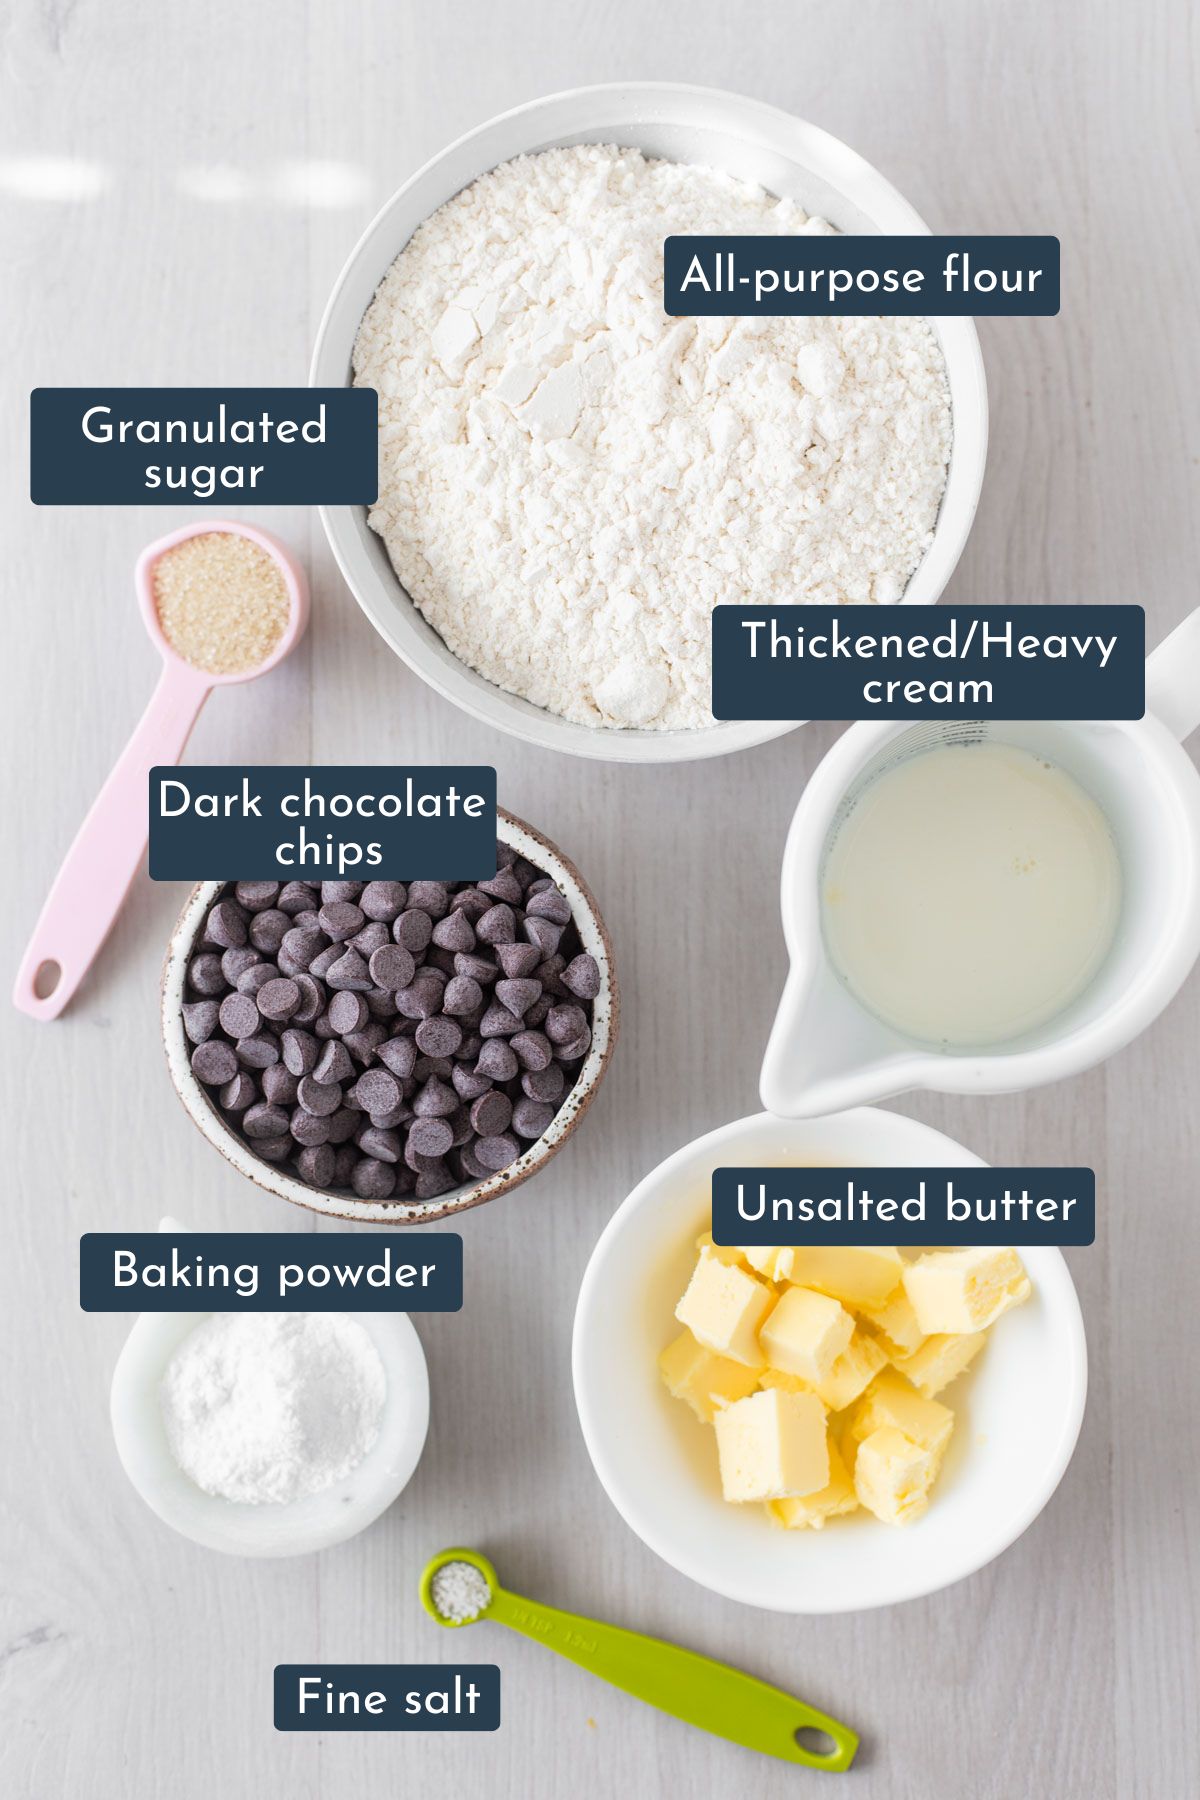
- All-purpose flour: Is also known as plain flour in Australia. Be sure to check out my guide on how to accurately measure basic baking ingredients.
- Baking powder
- Granulated sugar: Use golden/raw or white granulated sugar. May also be substituted with caster sugar.
- Fine salt
- Unsalted block butter: Can be substituted with salted block butter, just remove the added 1/4 tsp in the recipe.
- Dark chocolate chips: I use the regular size chocolate chips but you can also use mini chocolate chips, just reduce the quantity to 1/2 cup. Can be substituted with either milk chocolate chips or white chocolate chips.
- Thickened cream: Is also known as heavy cream in the US. If you don’t have cream, whole milk works just as well. Substitute the cream for milk using the same cup quantities (3/4 cup) as the weight will differ between the two.
🥣 Step By Step Instructions (with photos)
There is a full and detailed recipe card at the bottom of this post.
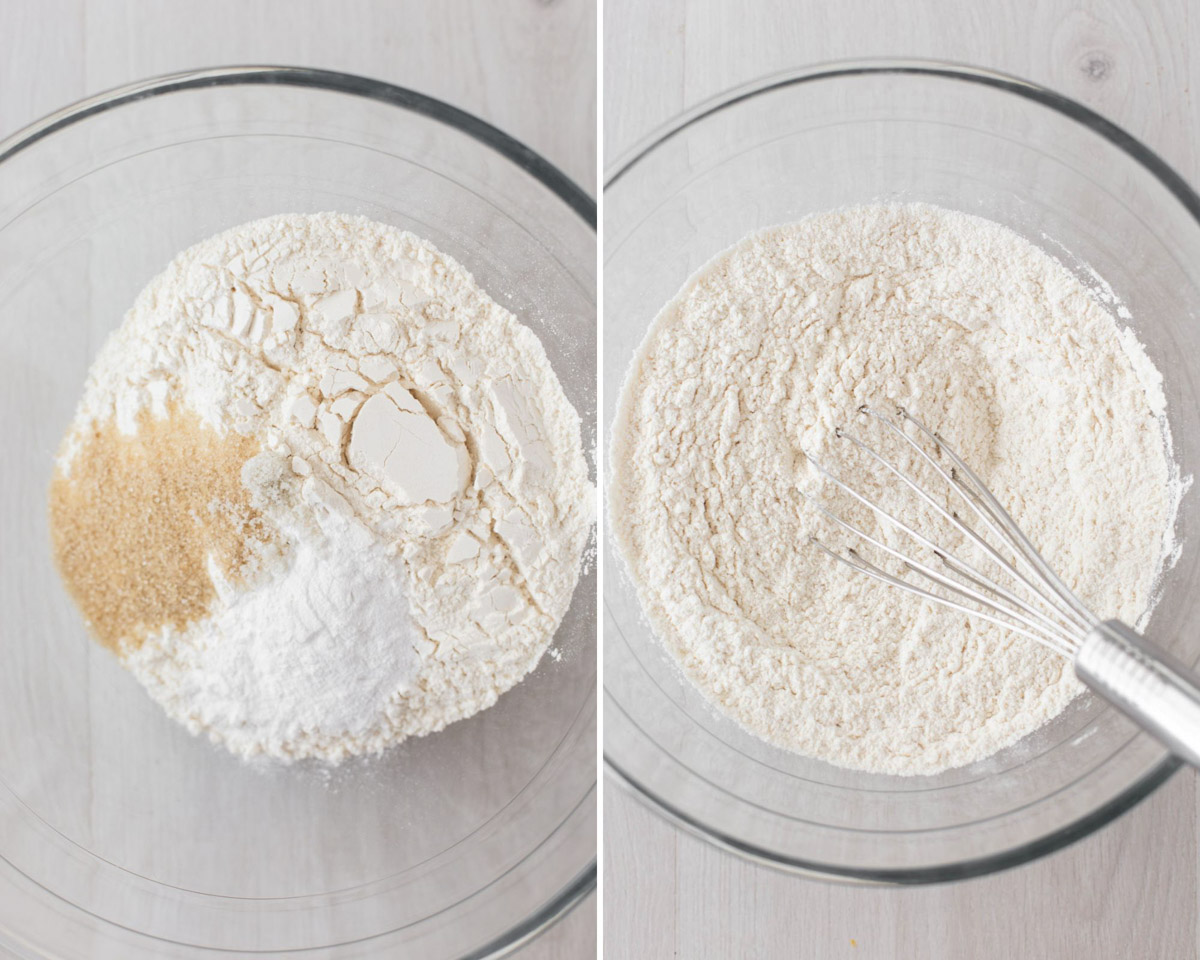
Step one: In a large mixing bowl whisk together the flour, baking powder, sugar and salt.
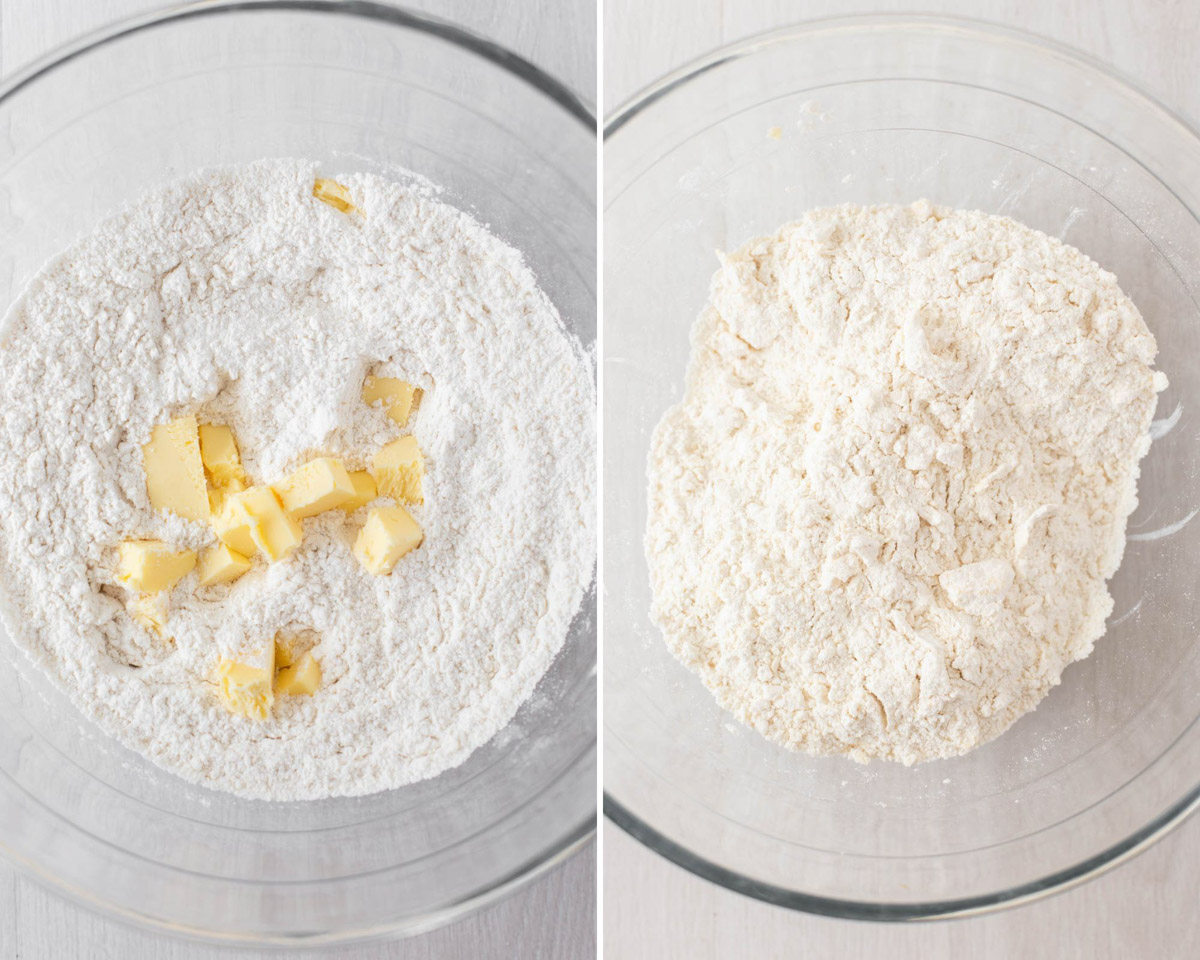
Step two: Add cubed chilled butter and using your hands, rub the butter into flour for 1 minute until it resembles a coarse crumb.
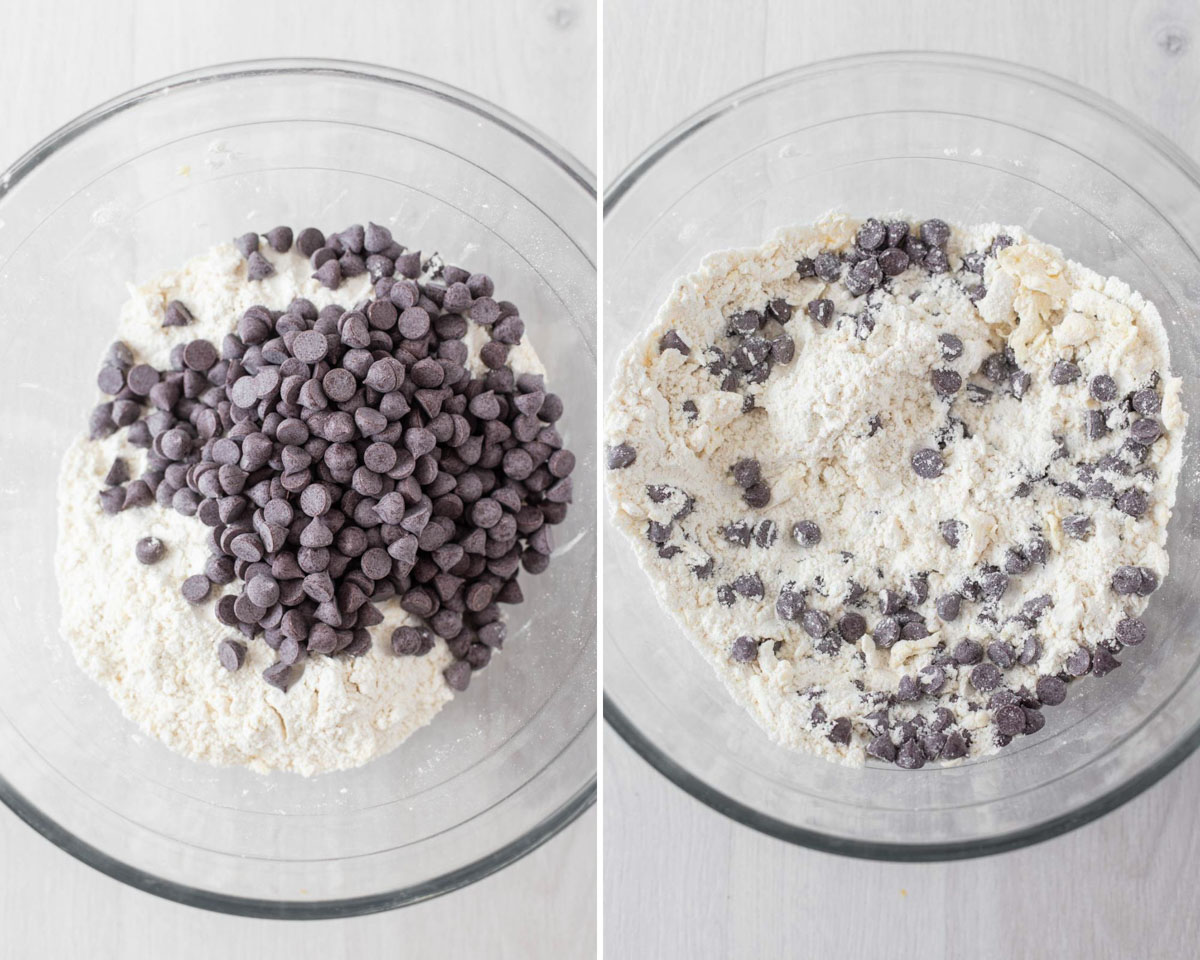
Step three: Stir through the chocolate chips with a wooden spoon or rubber spatula.
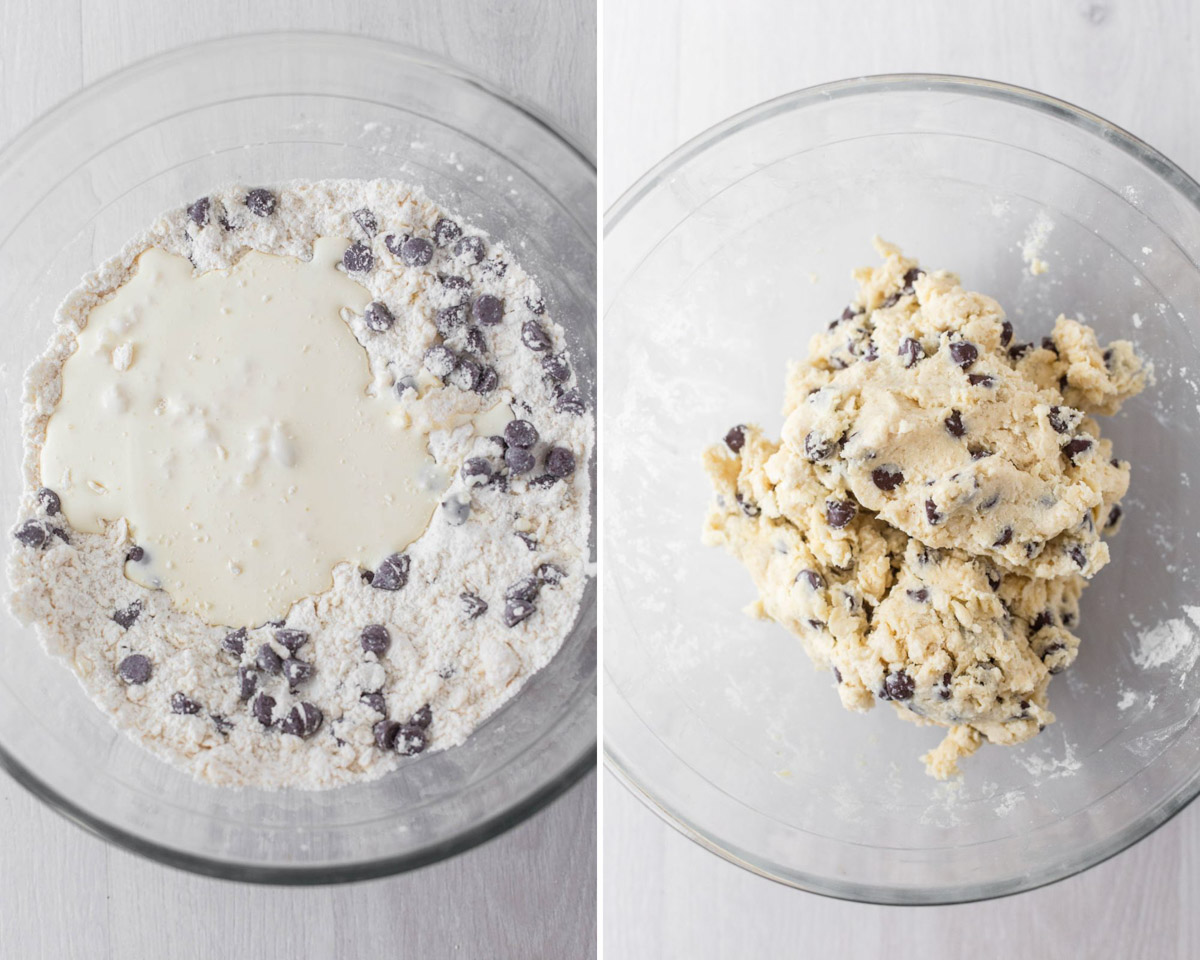
Step four: Pour in the cream and mix it through with a wooden spoon/spatula or your hands until a soft dough forms.
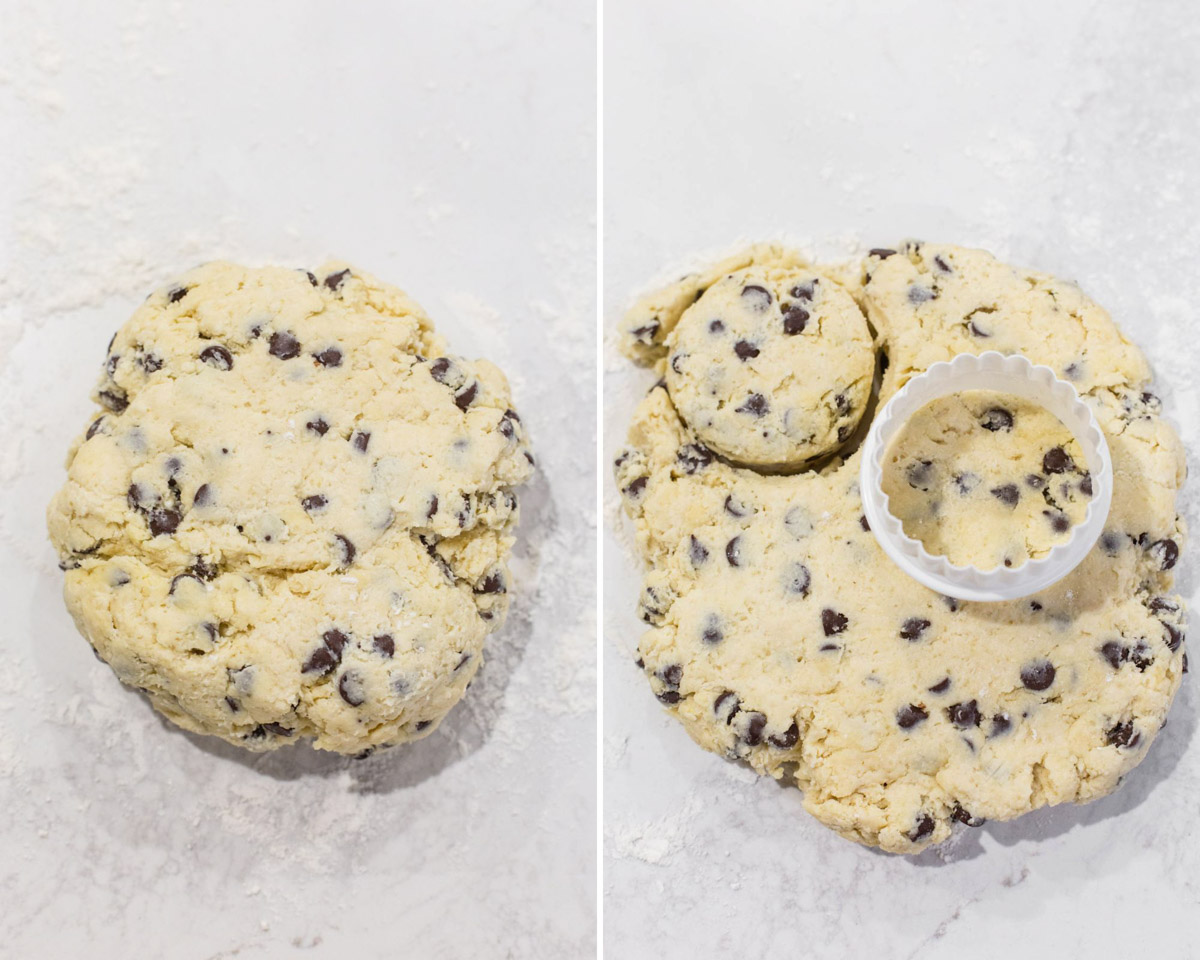
Step five: Transfer dough onto a floured surface, gently bringing it together. It doesn’t have to be perfectly smooth.
Pat dough out into a round disc, 2cm-3cm in height then cut out each scone. Pushing the cutter straight down into the dough and lifting it directly upwards, do not twist the cutter.
Step six: Transfer the scones onto the lined baking sheet and brush the tops of each with the extra cream or milk.
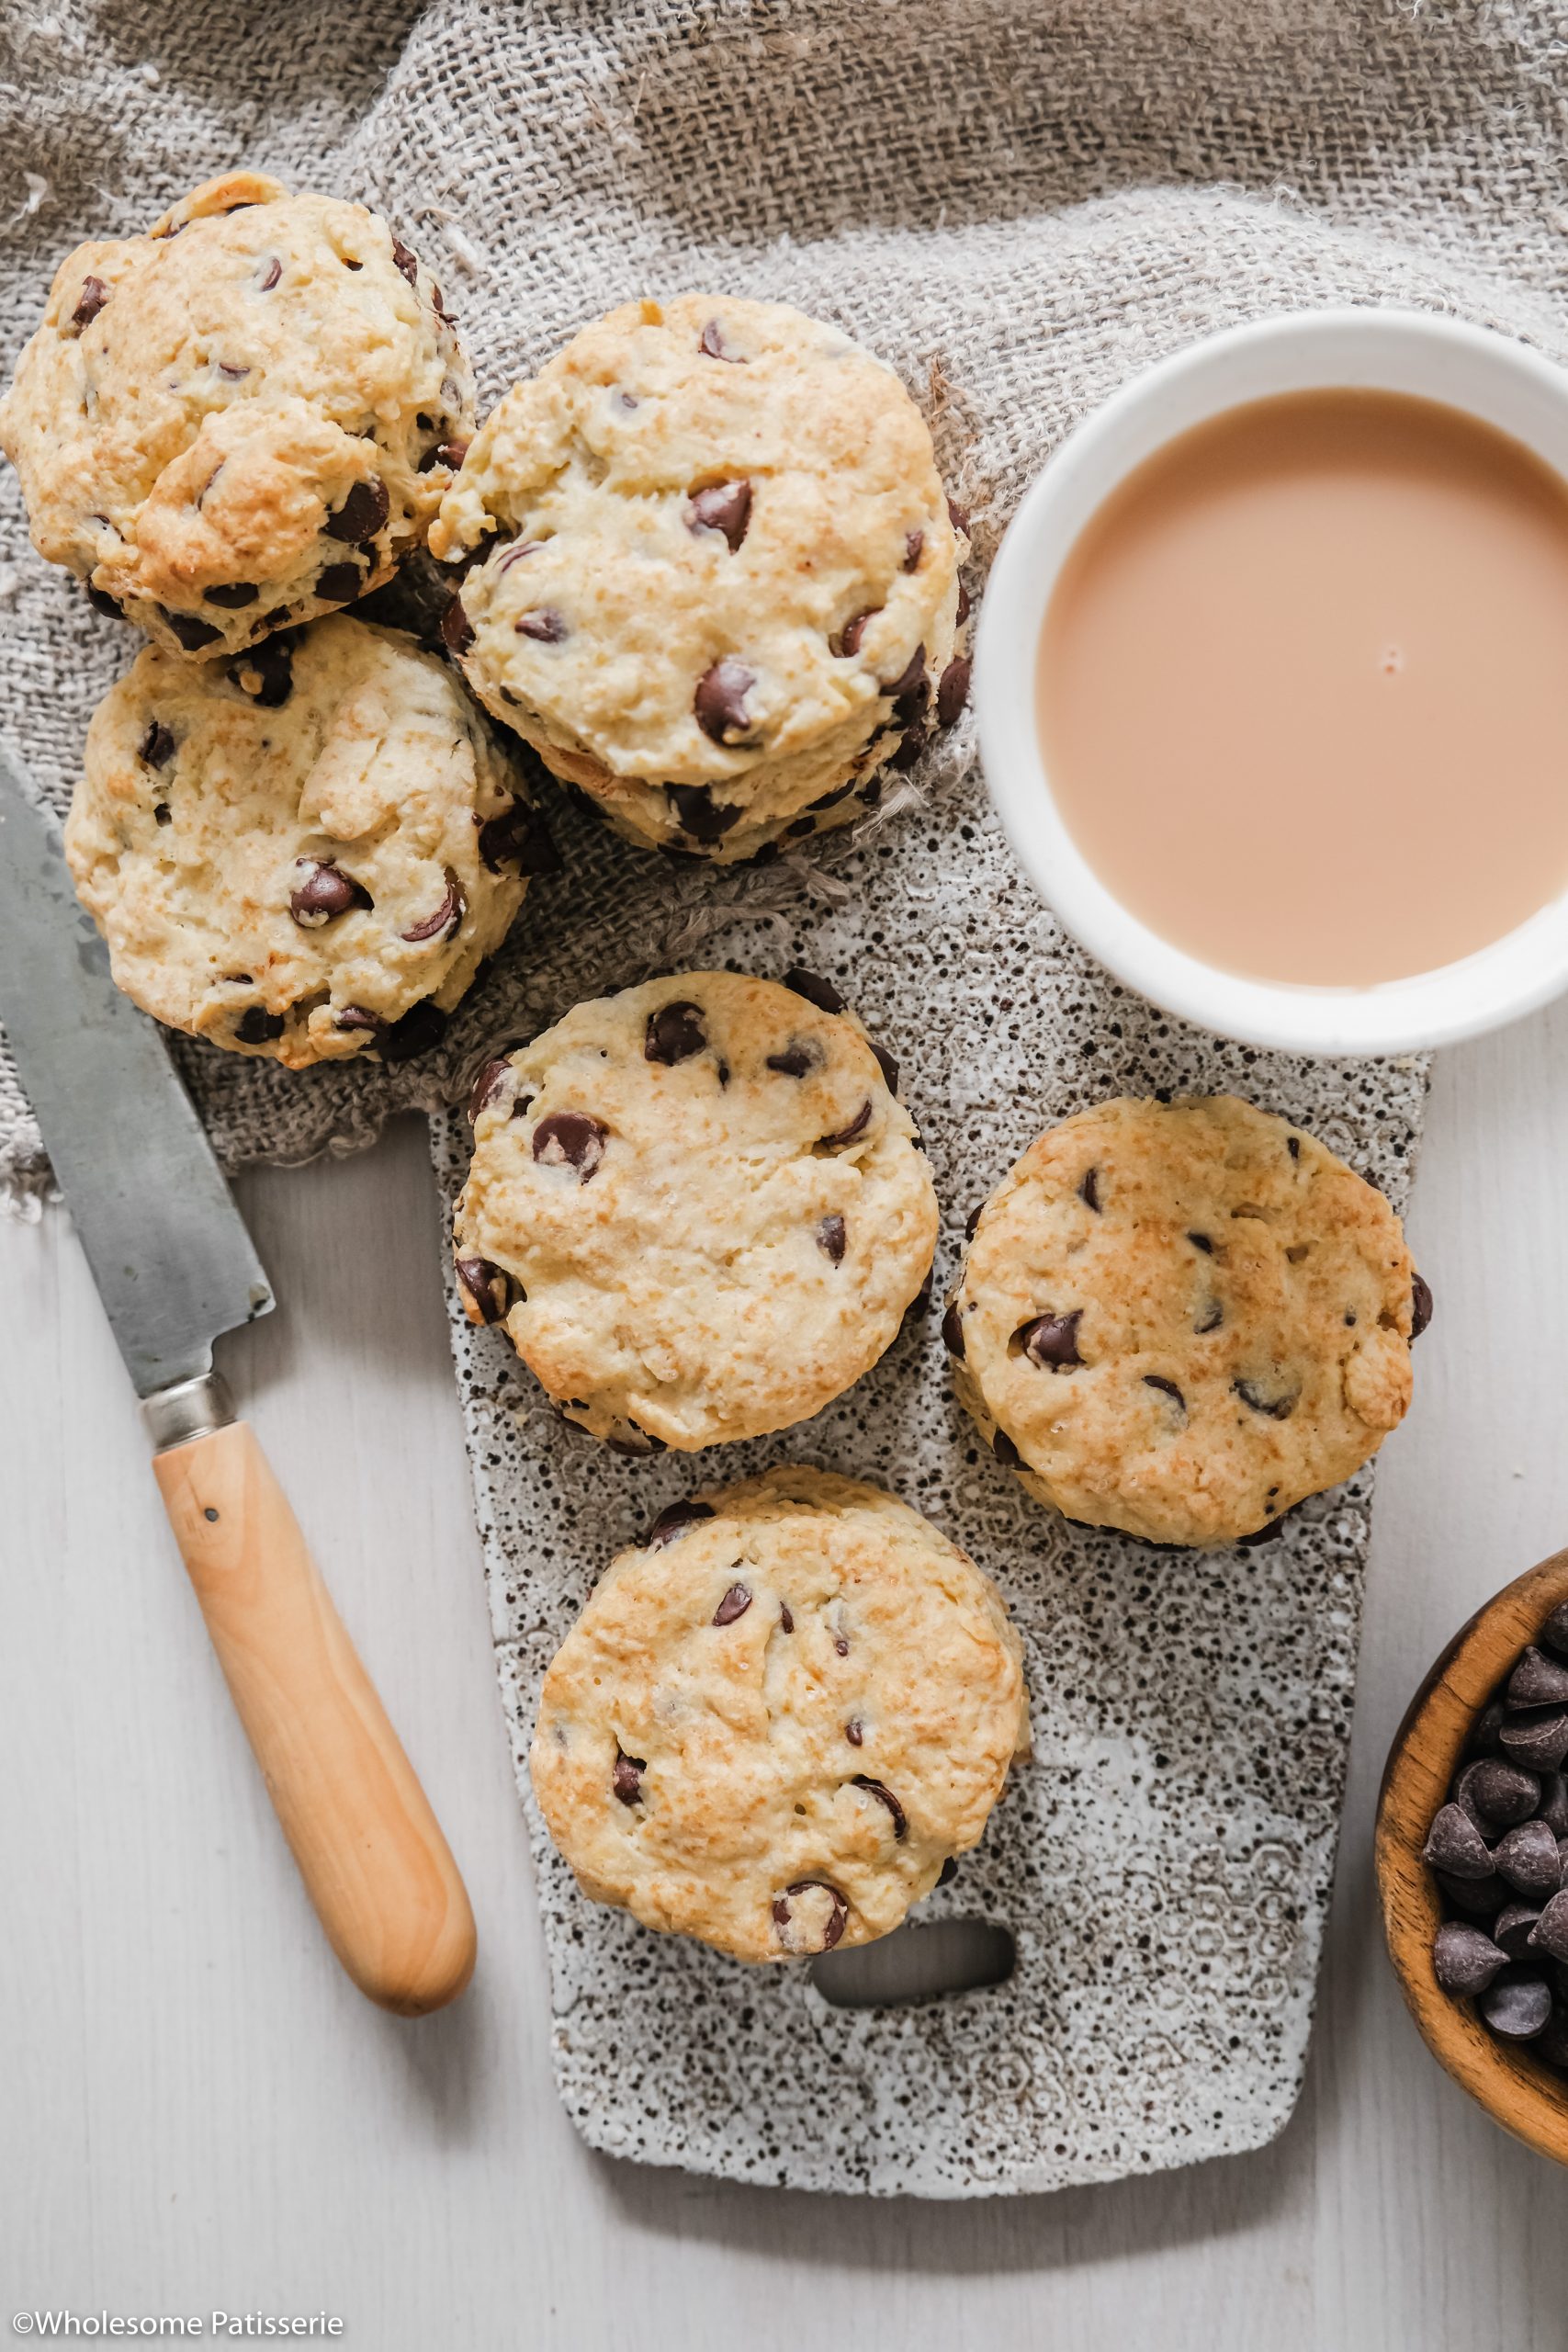
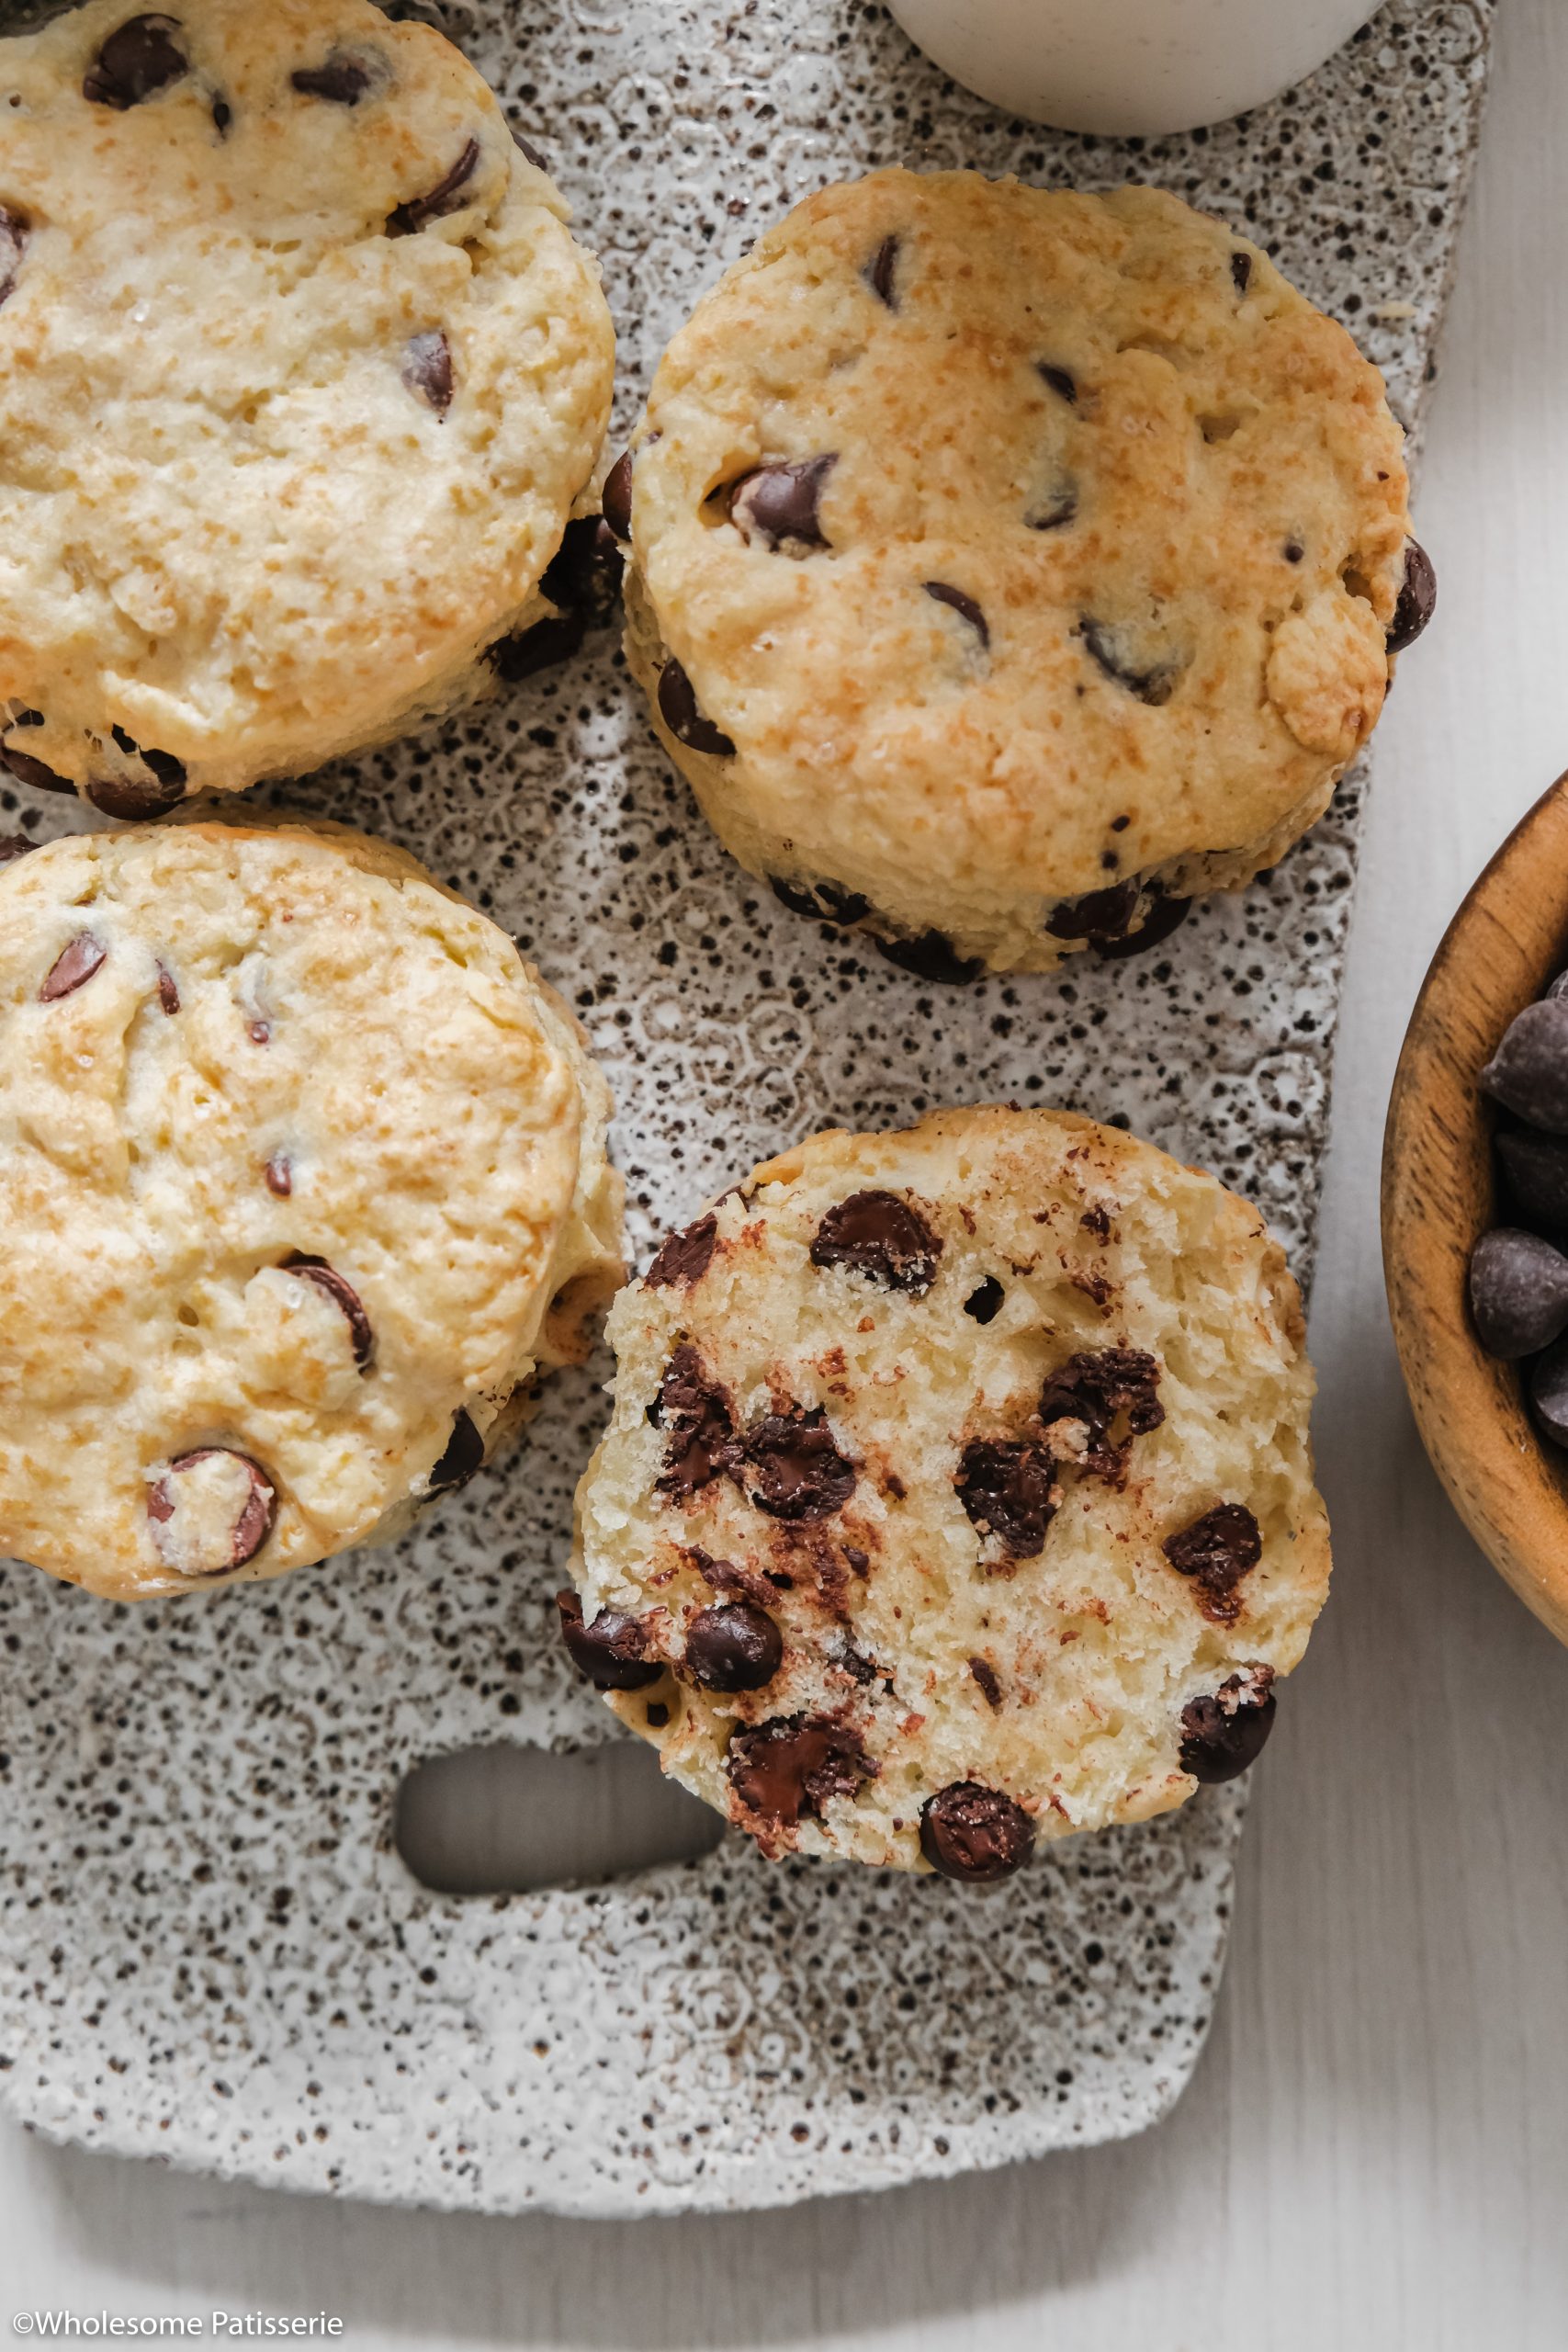
Bake for 18-20 minutes until the tops are lightly golden. Remove from oven and cool for 5 minutes before transferring to a wire rack.
Enjoy them warm or allow them to cool completely.

💭 Expert Tips
- Measure your baking ingredients accurately: to achieve the best results. Check out my helpful guide on how to measure basic ingredients.
- Cold ingredients: Use chilled butter and cold cream when making the dough. Cold ingredients help create a flaky texture in the scones.
- Don’t overwork the dough: Mix just until the ingredients come together to avoid developing too much gluten, which can result in a dense texture.
- Avoid handling the dough too much: To keep the dough cold, pat it out gently into a circle or rectangle without kneading it.
- Proper cutting: Press the cookie cutter straight down into the dough without twisting, then lift it directly upwards. This ensures the scones rise evenly in the oven.
- If the cutter sticks to the dough: Lightly dip it in extra flour before cutting to prevent sticking.
⏲️ Storage Instructions
Store scones in an airtight container at room temperature for 2-3 days. They are best enjoyed when freshly baked. Warm them in the oven or microwave if serving after a few days.
Freeze scones by allowing them to cool completely then arrange them in a freezer-friendly container or zip-lock bags. If they’re sitting in a container, place a sheet of parchment paper between any layers to prevent them from sticking together. Label with the date and freeze for up to 2-3 months.
Thaw scones at room temperature for several hours until defrosted or overnight in the fridge. Reheat in a warm oven or microwave until warmed through.
💬 Recipe FAQ’s
You can try using a gluten-free all-purpose flour blend perfect for baking, such as a 1:1 flour blend. I have not tested this recipe myself using gluten-free flour.
Yes! Simply swap the cream for whole milk, using the same quantity. Then brush the tops with the milk too.
Yes! You can use either milk or even white chocolate chips.
🥄 Related Recipes
If you enjoy this recipe, please consider leaving a ⭐️ star rating and a comment review below. I love to hear what you think and it’s much appreciated. Thank you! Your email address will not be published. Sam x

Easy Chocolate Chip Scones
Equipment
- 7cm (3 inch) round cookie cutter
Ingredients
- 2 cups (300g) all-purpose flour, scooped & leveled
- 3 tsp baking powder
- 1 Tbsp granulated sugar, golden or white
- 1/4 tsp fine salt, or Kosher salt
- 60 g unsalted butter, chilled and cubed
- 1 cup dark chocolate chips
- 3/4 cup thickened cream or heavy cream
- 1 Tbsp extra thickened/heavy cream or whole milk, to brush on top of scones
Instructions
- Pre-heat oven to 200ºC (400ºF). Line a baking sheet with parchment paper and set aside.
- In a large mixing bowl, add flour, baking powder, sugar and salt. Whisk until well combined.
- Add cubed chilled butter and using your hands, rub butter into flour for 1 minute until it resembles a coarse crumb.
- Mix through chocolate chips with a wooden spoon or rubber spatula.
- Pour in cream and mix through until a soft dough forms. Using your hands will make this step easier, I love to use gloves.
- Sprinkle a little flour on your counter top or a large board.
- Transfer dough onto floured surface and gently bring it together. It doesn’t have to be perfectly smooth, it’s better if it’s a rough looking dough.
- Pat dough out into a round disc, 2cm-3cm in height.
- Take your round cookie cutter and cut out shapes. You should get 4-5 scones first. Bring excess dough together again into a thick disc, pat it out to 2cm-3cm high and cut out 2-3 more scones. Repeat this method to finally get 8 scones.
- Transfer scones onto lined baking sheet, they can be touching each other.
- Using a pastry brush, brush the top of each scone with the 1 tablespoon of extra cream or milk.
- Bake for 18-20 minutes until tops are lightly golden.
- Remove from oven and allow scones to cool on tray for 5 minutes.
- Transfer scones to a wire rack to cool completely or serve and enjoy them warm.
- Enjoy!
Notes
- Cold ingredients: Use chilled butter and cold cream when making the dough. Cold ingredients help create a flaky texture in the scones.
- Don’t overwork the dough: Mix just until the ingredients come together to avoid developing too much gluten, which can result in a dense texture.
- Proper cutting: Press the cookie cutter straight down into the dough without twisting, then lift it directly upwards. This ensures the scones rise evenly in the oven.
- If the cutter sticks to the dough: Lightly dip it in extra flour before cutting to prevent sticking.
- Store scones in an airtight container at room temperature for 2-3 days. They are best enjoyed when freshly baked. Warm them in the oven or microwave if serving after a few days.
- Freeze scones by allowing them to cool completely then arrange them in a freezer-friendly container or zip-lock bags. If they’re sitting in a container, place a sheet of parchment paper between any layers to prevent them from sticking together. Label with the date and freeze for up to 2-3 months.
- Thaw scones at room temperature for several hours until defrosted or overnight in the fridge. Reheat in a warm oven or microwave until warmed through.
