Moist Chocolate Walnut Cake
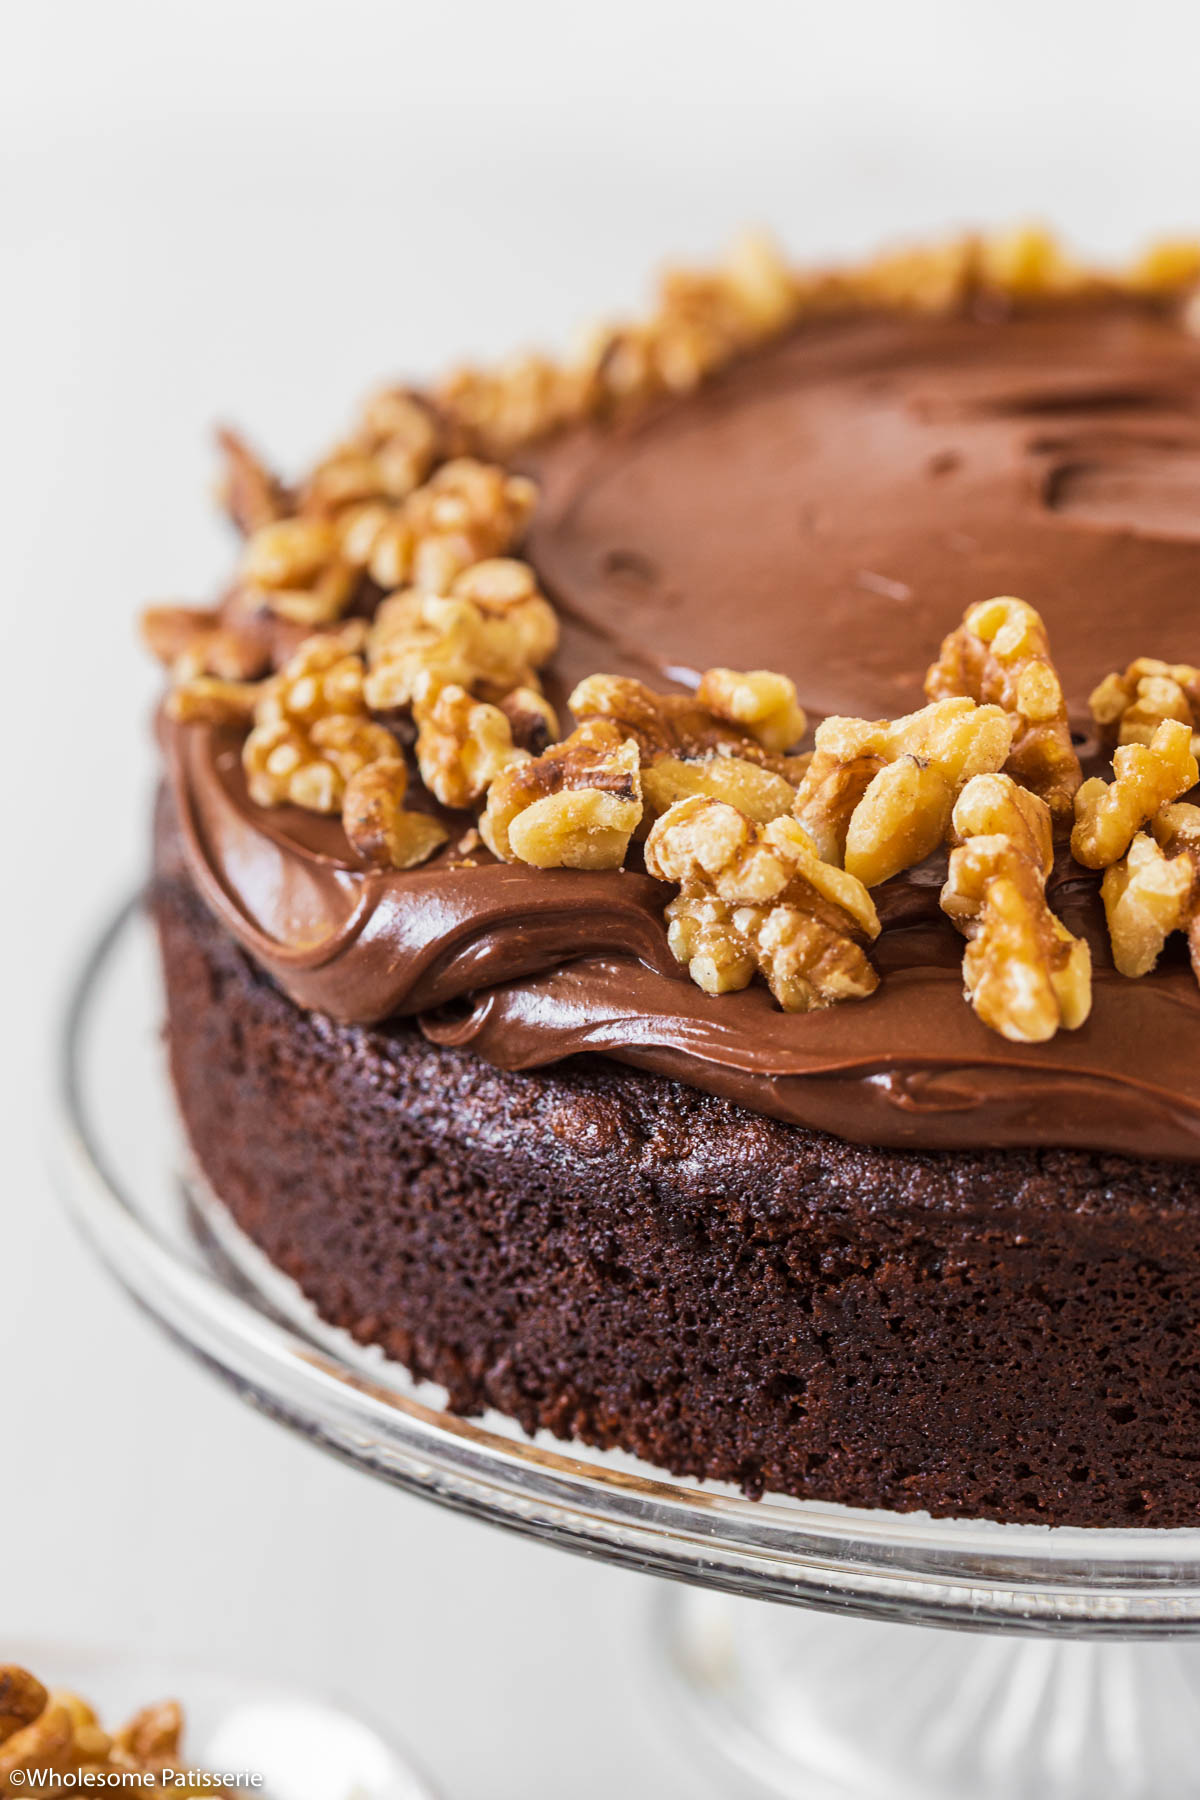
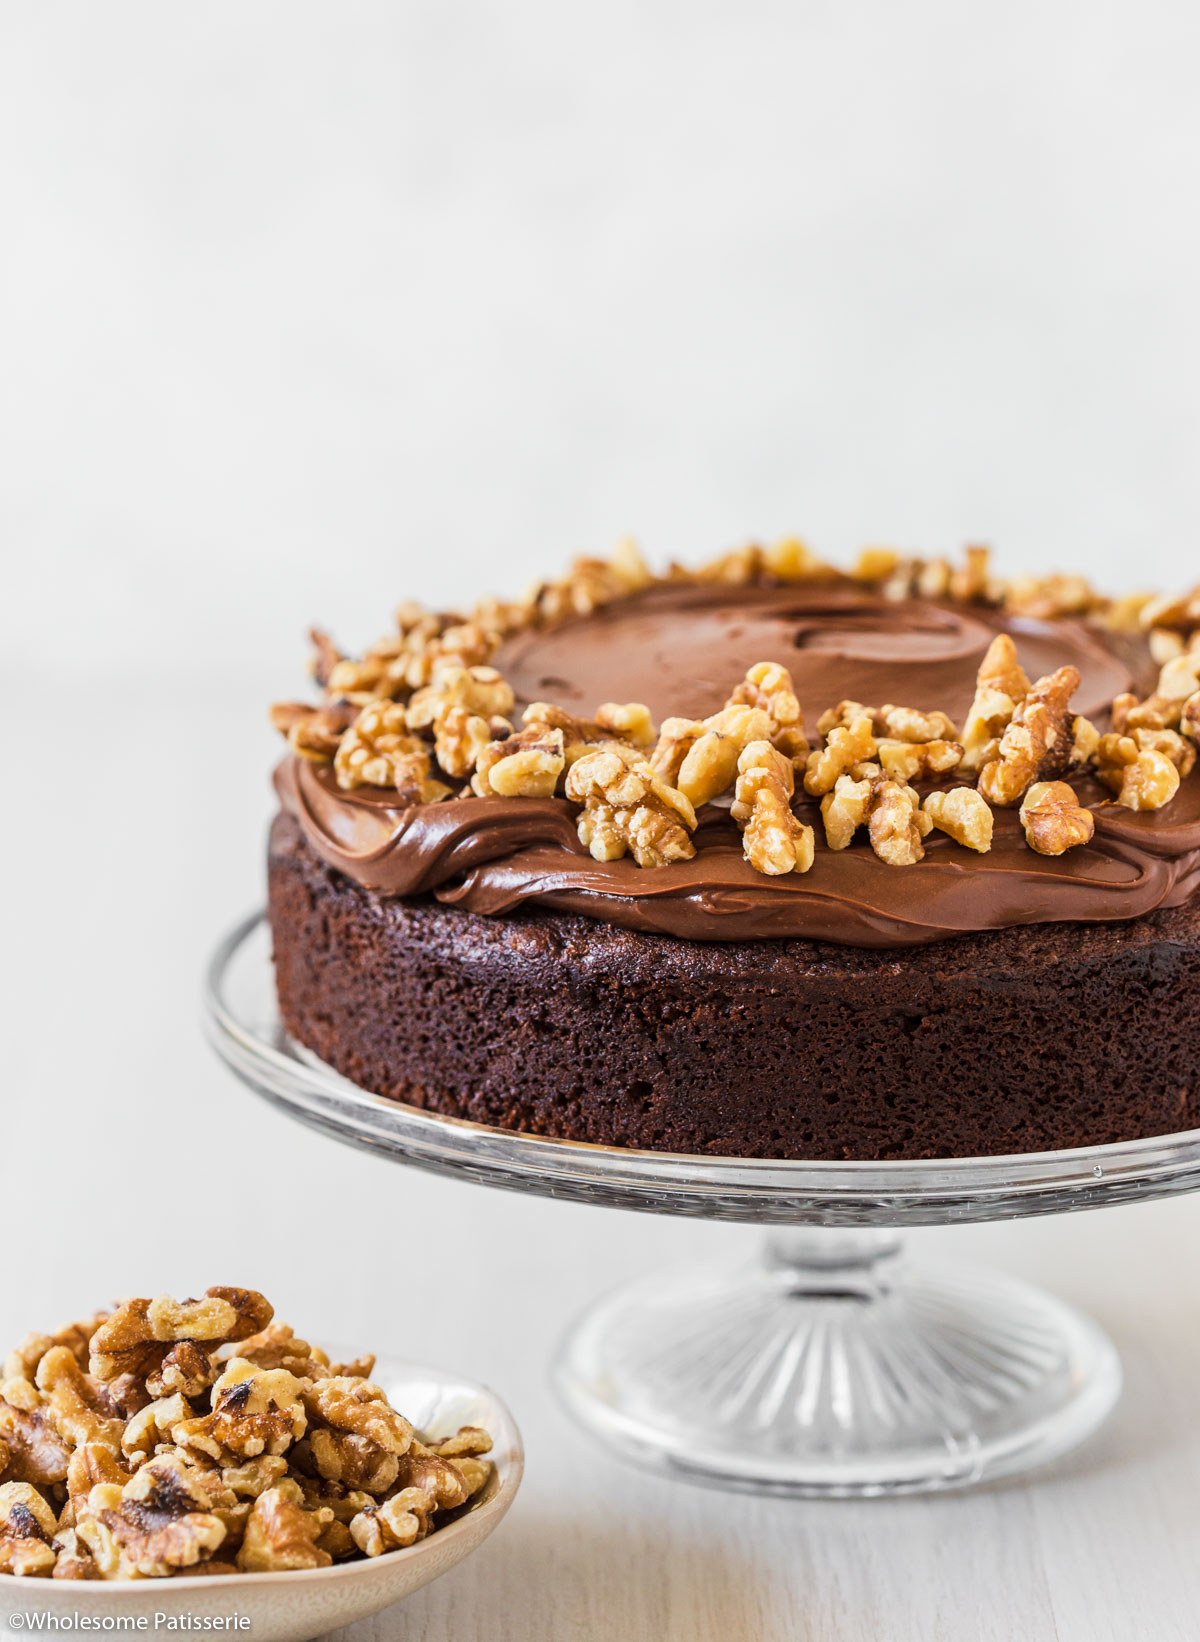
This Moist Chocolate Walnut Cake is topped with chocolate ganache frosting and is rich, soft and packed with nutty goodness!
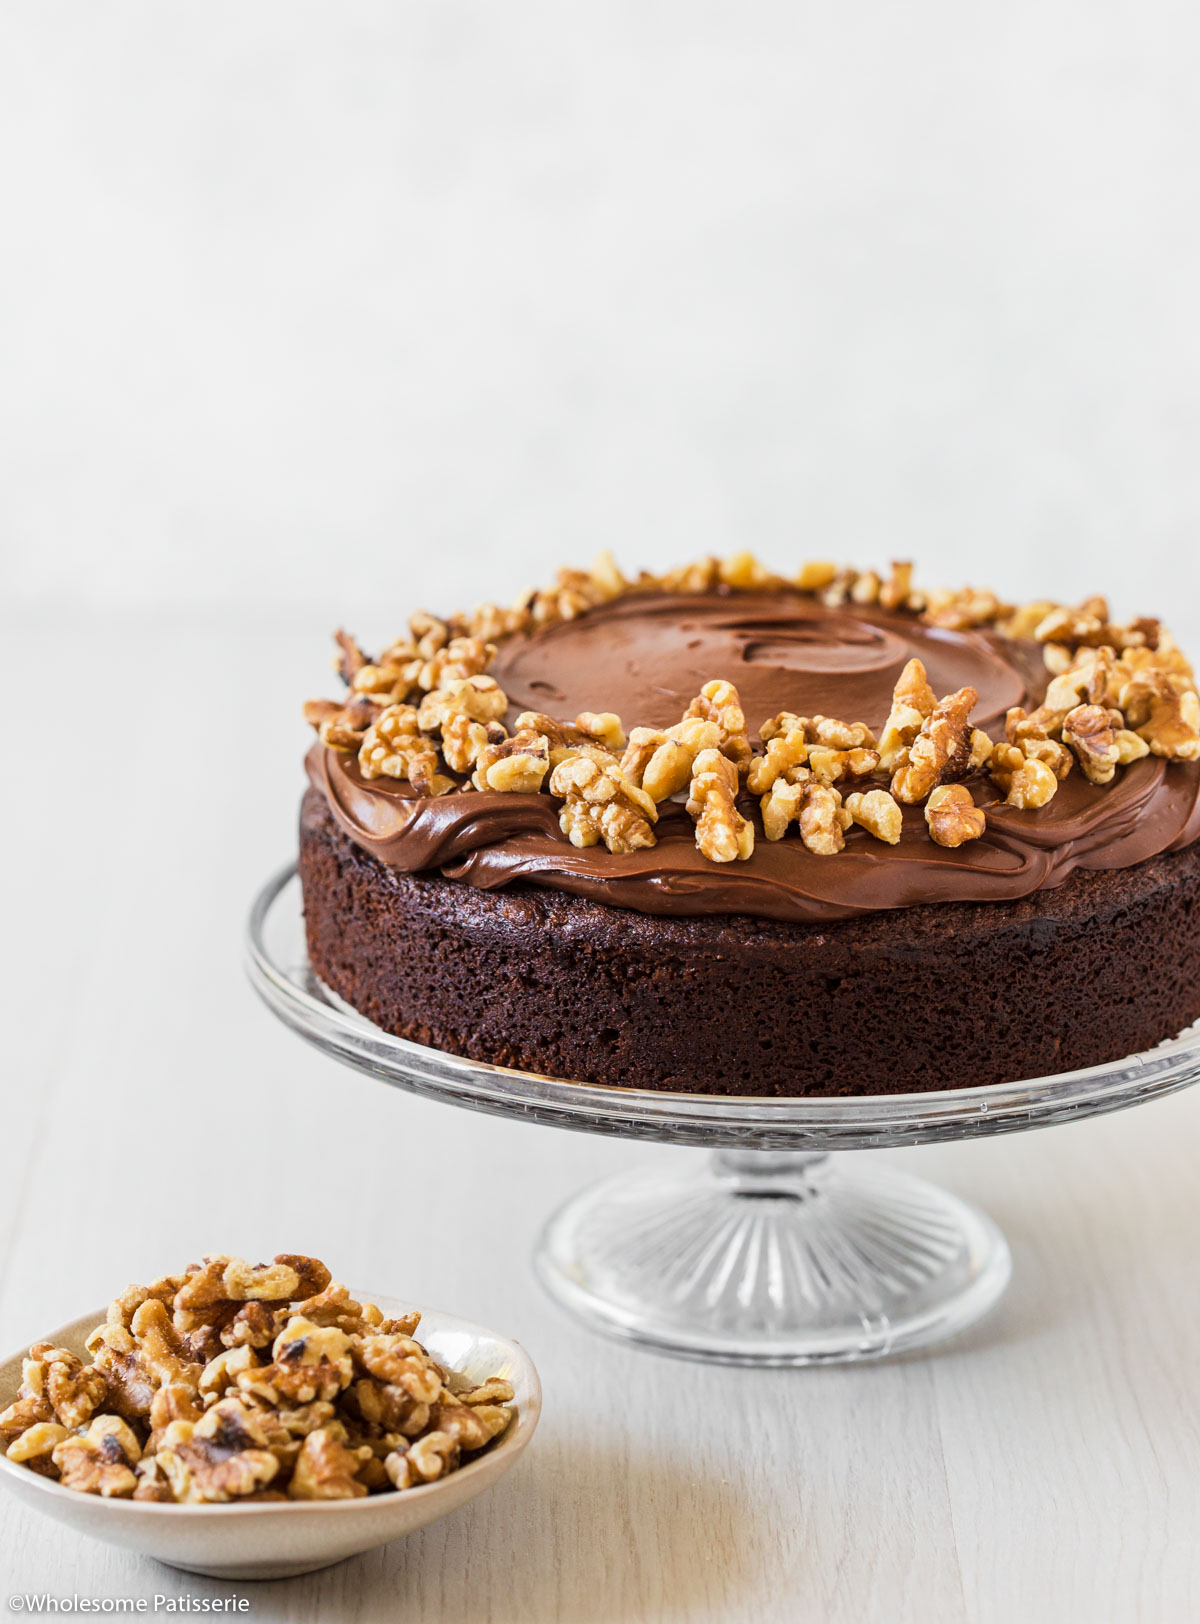
Single layer, 8 inch cakes are simple to make and should be in everyone’s recipe repertoire.
Whether it’s my Basic Chocolate Cake, a Simple Vanilla Cake, or this No Bake Easter Egg Nutella Cheesecake.
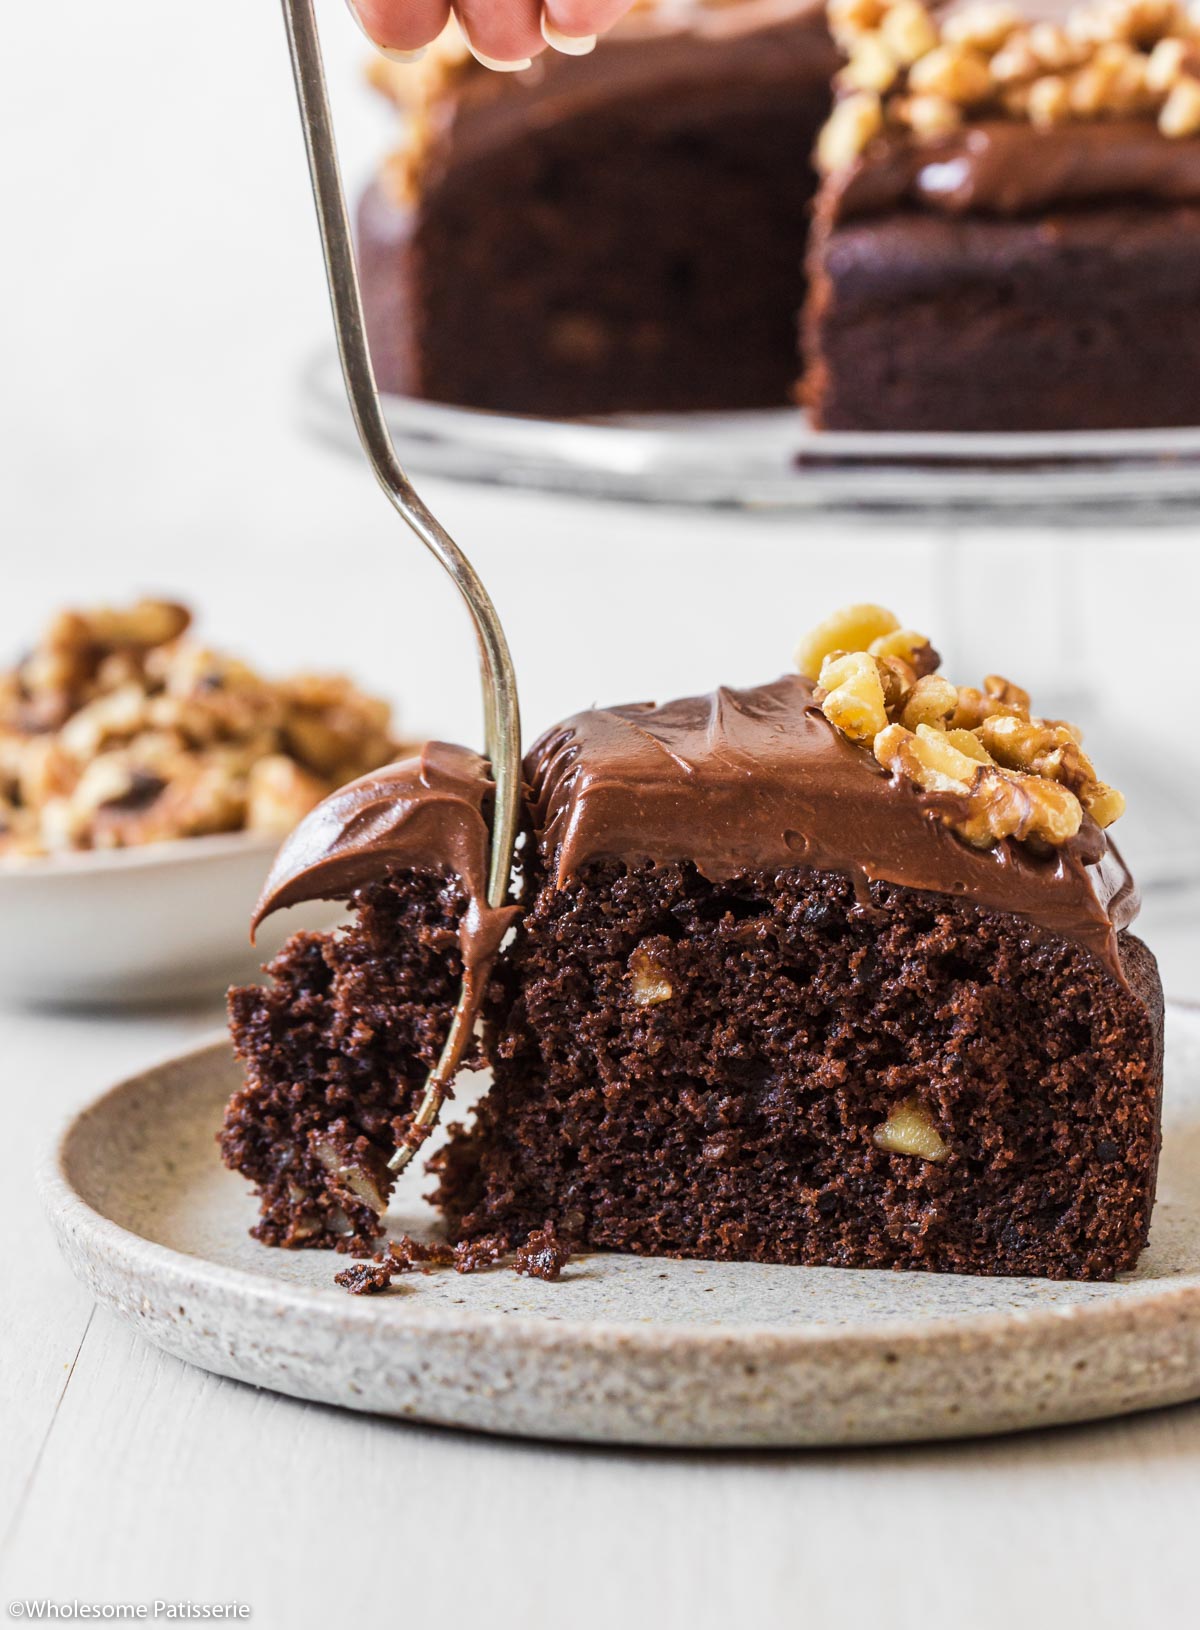
A rich aroma of cocoa powder and walnuts fills your kitchen as you make this easy chocolate nut cake at home, and the warm, moist crumb of the cake melts in your mouth.
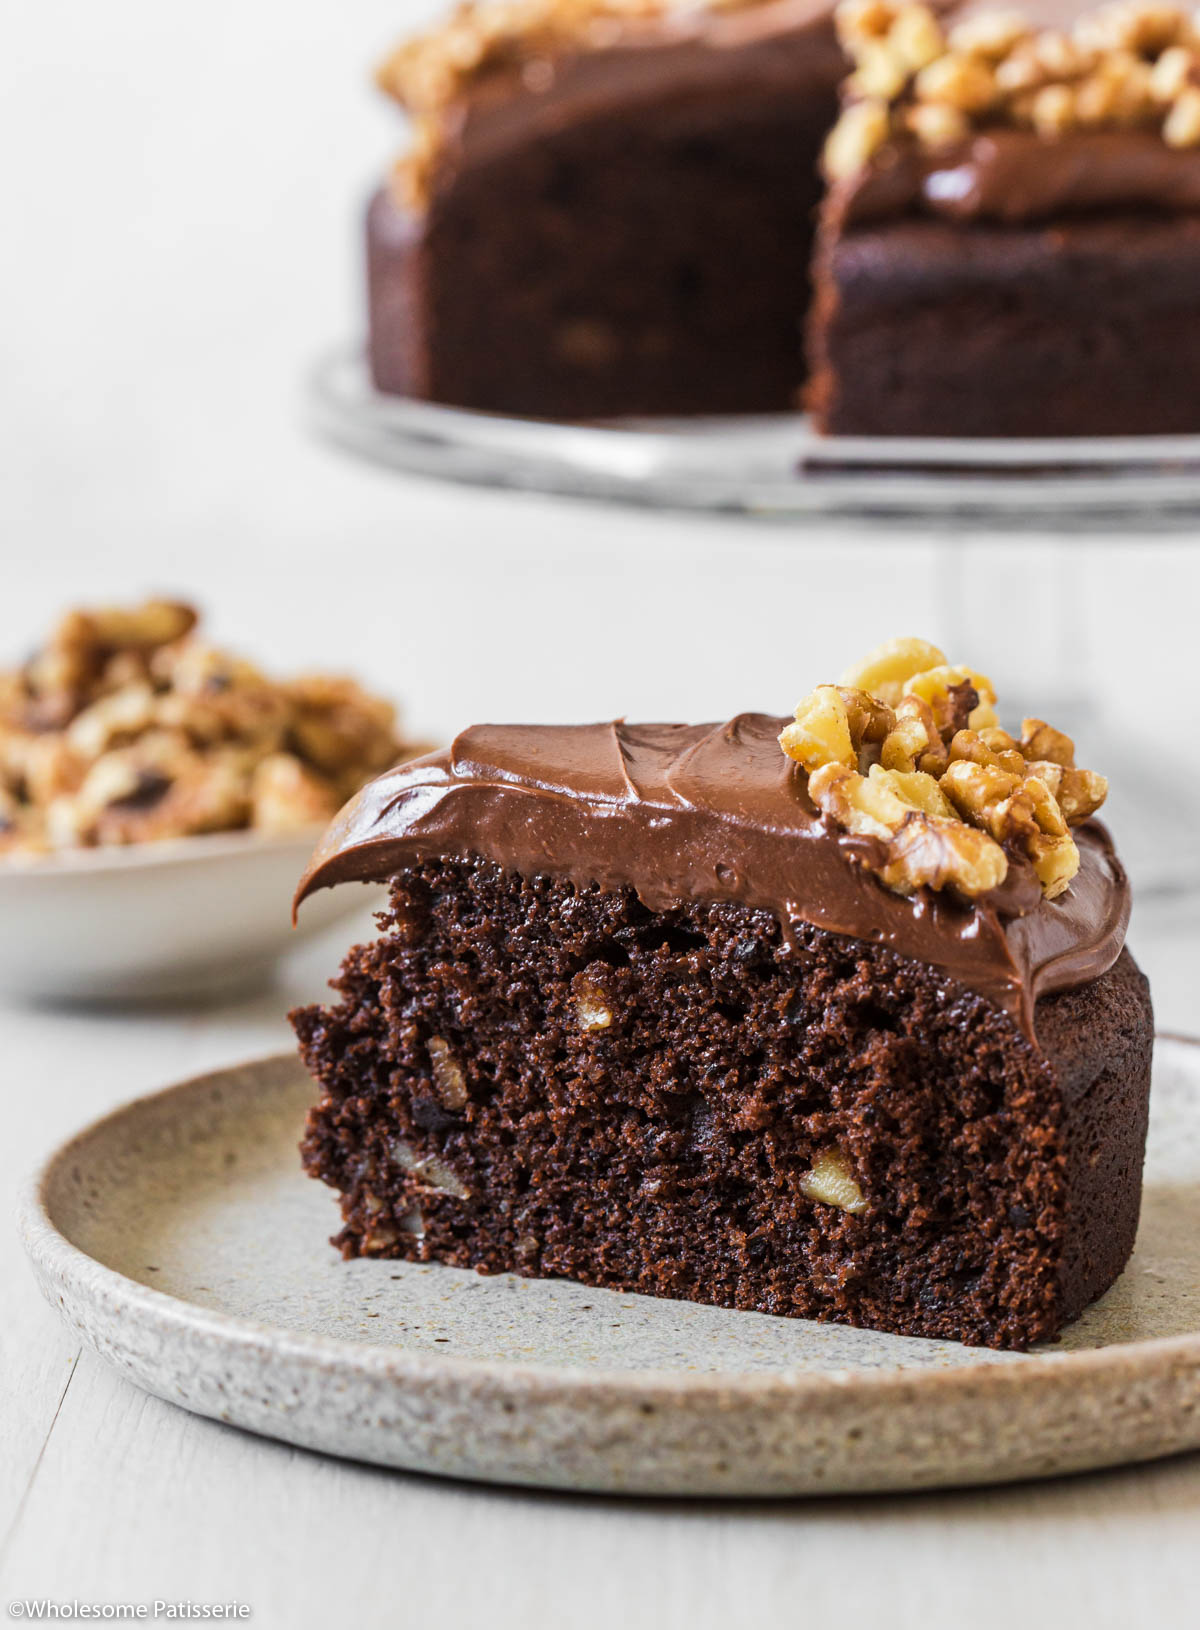
It’s a piece of heaven on a plate. But what good is a cake without frosting?
We all know that chocolate ganache frosting goes perfectly with chocolate cake. It’s decadent because it’s rich, smooth, and chocolatey.
That is why I’ve included it in this recipe and you’ll love that it uses only 2 ingredients, chocolate and cream!
You could even try this easy fudge frosting found on my Decadent Chocolate Fudge Cake.
🍰 Why You Will Love This Recipe
- One layer 8 inch basic cake.
- Made in one mixing bowl.
- Moist texture.
- Simple chocolate frosting.
- Walnuts throughout the cake & on top as decoration.
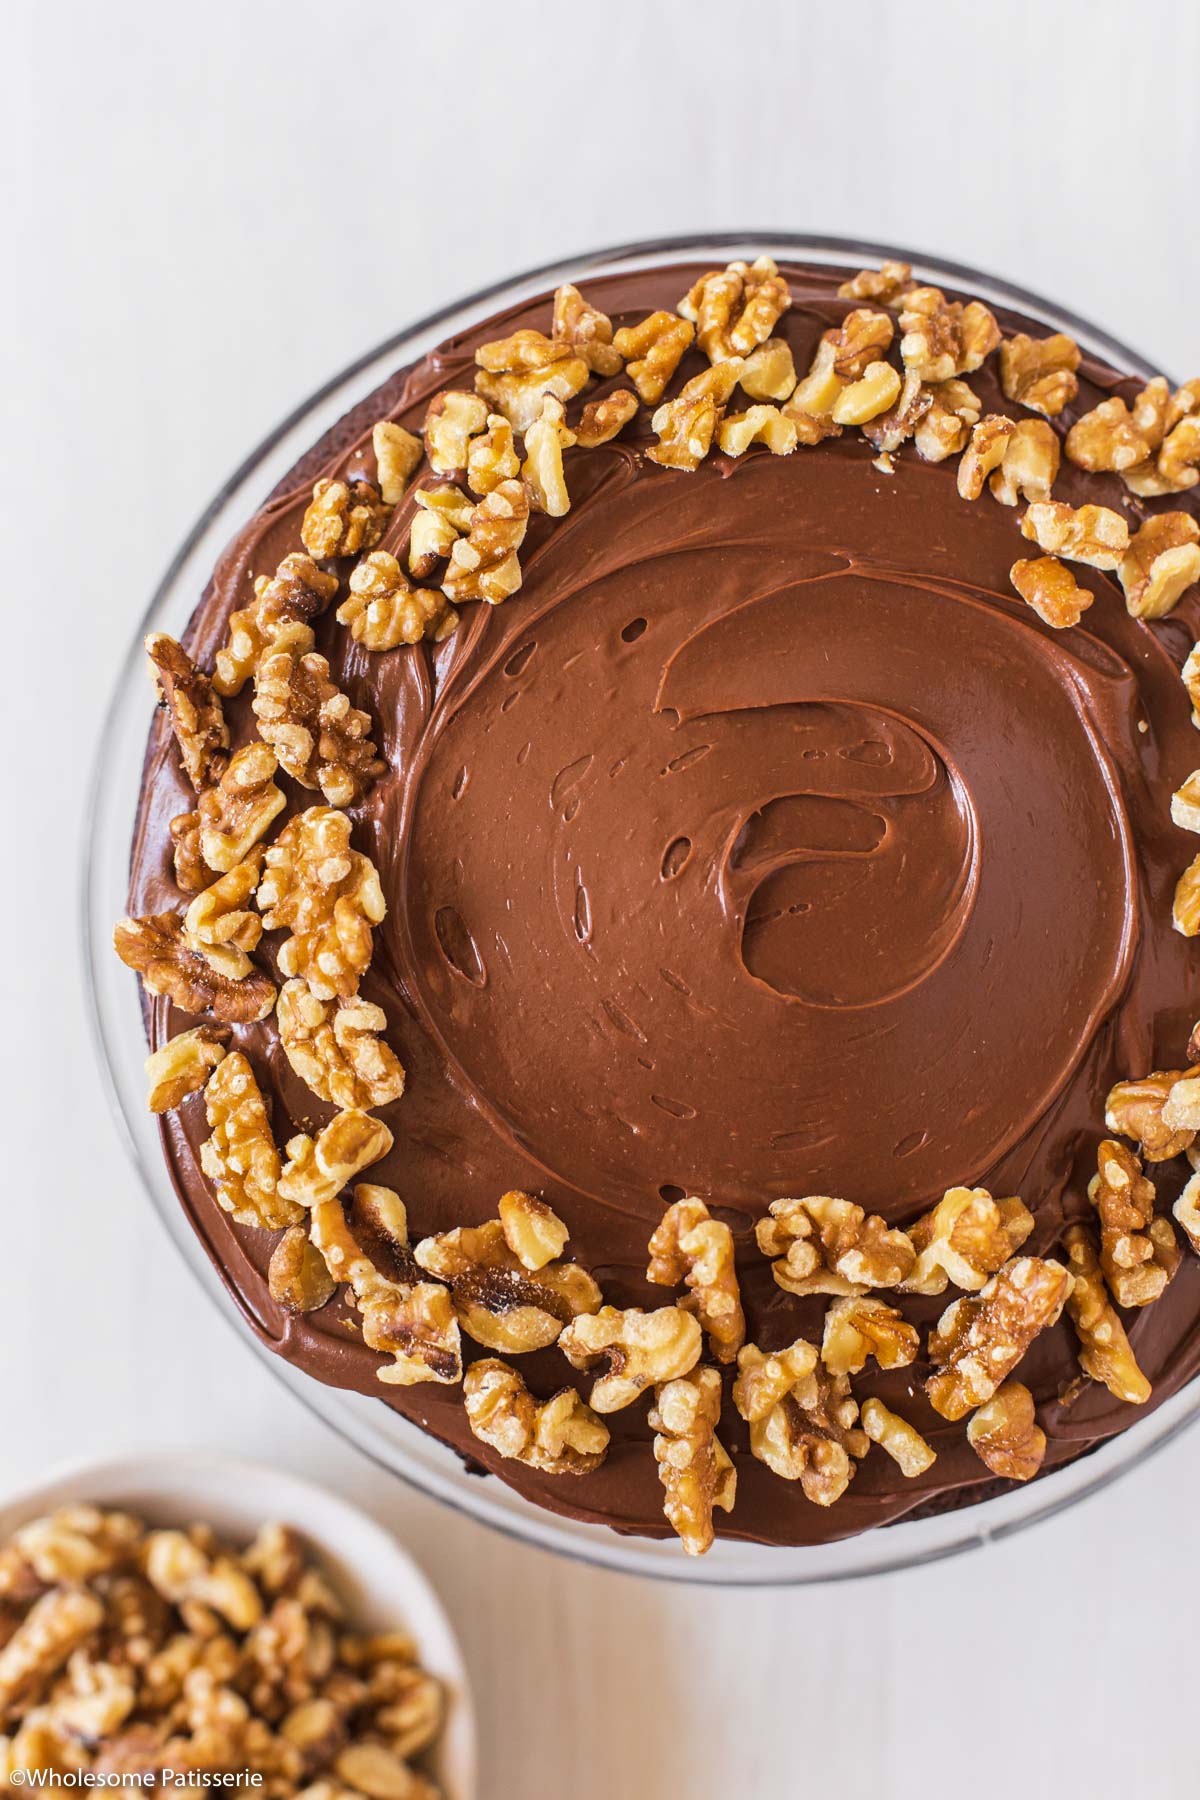
The addition of extra virgin olive oil in chocolate cakes helps to create a moist and tender crumb.
Another one of my favorites is instant coffee, which brings out the natural chocolate flavor and also works wonders in balancing citrus, as in my chocolate orange cake.
📋 Ingredient Notes & Substitutions
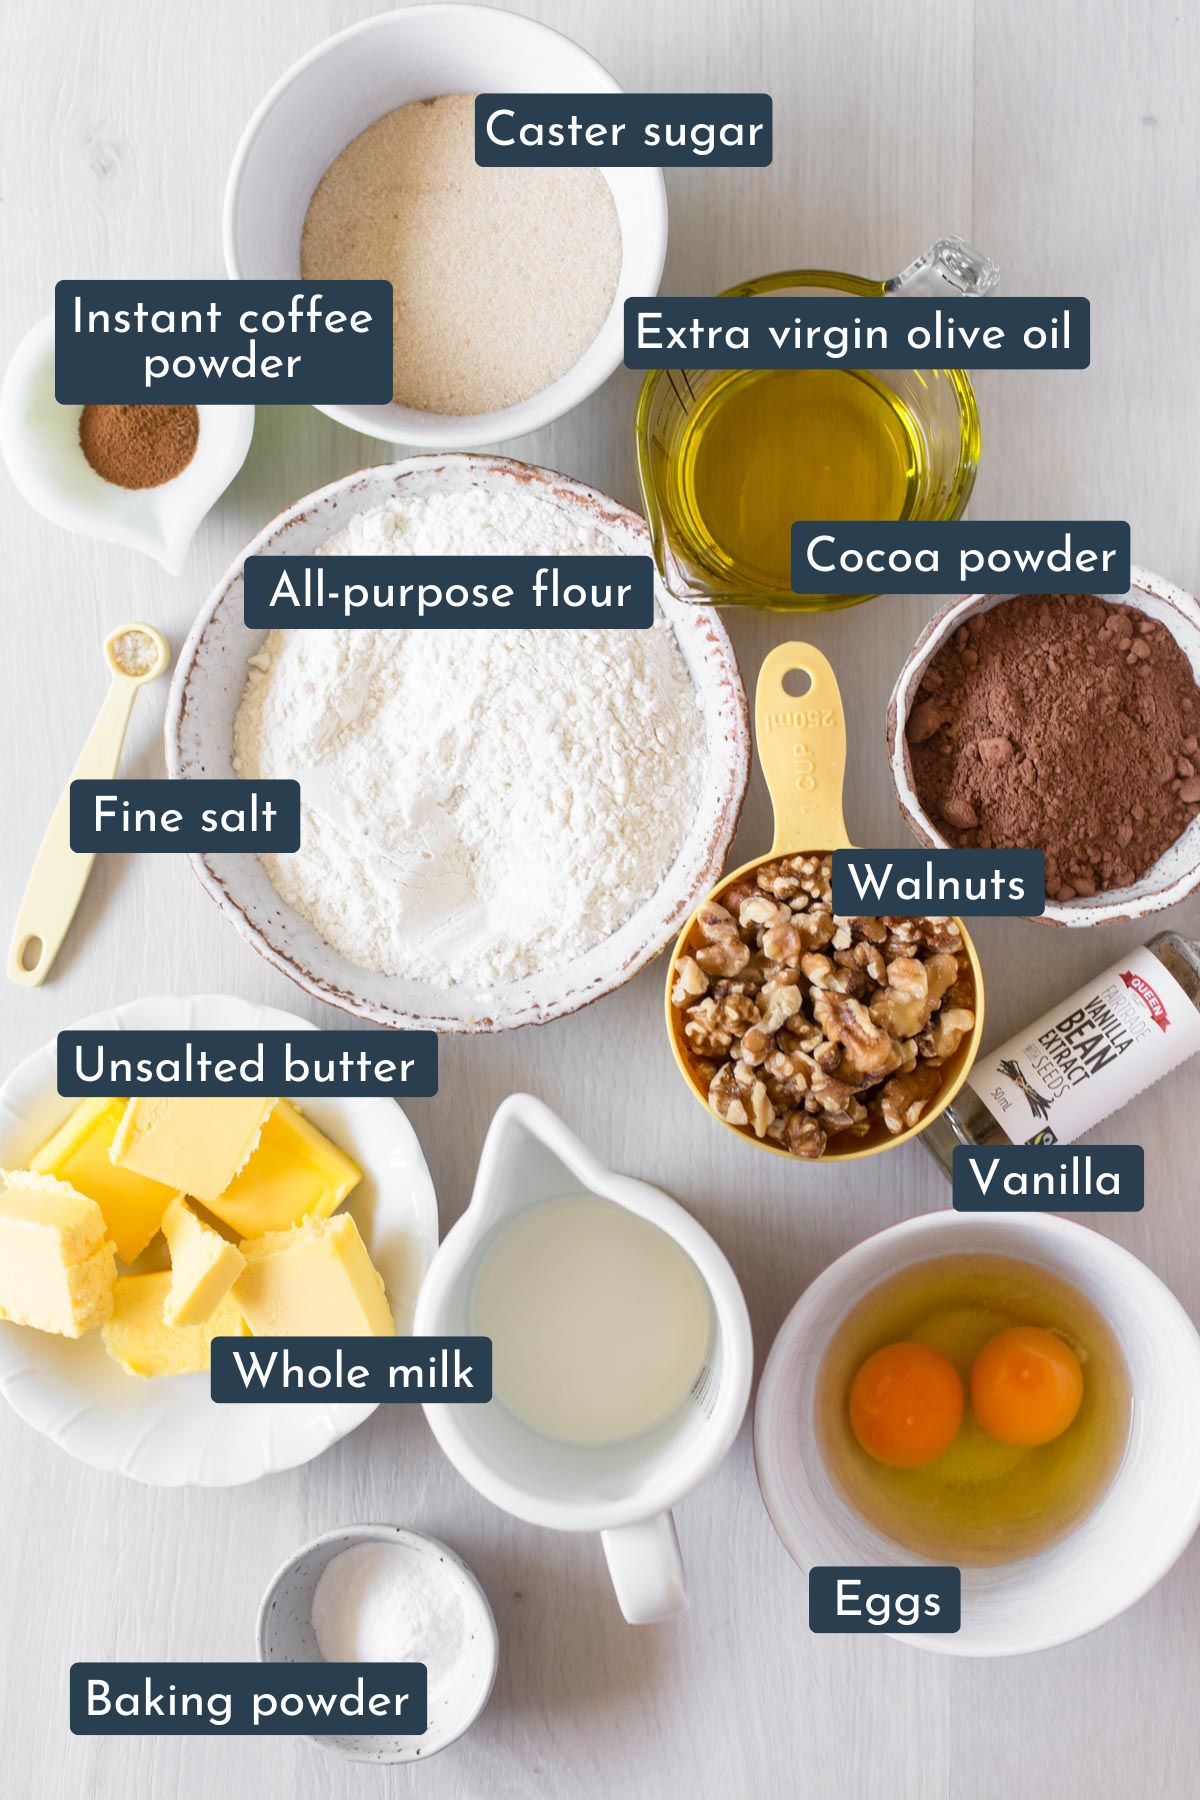
- All-purpose flour: Is also known as plain flour in Australia. Make sure to accurately measure your flour and basic baking ingredients for the best results.
- Cocoa powder: Use natural unsweetened cocoa powder or Dutch-process cocoa powder.
- Baking powder: For best results use aluminum-free baking powder and make sure it’s not expired. You can test if your baking powder still works with this handy tip.
- Unsalted Butter: If you choose to use salted butter, do not add the additional 1/4 teaspoon of salt to the recipe.
- Caster sugar: You can use either golden/raw or white caster sugar.
- Eggs: Must be at room temperature before adding them to your batter. Large eggs that weigh between 55g-65g (1.9oz-2.3oz).
- Milk: Whole/full fat milk or almond milk can be used. Must be at room temperature.
- Extra virgin olive oil: A quality olive oil will produce the best results. Don’t use any other vegetable oil as they can add too much flavor that changes the flavor and texture.
- Walnuts: Use whole or already chopped walnuts. You can even try toasted walnuts for enhanced flavor!
- Dark chocolate: Use a plain dark chocolate block of choice that you would be happy to consume. Cadbury baking chocolate or Lindt works great!
- Heavy cream: Is also known as thickened cream in Australia. I’ve tested this ganache using both canned coconut cream and dairy-based cream and both work great!
🥣 Step By Step Instructions (with photos)
There is a full and detailed recipe card at the bottom of this post.
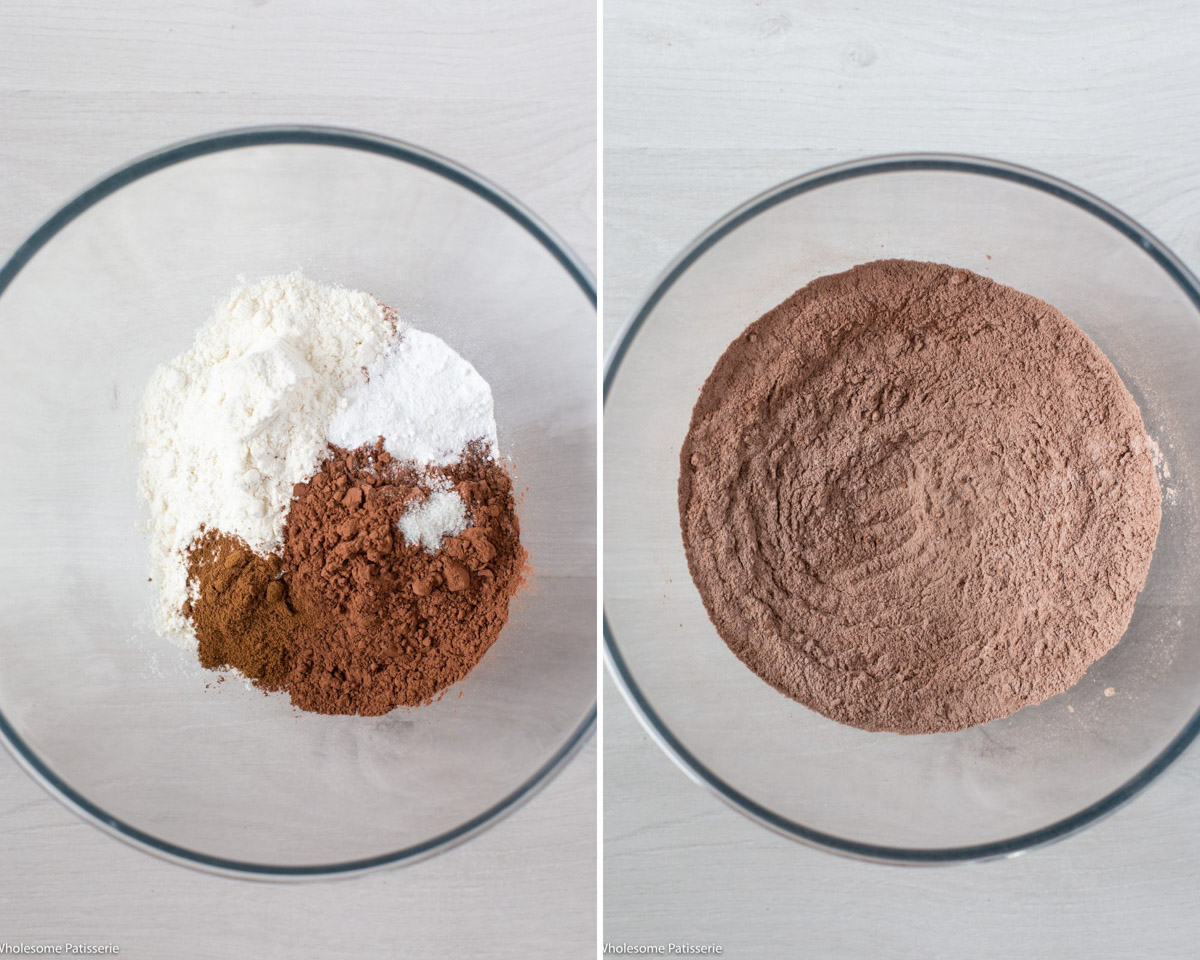
Step one: In a medium size mixing bowl, add flour, cocoa, baking powder, coffee, and salt. Whisk until well combined. Set aside.
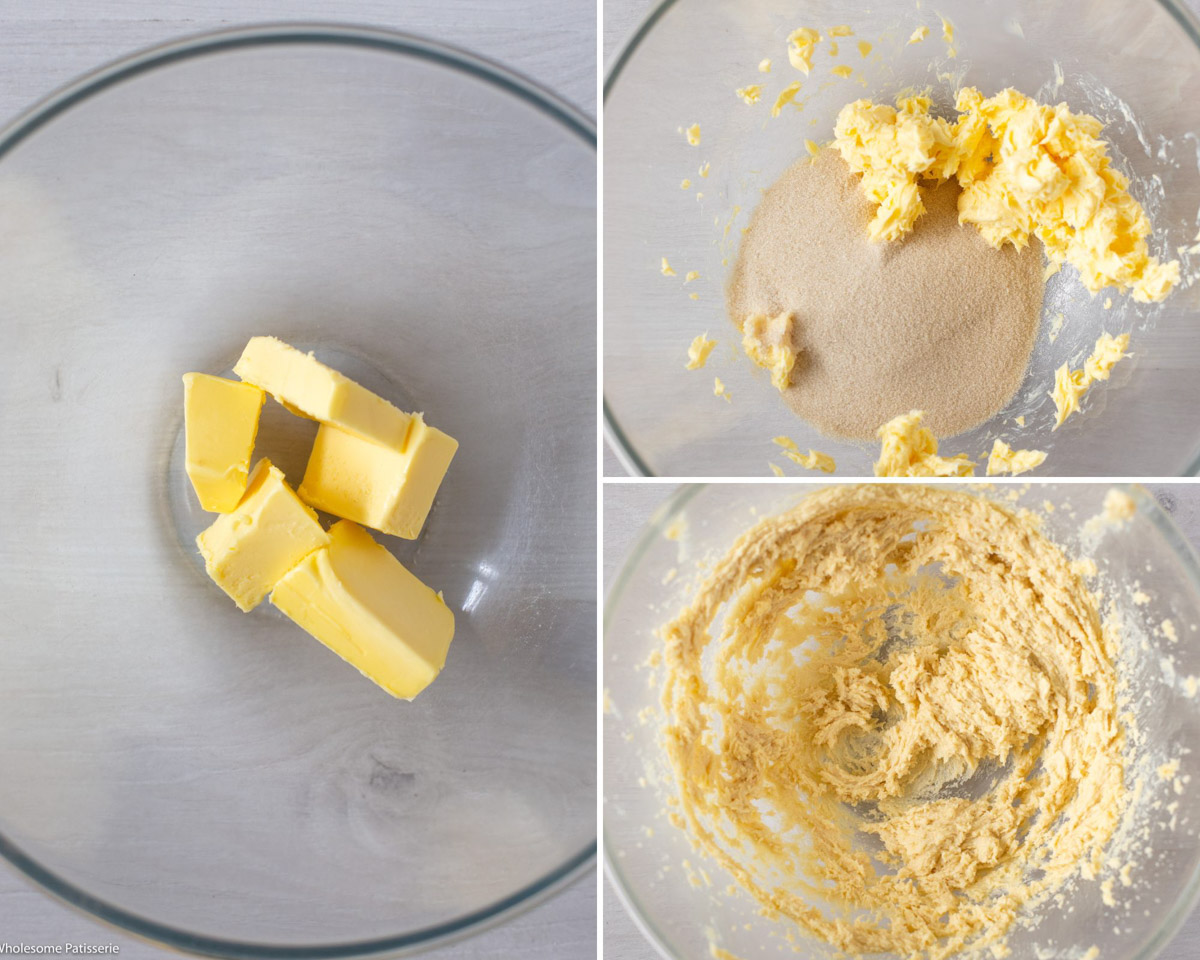
Step two: In a large mixing bowl, using either electric hand beaters or a stand mixer with the paddle attached, add softened butter to the bowl. Beat butter for a few seconds to break it up and it begins to turn creamy.
Step three: Add sugar. Beat with the butter for 2 minutes until pale and creamy.
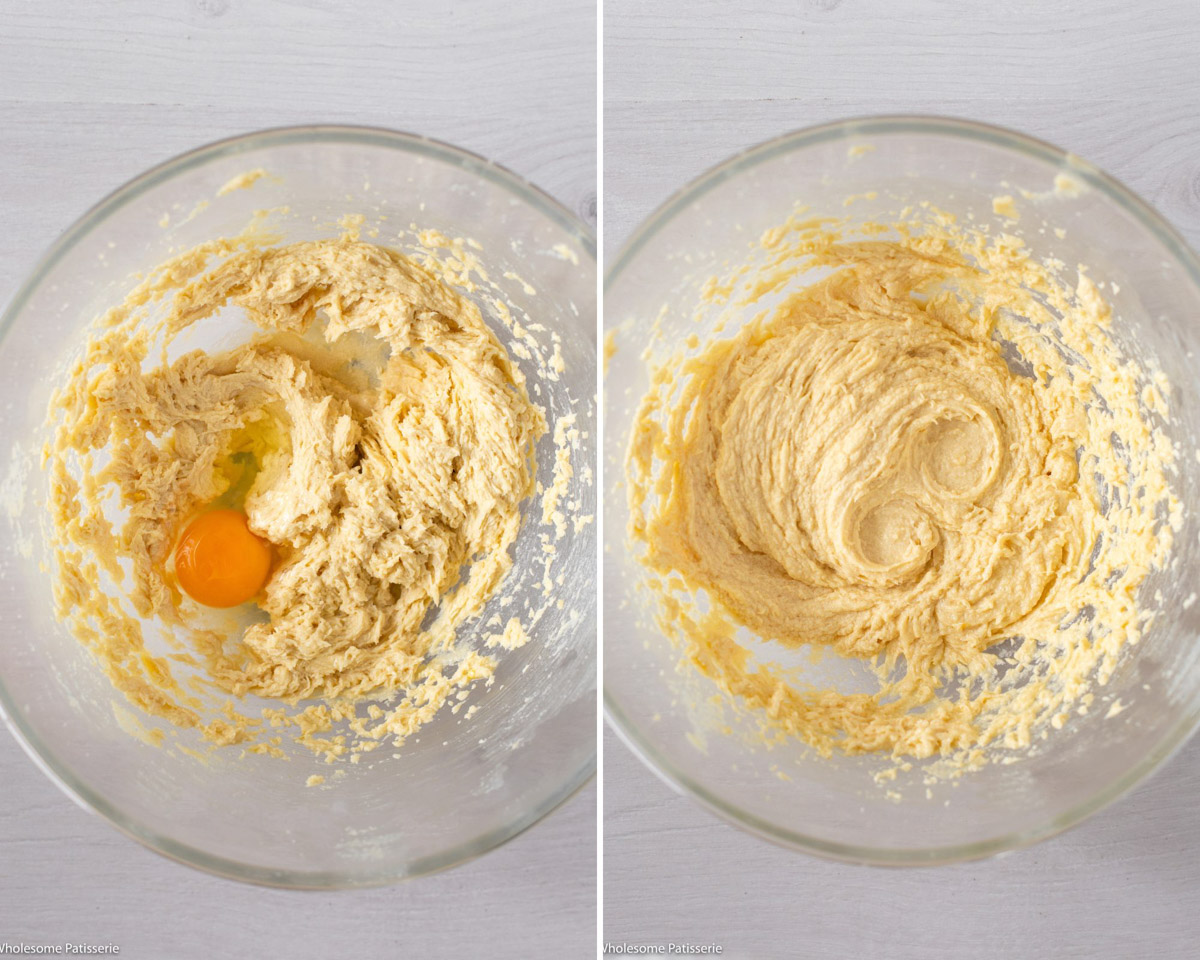
Step four: Add eggs one at a time, beating for 10 seconds after each addition.
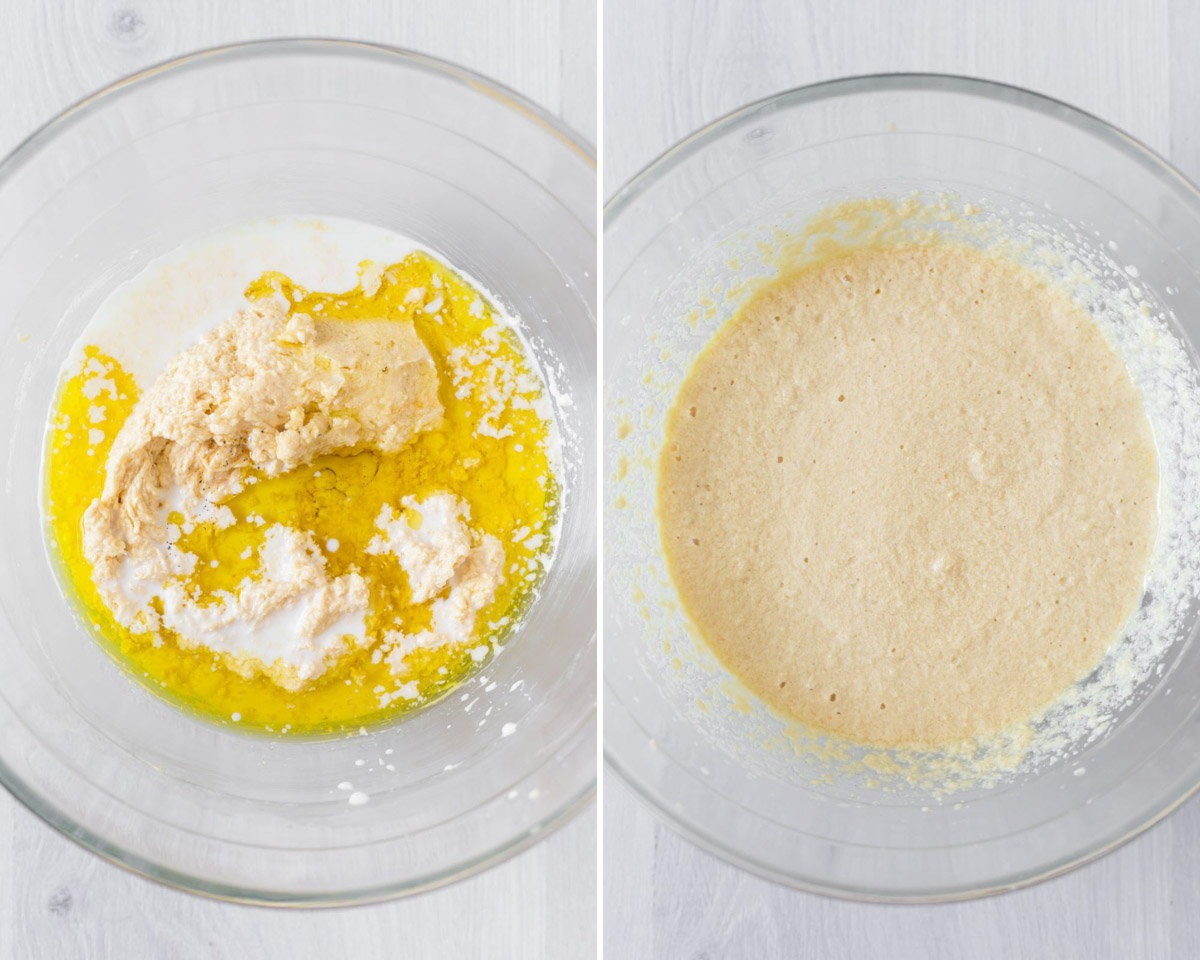
Step five: Pour in milk, oil, and vanilla. Beat for 15 seconds until well combined.
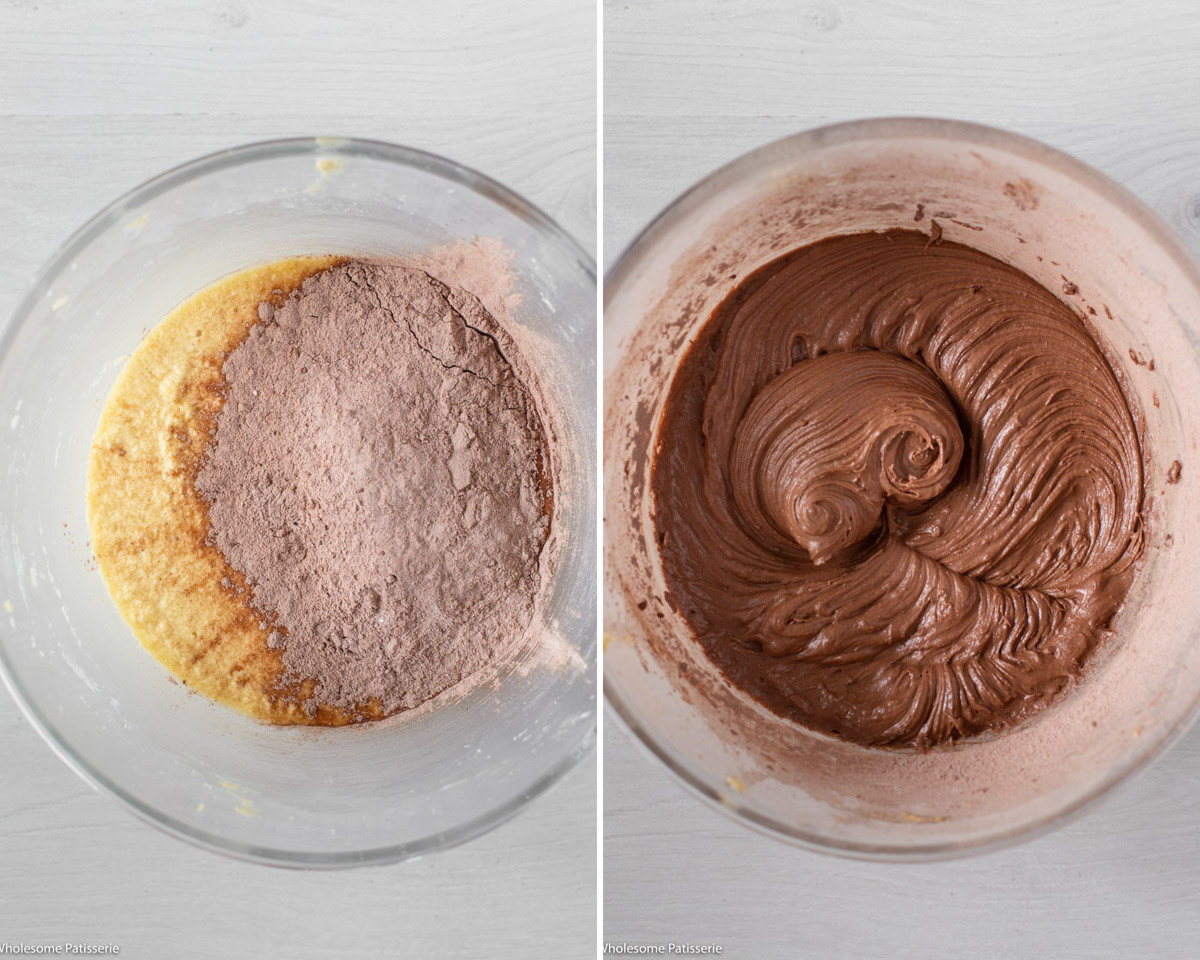
Step six: Add half of the dry flour mixture and beat until just combined. Scrape down the sides and add the remaining flour. Beat until incorporated, ensuring not to over-beat.
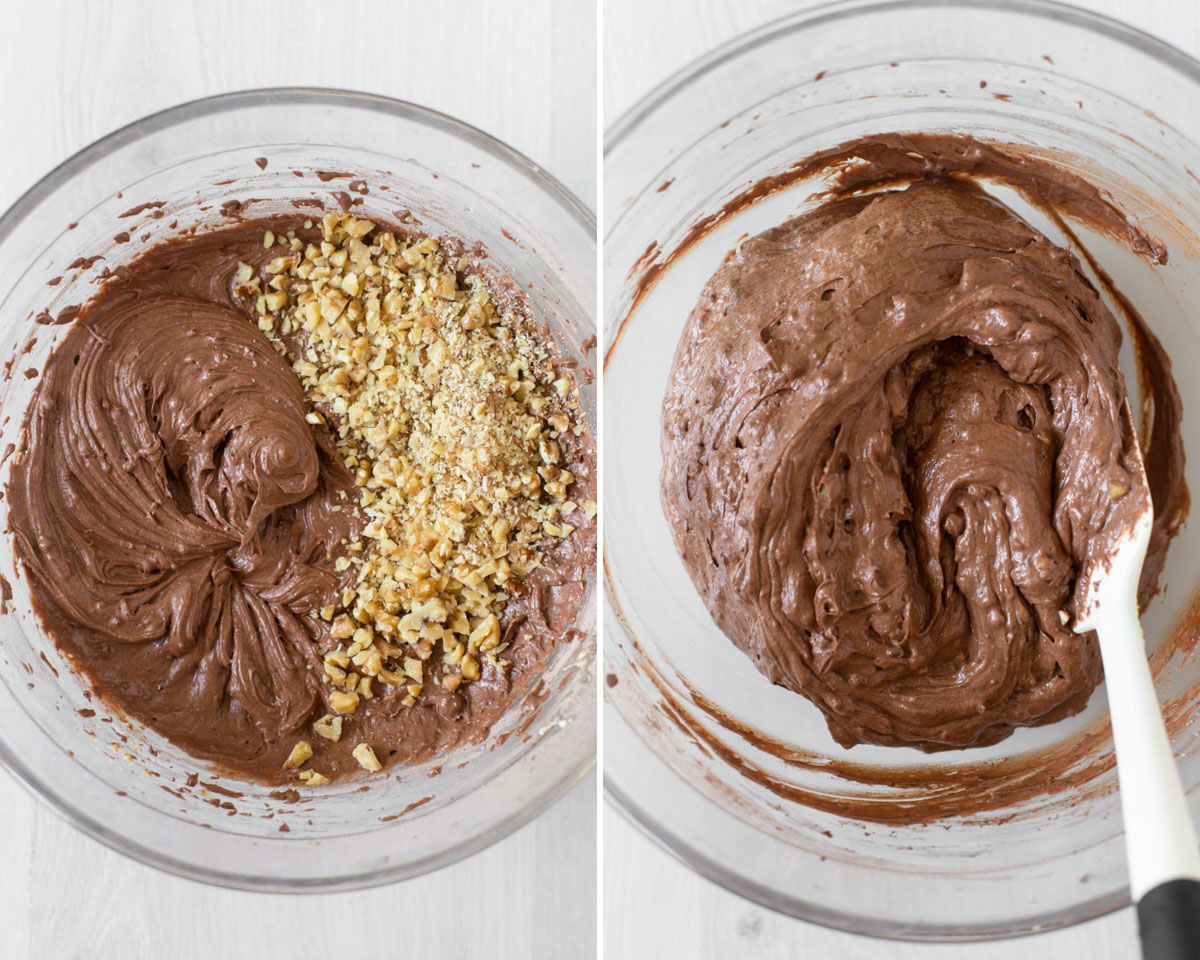
Step seven: Add finely chopped walnuts and fold gently until dispersed throughout the batter, ensuring not to over-mix. If you over-beat.
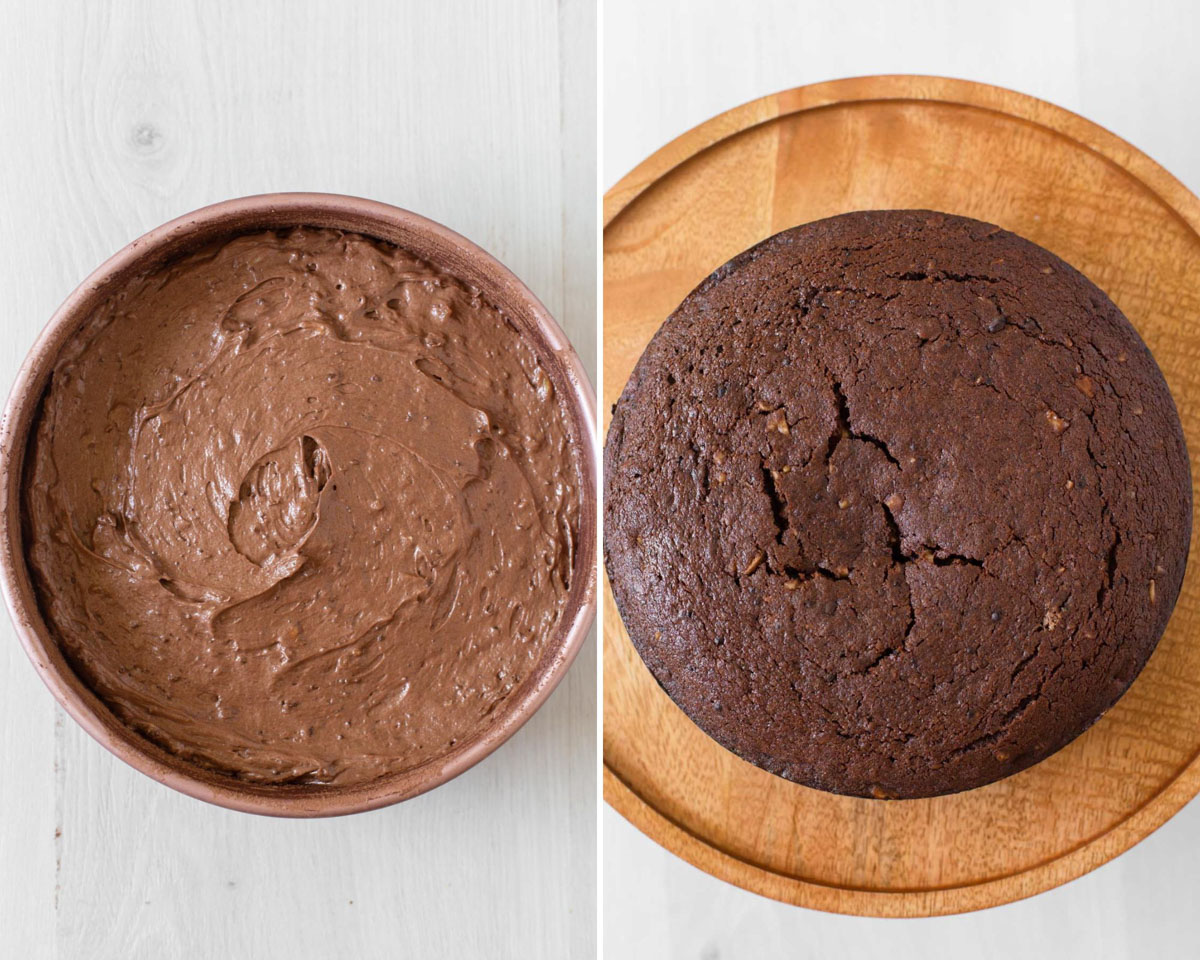
Step eight: Pour into the lined pan and smooth out the top with a spatula. Bake for 35-40 minutes, or until a skewer inserted into the middle comes out clean and it’s golden all over.
Step nine: Remove from oven and allow to cool in pan for 10 minutes. Carefully remove from pan and transfer to a wire rack to cool completely.
Step ten: Break the chocolate down into squares and place it into a small heat-proof bowl. Pour cream into a small pot and gently warm over low heat. Once heated, pour the warm cream over the chocolate and let sit for 2 minutes.
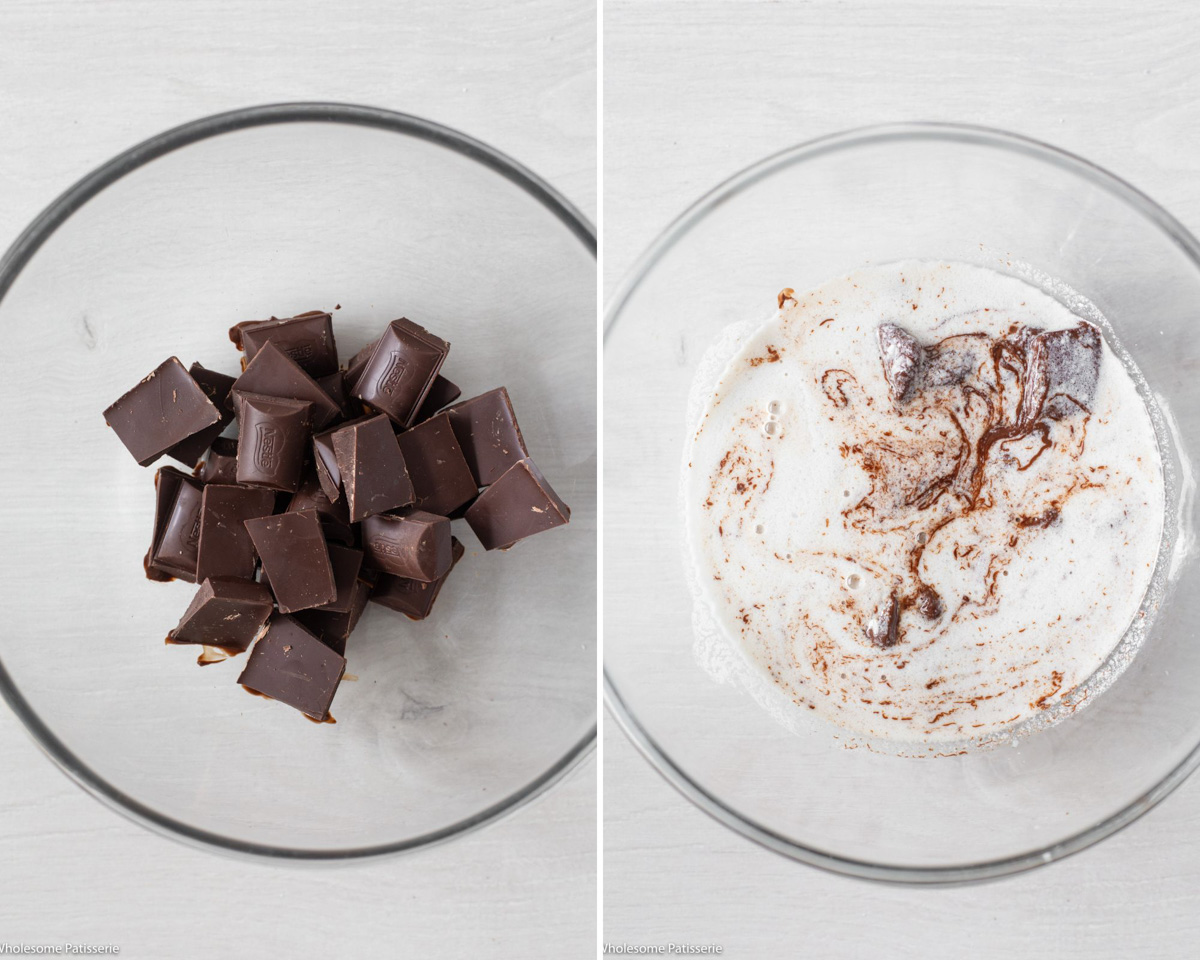
Step eleven: Gently stir the chocolate into warm cream until well combined and smooth. Set aside at room temperature for 30 minutes until it has thickened up to a spreading consistency. Or refrigerate until it firms up.
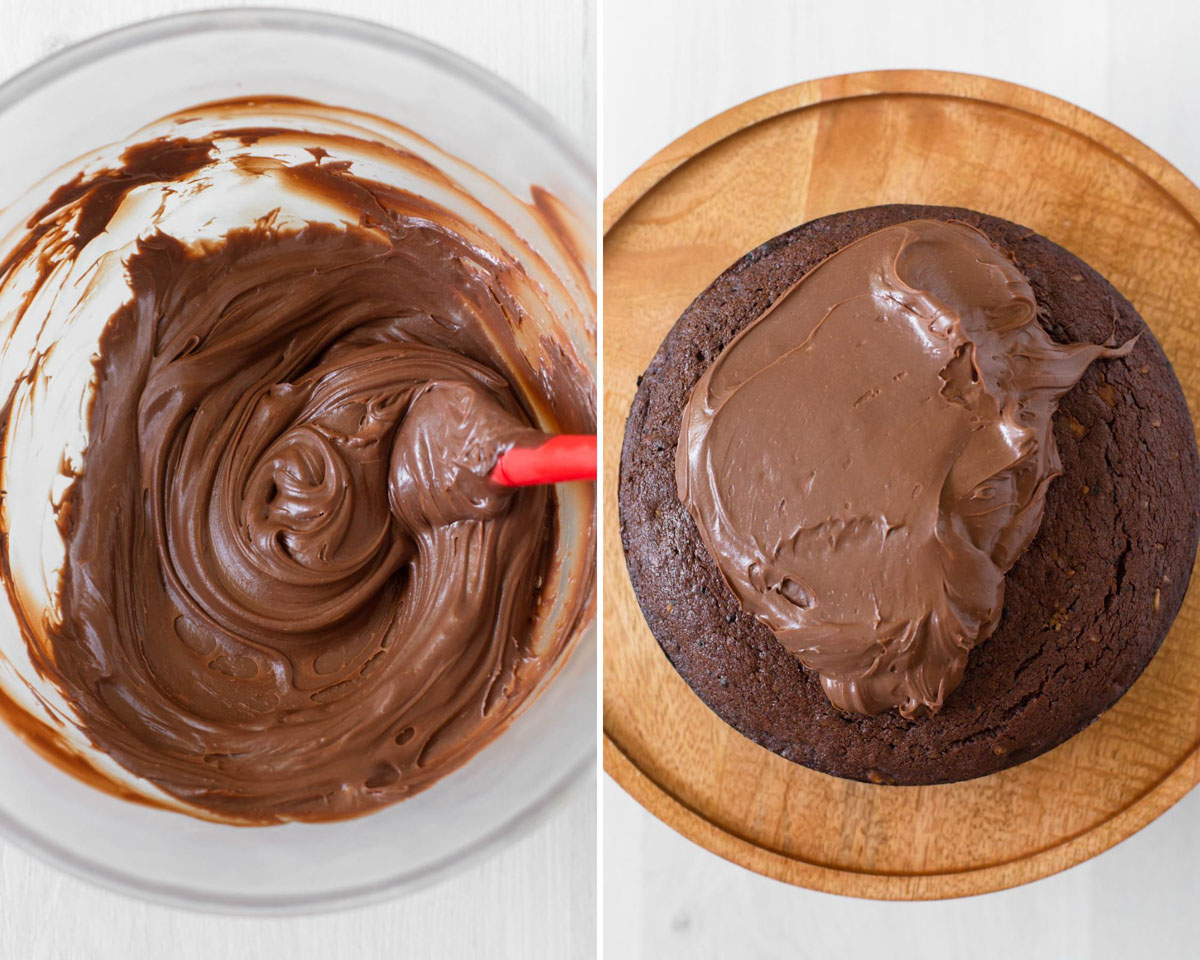
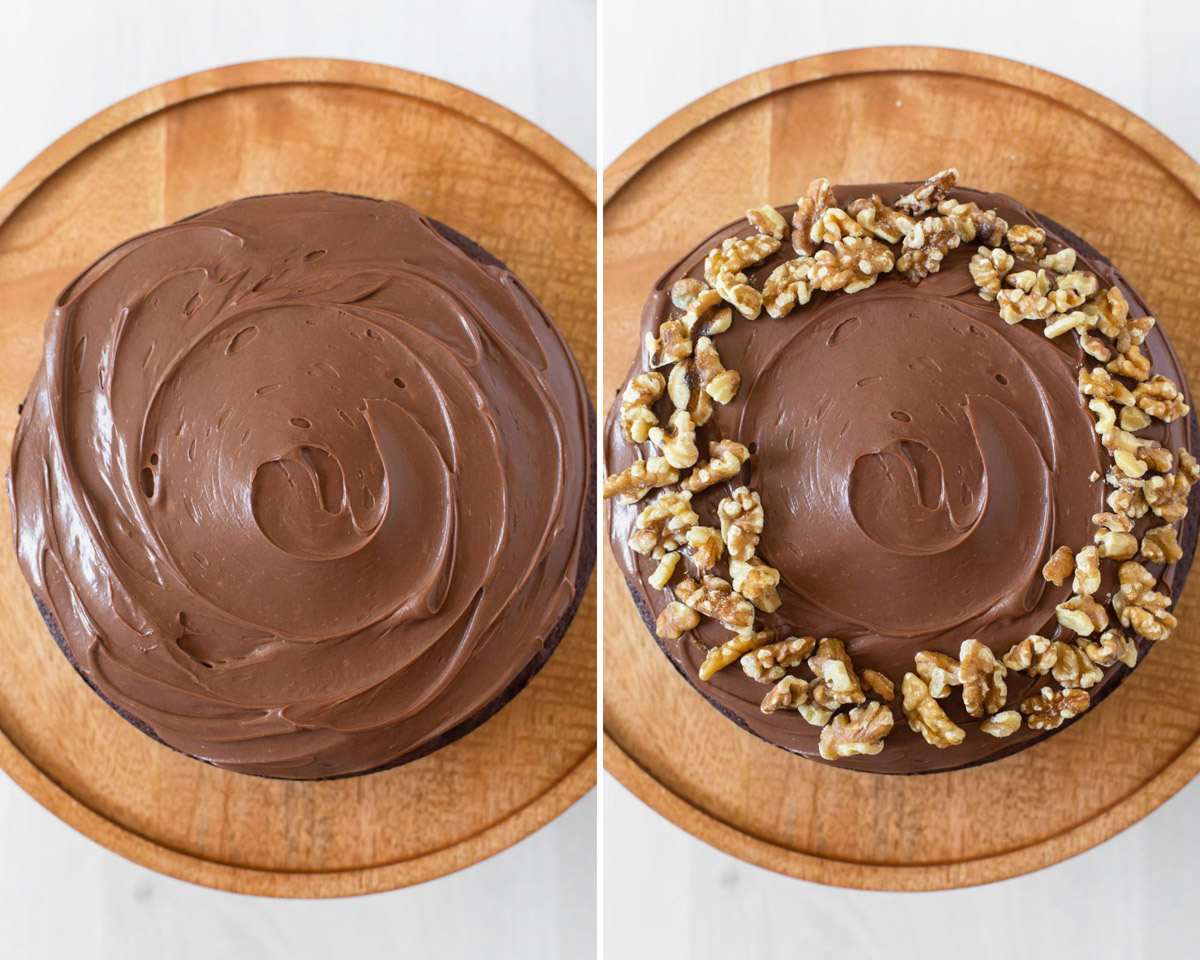
Step twelve: Spread frosting over the cooled cake. Arrange walnuts on the frosting around the edges of the cake or sprinkle them over. Set aside and allow the frosting to set and then slice it into triangles and enjoy!
💭 Tips For Recipe Success
- Make sure to measure your baking ingredients accurately: To achieve the best results. Check out my helpful guide on how to measure basic ingredients.
- Use a non-stick baking tin: For extra insurance, I always love to grease my tin with a layer of butter and dust a layer of cocoa. Tap out the excess and pour in the cake batter. This will leave your cake with smooth sides.
- Refrigerated ingredients must be at room temperature before making your chocolate cake: Cold ingredients will not emulsify and blend properly with the rest of the ingredients.
- Do not over-mix the cake batter: It will result in a tough and dense textured cake after baking.
- For the frosting, do not let the cream come to a boil: It will burn/scold your chocolate.
- Pop the ganache in the freezer: While it cools down, the ganache will thicken faster in the freezer or the fridge while you stir it occasionally.
⏲️ Storage Instructions
Store cake in an airtight container, at room temperature, for 3-4 days. Transfer to the refrigerator after a few days if needed to keep it fresh from humid temperatures.
Freeze the cake by allowing it to completely cool after baking. Do not add the ganache frosting. Wrap it tightly in plastic wrap and then wrap it again in tin foil. Freeze it for up to 3 months.
Thaw the cake by removing it from the freezer and placing it in your refrigerator, it’s wrapped up, for a full 24 hours to slowly thaw.
💬 Recipe FAQ’s
Yes, you can use different types of nuts such as pecans, almonds, hazelnuts or macadamia nuts. Make sure to chop them finely when adding them to the batter.
I recommend using any plain block of dark chocolate that is over 40% cocoa and one that you would be happy to consume by itself.
You can try using a gluten-free all-purpose flour blend perfect for baking, such as a 1:1 flour blend. Although I haven’t tested this recipe myself using gluten-free flour.
For the cake. you can try using a block of dairy-free cooking butter and milk such as almond or coconut. For the ganache, try dairy-free dark chocolate and coconut cream. Keep in mind I have not tested this recipe using these dairy-free substitutions other than the coconut cream, which worked great!
Yes! This cake keeps well in an airtight container, at room temperature, for 3-4 days. Transfer to the refrigerator after a few days if needed to keep it fresh from humid temperatures.
If you enjoy this recipe, please consider leaving a ⭐️ star rating and a comment review below. I love to hear what you think and it’s much appreciated. Thank you! Your email address will not be published. Sam x
Moist Chocolate Walnut Cake
Ingredients
Cake
- 1 cup (150g) plain all-purpose flour, scooped & leveled
- 1/2 cup natural unsweetened cocoa powder, or Dutch-process cocoa powder
- 2 tsp baking powder
- 1 tsp instant coffee powder
- 1/4 tsp fine salt, or Kosher salt
- 125 g unsalted butter, softened to room temperature
- 3/4 cup golden or white caster sugar
- 2 large eggs, at room temperature, (approx. 55g-60g in shell)
- 1/2 cup whole milk, at room temperature
- 1/4 cup extra virgin olive oil
- 1 tsp vanilla extract
- 1/2 cup walnuts, finely chopped
Chocolate Ganache
- 200 g plain dark chocolate block, use a quality dark chocolate
- 200 ml heavy cream/thickened cream, or canned coconut cream
- 1/2 cup walnuts
Instructions
Cake
- Preheat oven to 180ºC (356ºF). Line a round 8-inch baking pan with parchment paper, and set aside. NOTE: Alternatively, if you have a non-stick pan, liberally grease it with melted butter and dust it with a light layer of cocoa. This will leave your finished cake with smooth sides.
- In a medium size mixing bowl, add flour, cocoa, baking powder, coffee, and salt. Whisk until well combined. Set aside.
- In a large mixing bowl, using either electric hand beaters or a stand mixer with the paddle attached, add softened butter to the bowl.
- Beat butter for a few seconds to break it up and it begins to turn creamy. This makes it easier on your beater when the sugar is added.
- Add sugar. Beat with the butter for 2 minutes until pale and creamy. Scraping down the sides as needed.
- Add eggs one at a time, beating for 10 seconds after each addition. Scrape down the sides as needed.
- Pour in milk, oil, and vanilla. Beat for 15 seconds until well combined. Scrape down the sides again.
- Add half of the dry flour mixture and beat until just combined. Scrape down the sides and add the remaining flour. Beat until incorporated, ensuring not to over-beat, just until the flour has combined then turn off the beater.
- Add finely chopped walnuts and fold gently until dispersed throughout the batter, ensuring not to over-mix. If you over-beat, the cake can turn tough and dense after baking.
- Pour into the lined pan and smooth out the top with a spatula.
- Bake for 35-40 minutes, or until a skewer inserted into the middle comes out clean and it’s golden all over.
- Remove from oven and allow to cool in pan for 10 minutes.
- Carefully remove from pan and transfer to a wire rack to cool completely.
Chocolate Ganache
- Break chocolate down into squares and place it into a small heat-proof bowl.
- Pour cream into a small pot and gently warm over low heat.
- Heat cream until warm and steam starts to come off the surface and small bubbles begin to appear around the edges, do not let it come to a boil. Remove from heat.
- Pour warm cream over the chocolate and let sit for 2 minutes.
- Gently stir the chocolate into warm cream until well combined and smooth.
- Set aside at room temperature for 30 minutes until it has thickened up to a spreadable consistency. Or pop it in the freezer or refrigerator until it firms up. Keep a close eye on it though, once it thickens it will turn solid quite quickly, at which point, it will be difficult to spread.
- Spread frosting over the cooled cake.
- Arrange walnuts on the frosting around the edges of the cake or sprinkle them over.
- Set aside and allow frosting to set.
- Slice into triangles and enjoy!
Notes
- To achieve the best results: Measure your ingredients correctly.
- Use a non-stick baking tin: For extra insurance, I always love to grease my tin with a layer of butter and dust a layer of cocoa. Tap out the excess and pour in the cake batter. This will leave your cake with smooth sides.
- Refrigerated ingredients must be at room temperature before making your chocolate cake: Cold ingredients will not emulsify and blend properly with the rest of the ingredients.
- Do not over-mix the cake batter: It will result in a tough and dense textured cake after baking.
- For the frosting, do not let the cream come to a boil: It will burn/scold your chocolate.
- Pop the ganache in the freezer: While it cools down, the ganache will thicken faster in the freezer or the fridge while you stir it occasionally.
- Store cake in an airtight container, at room temperature, for 3-4 days. Transfer to the refrigerator after a few days if needed to keep it fresh from humid temperatures.
- Freeze the cake by allowing it to completely cool after baking. Do not add the ganache frosting. Wrap it tightly in plastic wrap and then wrap it again in tin foil. Freeze it for up to 3 months.
- Thaw the cake by removing it from the freezer and placing it in your refrigerator, it’s wrapped up, for a full 24 hours to slowly thaw.

I would have found the recipe a lot easier to follow if you had shown instead of some ingredients in cups sizes to show weights in grams (eg for cocoa powder), and liquid quantities in millilitres (eg for milk).
Hi Andy, thank you for your feedback! I understand how important precise measurements can be, especially for baking. I wanted to let you know that my blog does feature a metric conversion option for all recipes, including this one. You can find the option to switch to metric measurements within the recipe card itself, just above the ingredient list and off to the right. This will provide you with the exact measurements you’re looking for. Happy baking! Sam 🙂
Smelled so good, tasted not so great. Unfortunately for me this cake was a huge nono, didn’t taste very chocolate-y and the sweetness level was a little too low in my opinion.
Unfortunately, this was a no for me.
Hi Lauren, I’m sorry to hear that the cake didn’t meet your expectations. I appreciate your honest feedback. Taste preferences can vary greatly, and I understand if this recipe didn’t quite hit the mark for you. Thank you for giving the recipe a try. Kindest, Samantha