Easy Chocolate Self Saucing Pudding
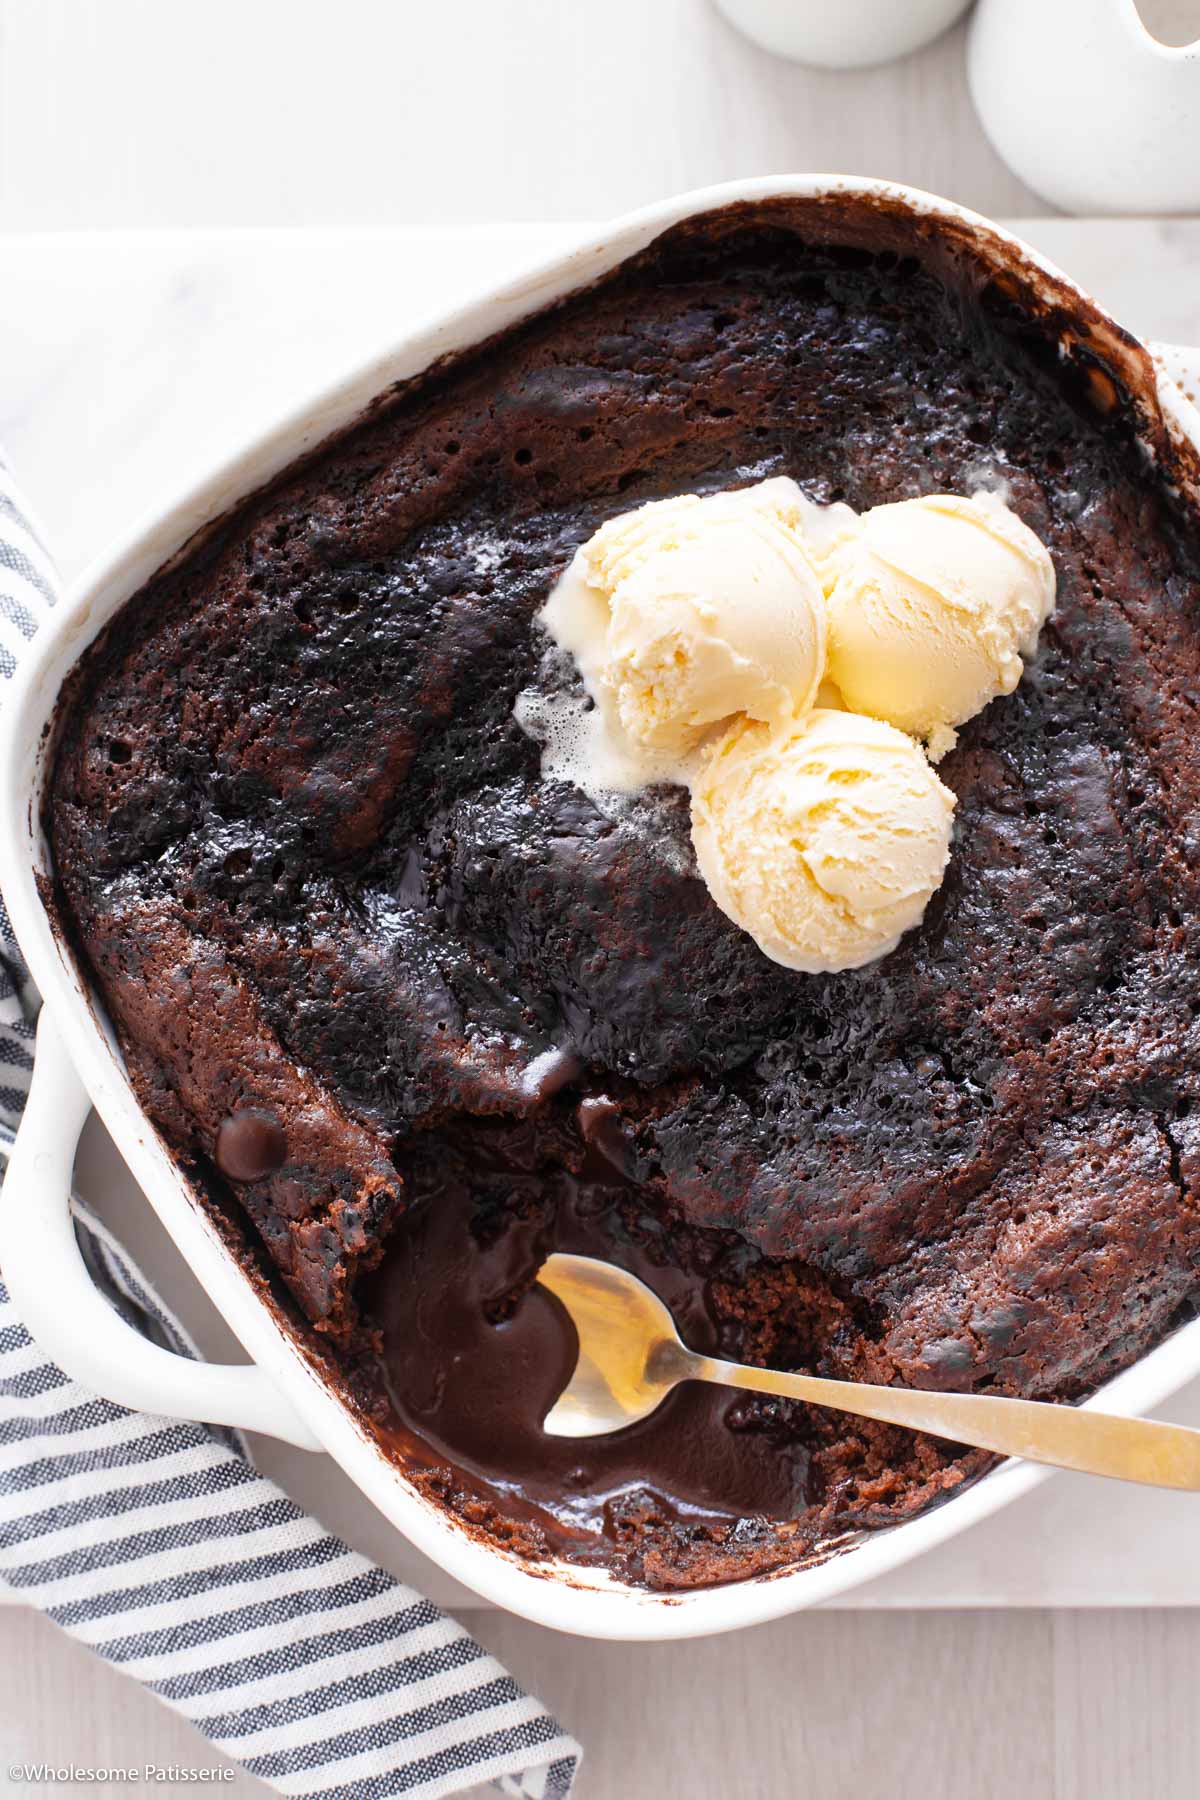
This easy old fashioned Chocolate Self Saucing Pudding features a fluffy chocolate sponge cake with and a thick chocolate sauce. Made in one bowl and baked in one dish, this is an ultimate classic dessert.
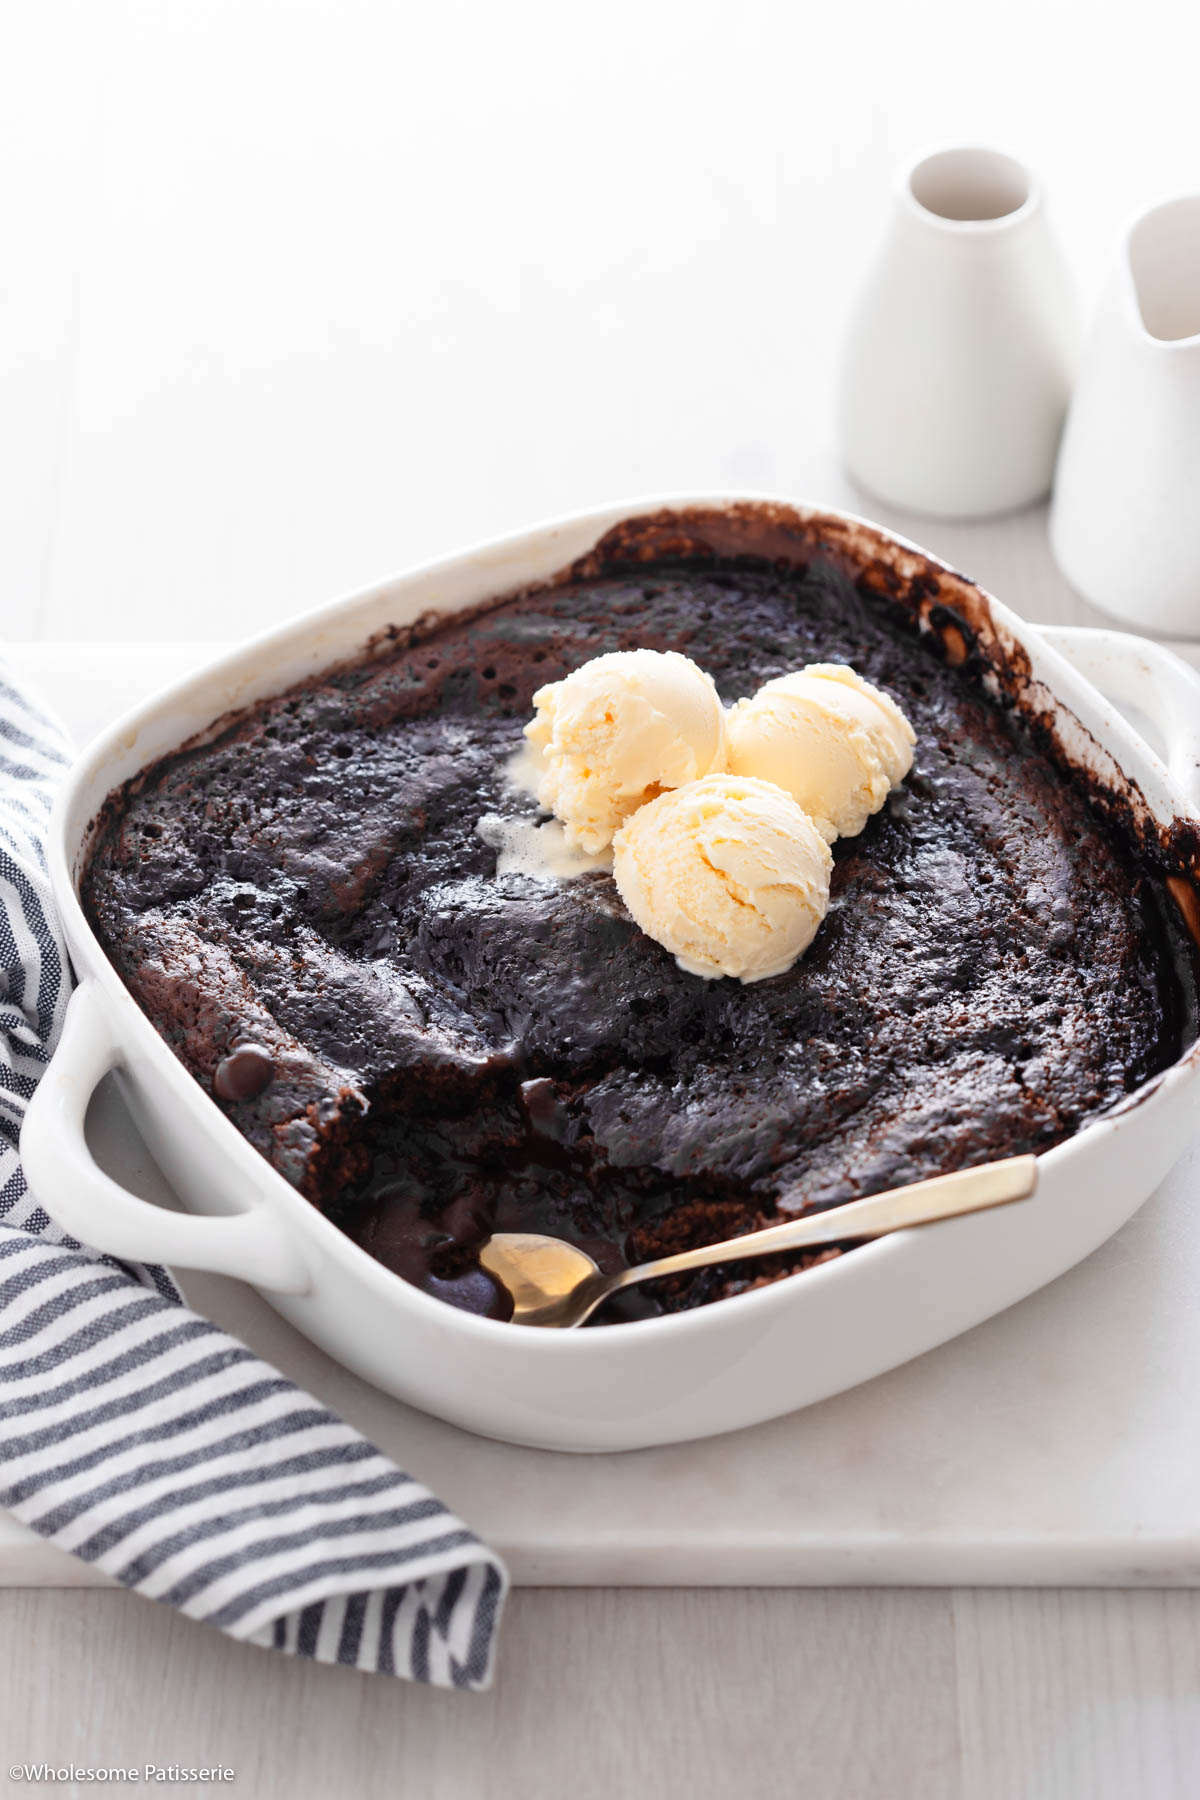
If you’re someone who loves comfort food, you’re going to adore this heavenly chocolate self saucing pudding.
Like my Sticky Toffee Pudding, the allure of this sophisticated dessert resides in its nuanced texture.
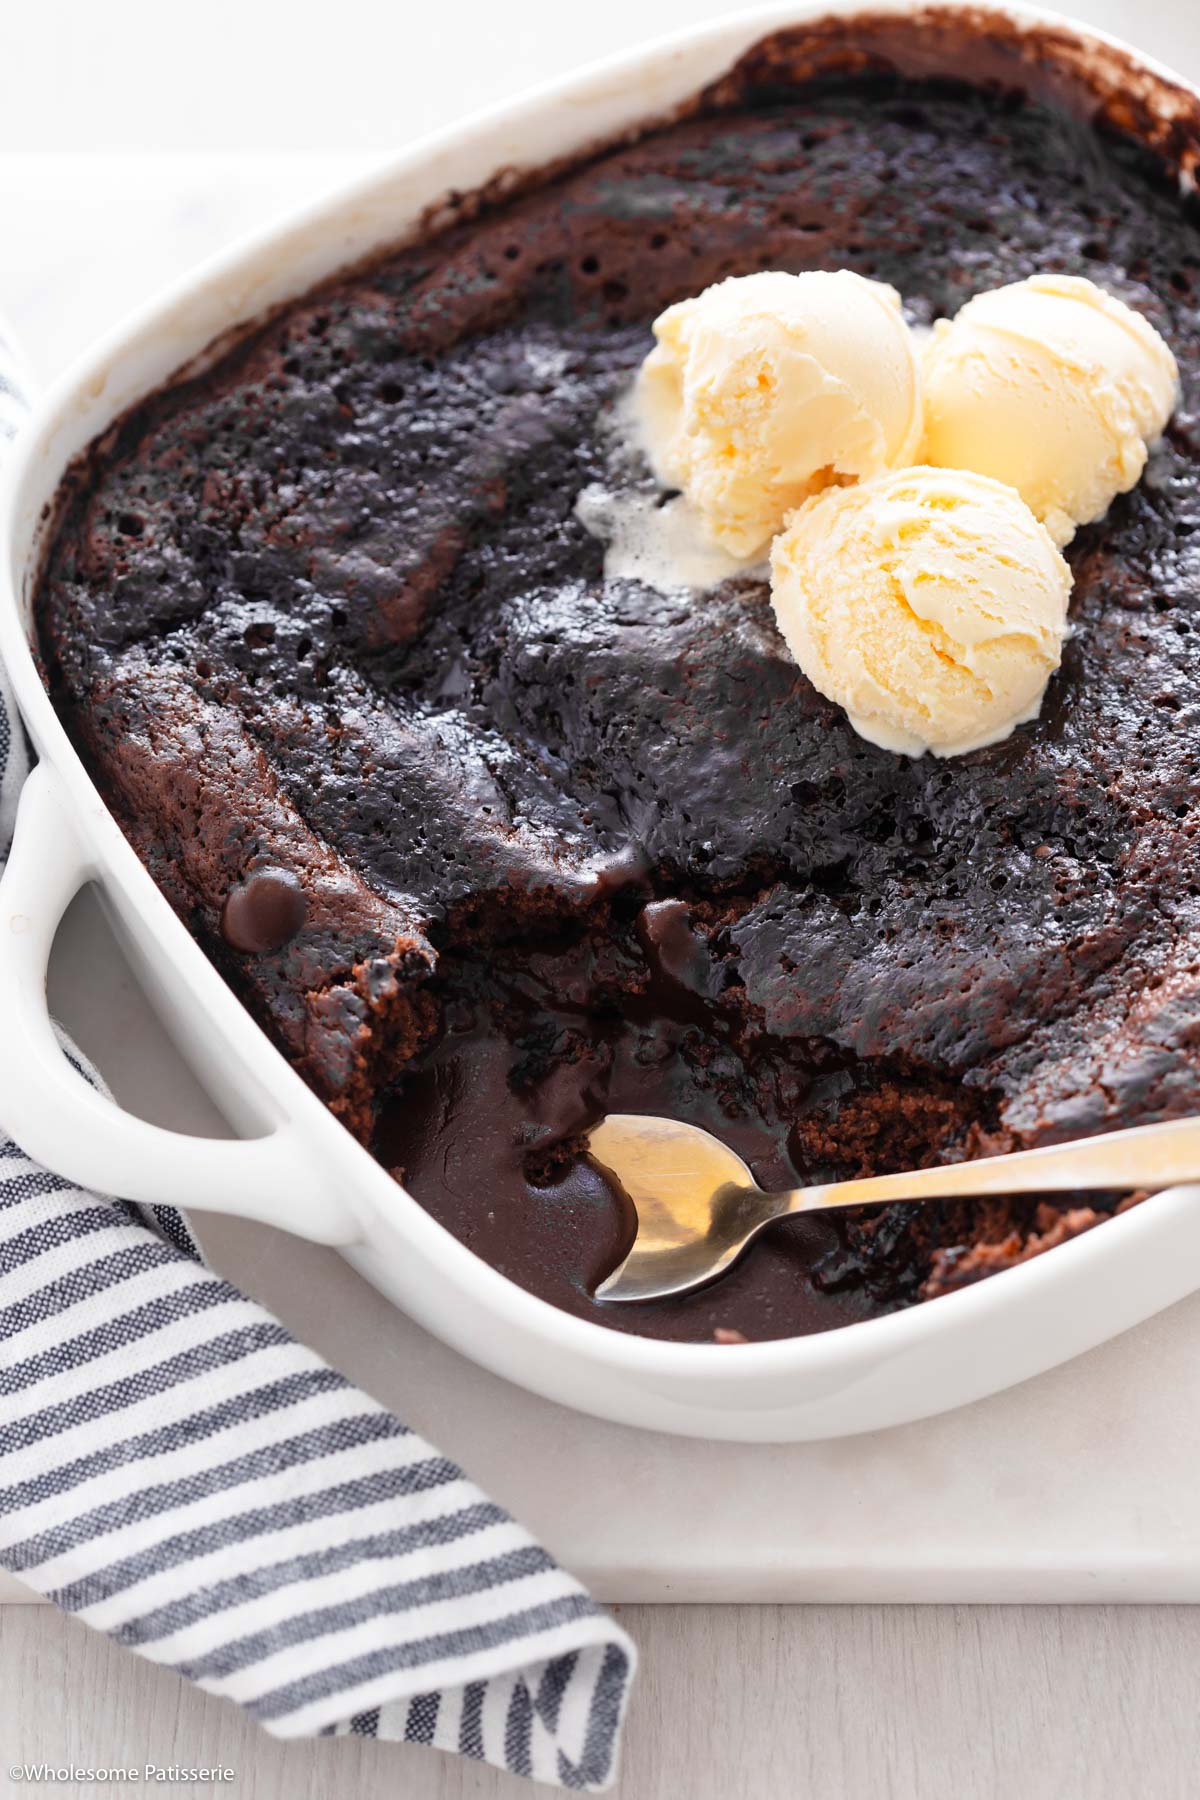
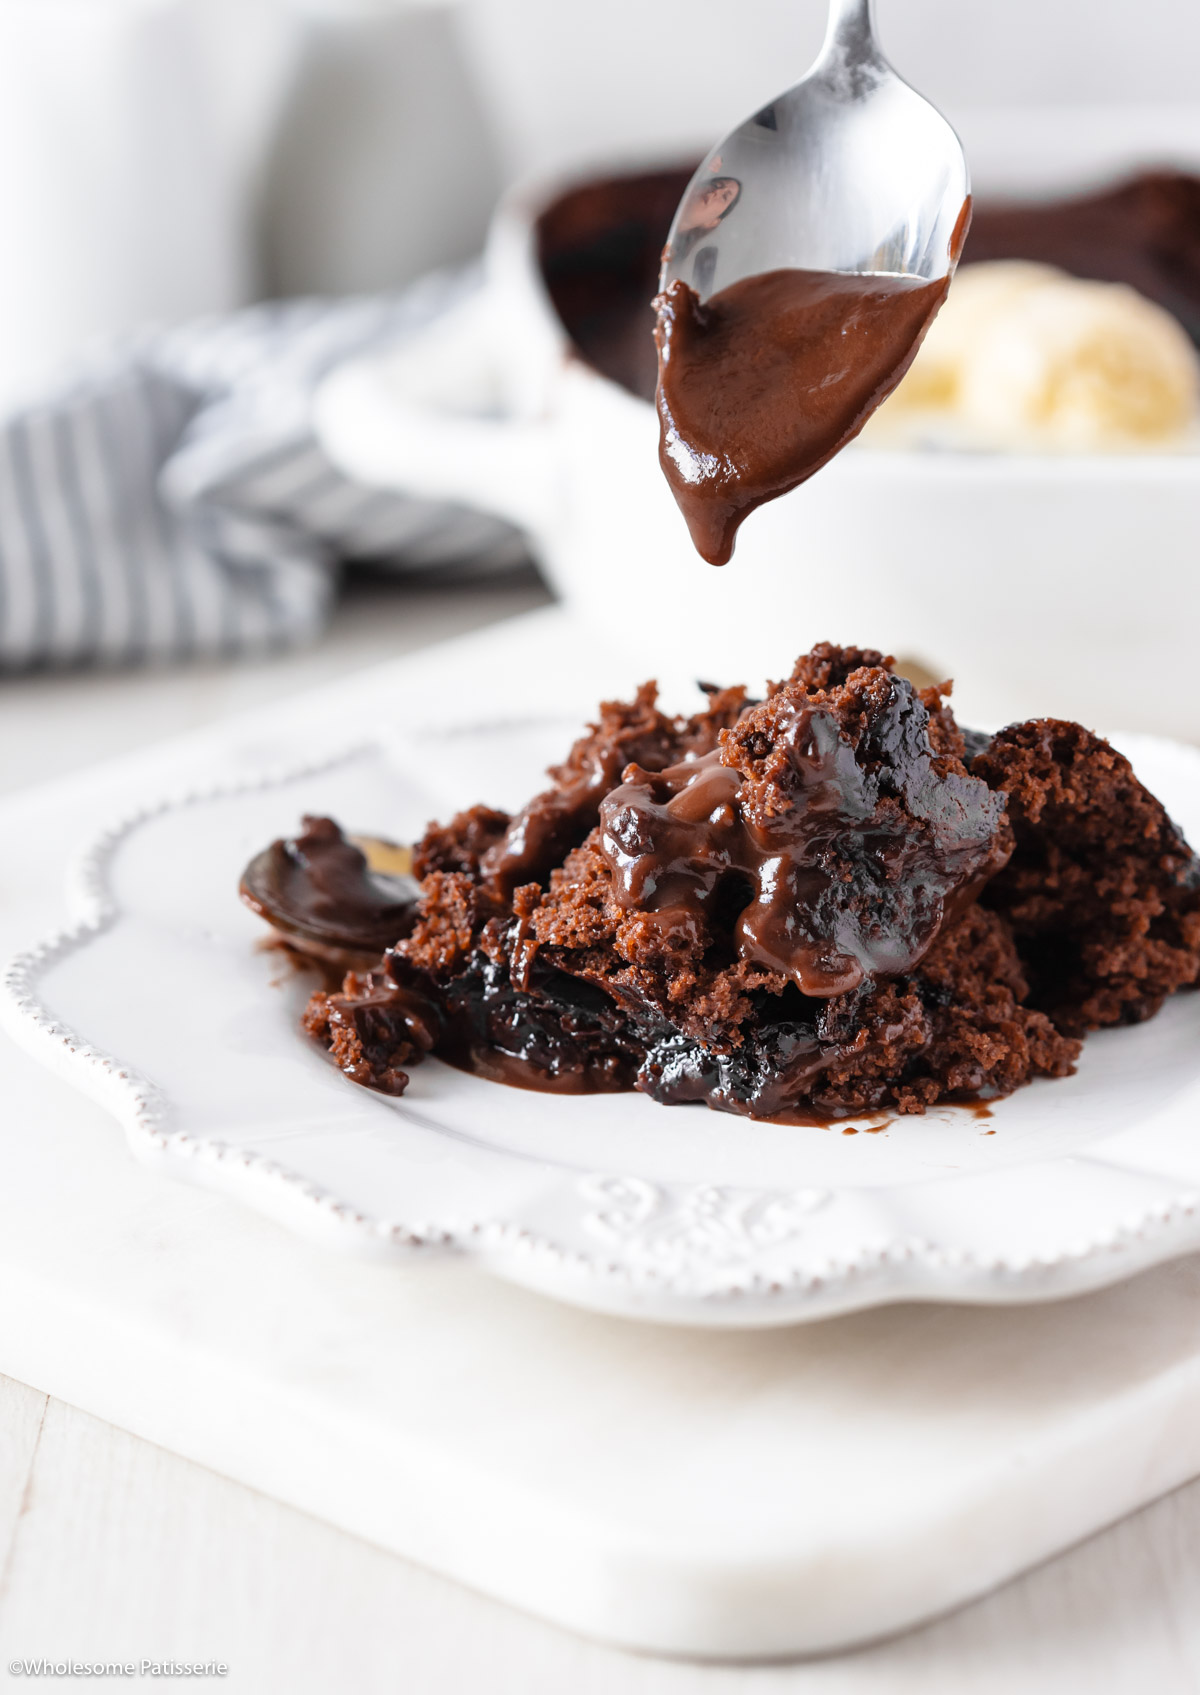
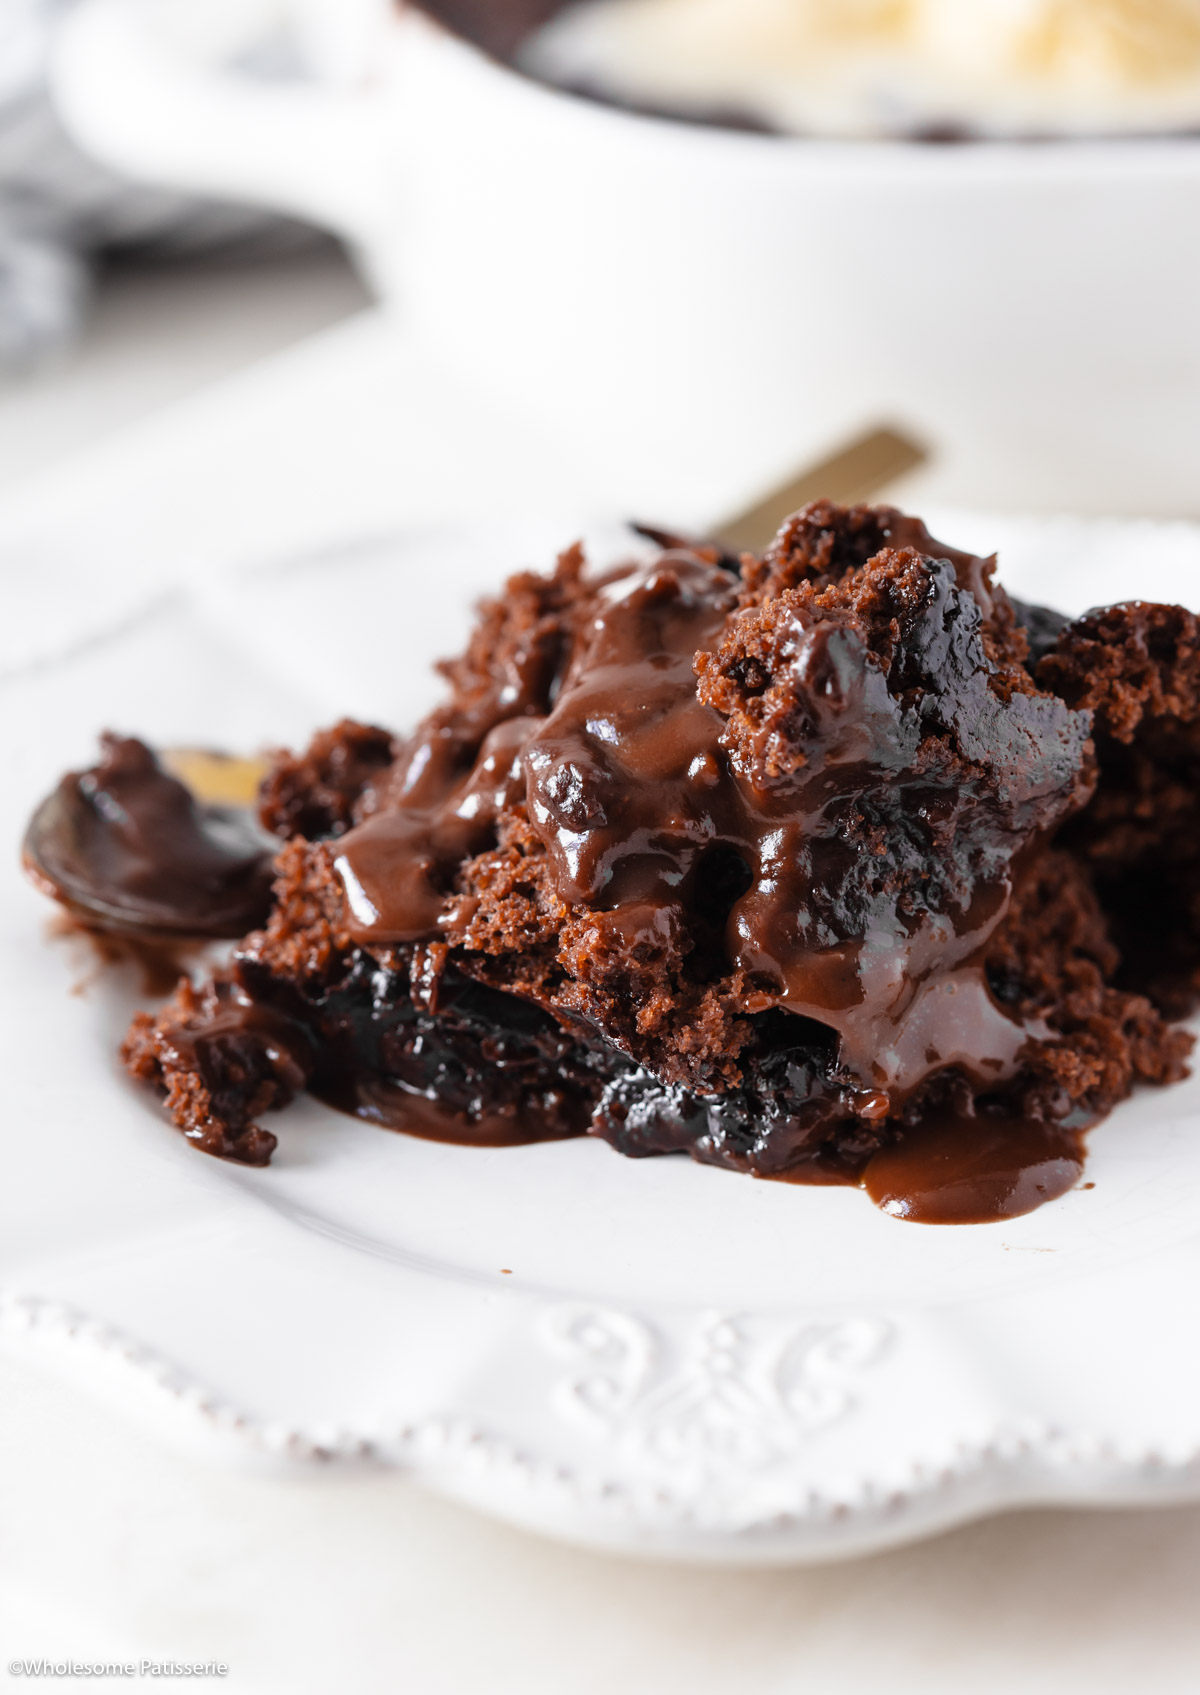
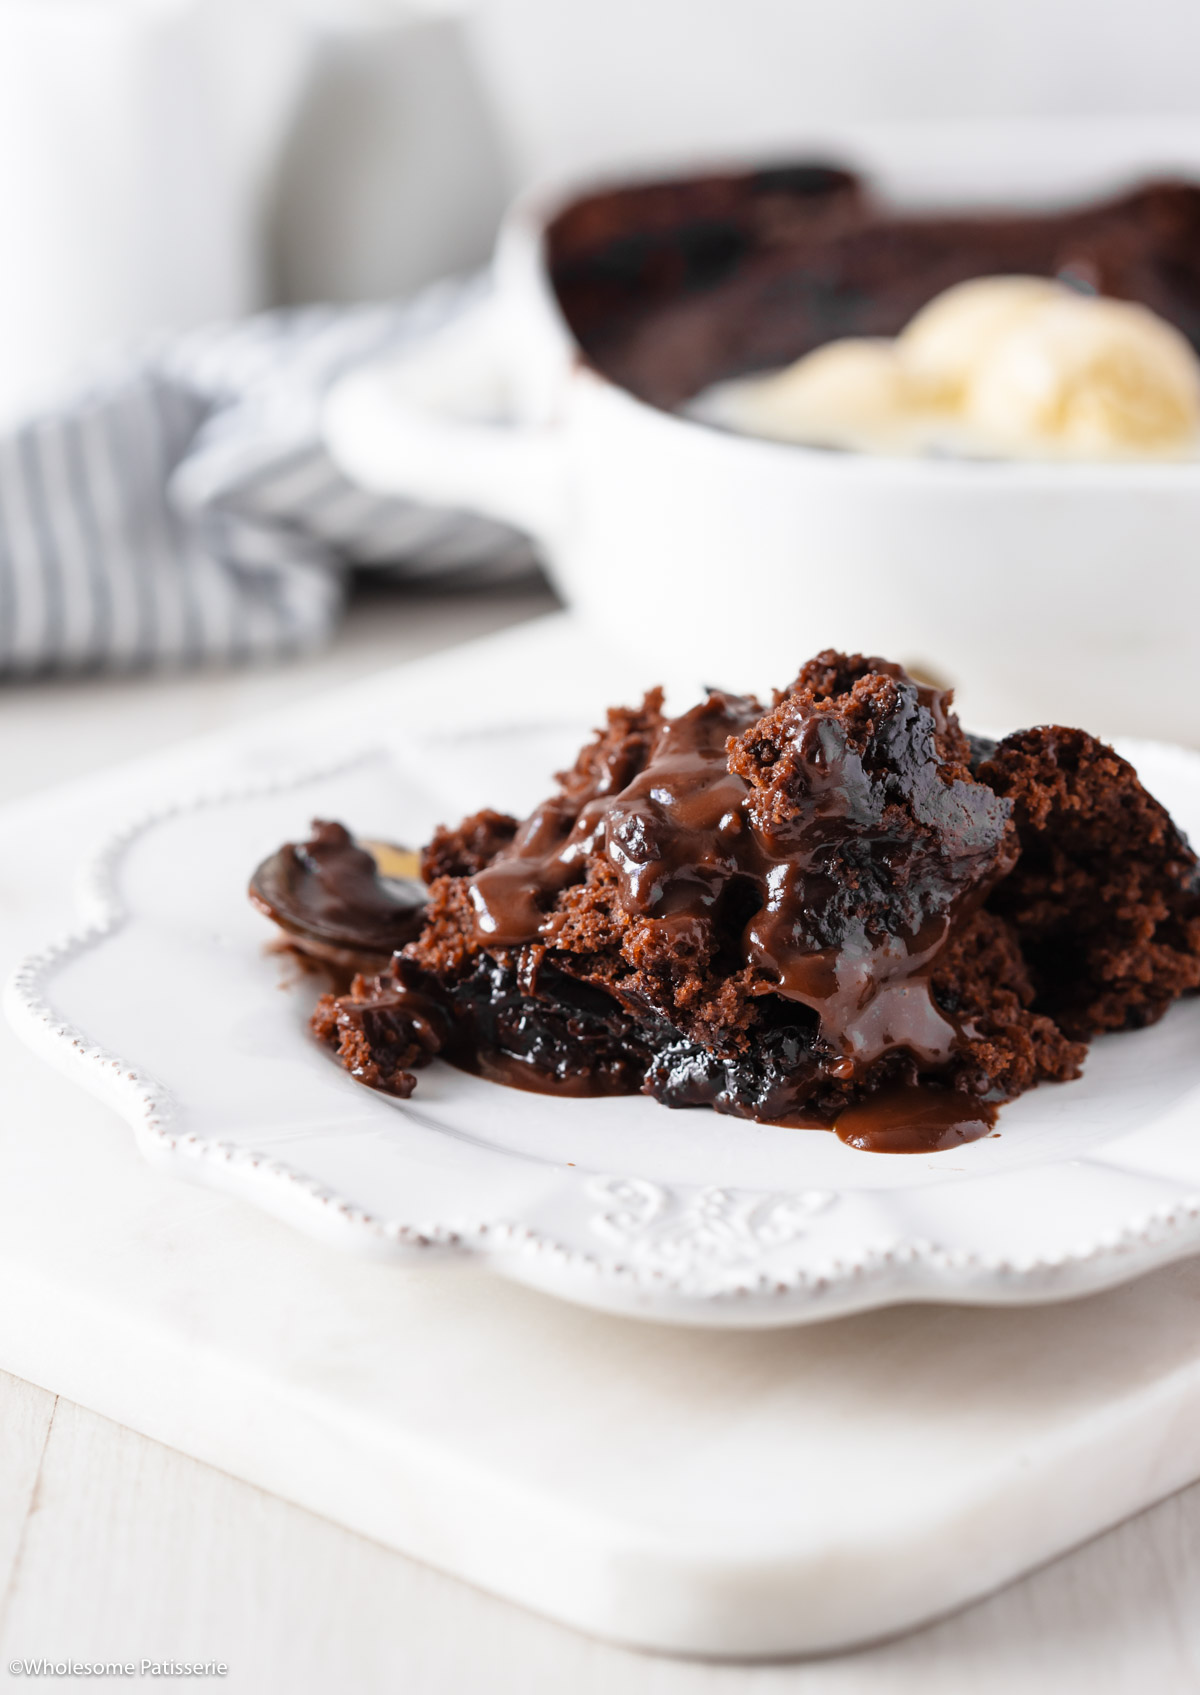
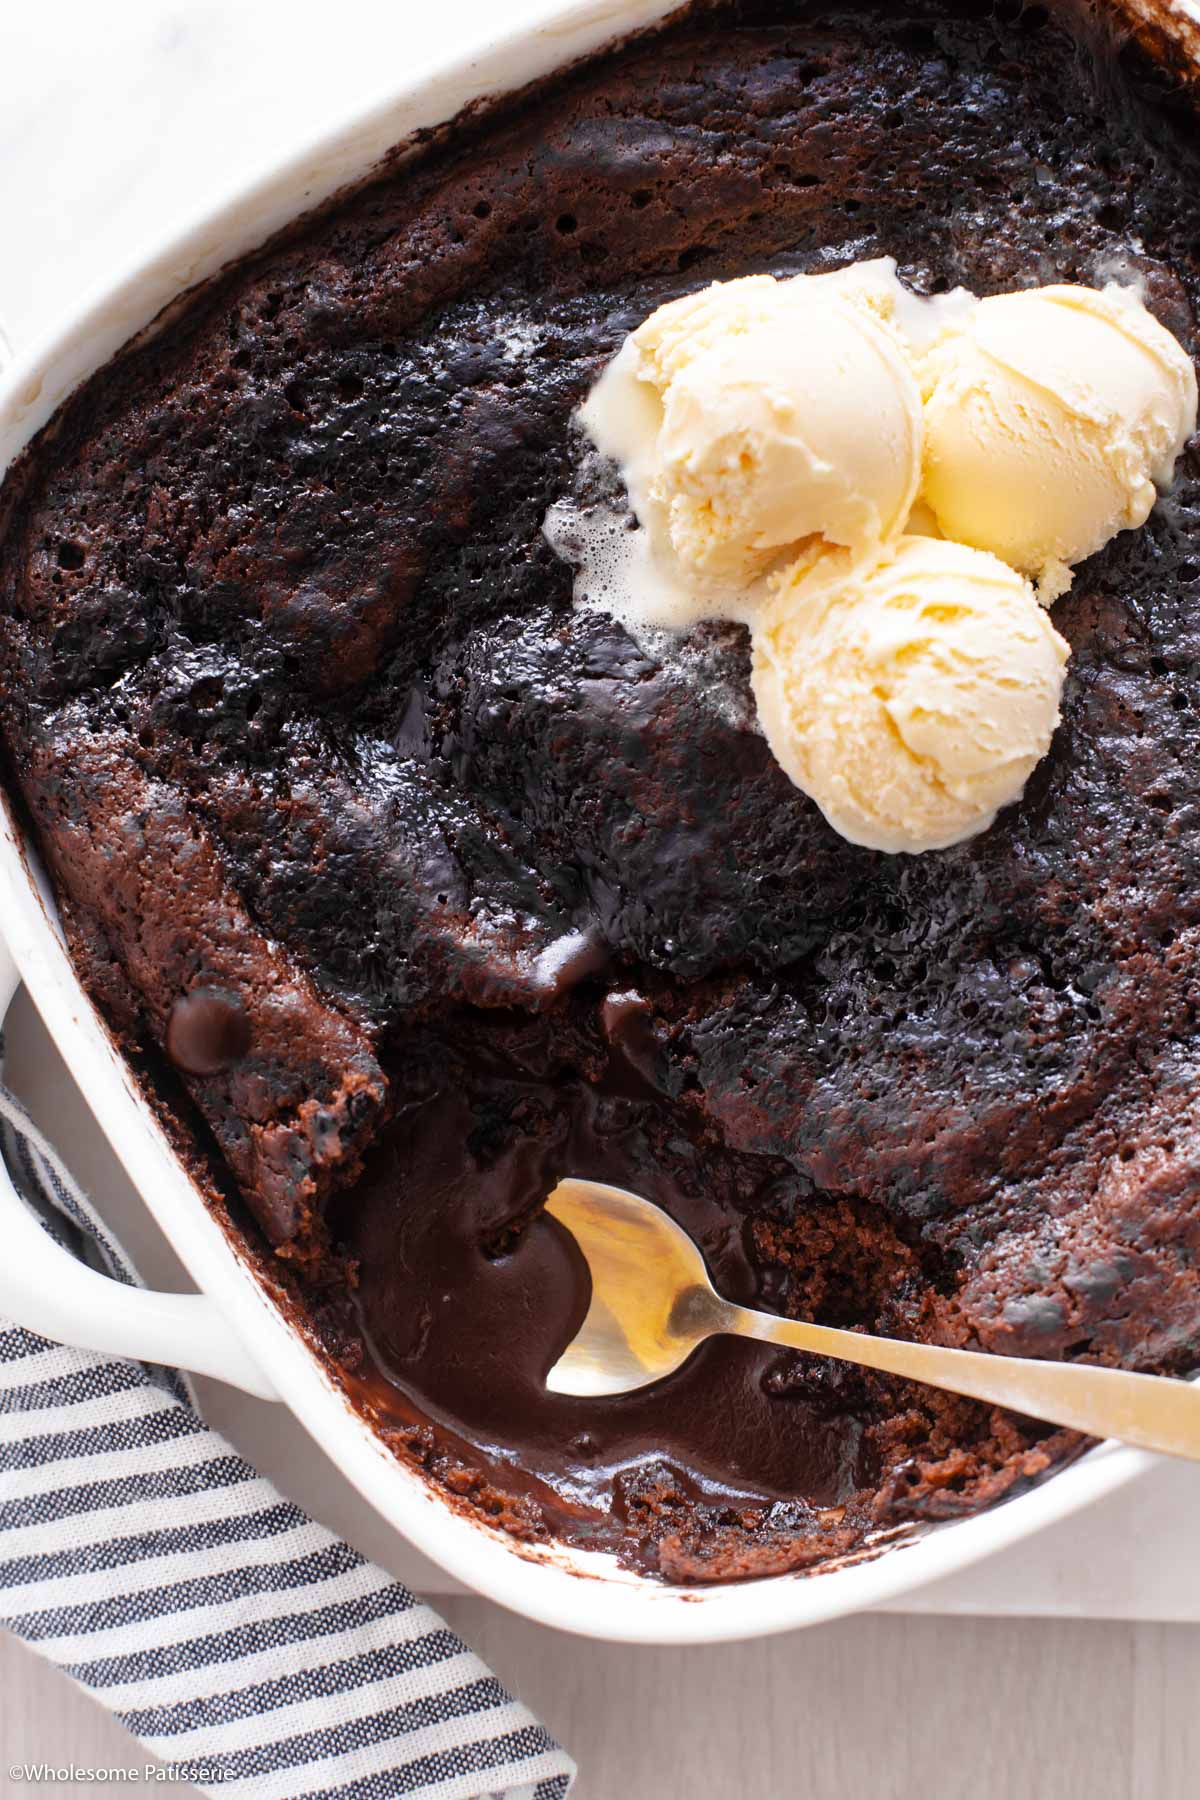
As you scoop out the fluffy and tender chocolate cake, you’re met with a hidden reservoir of velvety chocolate sauce beneath.
It’s sublimely simplistic.
Why You Will Love This Recipe
- Beginner friendly
- Rich and chocolatey dessert
- Sauce makes itself
- Crowd pleaser
Make the batter in one bowl and spread it into a baking dish.
A layer of cocoa and brown sugar is then sprinkled on top.
Then, a stroke of culinary genius, the addition of boiling water poured over top.
As the pudding bakes, the water separates, forming a luscious, self-made sauce beneath the cake.
It reminds me of my 3 ingredient chocolate sauce.
It’s like a chocolate lava cake but with the sauce on the bottom.
This timeless dessert can certainly hold its own.
However, should you desire to customize your pudding experience, you absolutely can.
Infuse it with a shot of espresso for a mocha-inspired rendition.
Or incorporate chopped nuts for textural contrast.
The addition of savoury cinnamon sugar puff pastry pieces crumbled over the pudding is also delicious!
The beauty of this self saucing pudding is its versatility and how well it pairs with various toppings.
Be it a scoop of vanilla ice cream, a quenelle of freshly whipped cream, or a sprinkle of sea salt.
If you’re making it during the festive season, like my Christmas Pudding, drizzle over a little homemade brandy sauce.
Ingredient Notes & Substitutions
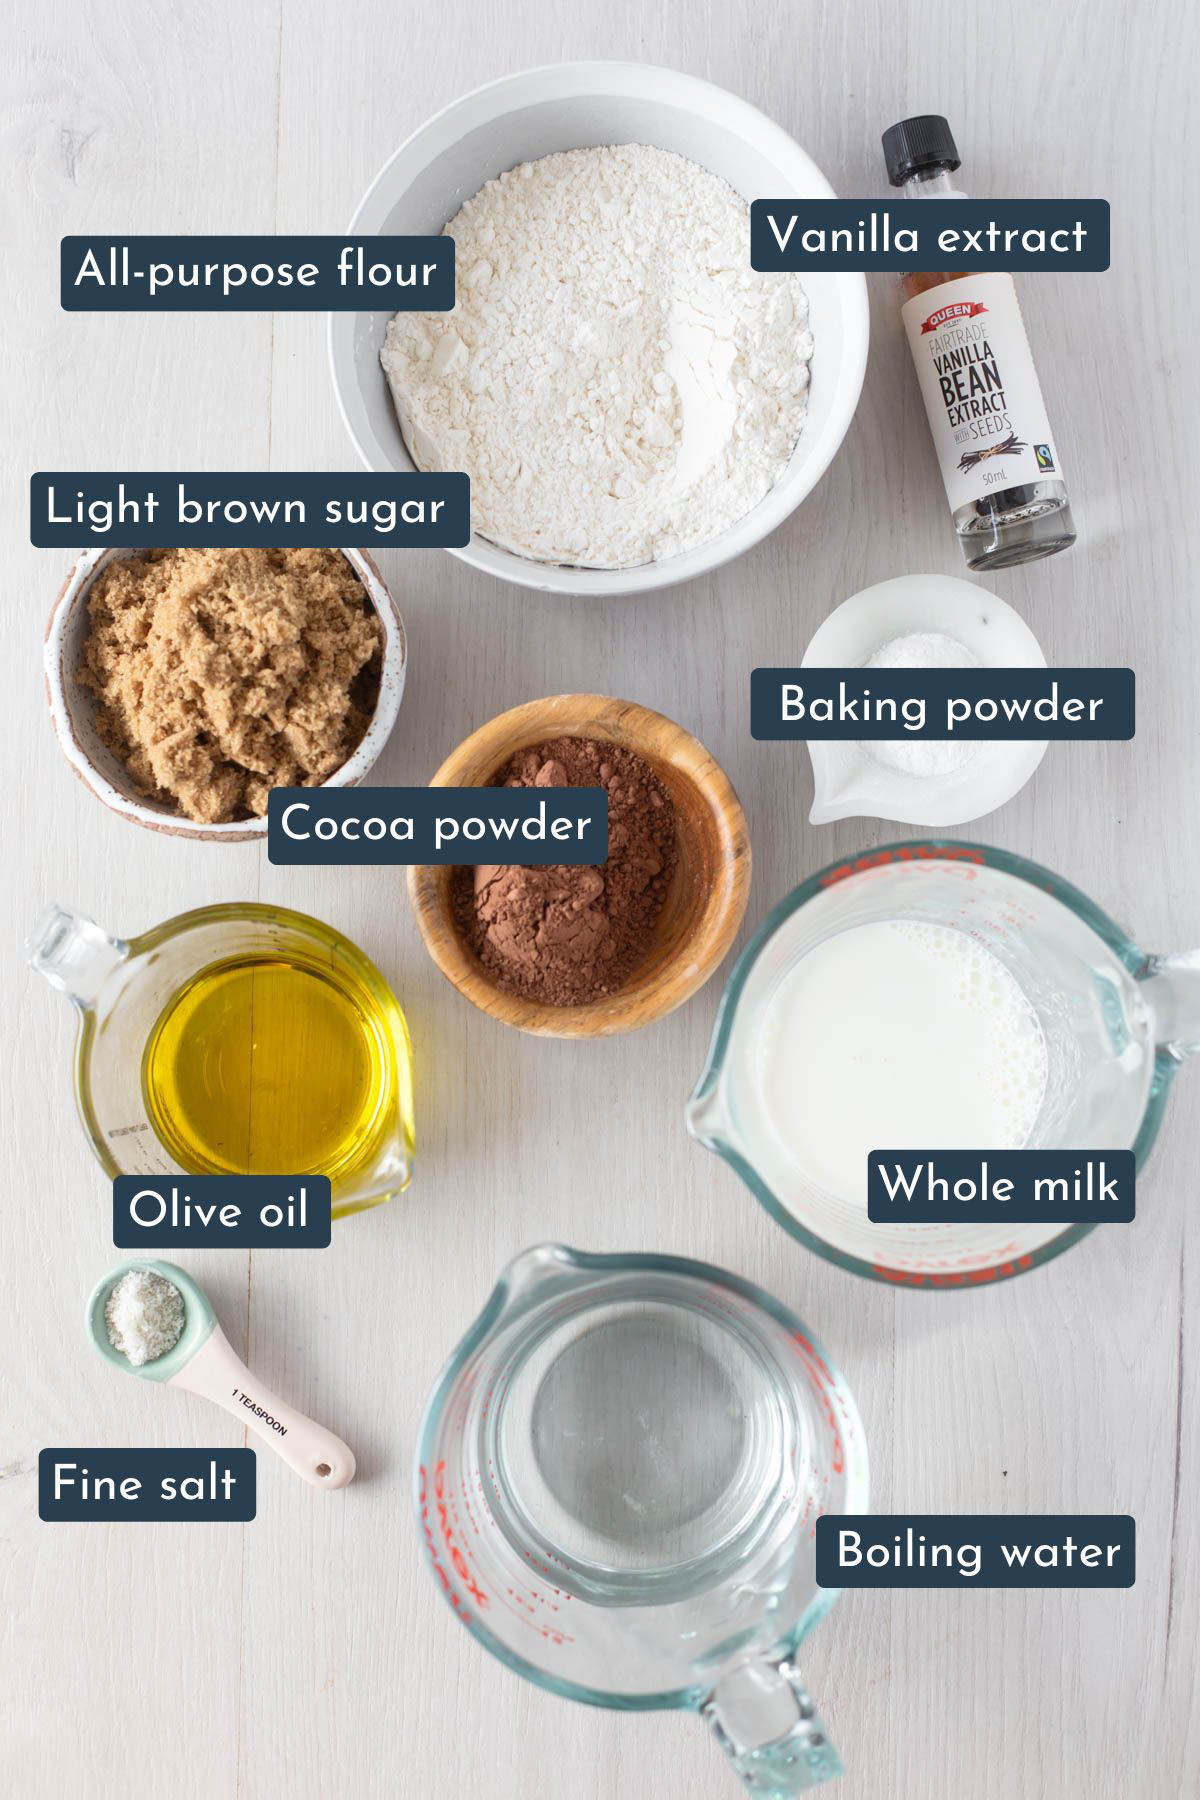
- All-purpose flour: Also known as plain flour in Australia. Make sure to accurately measure your flour for the best results.
- Baking powder: Ensure it’s not expired. To test if your baking powder still works, use this handy tip.
- Cocoa powder: Use a natural unsweetened cocoa powder.
- Salt: Any fine salt will do.
- Brown sugar: Use regular light brown sugar. This recipe hasn’t been tested using dark brown sugar or coconut sugar.
- Milk: Whole milk, low-fat milk or dairy-free milk such as almond milk can be used.
- Olive oil: Extra virgin olive oil works best. Alternatively, use neutral-flavored vegetable oil as a substitute such as canola oil.
- Vanilla extract: Can be substituted with a 1/2 teaspoon of vanilla paste.
- Boiling water: To make it quick heat it up in the kettle.
Step By Step Instructions (with photos)
There is a full and detailed recipe card at the bottom of this post.
Step one: Preheat oven to 356ºF (180ºC) fan-forced. Grease a square 9-inch x 9-inch (22cm x 22cm) ceramic or glass oven-proof baking dish. Set aside.
Step two: In a large mixing bowl add flour, baking powder, cocoa powder and salt. Whisk until well combined.
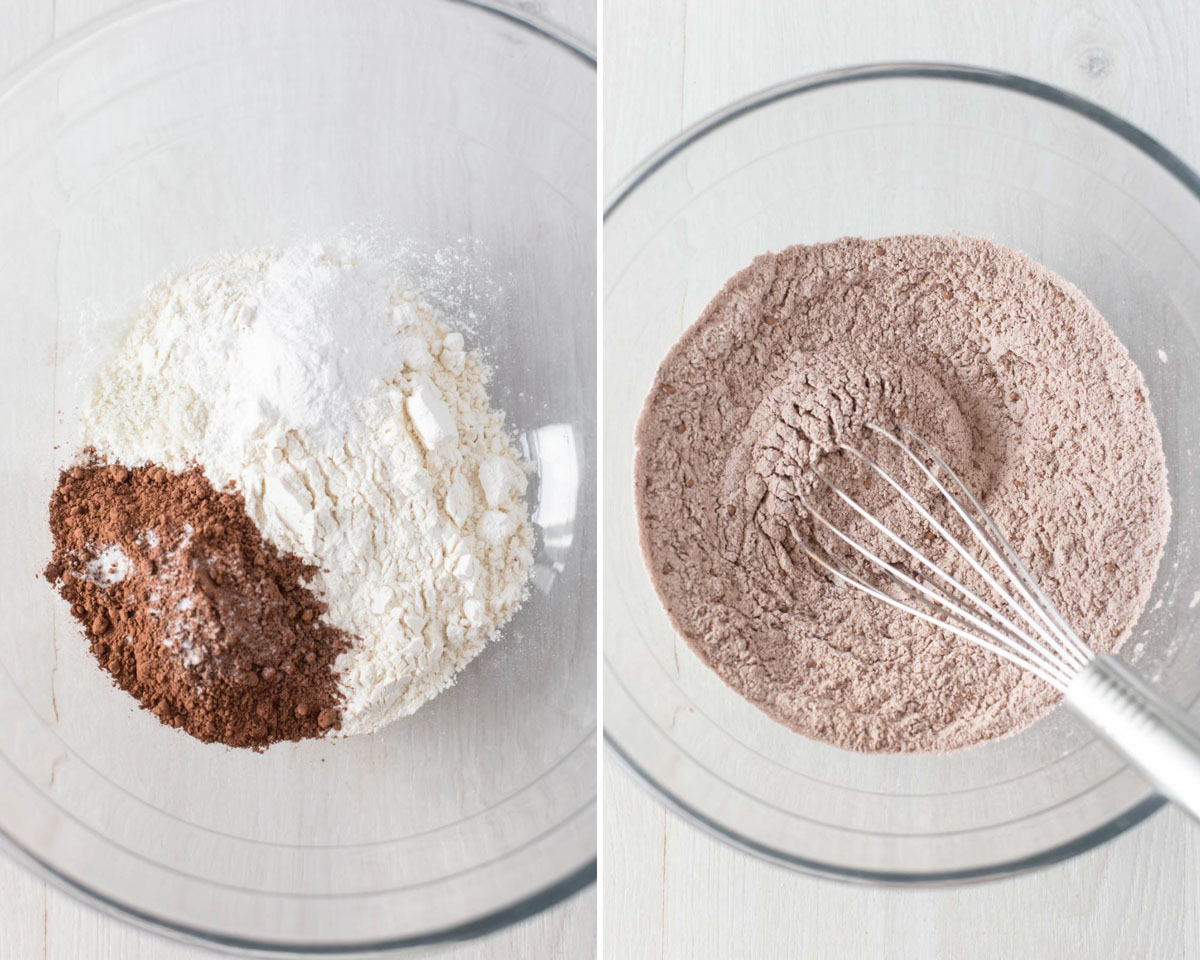
Step three: Whisk through the brown sugar.
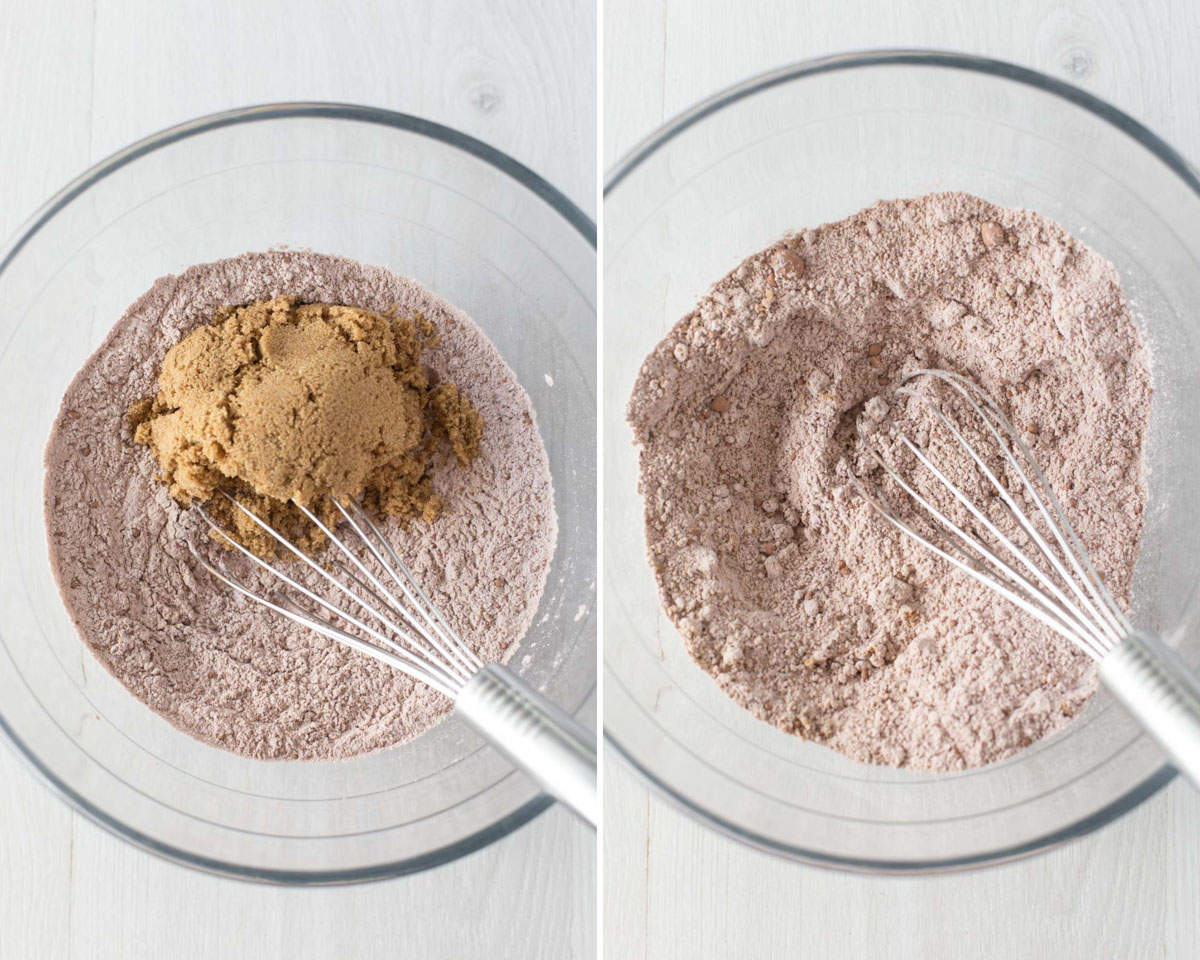
Step four: Pour in the milk, oil and vanilla. Mix with a rubber spatula until well combined, do not over-mix.
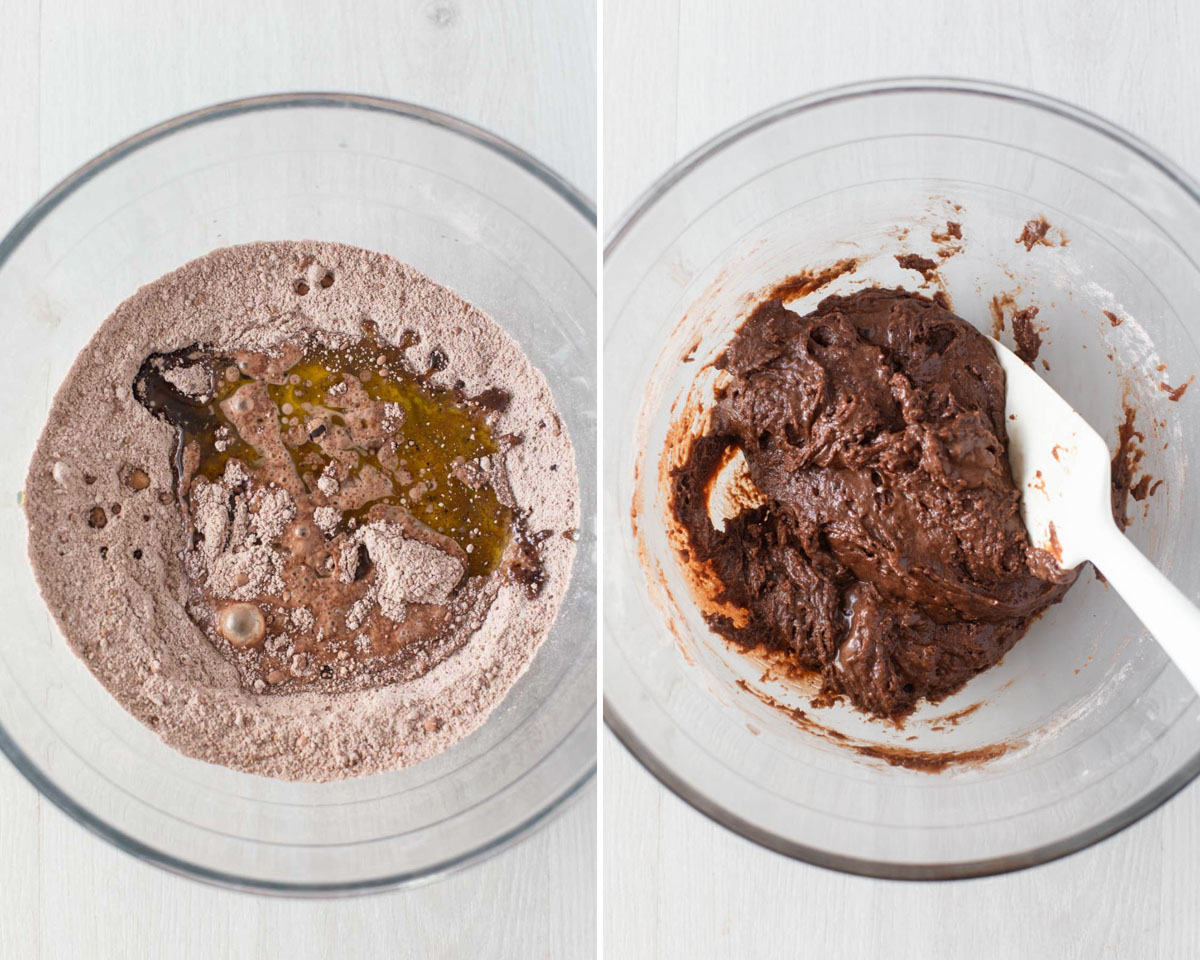
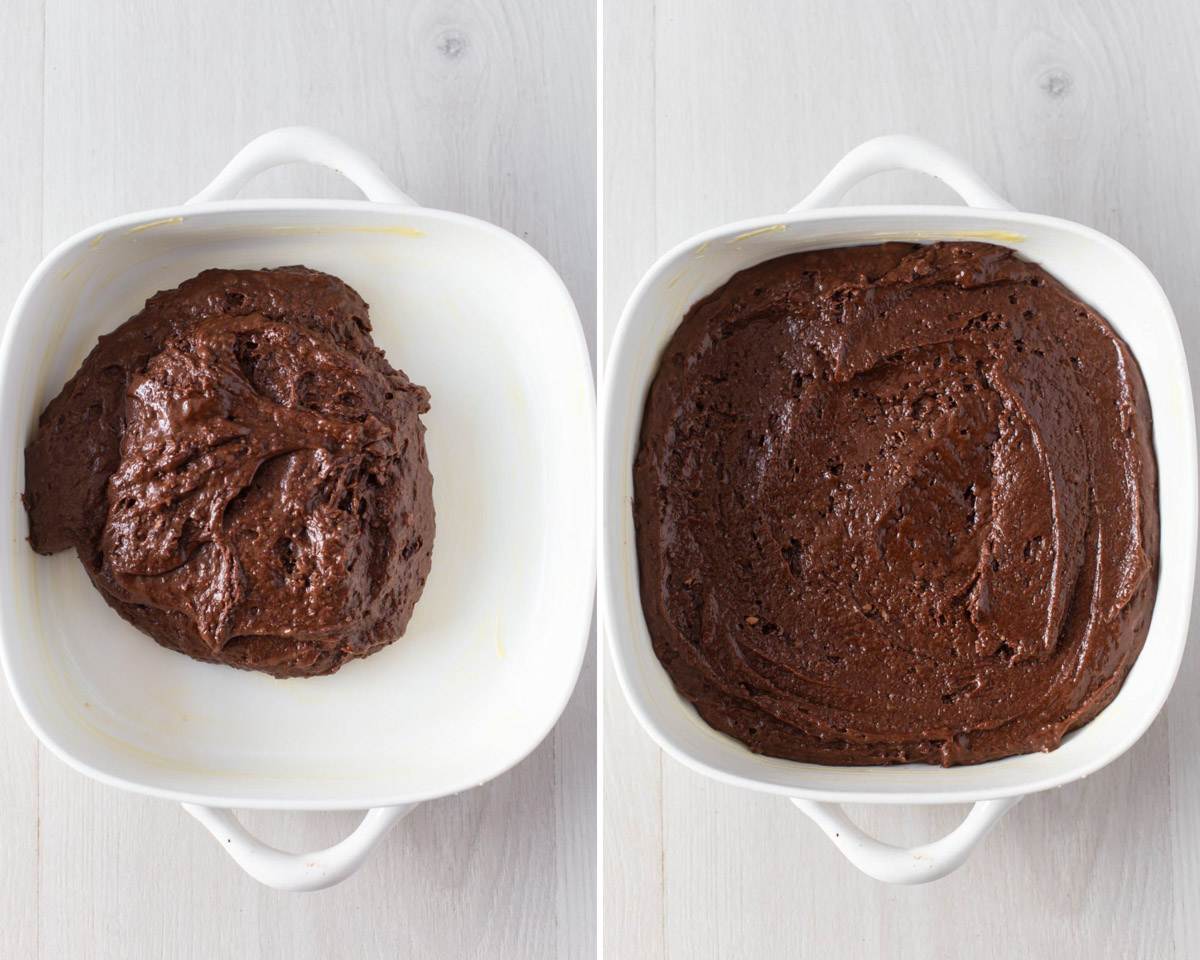
Step five: Spoon batter into the greased baking dish and spread out evenly.
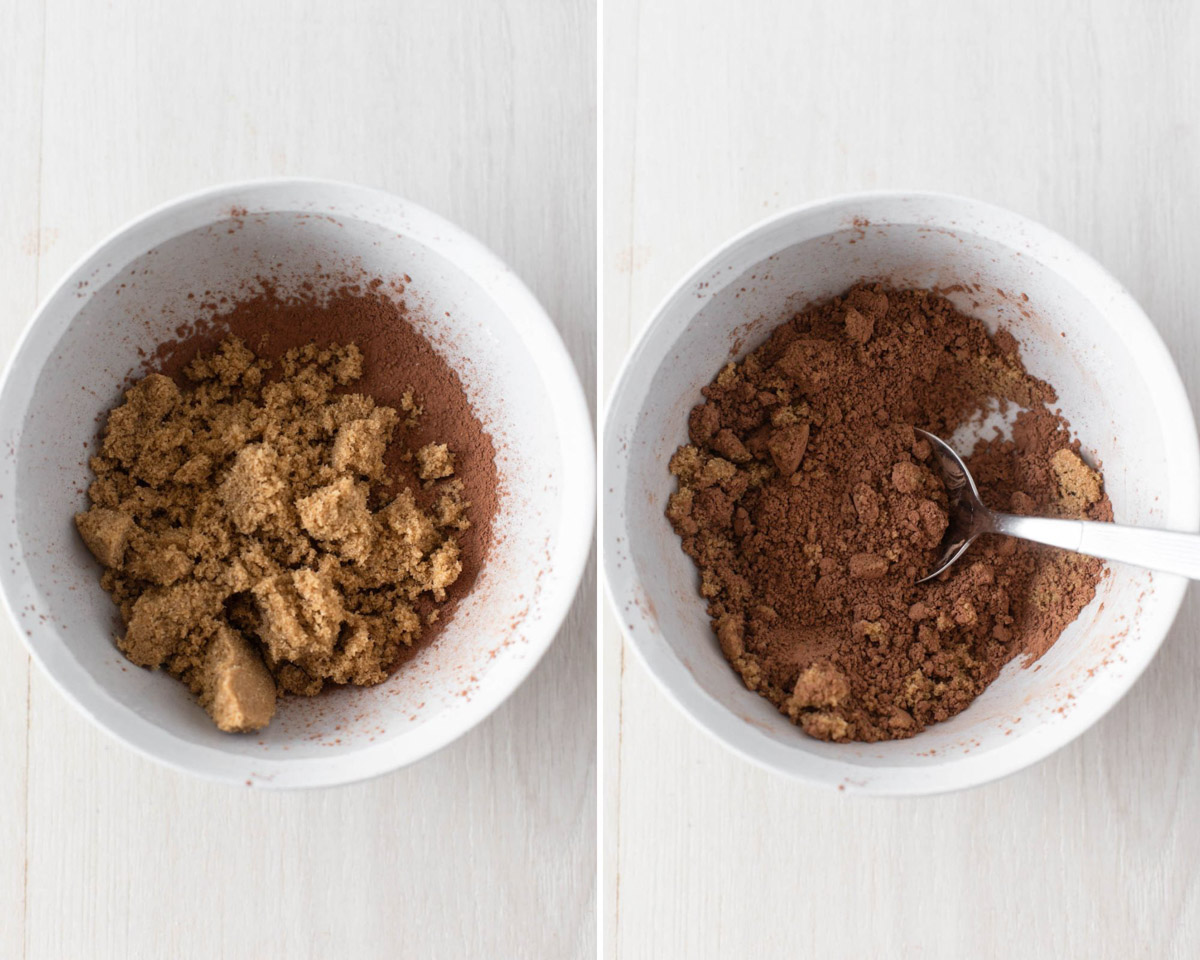
Step six: In a small mixing bowl, add brown sugar and cocoa. Mix with a spoon until well combined. Sift cocoa before if it’s too lumpy.
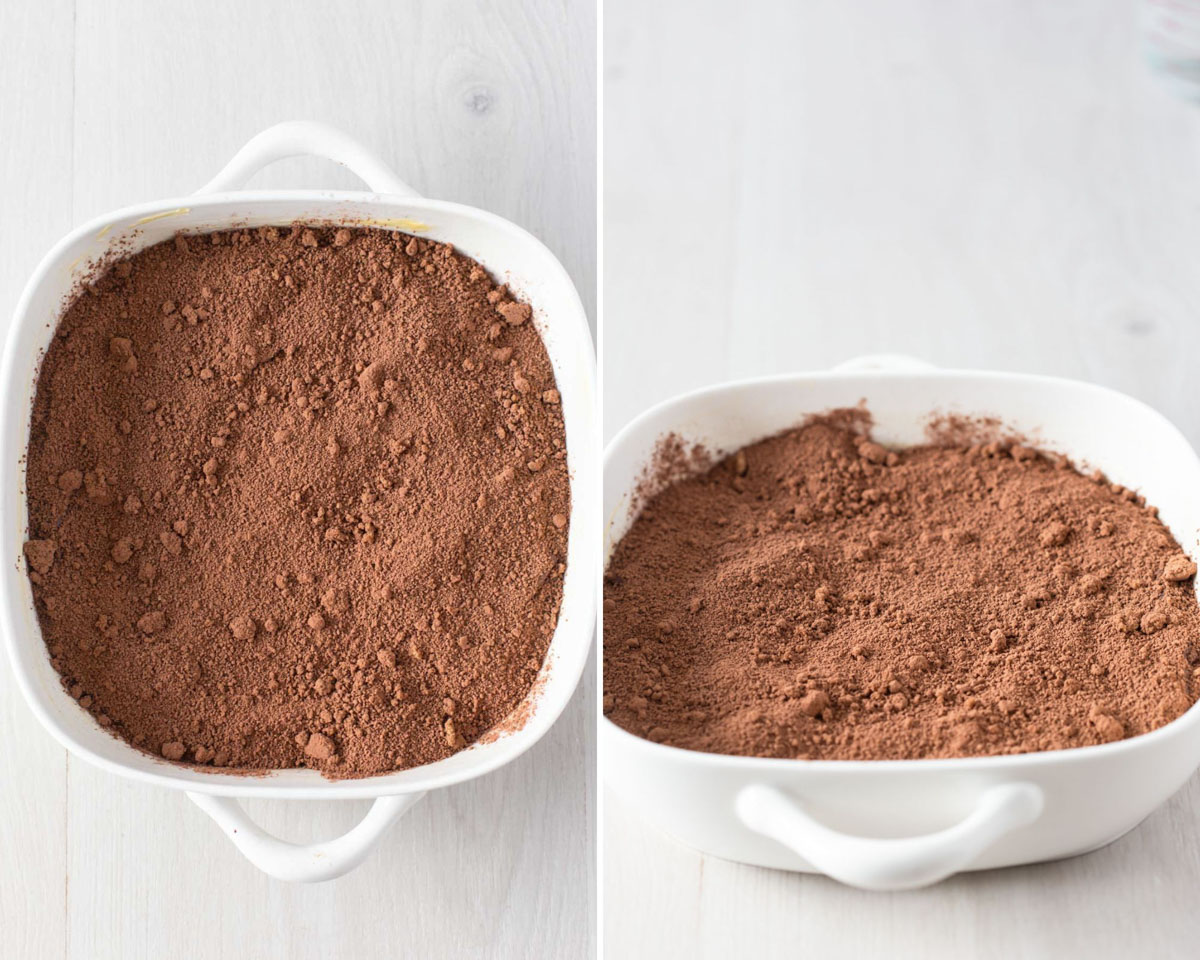
Step seven: Sprinkle mixture over top of the batter in the baking dish in an even layer.
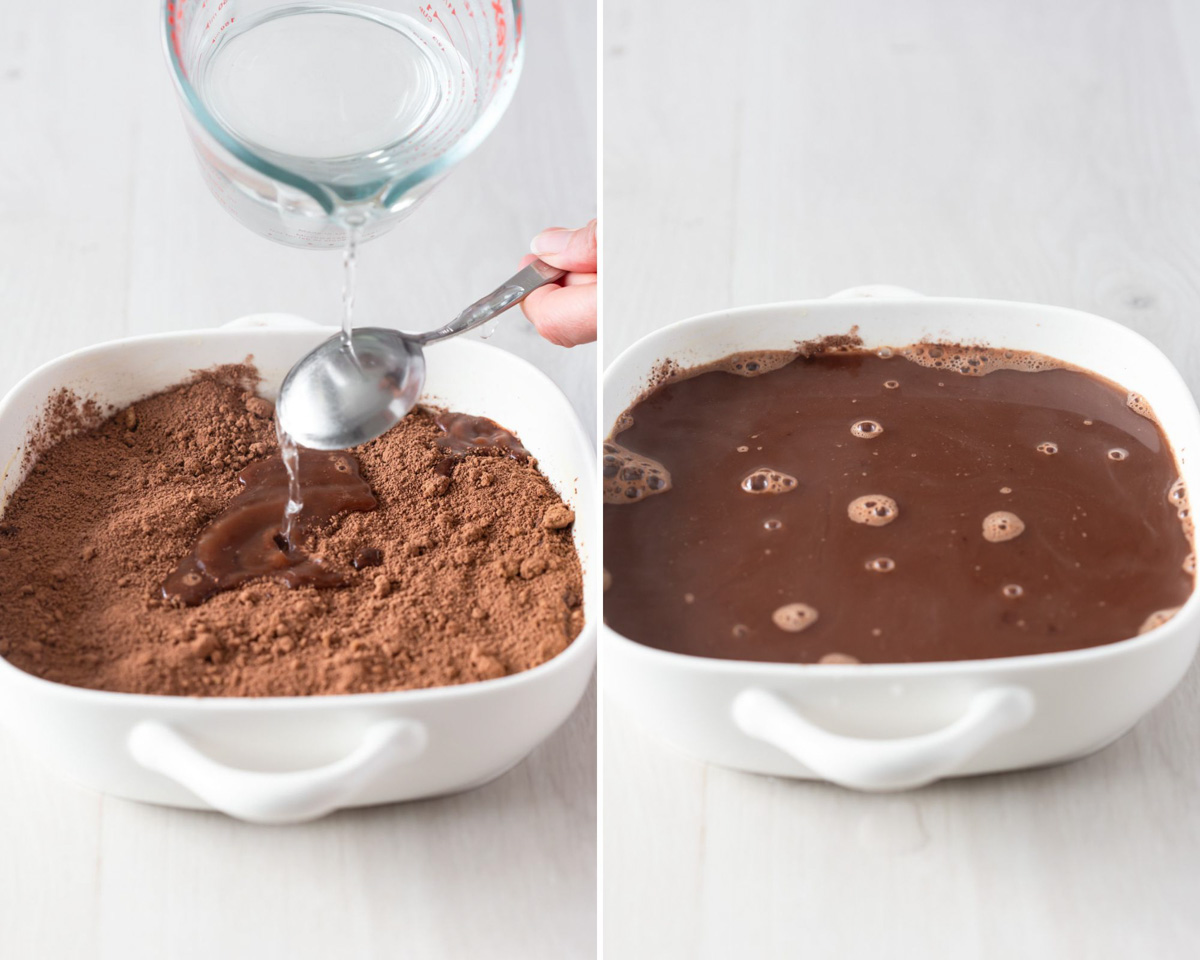
Step eight: Using the back of a spoon, slowly and carefully pour boiling water over the top.
Carefully place oven and bake for 35-40 minutes or the top looks set and when you press it lightly with your finger, it springs back.
Step nine: Remove from oven and let sit for 2 minutes then serve immediately served with scoops of vanilla ice cream if desired. Enjoy!
Expert Tips
- Measure your baking ingredients accurately: Check out my helpful guide on how to measure basic ingredients.
- Grease your baking dish: Scoop out your baked pudding without it sticking to the dish by greasing it liberally with butter before adding the batter.
- Sift the cocoa powder: If you find your cocoa powder to contain quite a few lumps, I recommend sifting it, for the batter and the topping.
- Boiling water hack: Use your kettle to boil your water. It’s not just for tea, folks! Piping hot water helps to “activate” the sauce.
- Check for doneness: To make sure your pudding is baked, insert a toothpick into the center. It shouldn’t come out clean, it should have little gooey crumbs stuck to it and not raw thin batter.
- Serve immediately: Remove your pudding from the oven, let it sit for 2 minutes then serve. This is when the sauce and pudding texture is at it’s best!
Serving Suggestions
- Vanilla Ice Cream: The classic. Add scoops of ice cream to each individual serving of pudding right from the oven.
- Whipped Cream: Dollop some fresh whipped cream on top.
- Coffee or Tea: As a relaxing dessert after dinner, enjoy it with a hot cup of tea, coffee, rum hot chocolate or hot milo.
- Fresh Berries: A pop of color and a burst of tartness to balance that rich chocolate. Strawberries, blueberries, raspberries or blackberries!
- Chopped Nuts: Give it some crunch! Sprinkle over some chopped walnuts, pecans, hazelnuts or pistachios.
- Mint Leaves: Serve it with a garnish of chopped fresh mint leaves because mint + chocolate = delicious!
- Caramel Drizzle: Drizzle each serving with some caramel sauce, especially delicious paired with vanilla ice cream.
- Sea Salt: A small sprinkling over the baked pudding to bring out that chocolate flavor even more.
Common Mistakes To Avoid
Some hiccups are better left avoided. Especially when we’re talking about something as sacred as chocolate self-saucing pudding!
- Incorrect Dish Size: Don’t get creative with your bakeware. A too-small dish equals spillage. A too-large dish? Well, you might just get an oddly thin dessert.
- Overmixing the Batter: Don’t unleash your inner Hulk. Overmixing makes it dense and tough. Mix until incorporated and no streaks or lumps of flour and cocoa remain.
- Skimping on Boiling Water: That boiling water ain’t a suggestion; it’s THE sauce-maker 😉. Use the correct amount – one and a half cups which is 340ml.
- Overbaking: Keep an eye on it while it bakes. Too long and it turns into a cake and too short it’s raw batter. It’s ready when you press your finger lightly on top and it springs back. You should also see the sauce around the edges.
- Oven Temperature: Every oven is its own universe. Yours might run hot or cold. Make sure to preheat fully, 30 minutes prior to putting your pudding in and consider an oven thermometer if you’re unsure about your oven.
Troubleshooting
Don’t sweat it, we’ve all been there. Let’s dive into some problems and solutions for you.

Storage Instructions
Store: Once any leftover pudding has cooled, cover the dish with plastic wrap or tinfoil and store it in the refrigerator for 2-3 days.
Alternatively, store leftovers in an airtight container and keep it in the fridge for 2-3 days.
Reheat
Oven Method
- Preheat to 350°F (175°C).
- Place the pudding in an oven-safe dish and cover with foil.
- Warm in the oven for about 10-15 minutes until heated through.
- Serve and enjoy.
Microwave Method
- Place your desired portion of pudding in a microwave-safe bowl.
- Microwave it in 30 second intervals until warmed through.
- Serve and enjoy.
Freezing
This chocolate self saucing pudding is not suitable to freeze.
Recipe FAQ’s
If you enjoy this recipe, please consider leaving a ⭐️ star rating and a comment review below. I love to hear what you think and it’s much appreciated. Thank you! Your email address will not be published. Sam x
Easy Chocolate Self Saucing Pudding
Ingredients
Batter
- 1 cup (150g) all-purpose flour, scoop & leveled
- 2 tsp baking powder
- 3 Tbsp natural unsweetened cocoa powder
- 1/2 tsp fine salt
- 3/4 cup packed light brown sugar, how to pack
- 1/2 cup whole milk
- 1/4 cup extra virgin olive oil
- 1 tsp vanilla extract
Topping
- 1/3 cup packed light brown sugar, how to pack
- 2 Tbsp natural unsweetened cocoa powder
- 1 1/2 cup boiling water
- Vanilla ice cream, to serve if desired
Instructions
Batter
- Preheat oven to 356ºF (180ºC) fan-forced. Grease a square 9-inch x 9-inch (22cm x 22cm) ceramic or glass oven-proof baking dish. Set aside.
- In a large mixing bowl add flour, baking powder, cocoa powder and salt. Whisk until well combined. NOTE: if your cocoa powder has lumps, I suggest sifting it into the bowl first.
- Whisk through brown sugar.
- Pour in milk, oil and vanilla. Mix with a rubber spatula or wooden spoon until well combined, do not over-mix, just until not streaks or lumps of flour remain.
- Spoon into greased baking dish and spread out evenly.
- Place dish onto a baking sheet. This makes it easier to move the pudding to and from the oven once the water is on top.
Topping
- In a small mixing bowl, add brown sugar and cocoa, mix with a spoon until well combined. NOTE: if your cocoa powder has lumps, I suggest sifting it into the bowl first.
- Sprinkle mixture over top of batter in baking dish in an even layer.
- Pour boiling water into a jug and using the back of a spoon, slowly and carefully pour boiling water over the back of the spoon and allow it to drizzle over the batter. Do not mix the water into the batter, it sits on top.
- Carefully place in oven and bake for 35-40 minutes or until the top looks set and when you press it lightly with your finger, it springs back.
- Remove from oven and let sit for 2 minutes then serve immediately served with scoops of vanilla ice-cream if desired.
- Enjoy!
Notes
- Store: Once any leftover pudding has cooled, cover the dish with plastic wrap or tinfoil and store it in the refrigerator for 2-3 days. Alternatively, store leftovers in an airtight container and keep it in the fridge for 2-3 days.
- Oven reheat: Preheat to 350°F (175°C). Place the pudding in an oven-safe dish and cover with foil. Warm in the oven for about 10-15 minutes until heated through. Serve and enjoy.
- Microwave Reheat: Place desired portion of pudding in a microwave-safe bowl. Microwave it in 30 second intervals until warmed through. Serve and enjoy.
- Freeze: This chocolate self saucing pudding is not suitable to freeze.
Nutrition
Originally published October 2016. Updated on September 6th, 2023, this recipe now features new step-by-step images, expert tips, storage guidelines and more.

Hi,can I make this in individual ramekins? How should I adjust the baking time?
Hi Gilli, of course you can! Reduce the baking time down to 30-40 minutes, check it at 30 minutes just to make sure. Continue to bake them further if needed, until the tops set and slightly crack. Hope this helps! Enjoy the pudding! Have a wonderful festive season Gilli! x
Thanks! Will try and let you know
Is it ok if I make this, let it cool, and then reheat it in the oven later in the day for Thanksgiving dessert? Will it hold up to that?
Hi Laura, yes definitely! I do the same when I make this pudding. After you have baked it, let it cool then cover it with foil. When you’re ready, heat it in the oven with the foil on, this will help it heat through evenly and not brown it too much on top. Hope this helps! Enjoy your Thanksgiving! xx
Thank you! I’m about to make it now this morning 🙂 Happy Thanksgiving to you too!
Oh. My. Goodness. So gooey and chocolatey, I want a big spoonful of it right now!
Thanks Bethany! I wish I could give you some right now! It’s so decadent, I hope you make it for yourself! xx