Plum Yogurt Cake
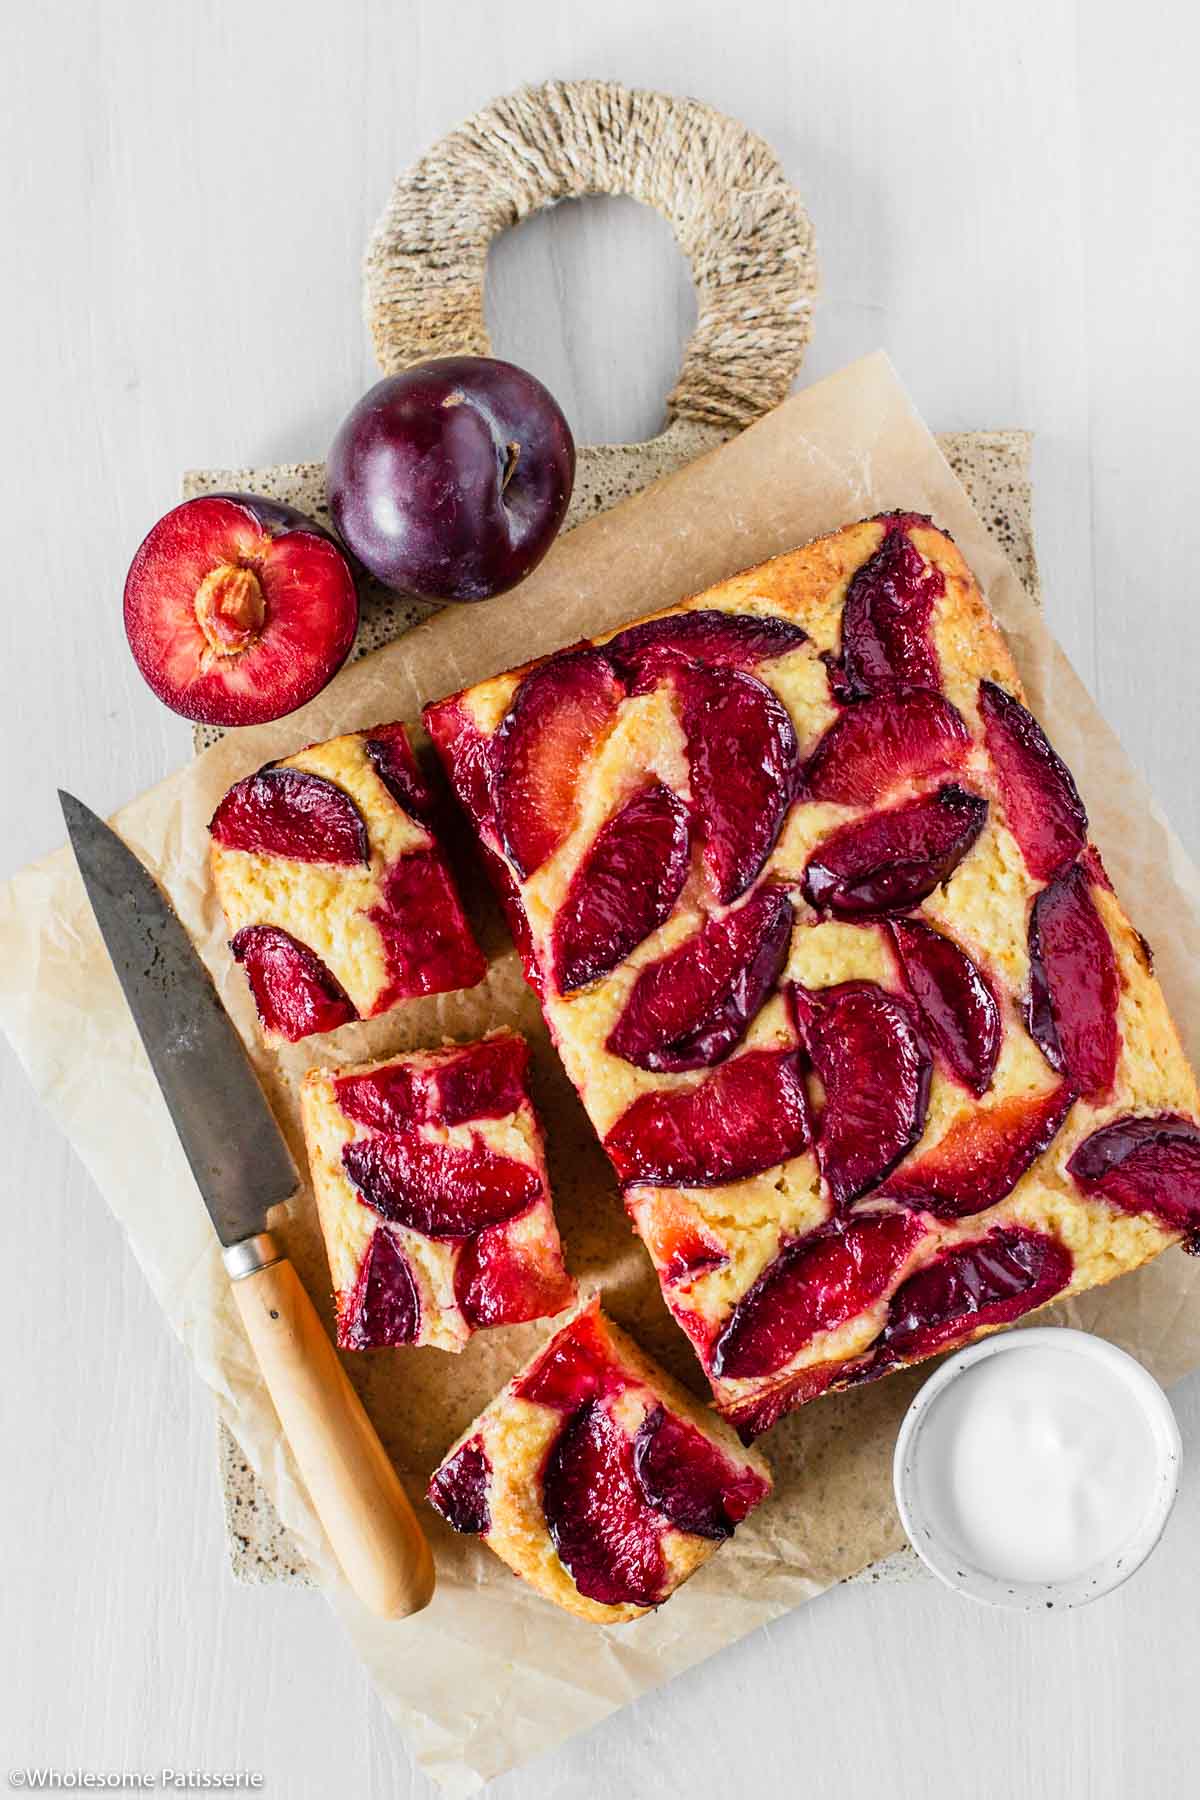
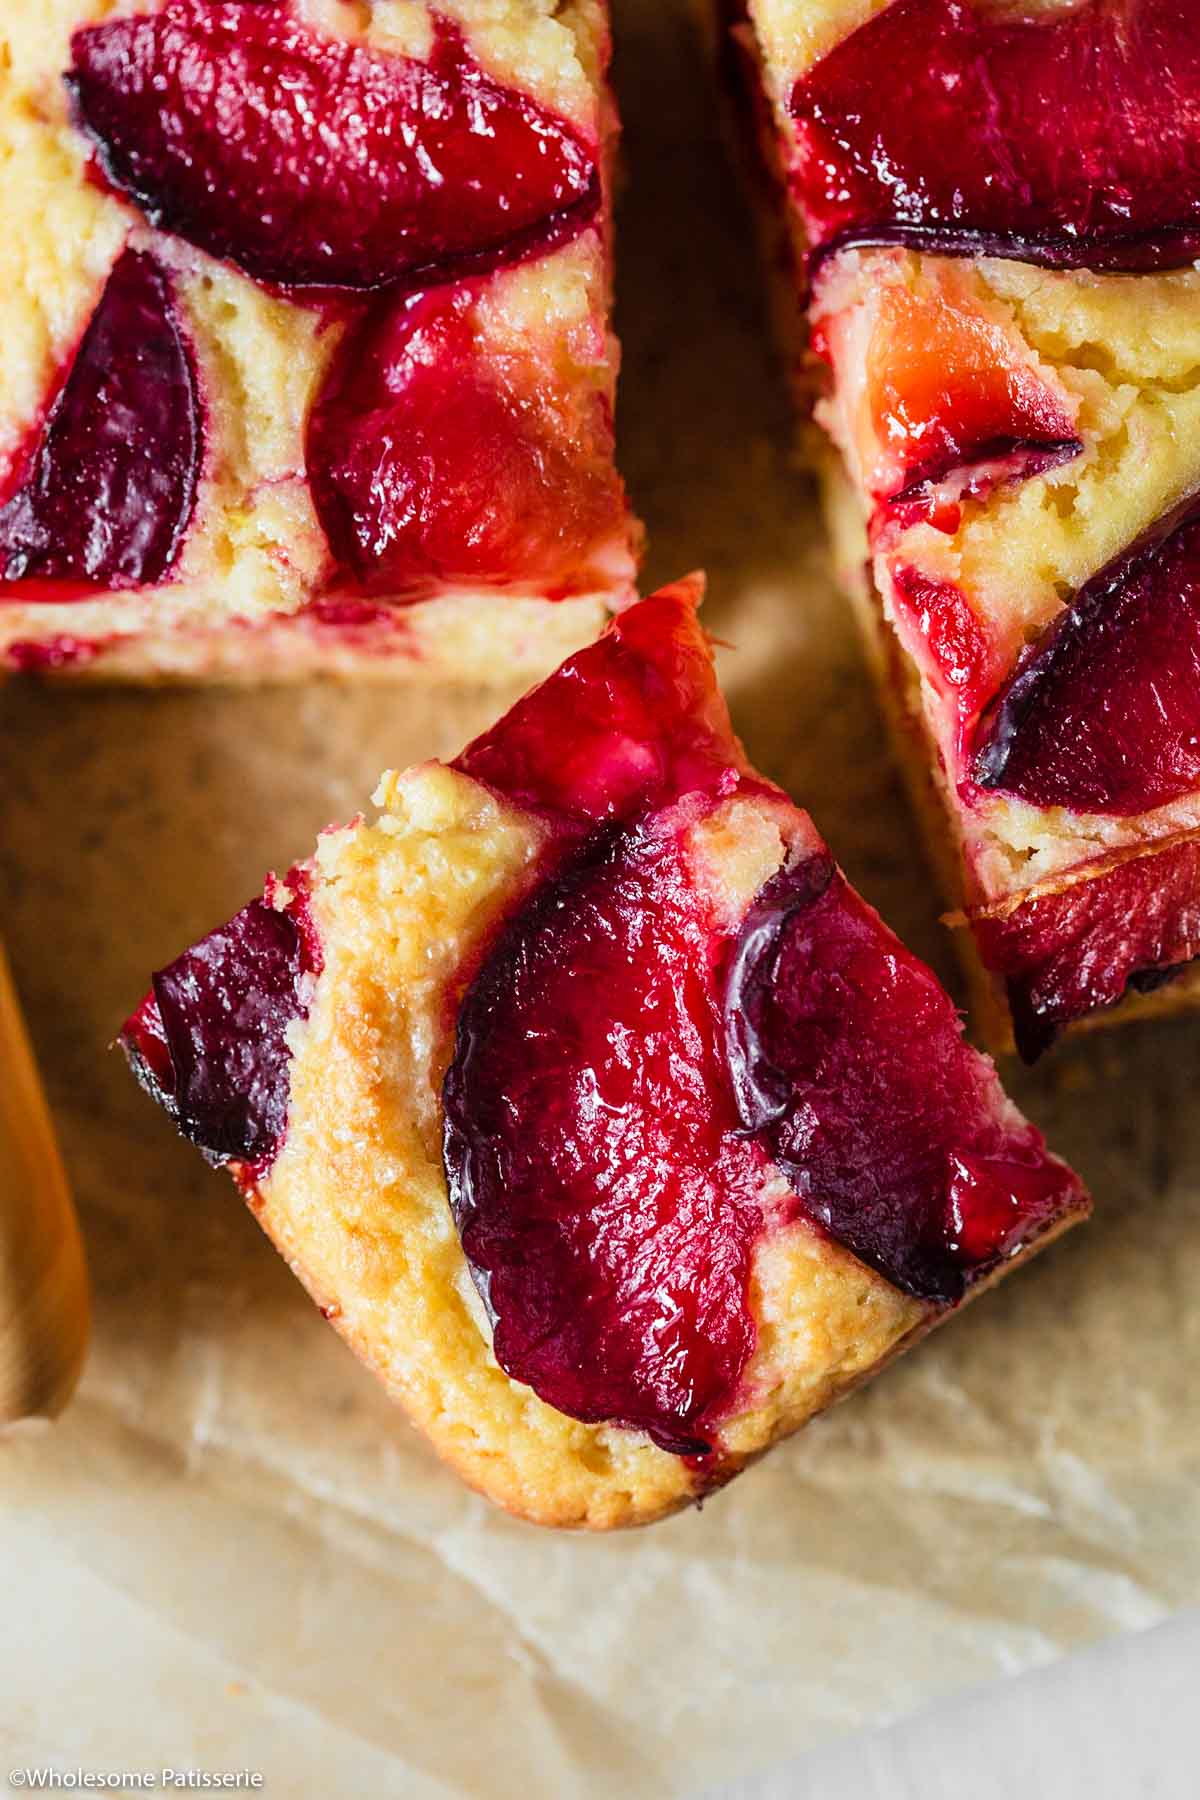
This Plum Yogurt Cake is a one bowl yogurt cake topped with fresh sliced blood plums. Make this cake for dessert with scoops of vanilla ice cream or enjoy it as a snack or afternoon tea cake. The sweet plums add a vibrant touch to a simple yet delectable yogurt cake.
🍰 Why You Will Love This Cake
- Blood plums are sweet, juicy, and compliment the yogurt cake perfectly.
- Yogurt adds moisture, enhances the texture and flavor of the cake.
- A one-bowl method makes this an easy and simple cake recipe.
- Bakes in 30 minutes.
- Delicious served as dessert with ice cream.
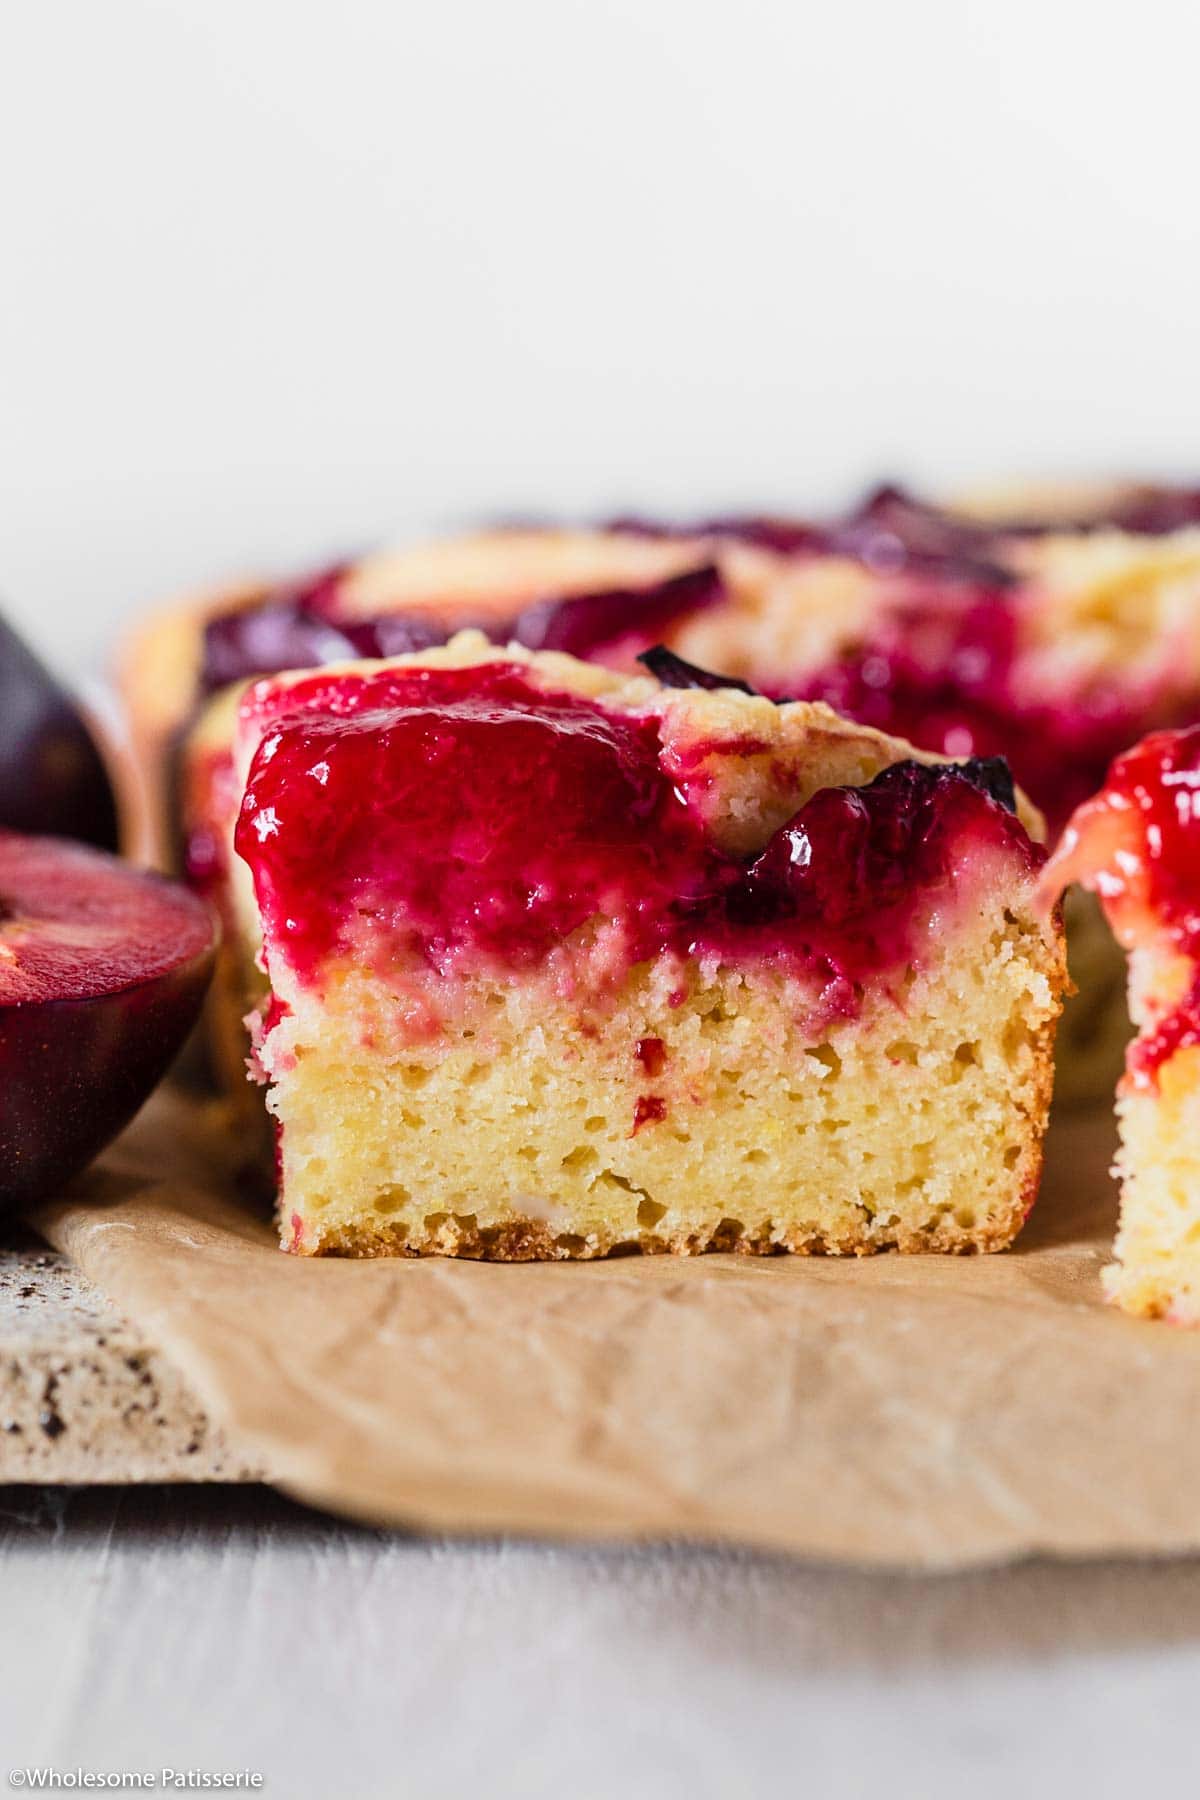
As opposed to an upside-down plum cake, this version of plum cake is easier and with fewer steps. The yogurt cake is created in one mixing bowl with no electric beaters required. Then poured into your baking pan with the sliced blood plums placed and arranged on top of the cake.
The plain yogurt provides the cake with moisture, texture, and flavor. It has a touch of fresh lemon zest and vanilla to add balance. Try my One Bowl Lemon Yoghurt Cake for a variation of this plum yogurt cake.
Or my Cinnamon Apple Cake and Blueberry Lemon Cake for more fruity options.
For some more baked goods with fruit, these Vanilla & Wild Blueberry Sheet Cake with Lemon Syrup Icing or these Strawberry Jam Thumbprint Cookies are both delightful recipes for you to try.
📋 Ingredient Notes & Substitutions
- Blood plums: This cake uses blood plums. Be sure to use the larger variety of blood plums as opposed to the small golf ball size. Although you could use the smaller plums, you will need a lot more and your slices will be tiny. That is why I love to use larger plums.
- Plain all purpose flour: I use unbleached plain all purpose flour but you can also use just plain all purpose flour. Be sure to check out my guide on how to accurately measure basic baking ingredients.
- Granulated sugar: You can use either golden or white granulated sugar.
- Lemon zest: Use a ripe lemon and finely grate the zest using a zester or a microplane.
- Baking powder: Make sure your baking powder has not expired. To test yours, follow my handy guide here.
- Salt: Use a fine salt or Kosher salt, not a coarse salt.
- Plain Greek yogurt: The star of the show. Use plain style Greek yogurt. Have your yogurt at room temperature before adding it to your batter.
- Olive oil: Use extra virgin olive oil for your yogurt cake as it works best to add moisture and tenderness to the cake crumb.
- Eggs: Need to be at room temperature before making your lemon cake and beaten. Having your cold ingredients at room temperature makes them blend and emulsify more appropriately with the remaining ingredients.
- Vanilla extract: Use a quality vanilla extract.
🥣 Step By Step Instructions
A full and detailed recipe card is at the bottom of this post.
1) First, slice the plums into wedges, set aside.
2) In a large mixing bowl, add sugar, eggs, and the lemon zest. Using electric hand beaters, beat on low-medium speed for 30 seconds until well combined. Scrape down the sides if needed with a spatula.
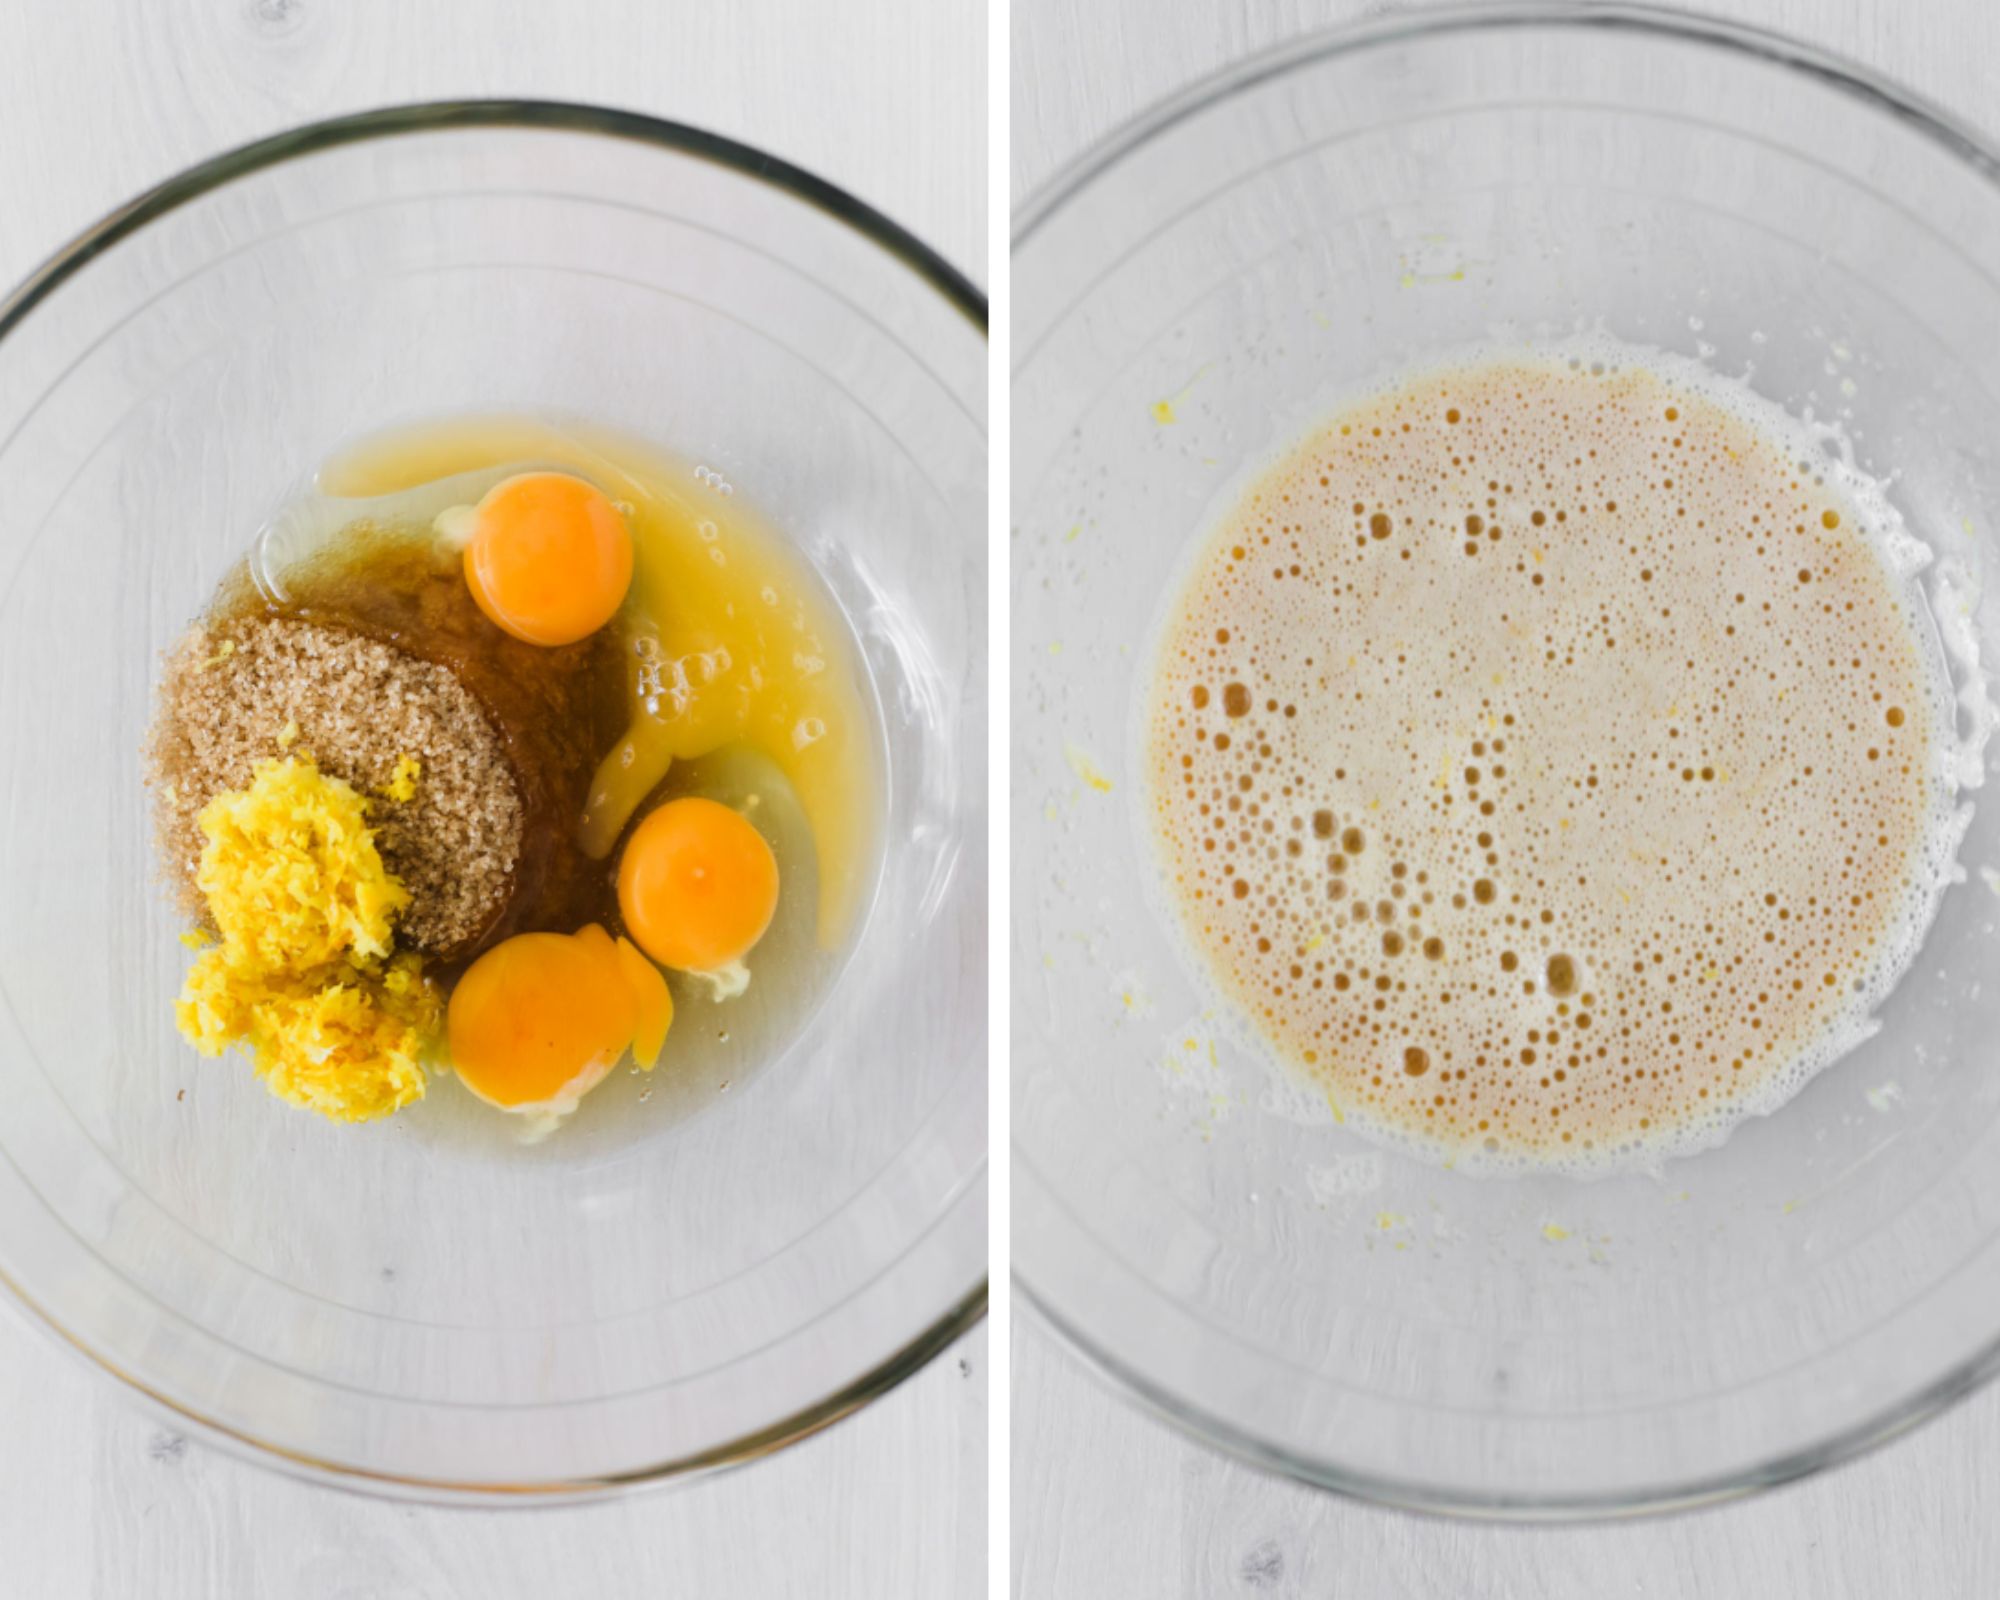
3) With the beater running on low-medium speed, slowly drizzle in the olive oil in a steady stream to emulsify, about 30 seconds in total.
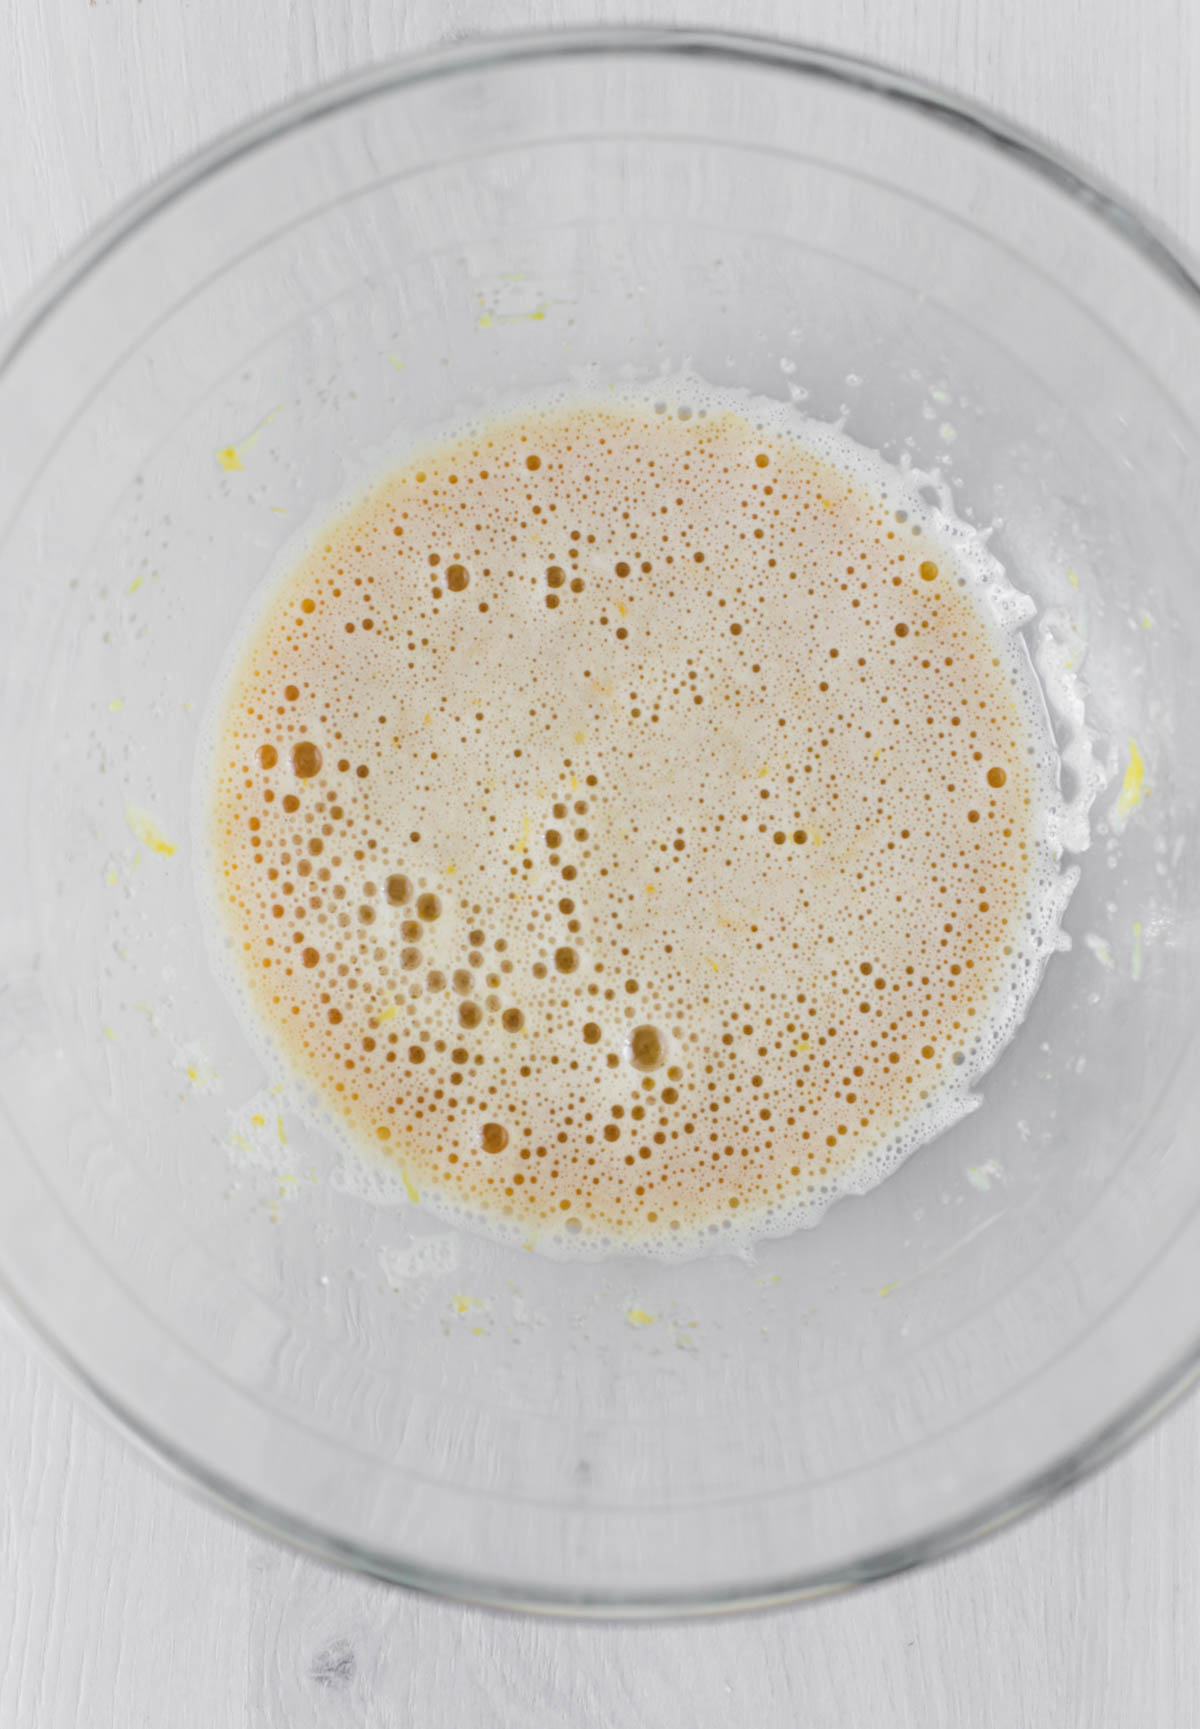
4) Add yogurt and vanilla extract, and beat for 15 seconds until well combined. Scrape down the sides if needed.
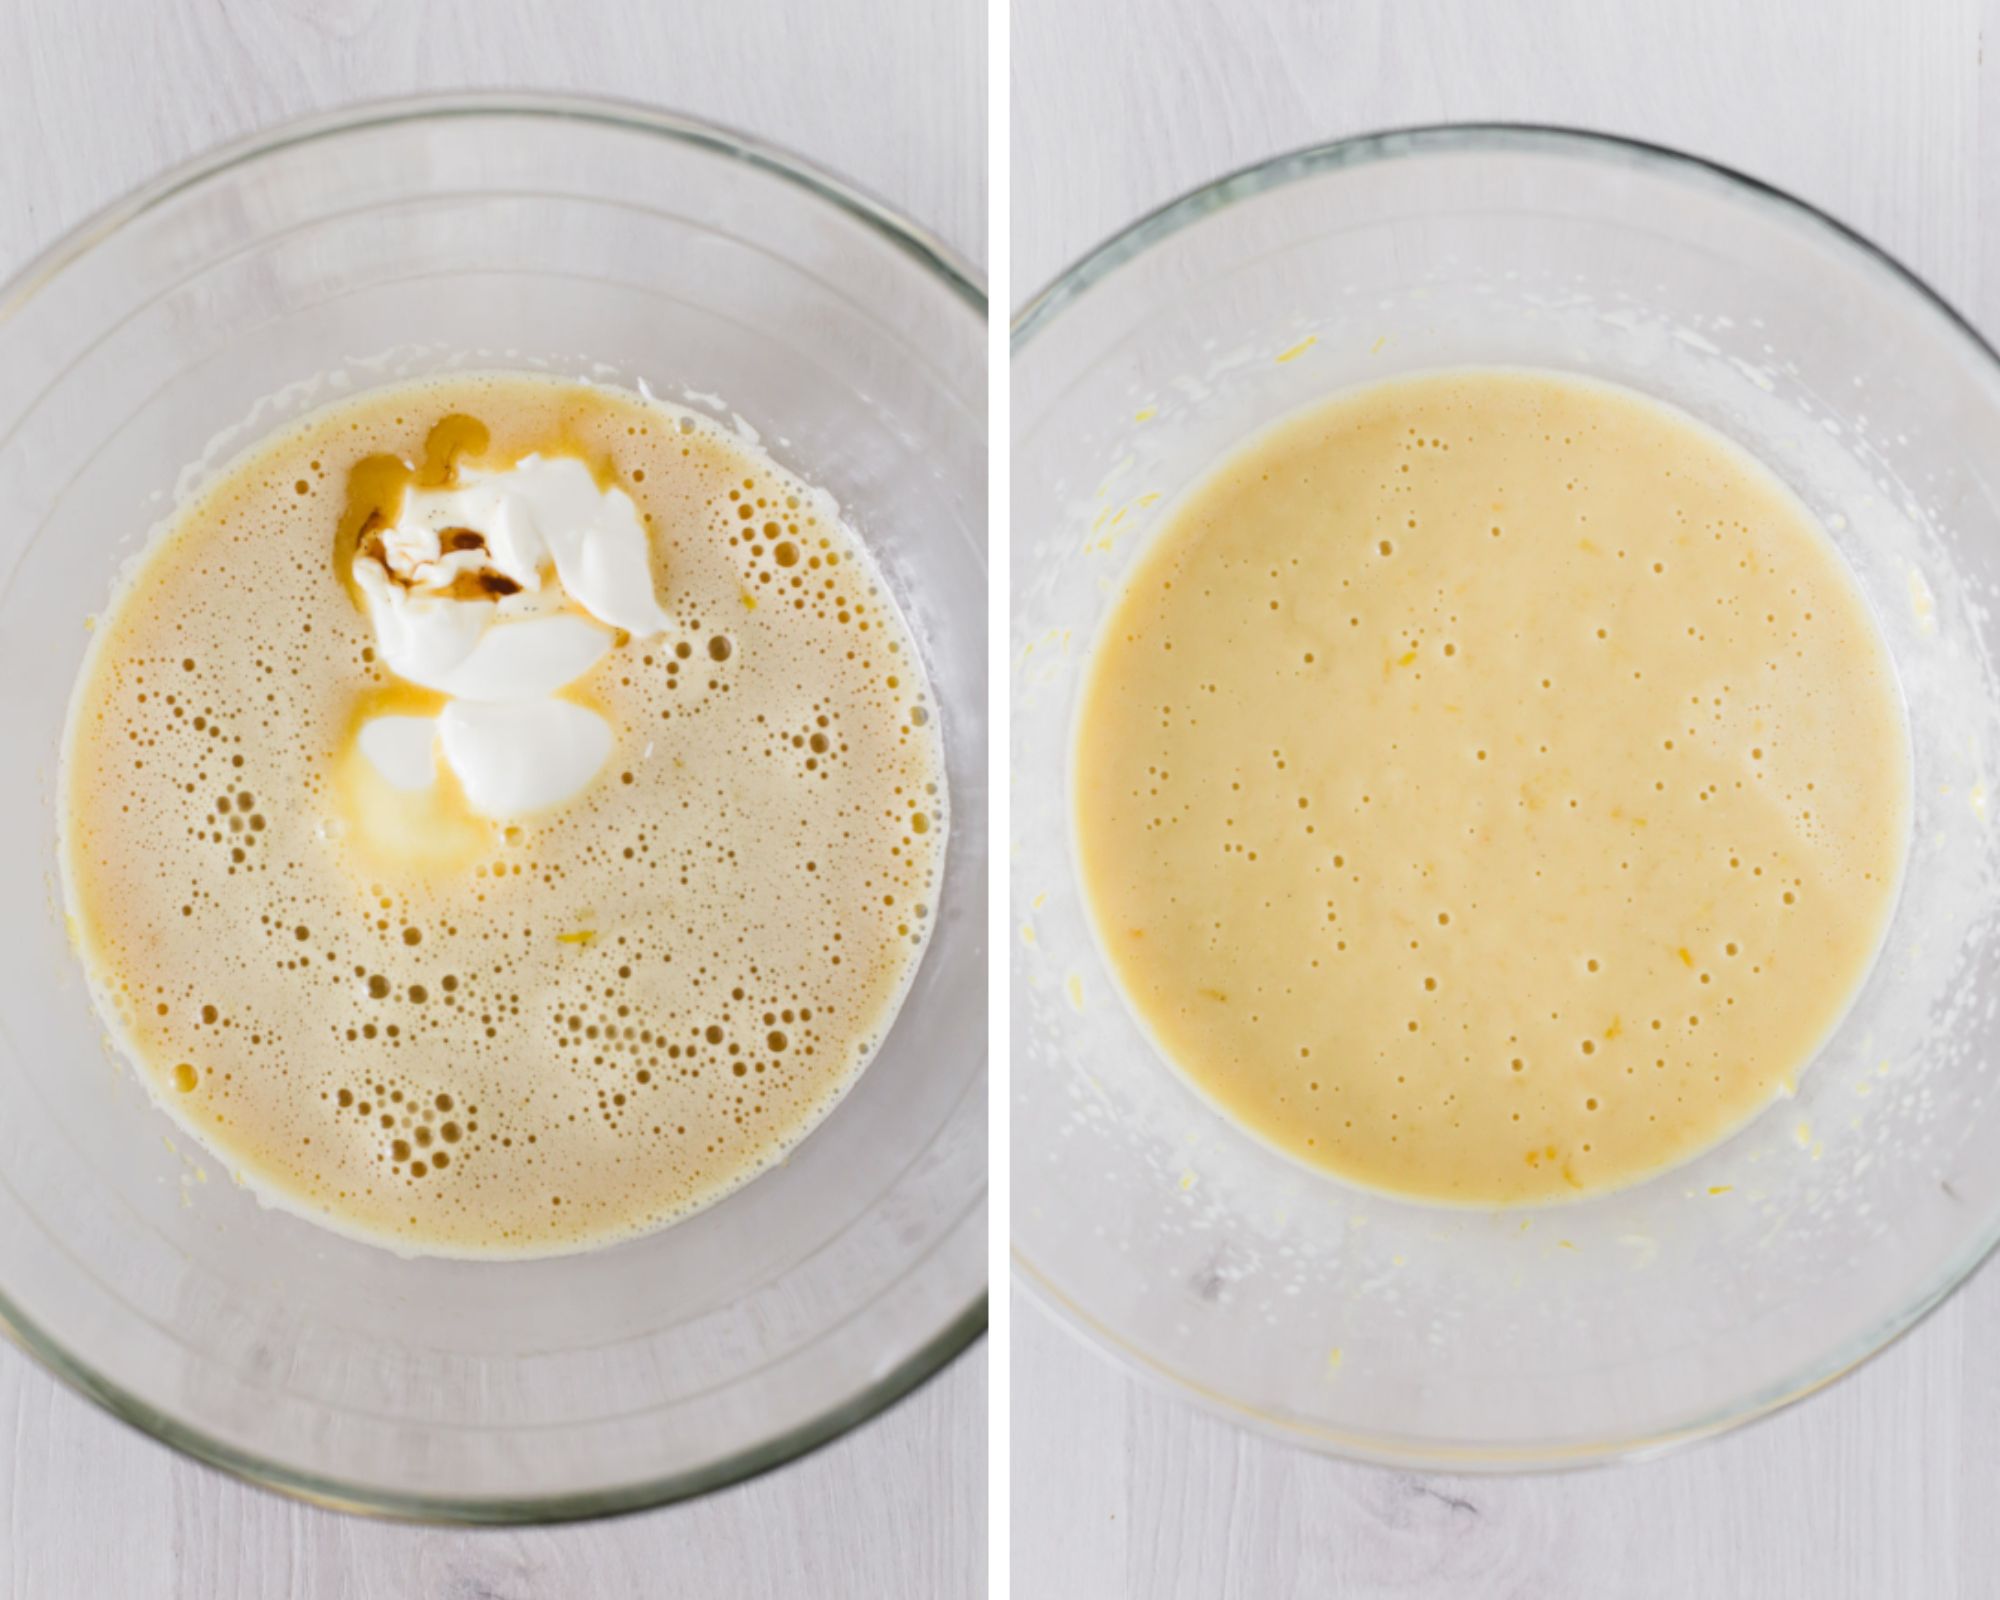
5) Add flour, baking powder, and salt. Beat until incorporated, about 15 seconds but do not over-mix, just until it’s incorporated into a smooth batter and no lumps of flour remain. Scrape down the sides.
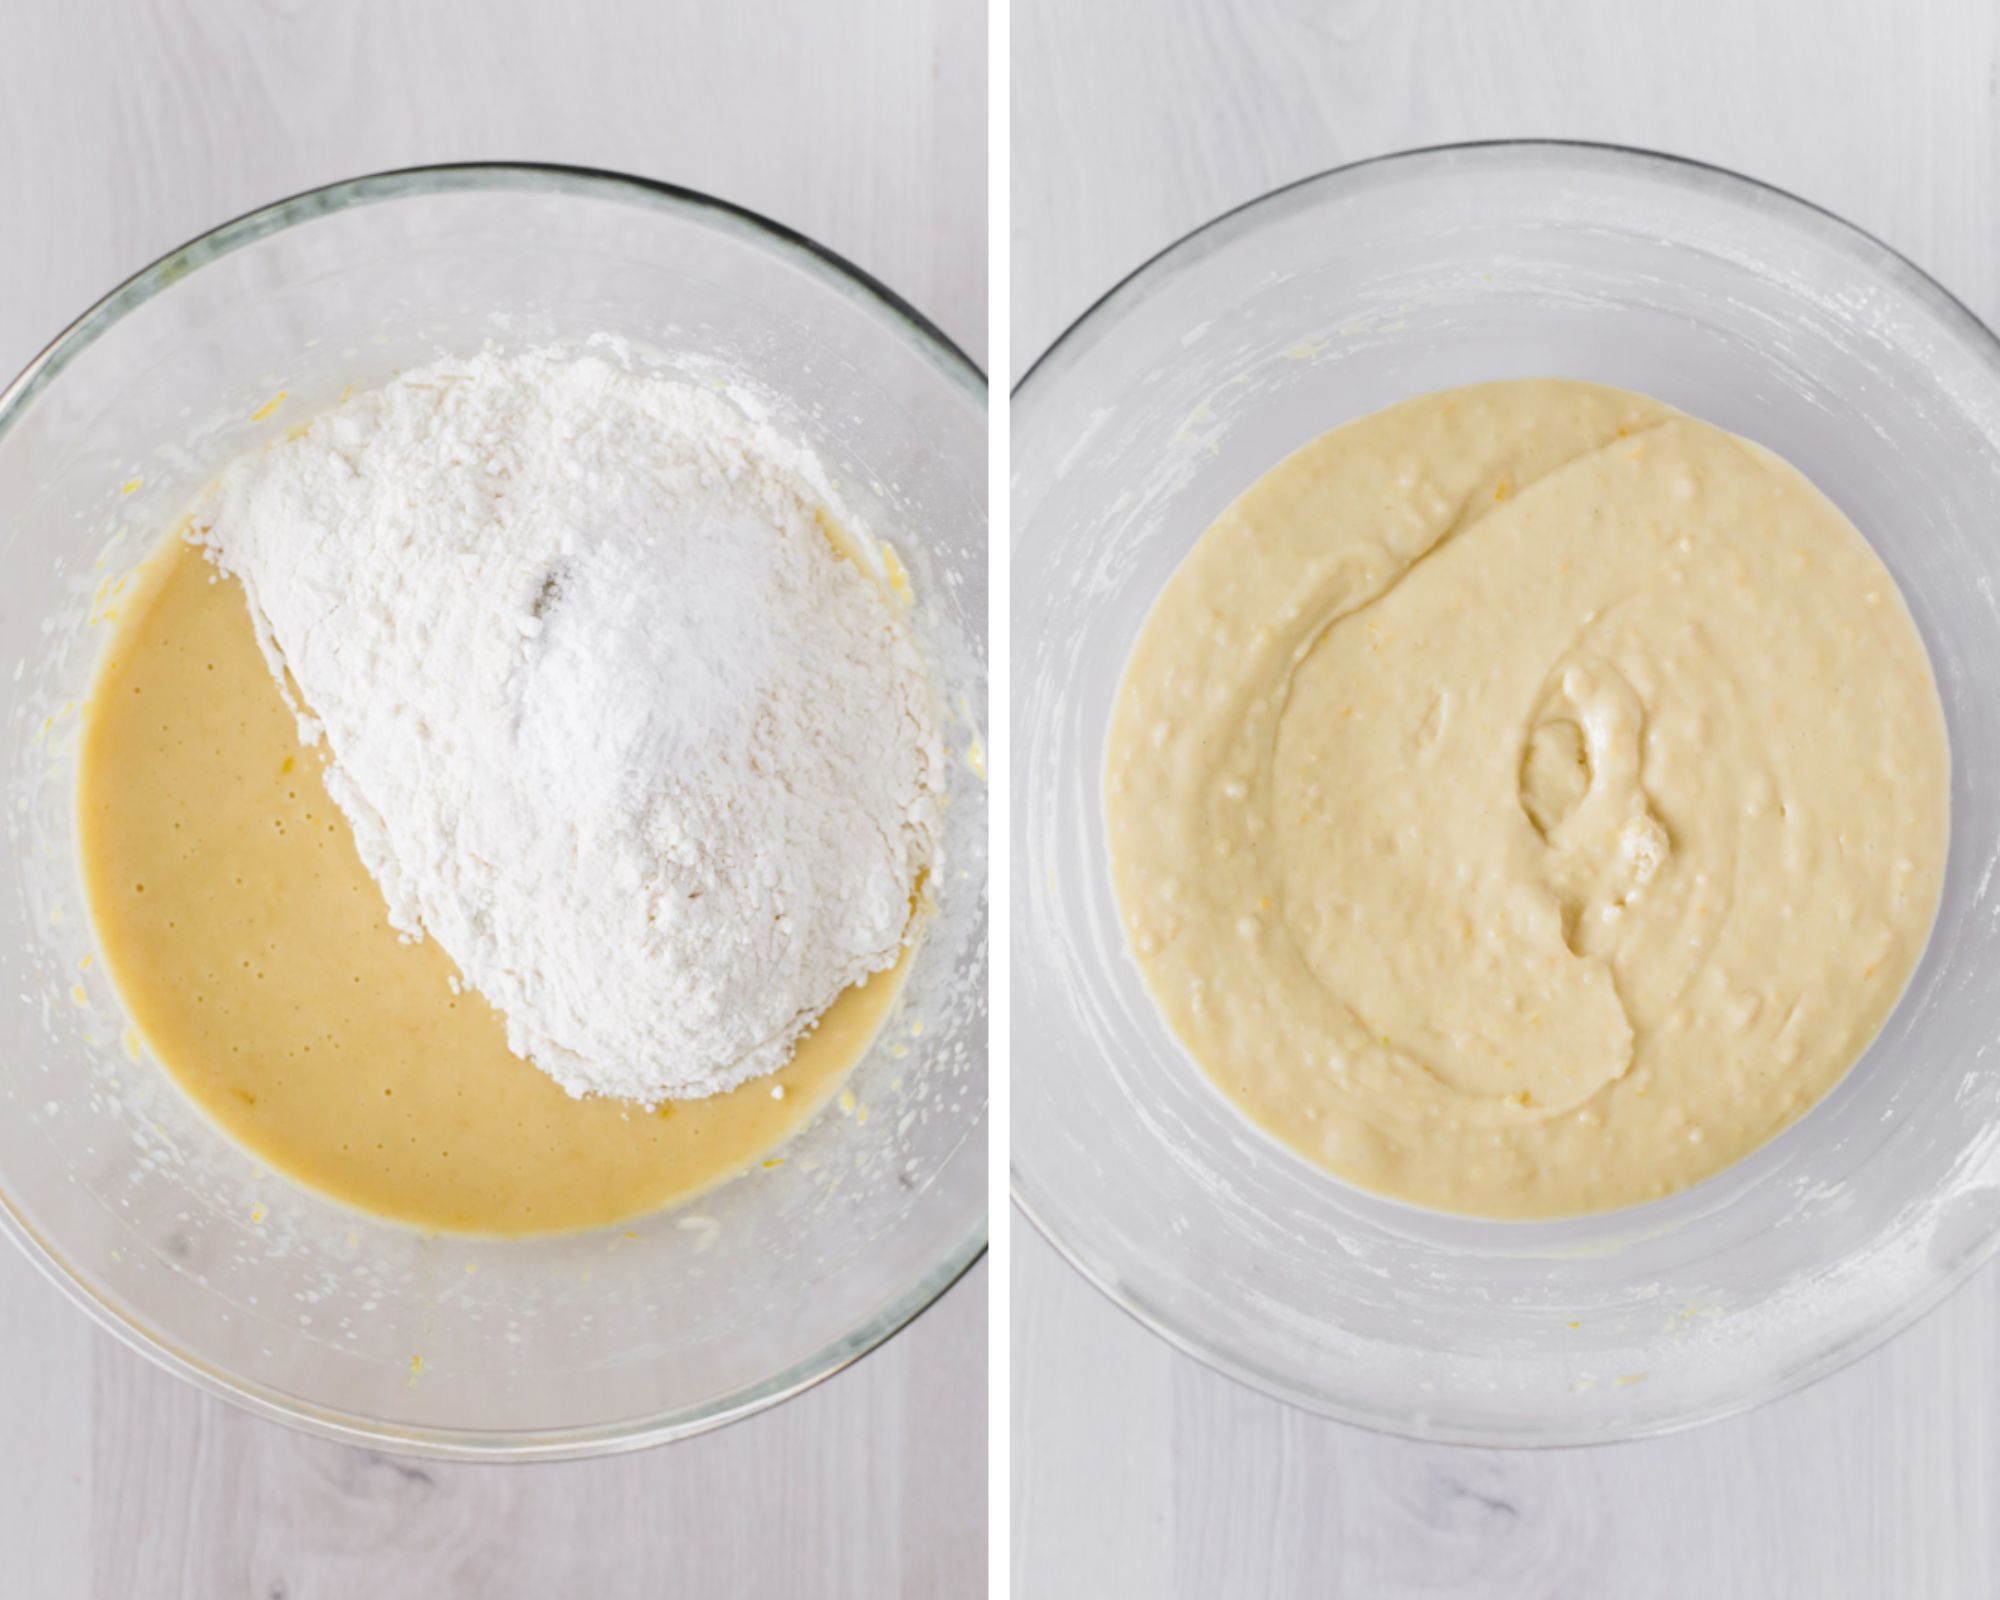
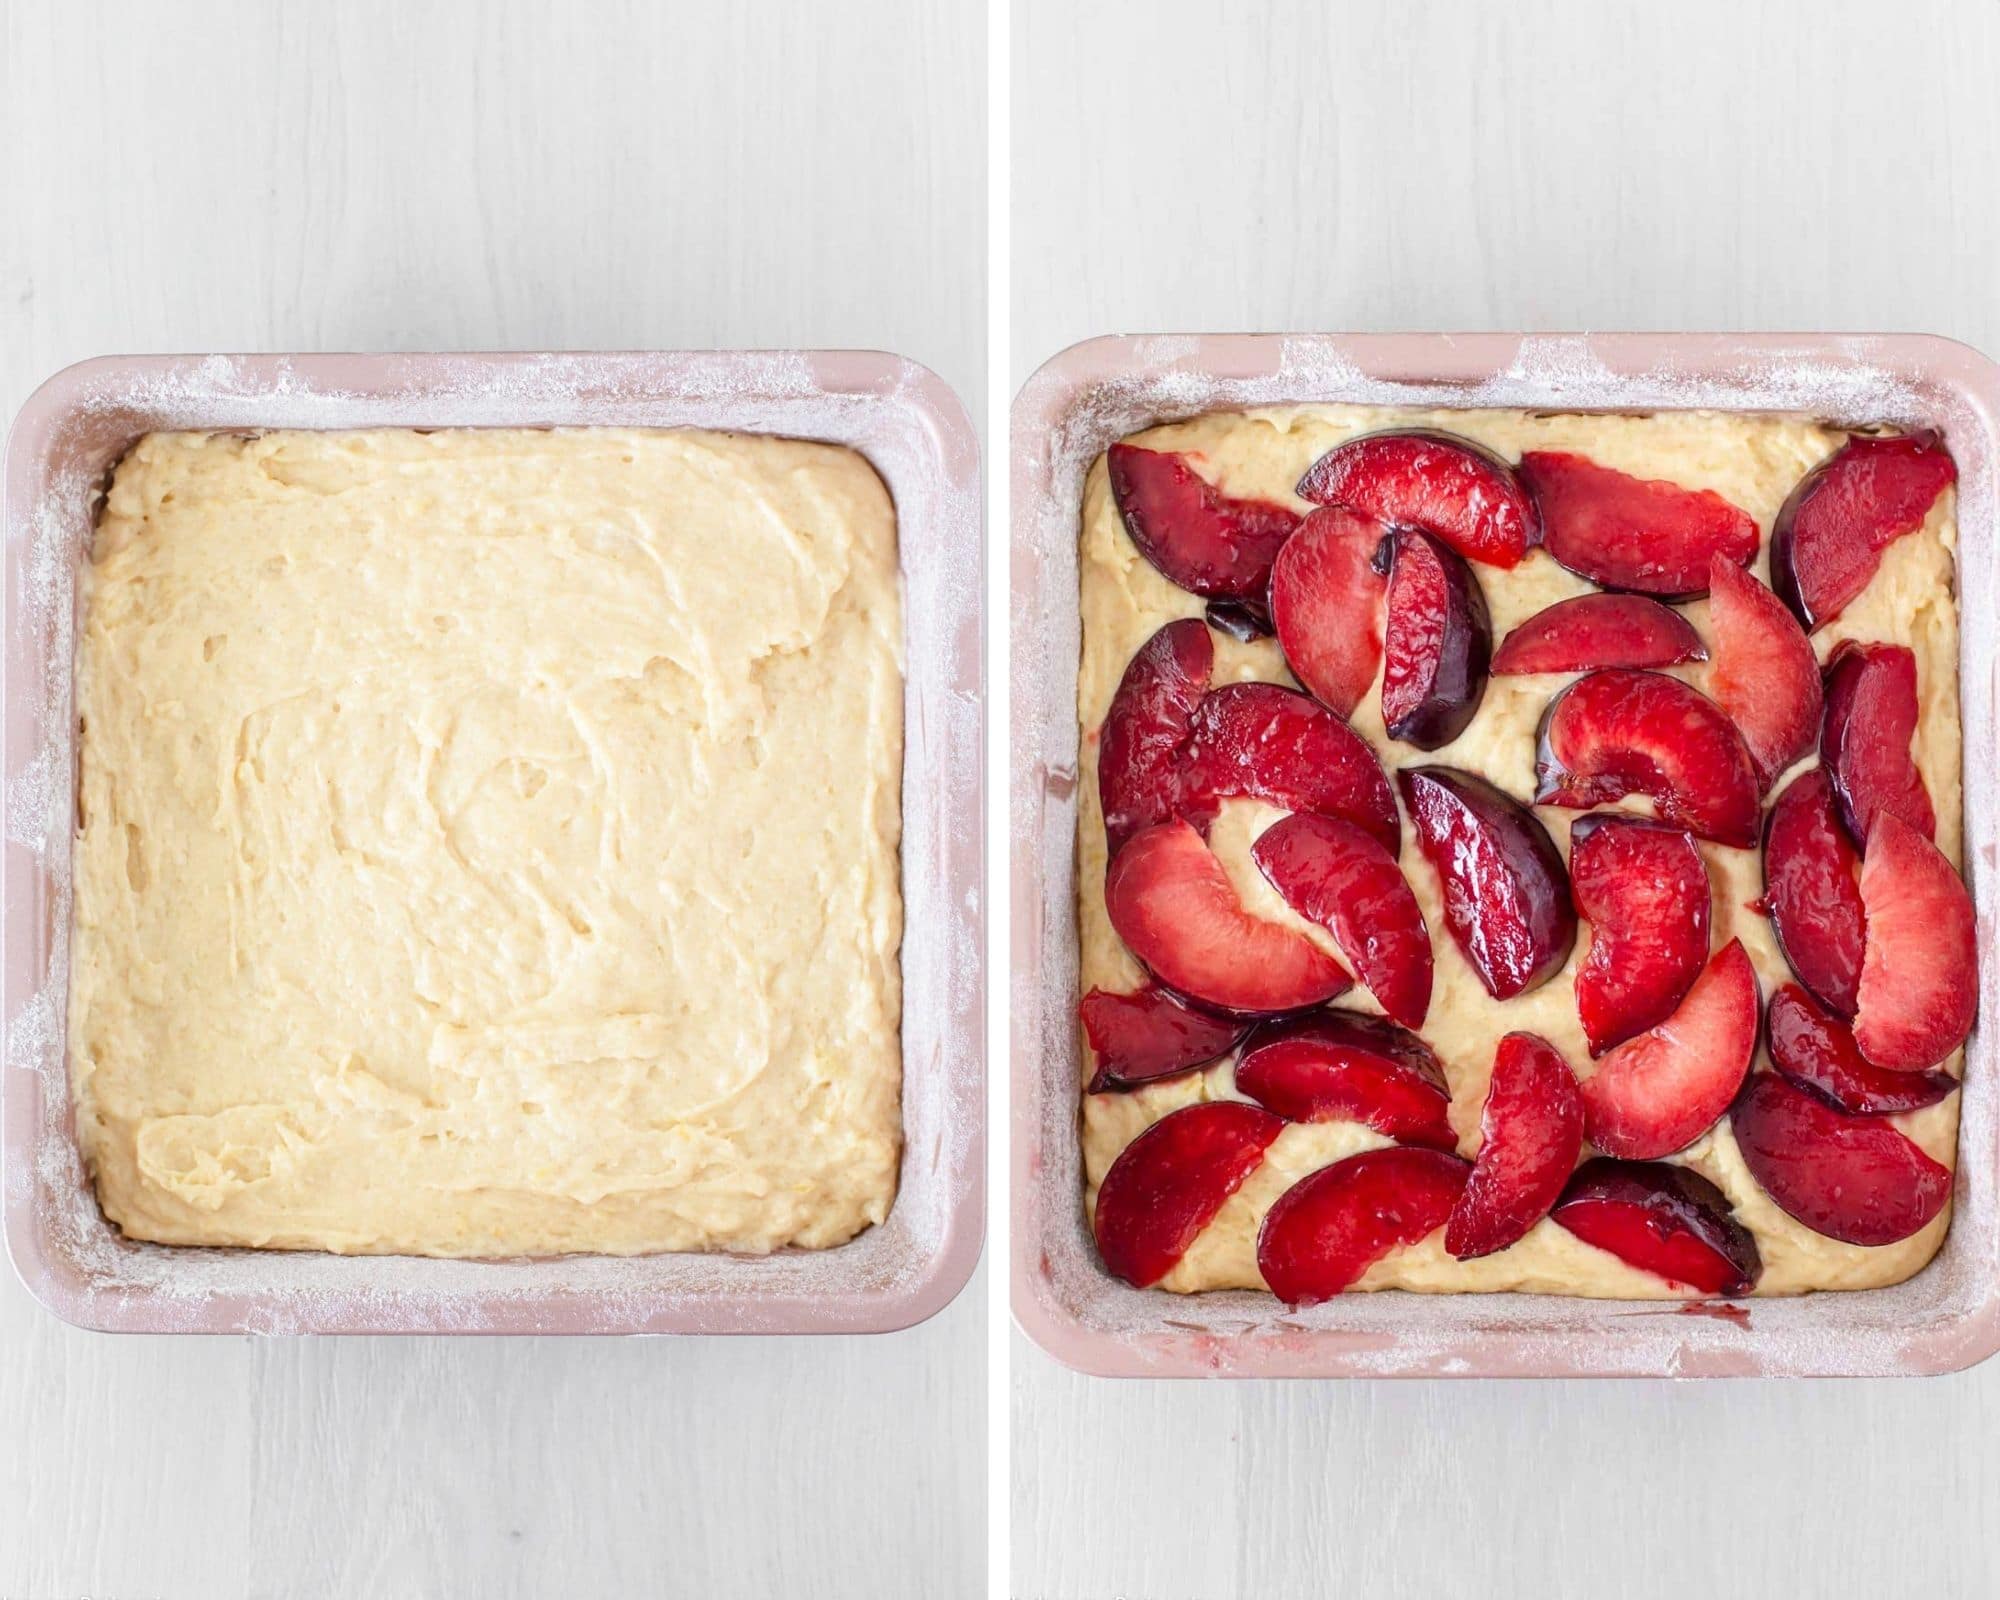
5) Pour batter into the prepared baking pan. Smoothing out the top. Arrange sliced plums on top of the batter.
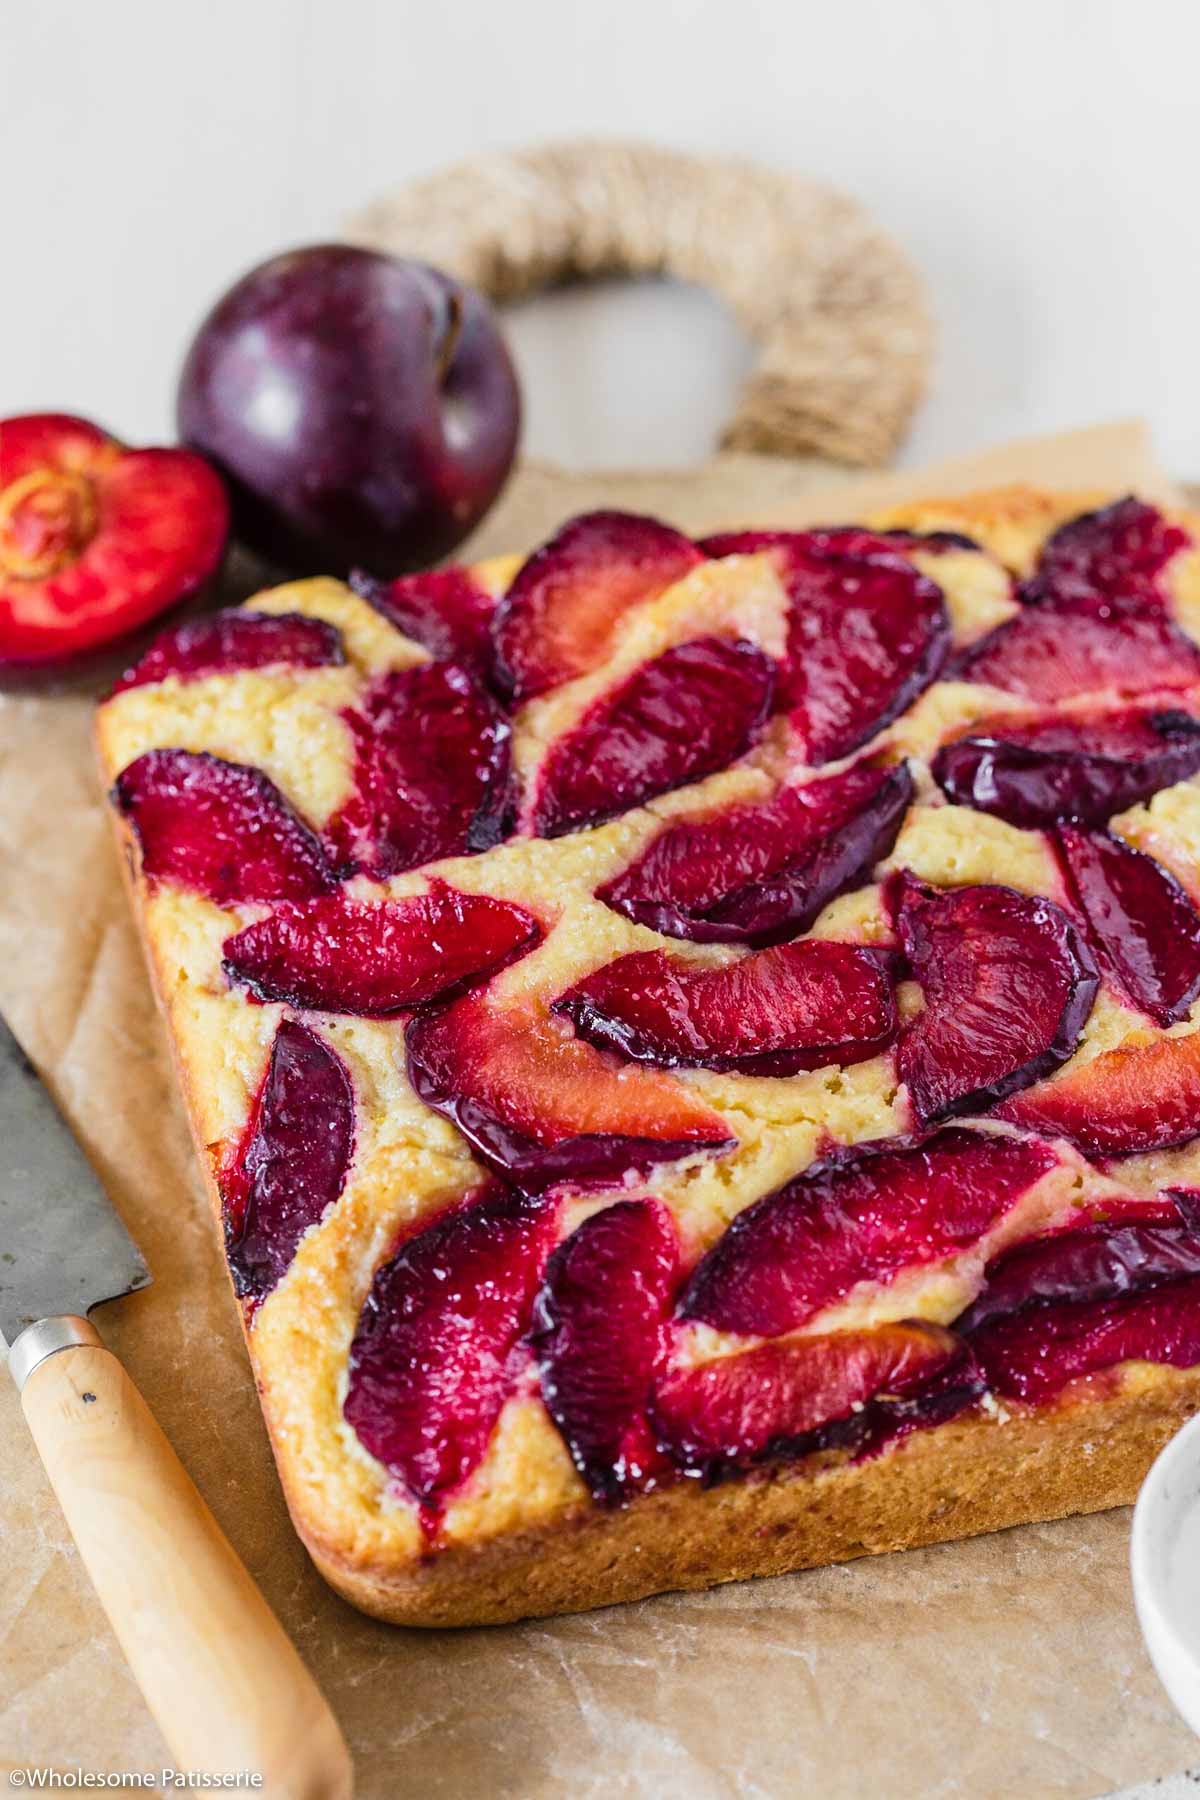
6) Bake for 30-35 minutes, until a toothpick inserted into the middle, comes out clean and it’s lightly golden on top. Serve and enjoy!
💭 Tips for Recipe Success
- Make sure to measure your baking ingredients accurately to achieve the best results. Check out my helpful guide on how to measure basic ingredients.
- Ensure your yogurt and eggs come to room temperature before making your yogurt cake. Using cold ingredients in cakes will not emulsify and blend appropriately with the rest of the ingredients, which results in problems with the final product.
- Leave the sides of the parchment paper a bit higher above the pan to make it easy for you to remove the cake once it’s baked.
- To slice the plums, watch this helpful step-by-step video.
- If you cannot get blood plums, use another variety of plums that are available to you.
- Make sure to emulsify the oil into the batter by slowly drizzling it in with the beater running.
- Use plain style Greek yogurt and fresh lemon zest and juice for the best lemon yogurt cake.
- Do not over-mix this cake batter as it will result in a tough cake texture after baking.
⏲️ Storing Instructions
Store cake in an airtight container, at room temperature for 2-3 days. If it’s too humid in the house, place the cake, in its container, in the refrigerator to preserve the plums and to keep the cake fresh.
I do not recommend freezing this plum yogurt cake. It’s best consumed freshly baked due to the nature of the fresh fruit plums.
💬 Recipe FAQ’s
Yogurt adds moisture and fat to a cake batter. The final texture of the cake is moist. A cake recipe that uses yogurt also has a light tanginess that is different from a regular cake. Yogurt also helps to activate the baking powder which results in the texture being light and fluffy yet moist.
Store this plum yogurt cake in an airtight container, at room temperature for 2-3 days. If it’s too humid in the house, place the cake, in its container, in the refrigerator to preserve the plums and to keep the cake fresh.
I do not recommend freezing this plum yogurt cake. It’s best consumed freshly baked due to the nature of the fresh fruit plums.
If you enjoy this recipe, please consider leaving a ⭐️ star rating and a comment review below. I love to hear what you think and it’s much appreciated. Thank you! Your email address will not be published. Sam x

Plum Yogurt Cake
Ingredients
- 4 large (480g) blood plums
- 3/4 cup golden or white granulated sugar
- 3 large eggs, at room temperature, (approx. 55g-60g each in shell)
- 2 tbsp finely grated lemon zest, from one medium-sized lemon
- 1 tsp vanilla extract
- 1/2 cup extra virgin olive oil
- 2/3 cup plain Greek style yogurt
- 1 1/2 cups (225g) plain all purpose flour scoop & leveled
- 1 1/2 tsp baking powder
- 1/2 tsp salt
Instructions
- Preheat oven to 180ºC (356ºF). Grease with butter a square 9 inch x 9 inch (22cm x 22cm) baking pan then line with parchment paper, allowing the sides to be a bit taller, making it easier to remove the cake once it’s baked. set aside.
- First, slice the plums into wedges, set aside.
- In a large mixing bowl, add sugar, eggs, and lemon zest.
- Using electric hand beaters, beat on low-medium speed for 30 seconds until well combined. Scrape down the sides if needed with a spatula.
- With the beater running on low-medium speed, slowly drizzle in the olive oil in a steady stream to emulsify, about 30 seconds in total.
- Add yogurt and vanilla extract, and beat for 15 seconds until well combined. Scrape down the sides if needed.
- Add flour, baking powder, and salt. Beat until incorporated, about 15 seconds but do not over-mix, just until it’s incorporated into a smooth batter and no lumps of flour remain. Scrape down the sides.
- Arrange sliced plums on top of the batter.
- Bake for 30-35 minutes, until a toothpick inserted into the middle, comes out clean and it’s lightly golden on top.
- Remove from the oven and allow the cake to cool in the pan for 10 minutes.
- To remove from the pan, gently lift up the sides of the baking paper and transfer cake to a wire rack to cool completely.
- Serve and enjoy!
Notes
Nutrition
If you enjoy this recipe, please consider leaving a ⭐️ star rating and a comment review below. I love to hear what you think and it’s much appreciated. Thank you! Your email address will not be published. Sam x
