Peppermint Chocolate Candy Cane Bark
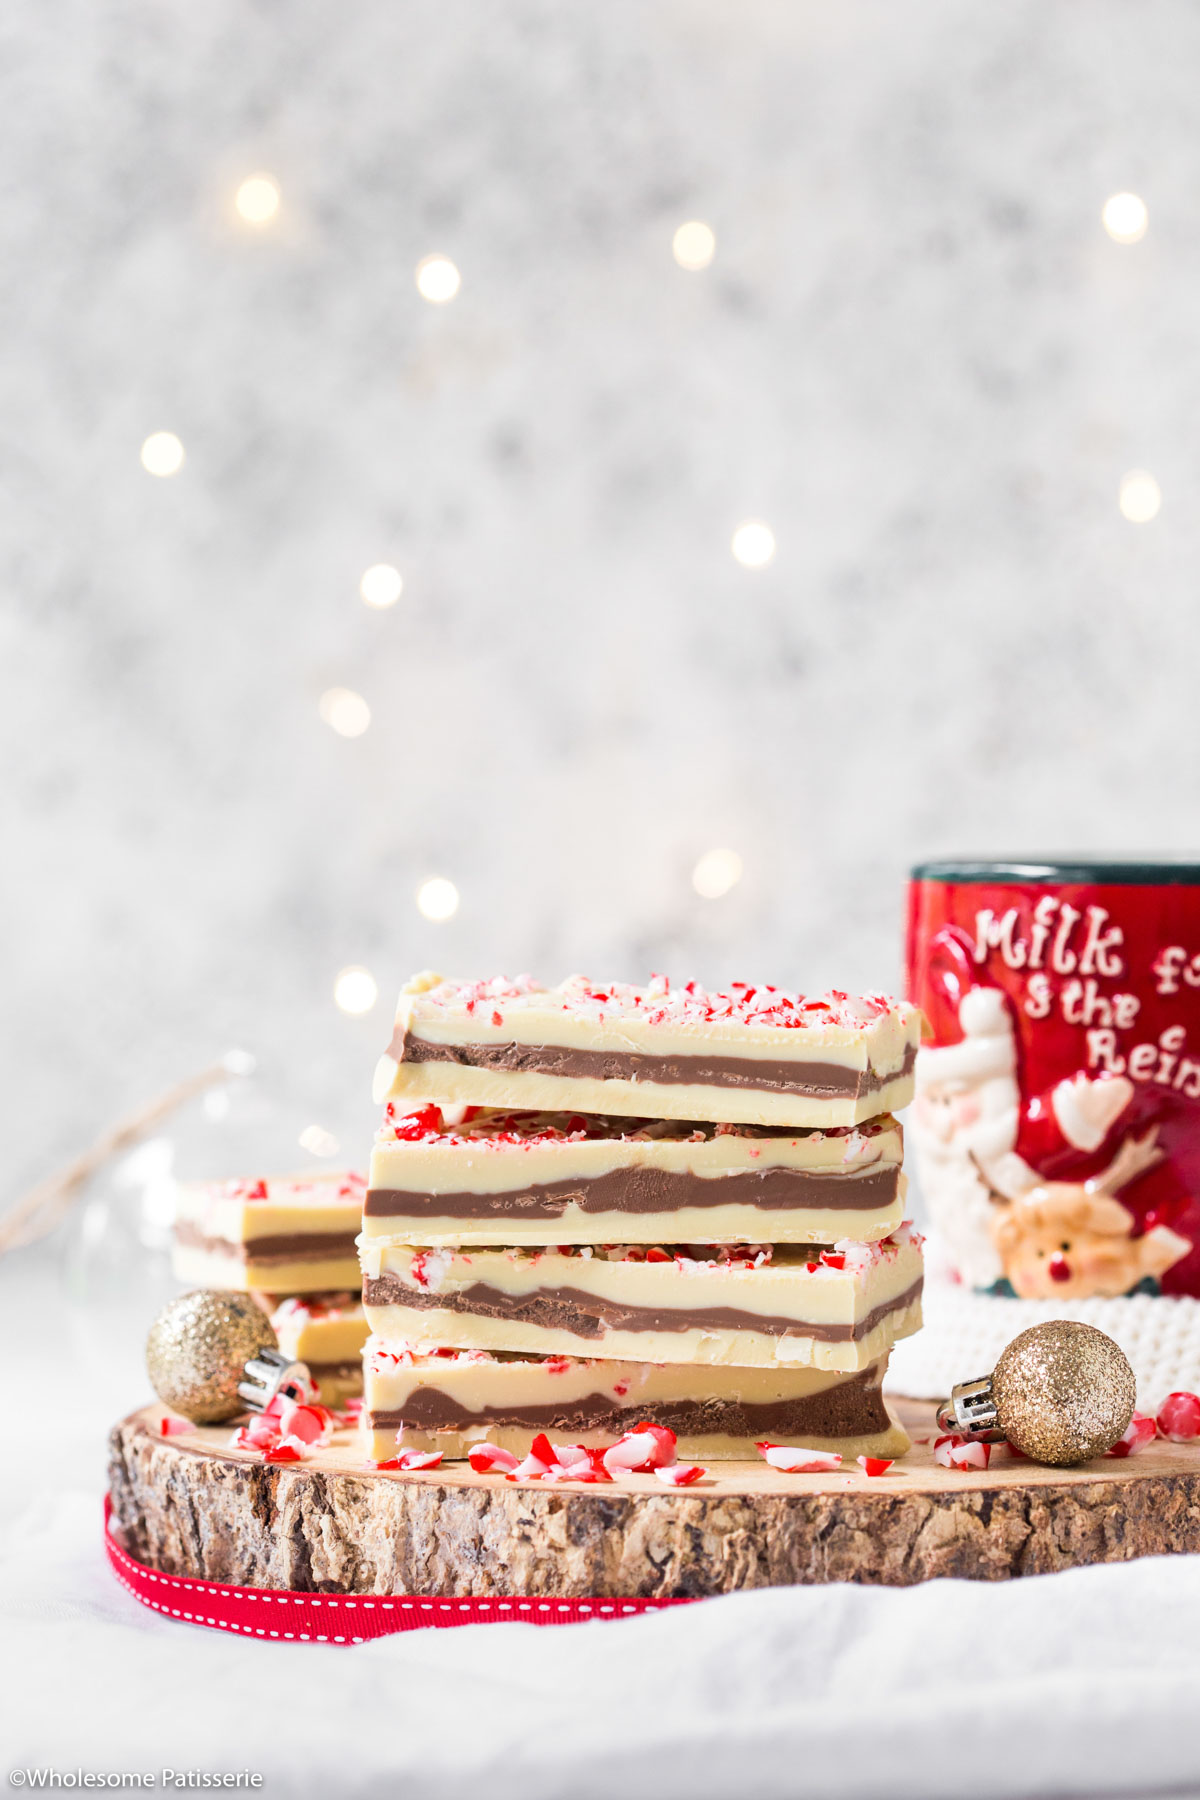
A festive Peppermint Chocolate Candy Cane Bark is the perfect holiday edible gift. With white and milk chocolate and crushed candy canes, this triple-layer bark is easy and quick to make.

Whether it’s my Chocolate Walnut Clusters or this Gingerbread Rocky Road, gifting chocolate this Christmas is extra special, especially when it’s homemade.
Everyone LOVES candy cane chocolate bark during the holiday season but this one shines amongst the others.
Creating three indulgent layers of melted chocolate infused with peppermint oil, this Christmas bark is so easy to make and comes together with 5 ingredients.
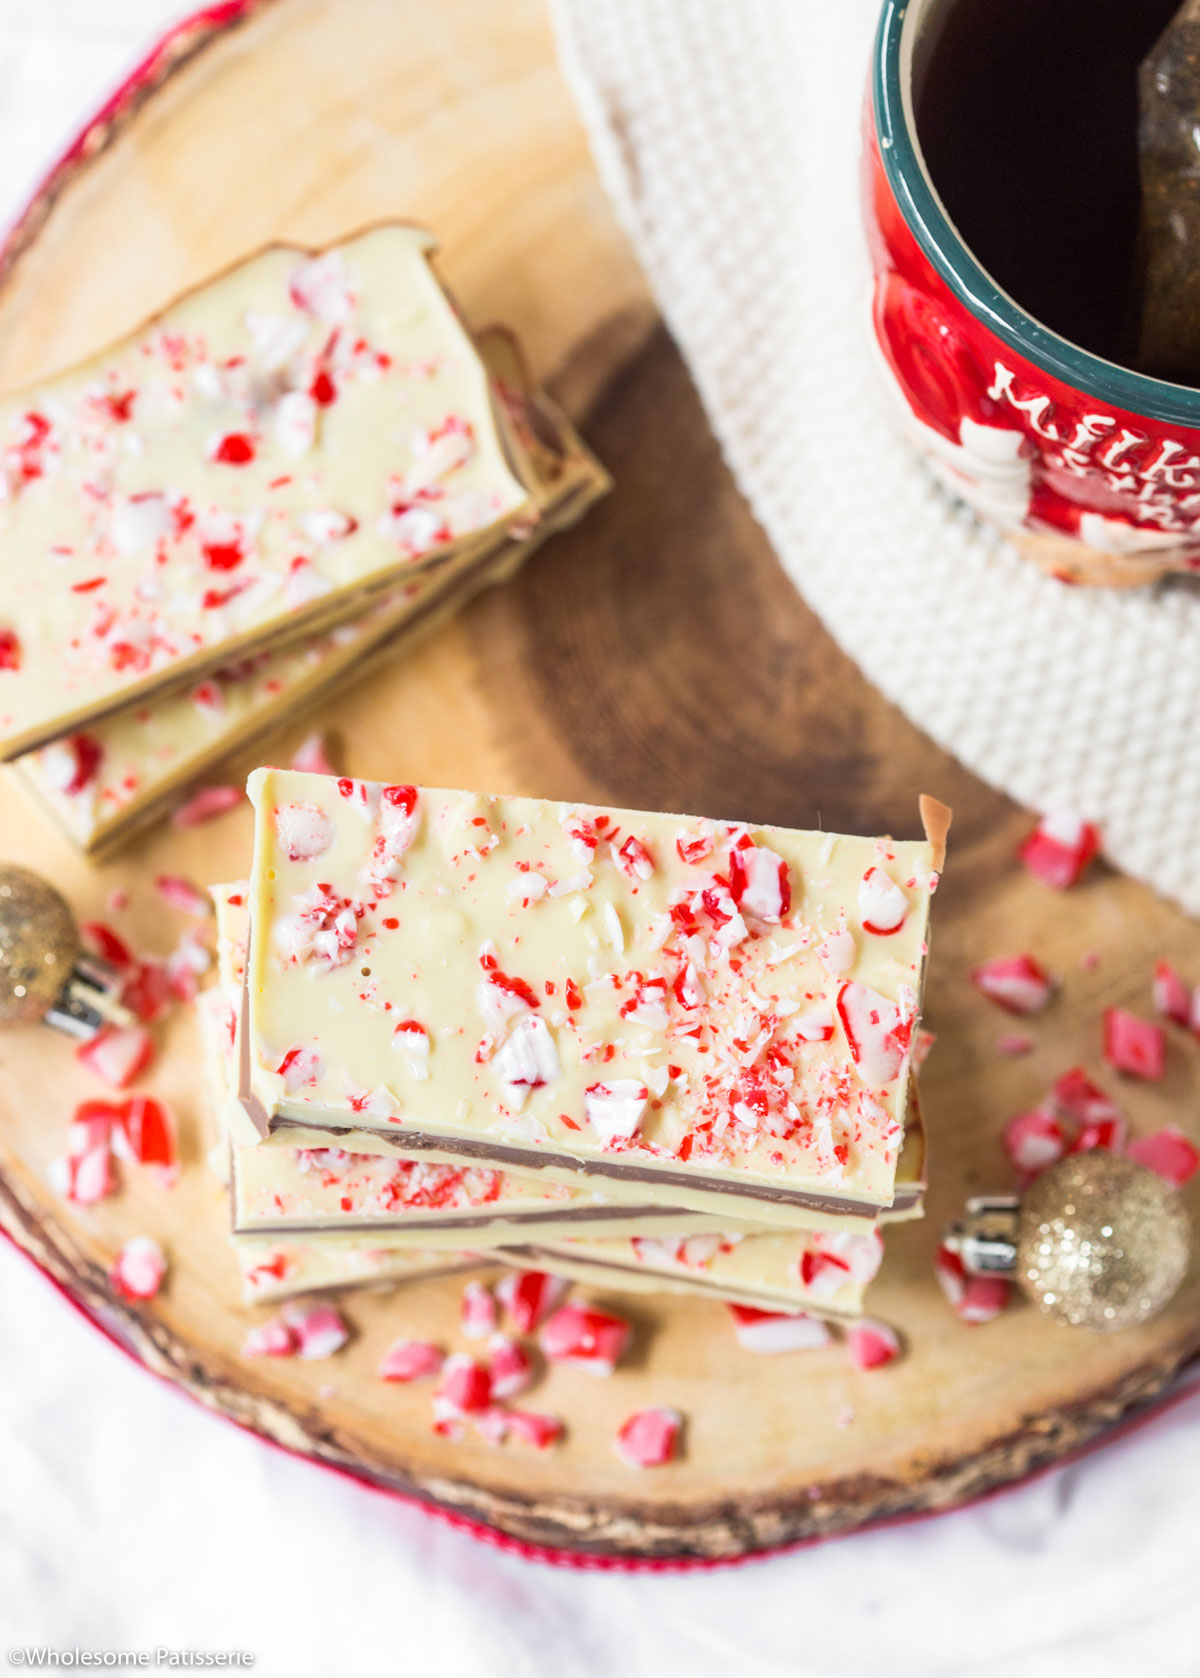
It’s then sprinkled with crushed peppermint candy pieces, which is a fantastic opportunity to use up those extra candy canes laying around!
🍫 Why You Will Love This Recipe
- Only 5 ingredients.
- 3 layers instead of 2.
- Uses white chocolate and milk chocolate.
- Infused with peppermint.
- Sprinkled with crushed candy canes.
- A great edible chocolate gift for the holidays.
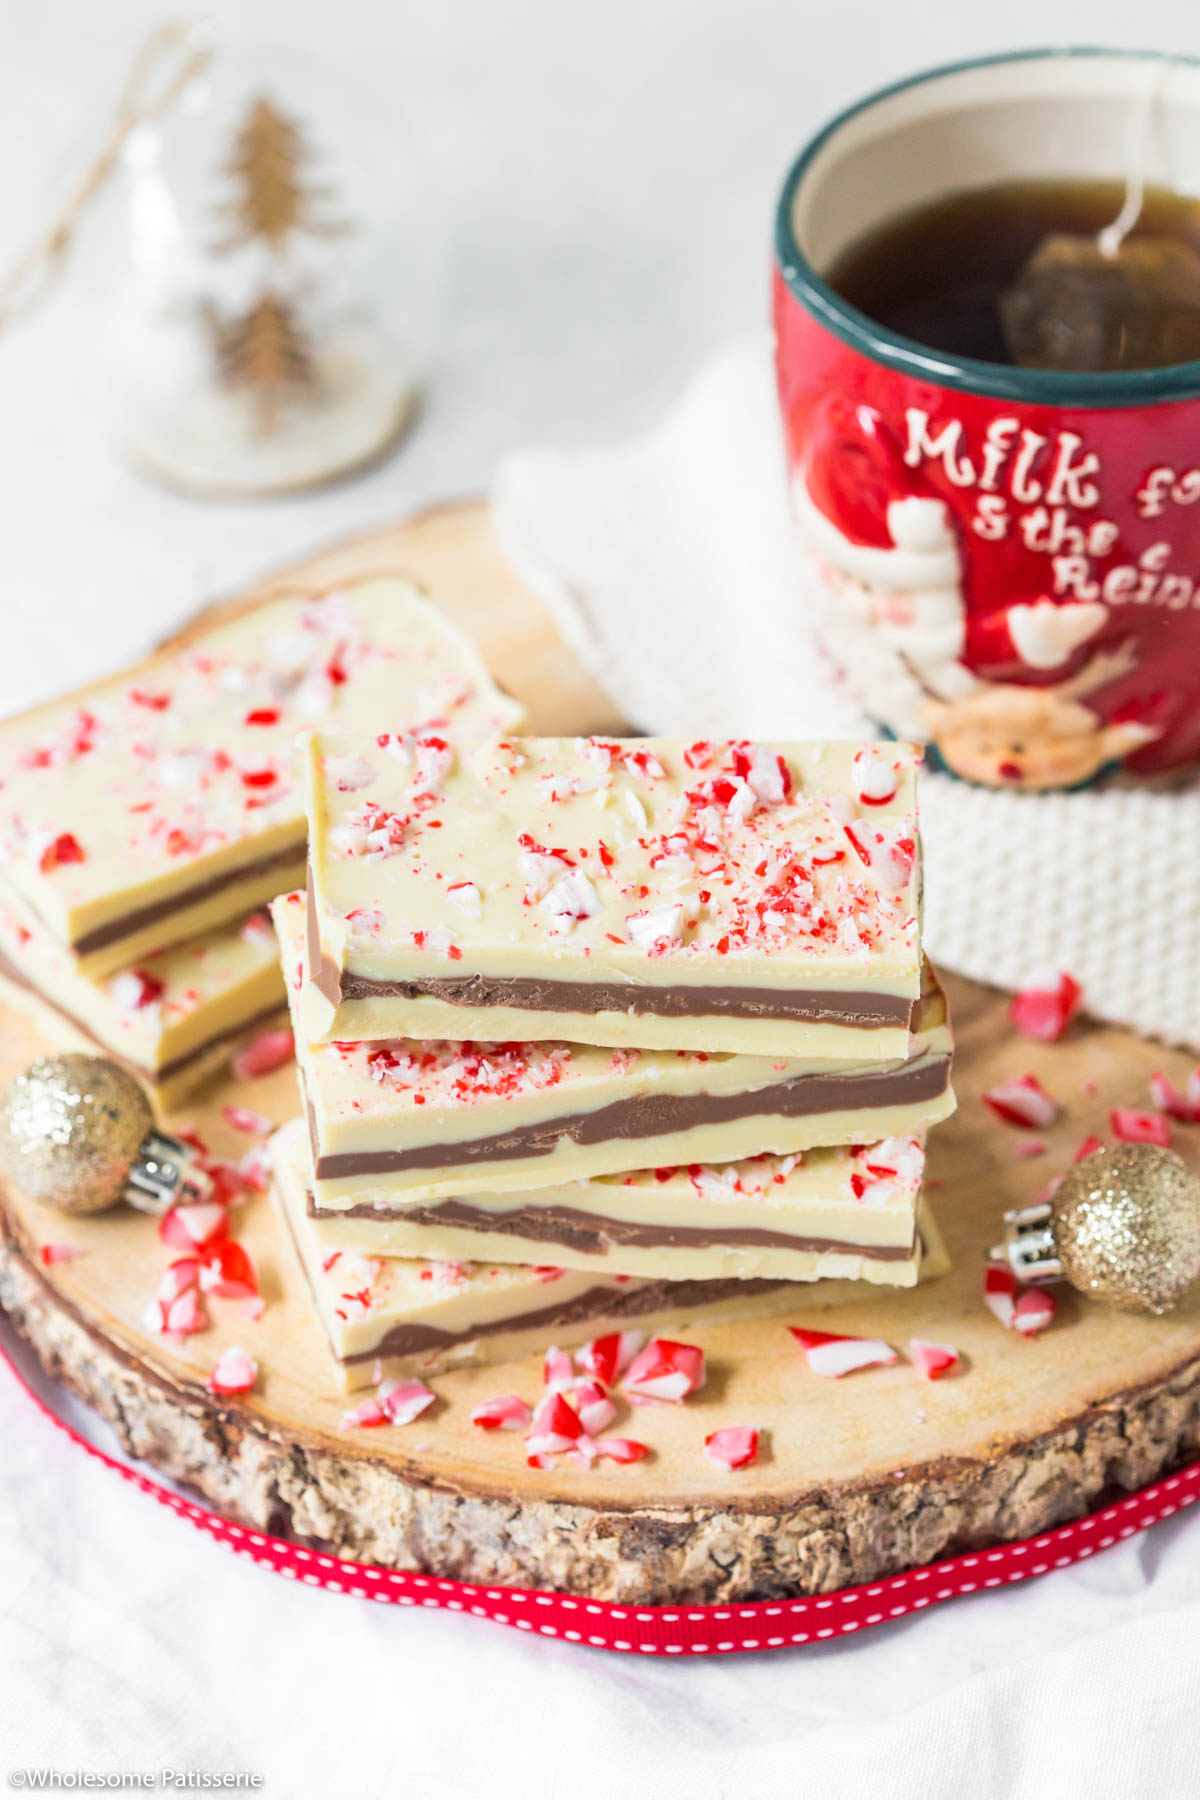
Melting the chocolate is easy by doing so in a heat-proof bowl over a double boiler on your stovetop.
The layers are then created by pouring the melted chocolate into your tin and chilling it in the fridge for a few minutes then continuing on with the remaining layers.
This process guarantees even and clean layers that won’t merge together.
For the ultimate cozy evening in December, share a few pieces of this candy cane bark with loved ones and servings of my rum hot chocolate or gingerbread latte.

🍬 Topping Variations
Don’t have candy canes? No problems! Try these toppings instead:
- Christmas-themed candy such as red and green M&Ms.
- Salted pretzels.
- Chopped nuts.
- Dried fruit.
- Mini marshmallows.
📋 Ingredient Notes & Substitutions
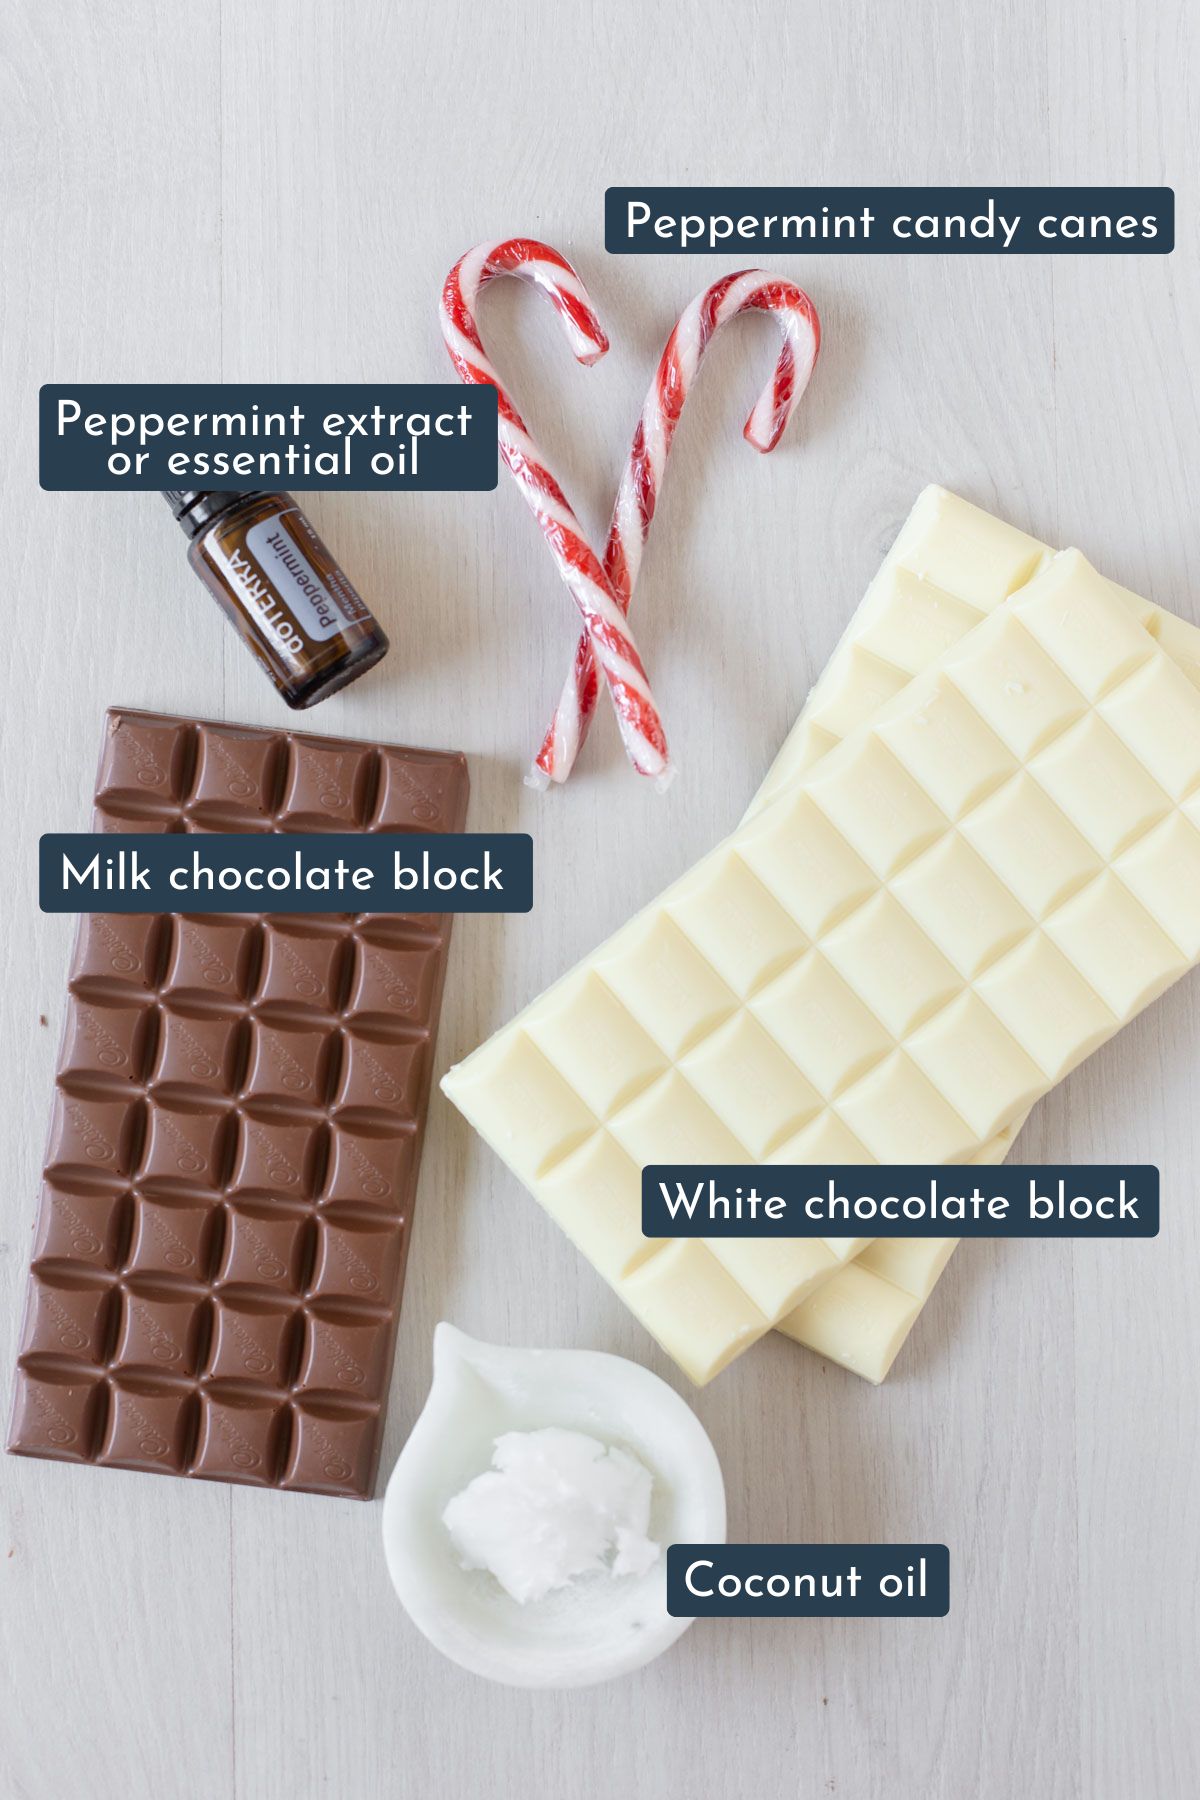
- White chocolate block – I prefer to use a block of chocolate for the best results as they’re higher quality but try substituting it with chocolate chips if preferred.
- Milk chocolate block – can be substituted with a block of semisweet/dark chocolate. Try using chocolate chips if preferred.
- Coconut oil – can be substituted with vegetable oil.
- Peppermint extract – Substitute with pure peppermint essential oil safe to use internally, I like to use 4-6 drops.
- Peppermint Candy Canes – substitute with already crushed peppermint candy pieces.
🥣 Step By Step Instructions (with photos)
There is a full and detailed recipe card at the bottom of this post.
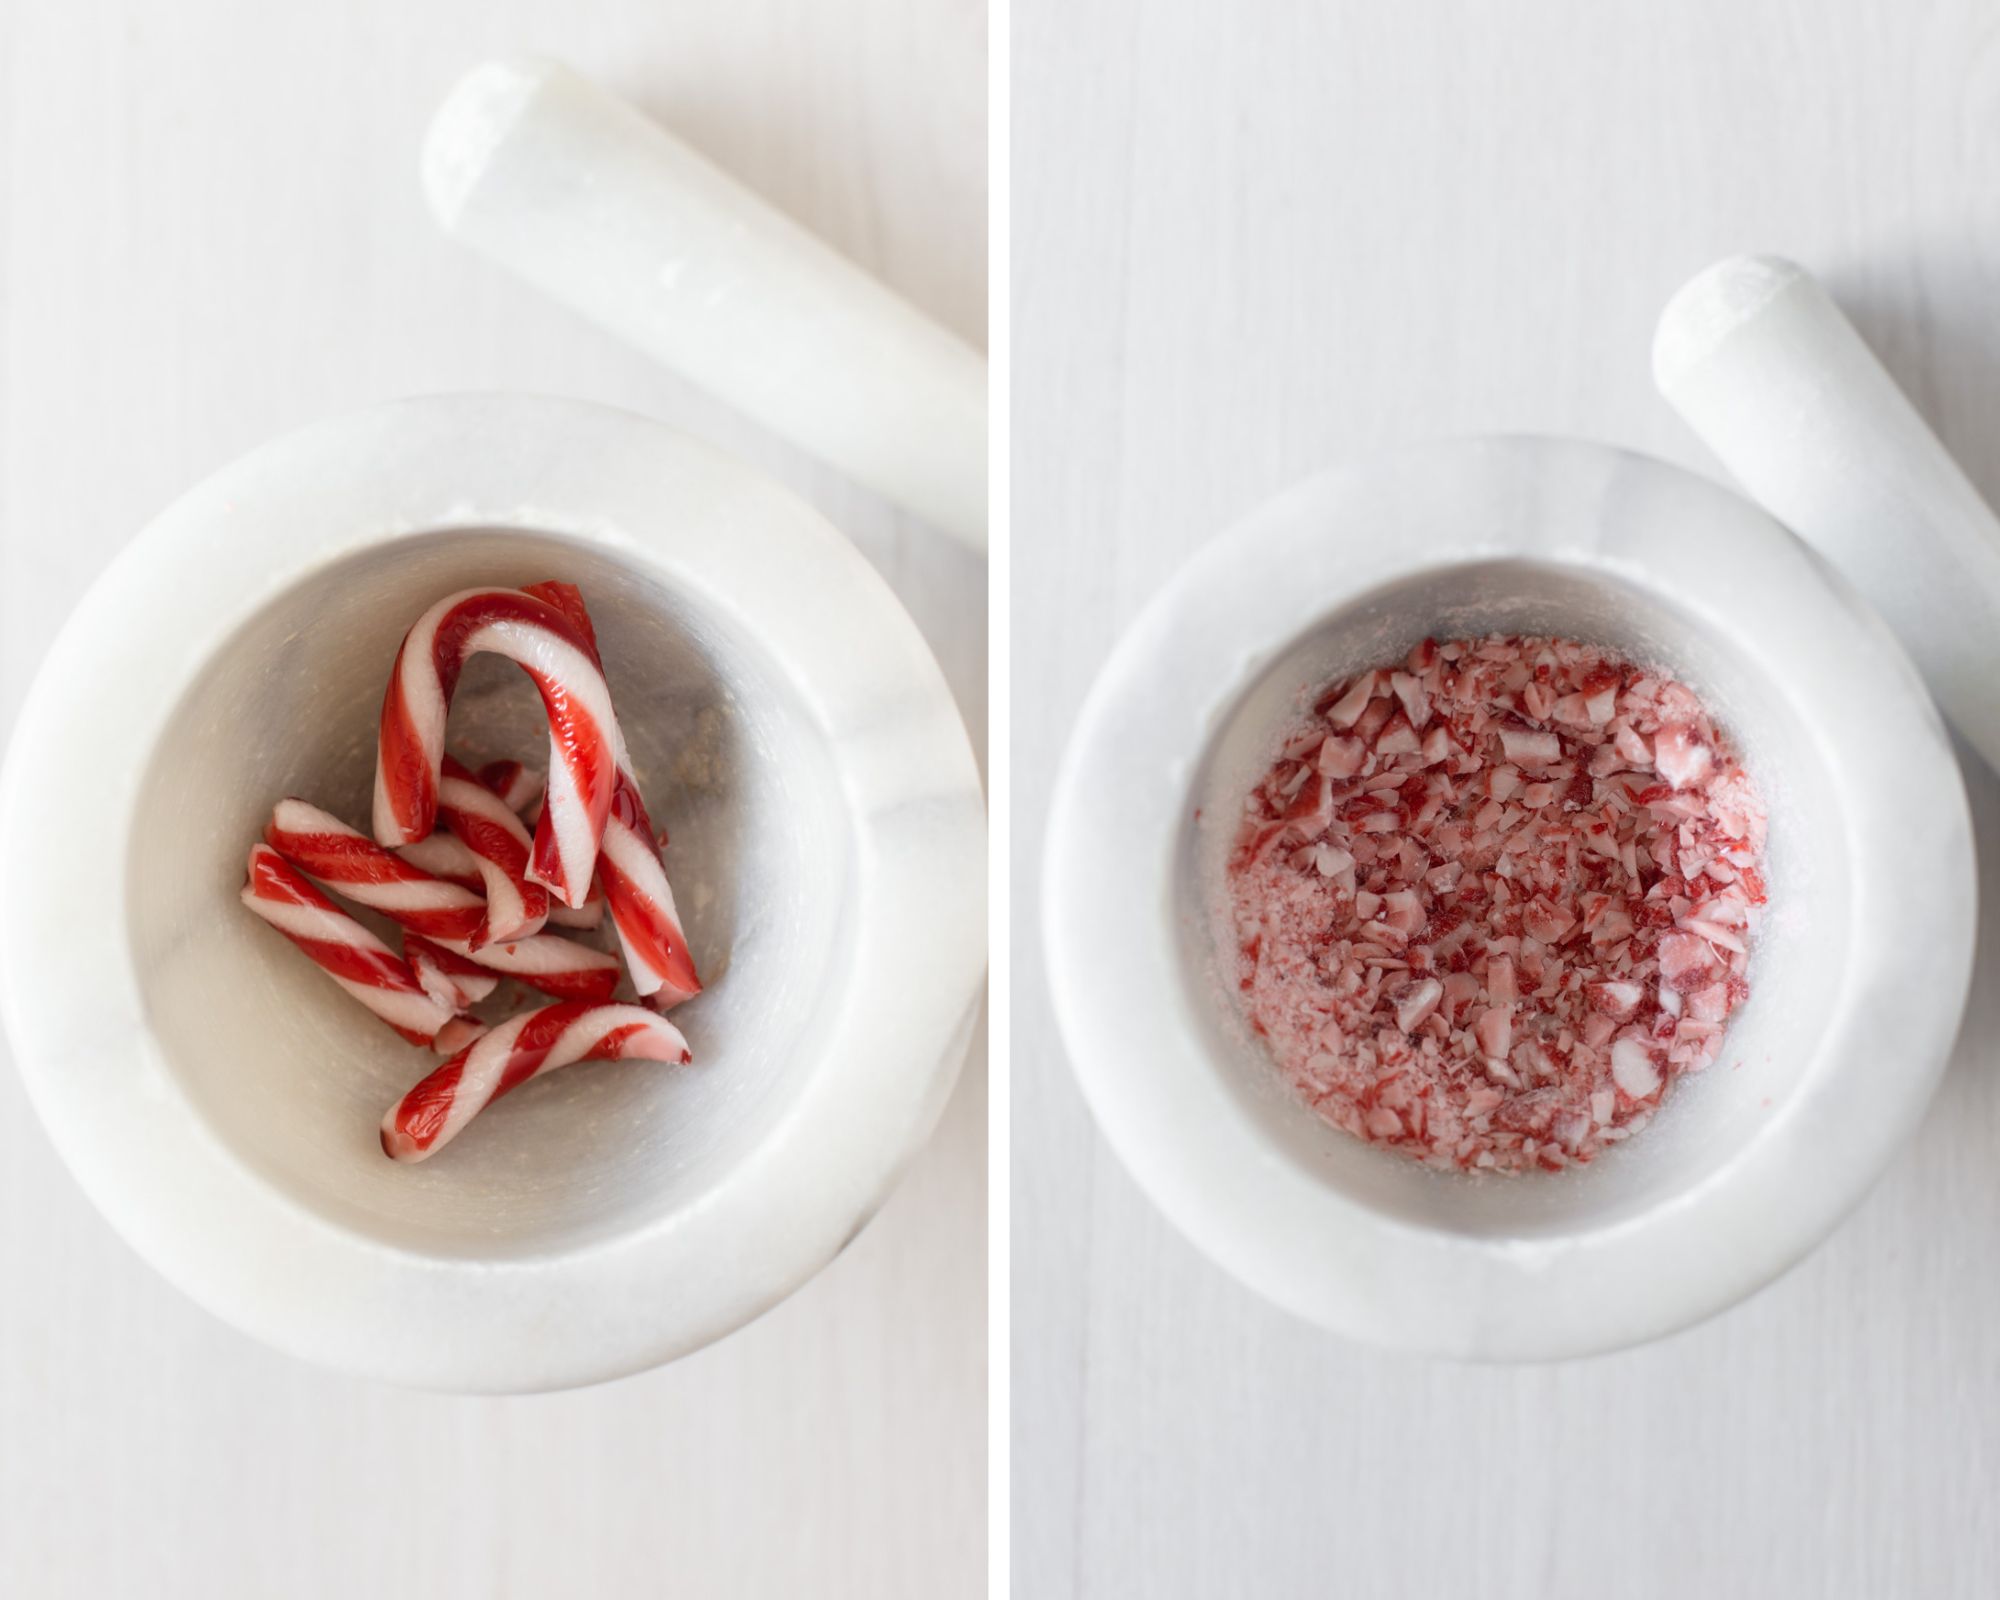
Step one: To easily crush candy canes, use a mortar and pestle or crush them in a zip-lock bag and roll a rolling pin over them until crushed.
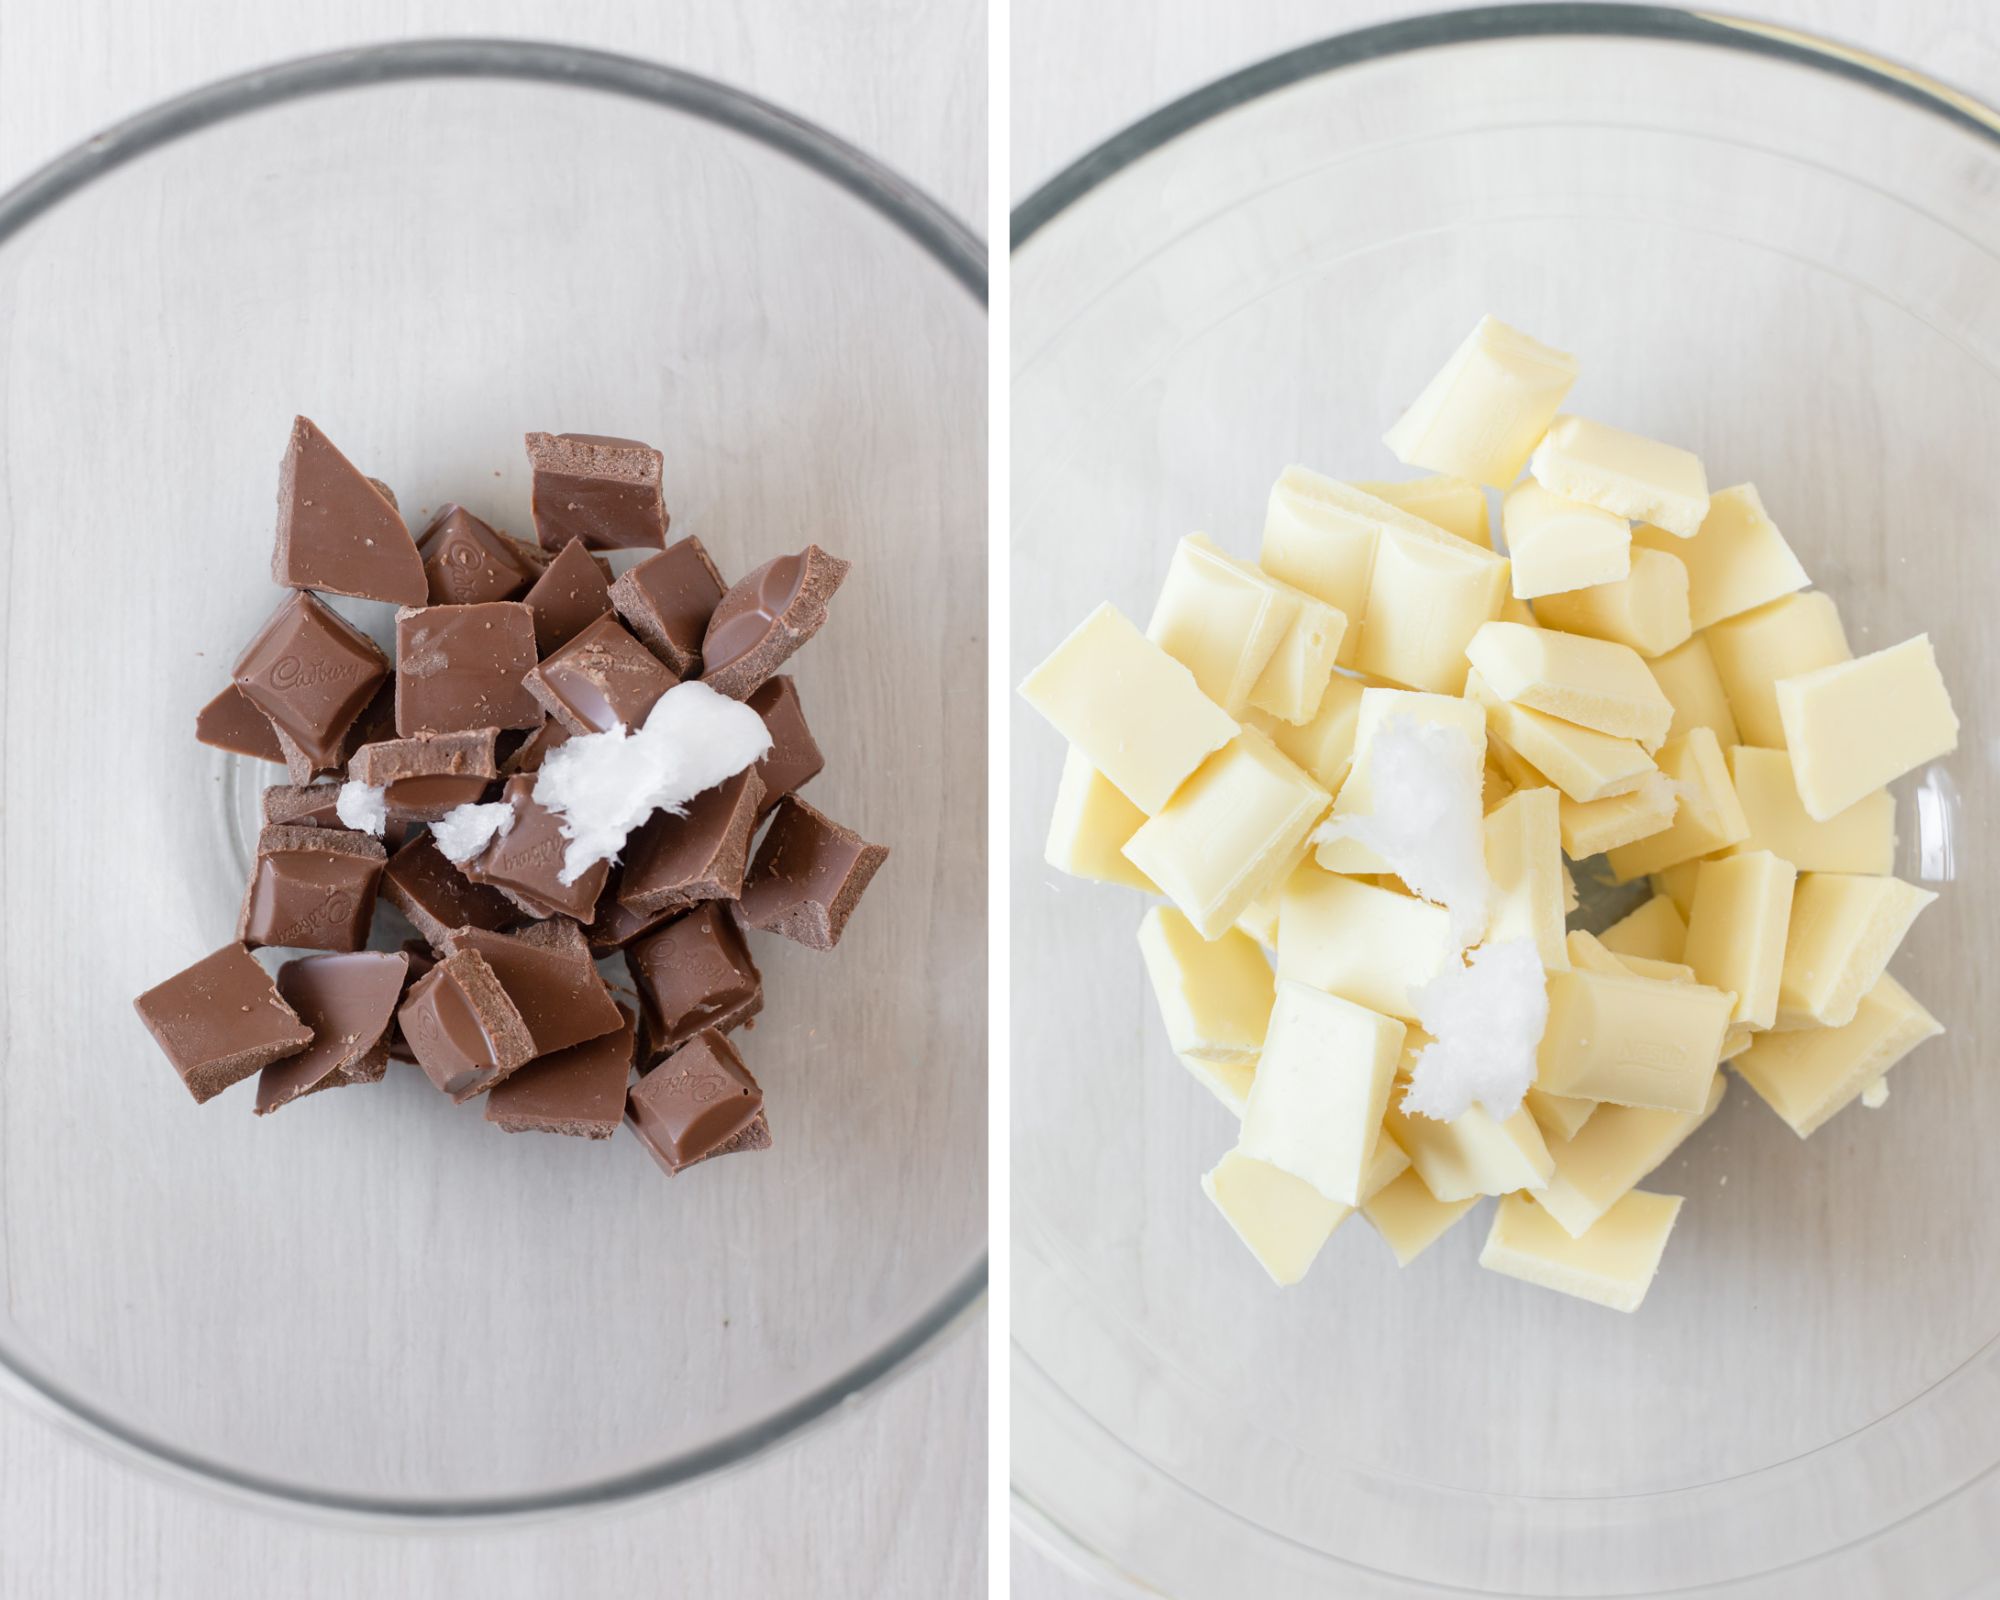
Step two: Place broken-up white chocolate and milk chocolate with the coconut oil into heat-proof bowls over two double boilers. Gently melt over low heat until both are completely melted and smooth, stirring both occasionally with different rubber spatulas.
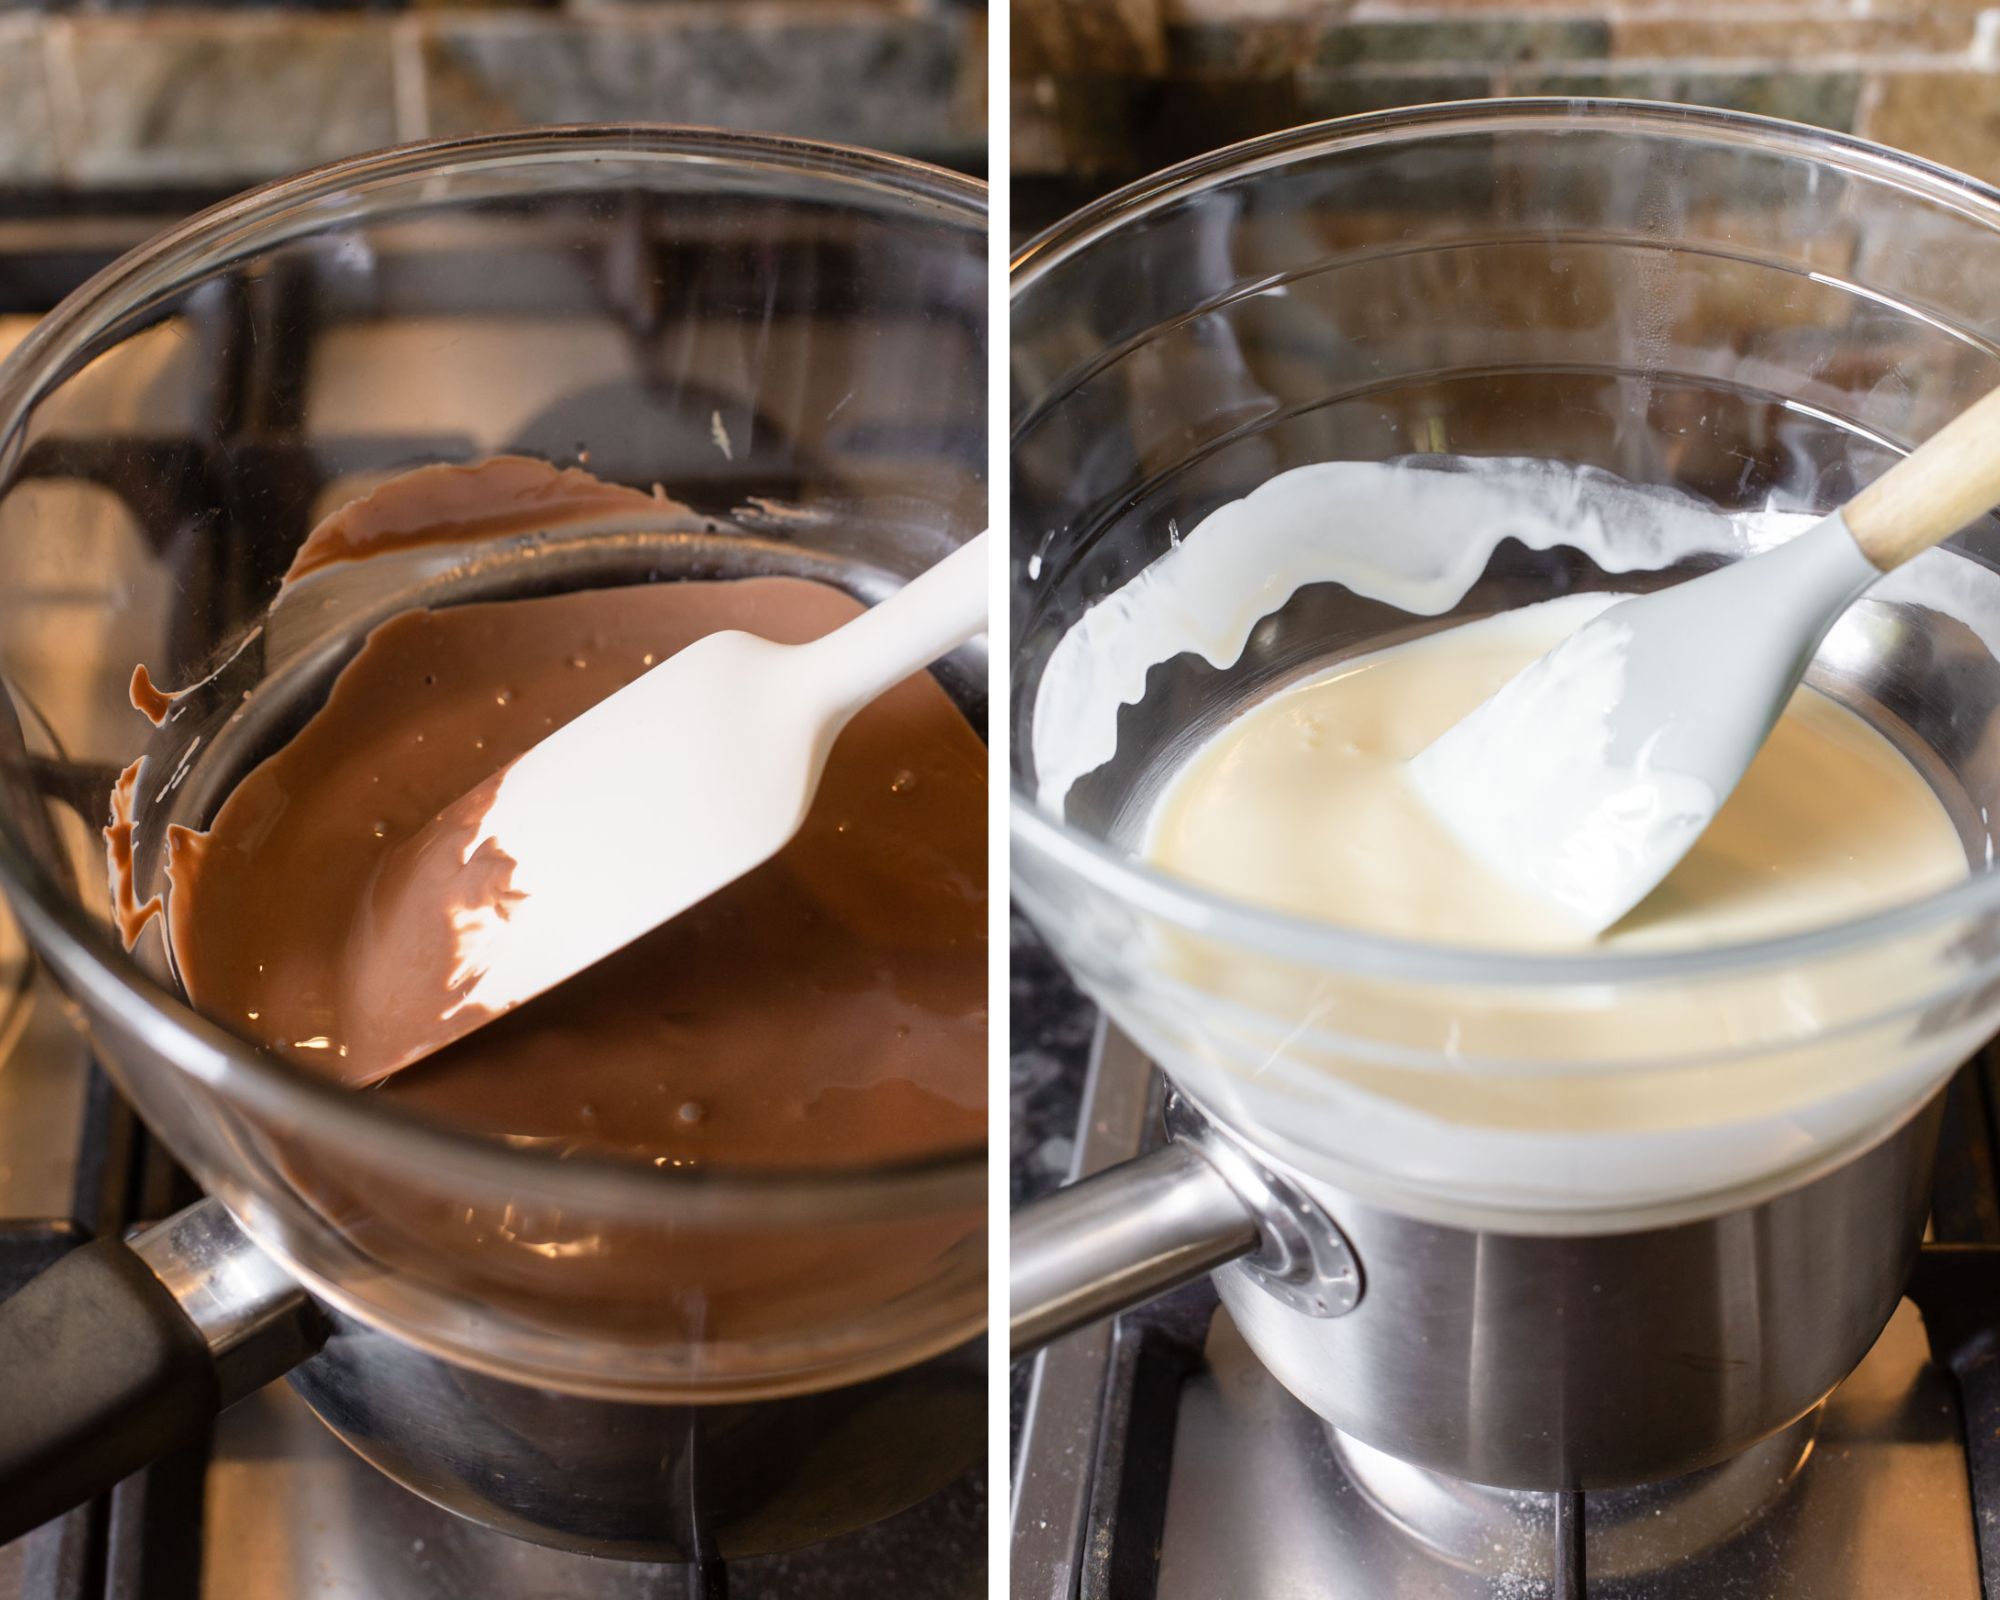
Step three: Once both white and milk chocolate have melted, turn off the heat and stir the peppermint extract through the white chocolate only.
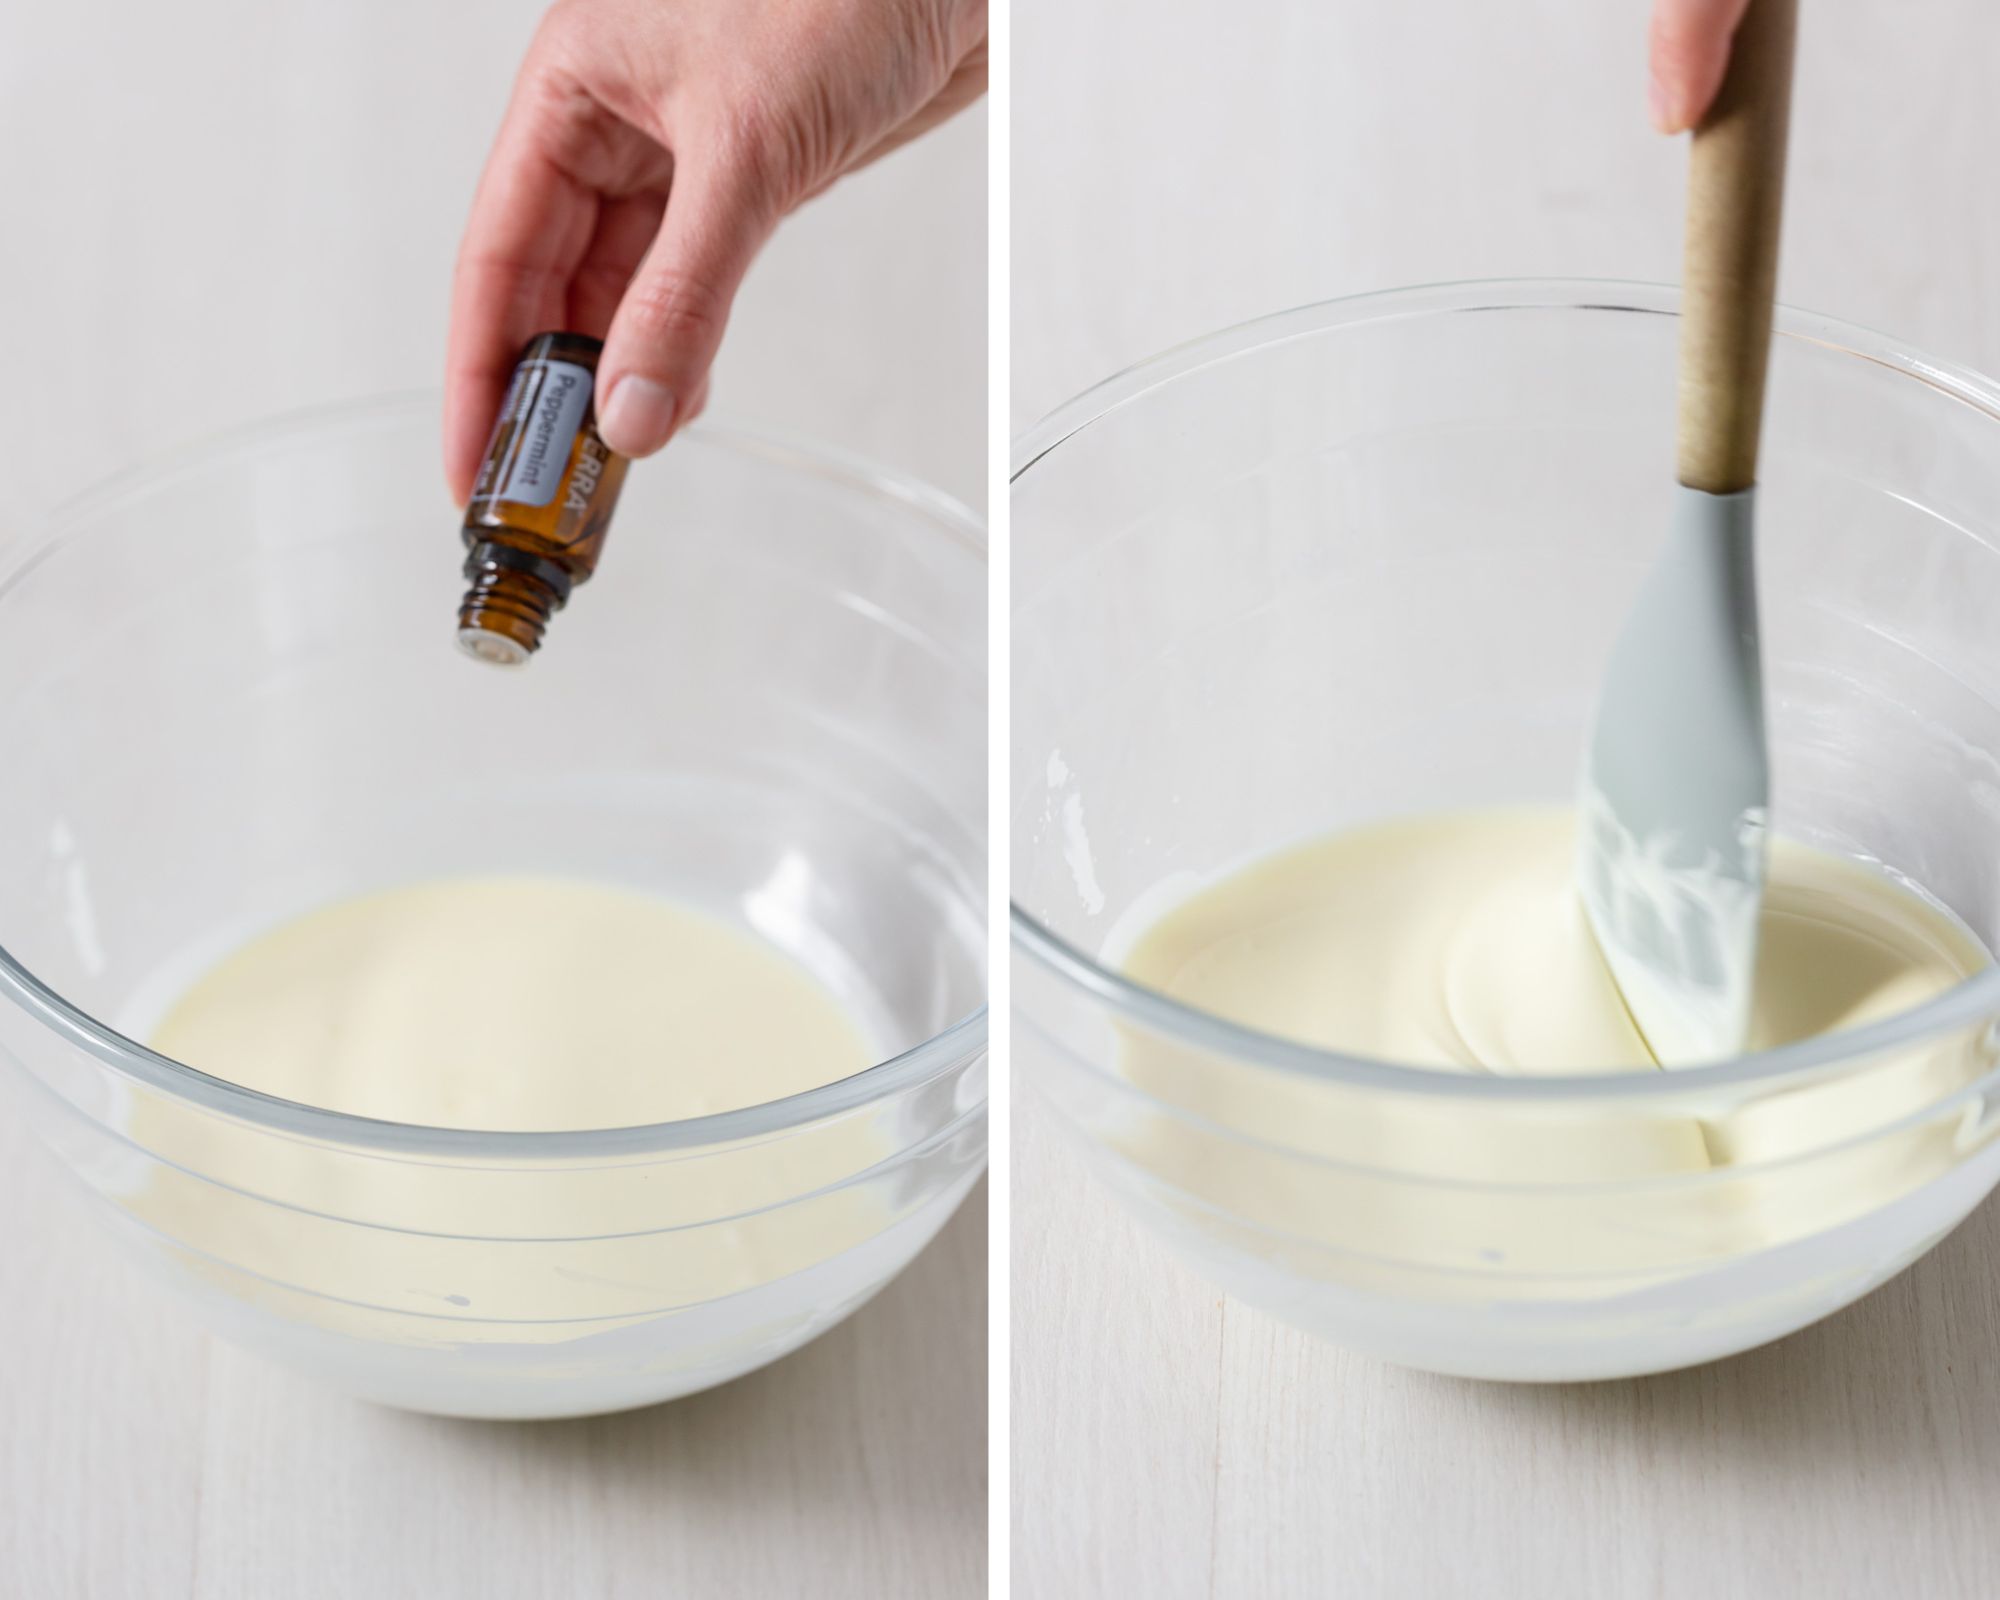
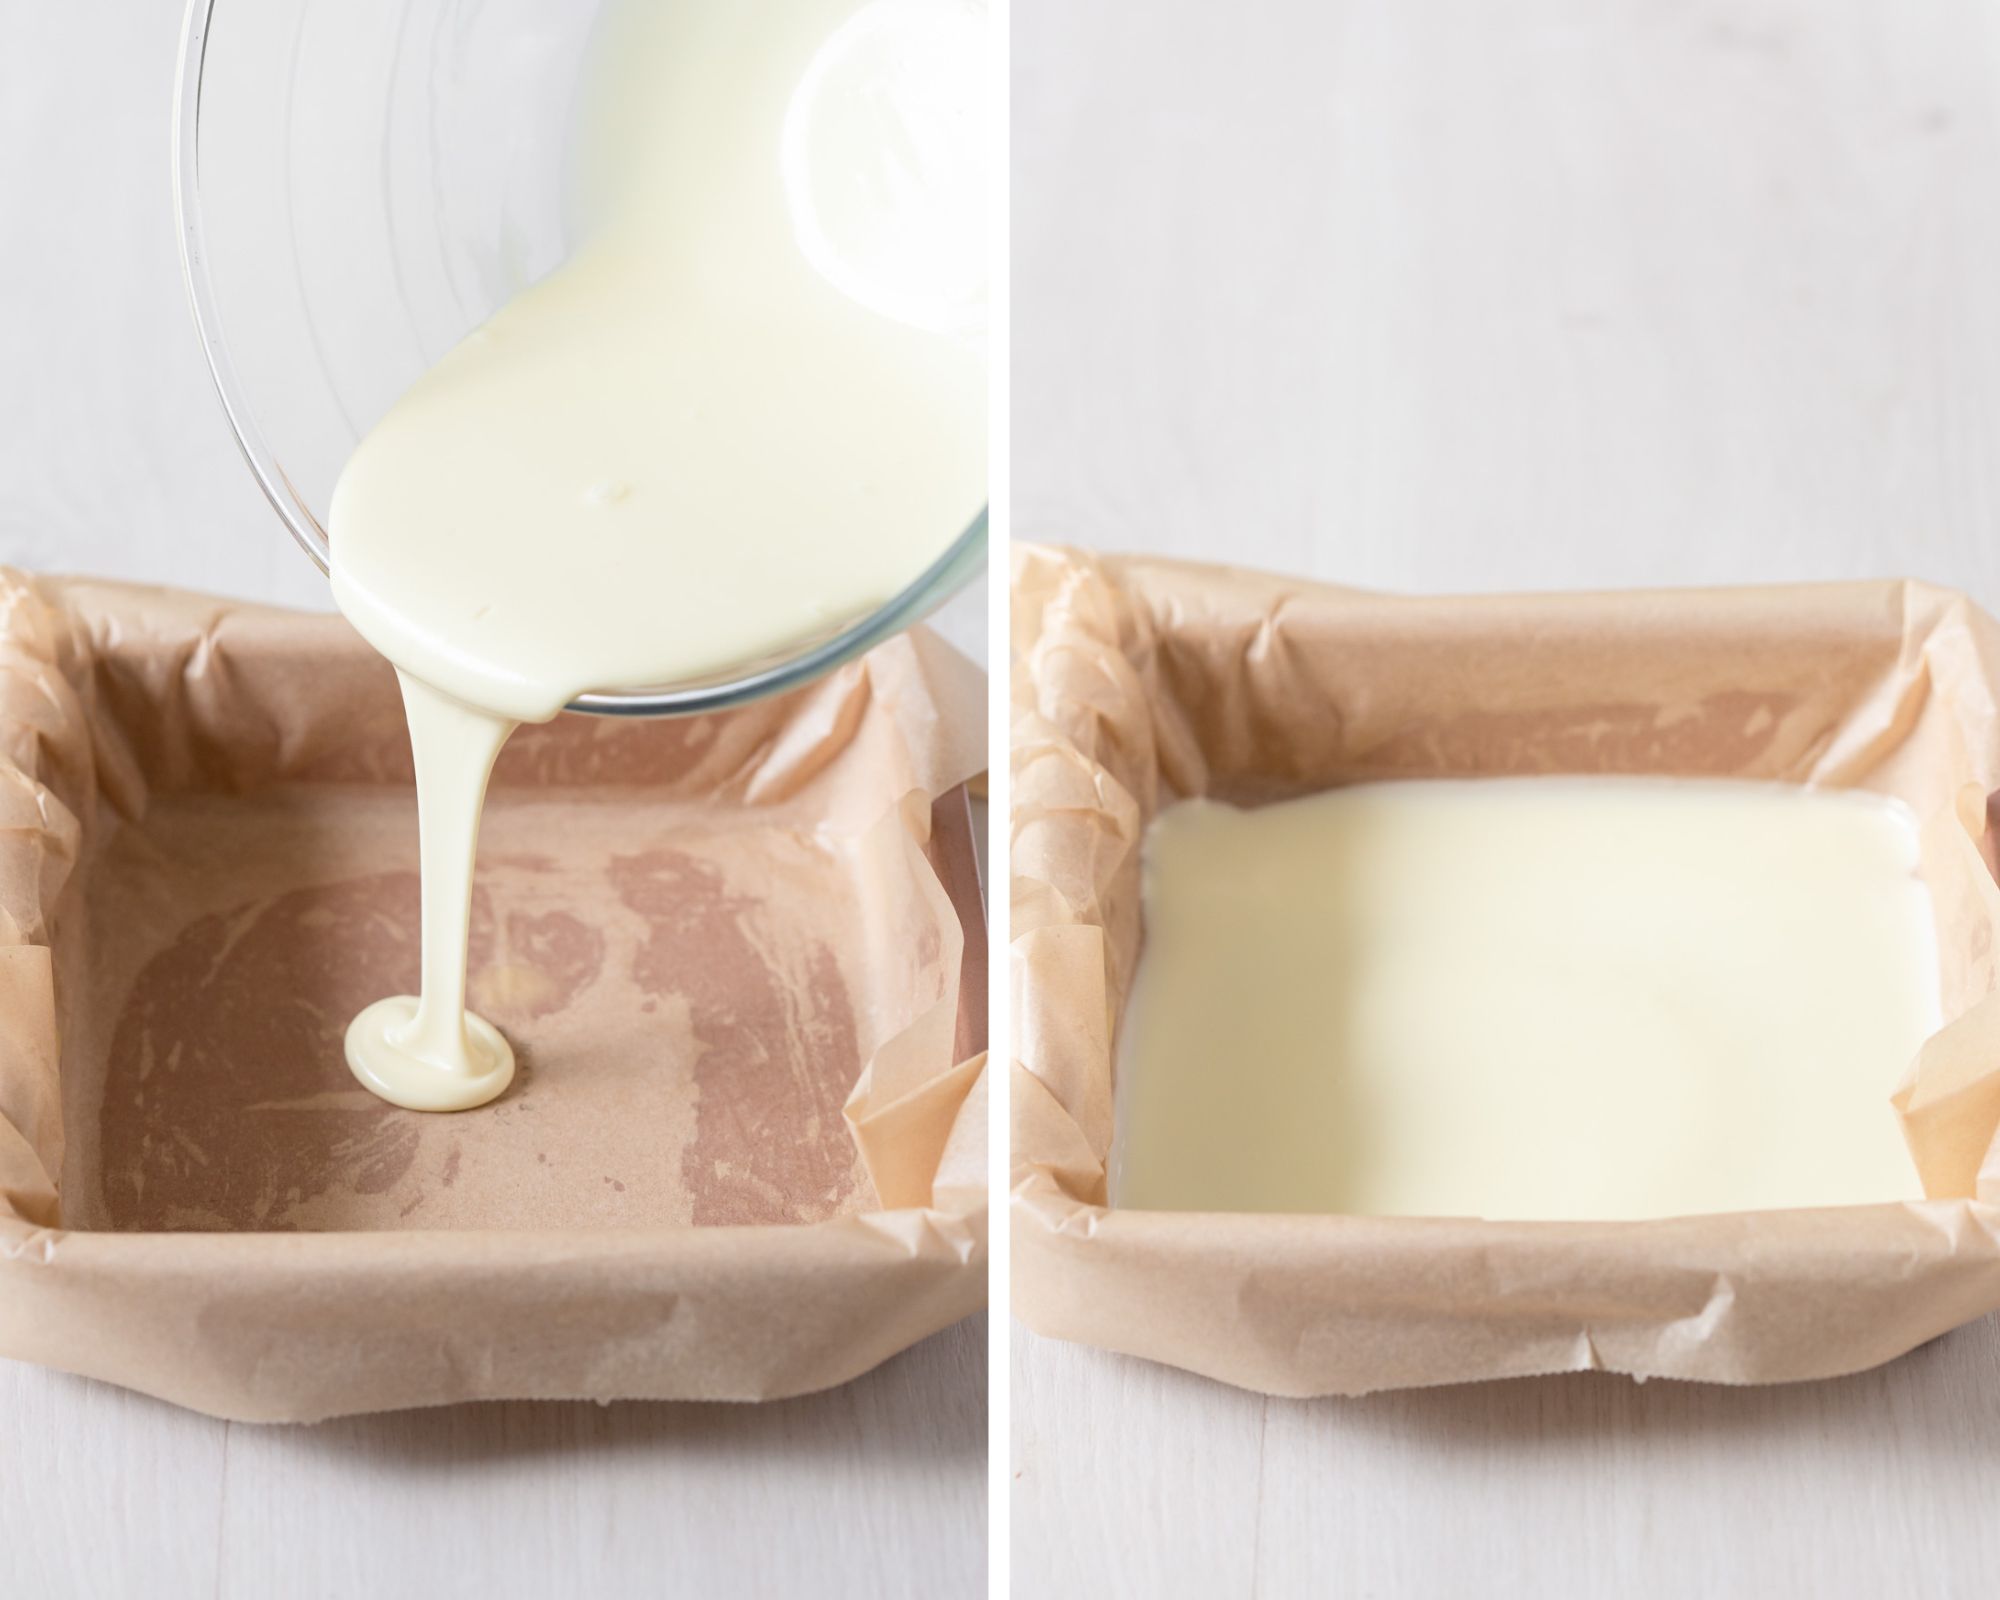
Step four: Pour half of the melted white chocolate into the lined tin. Refrigerate for 5-10 minutes or until it’s just set to the touch. Not runny and not completely hardened.
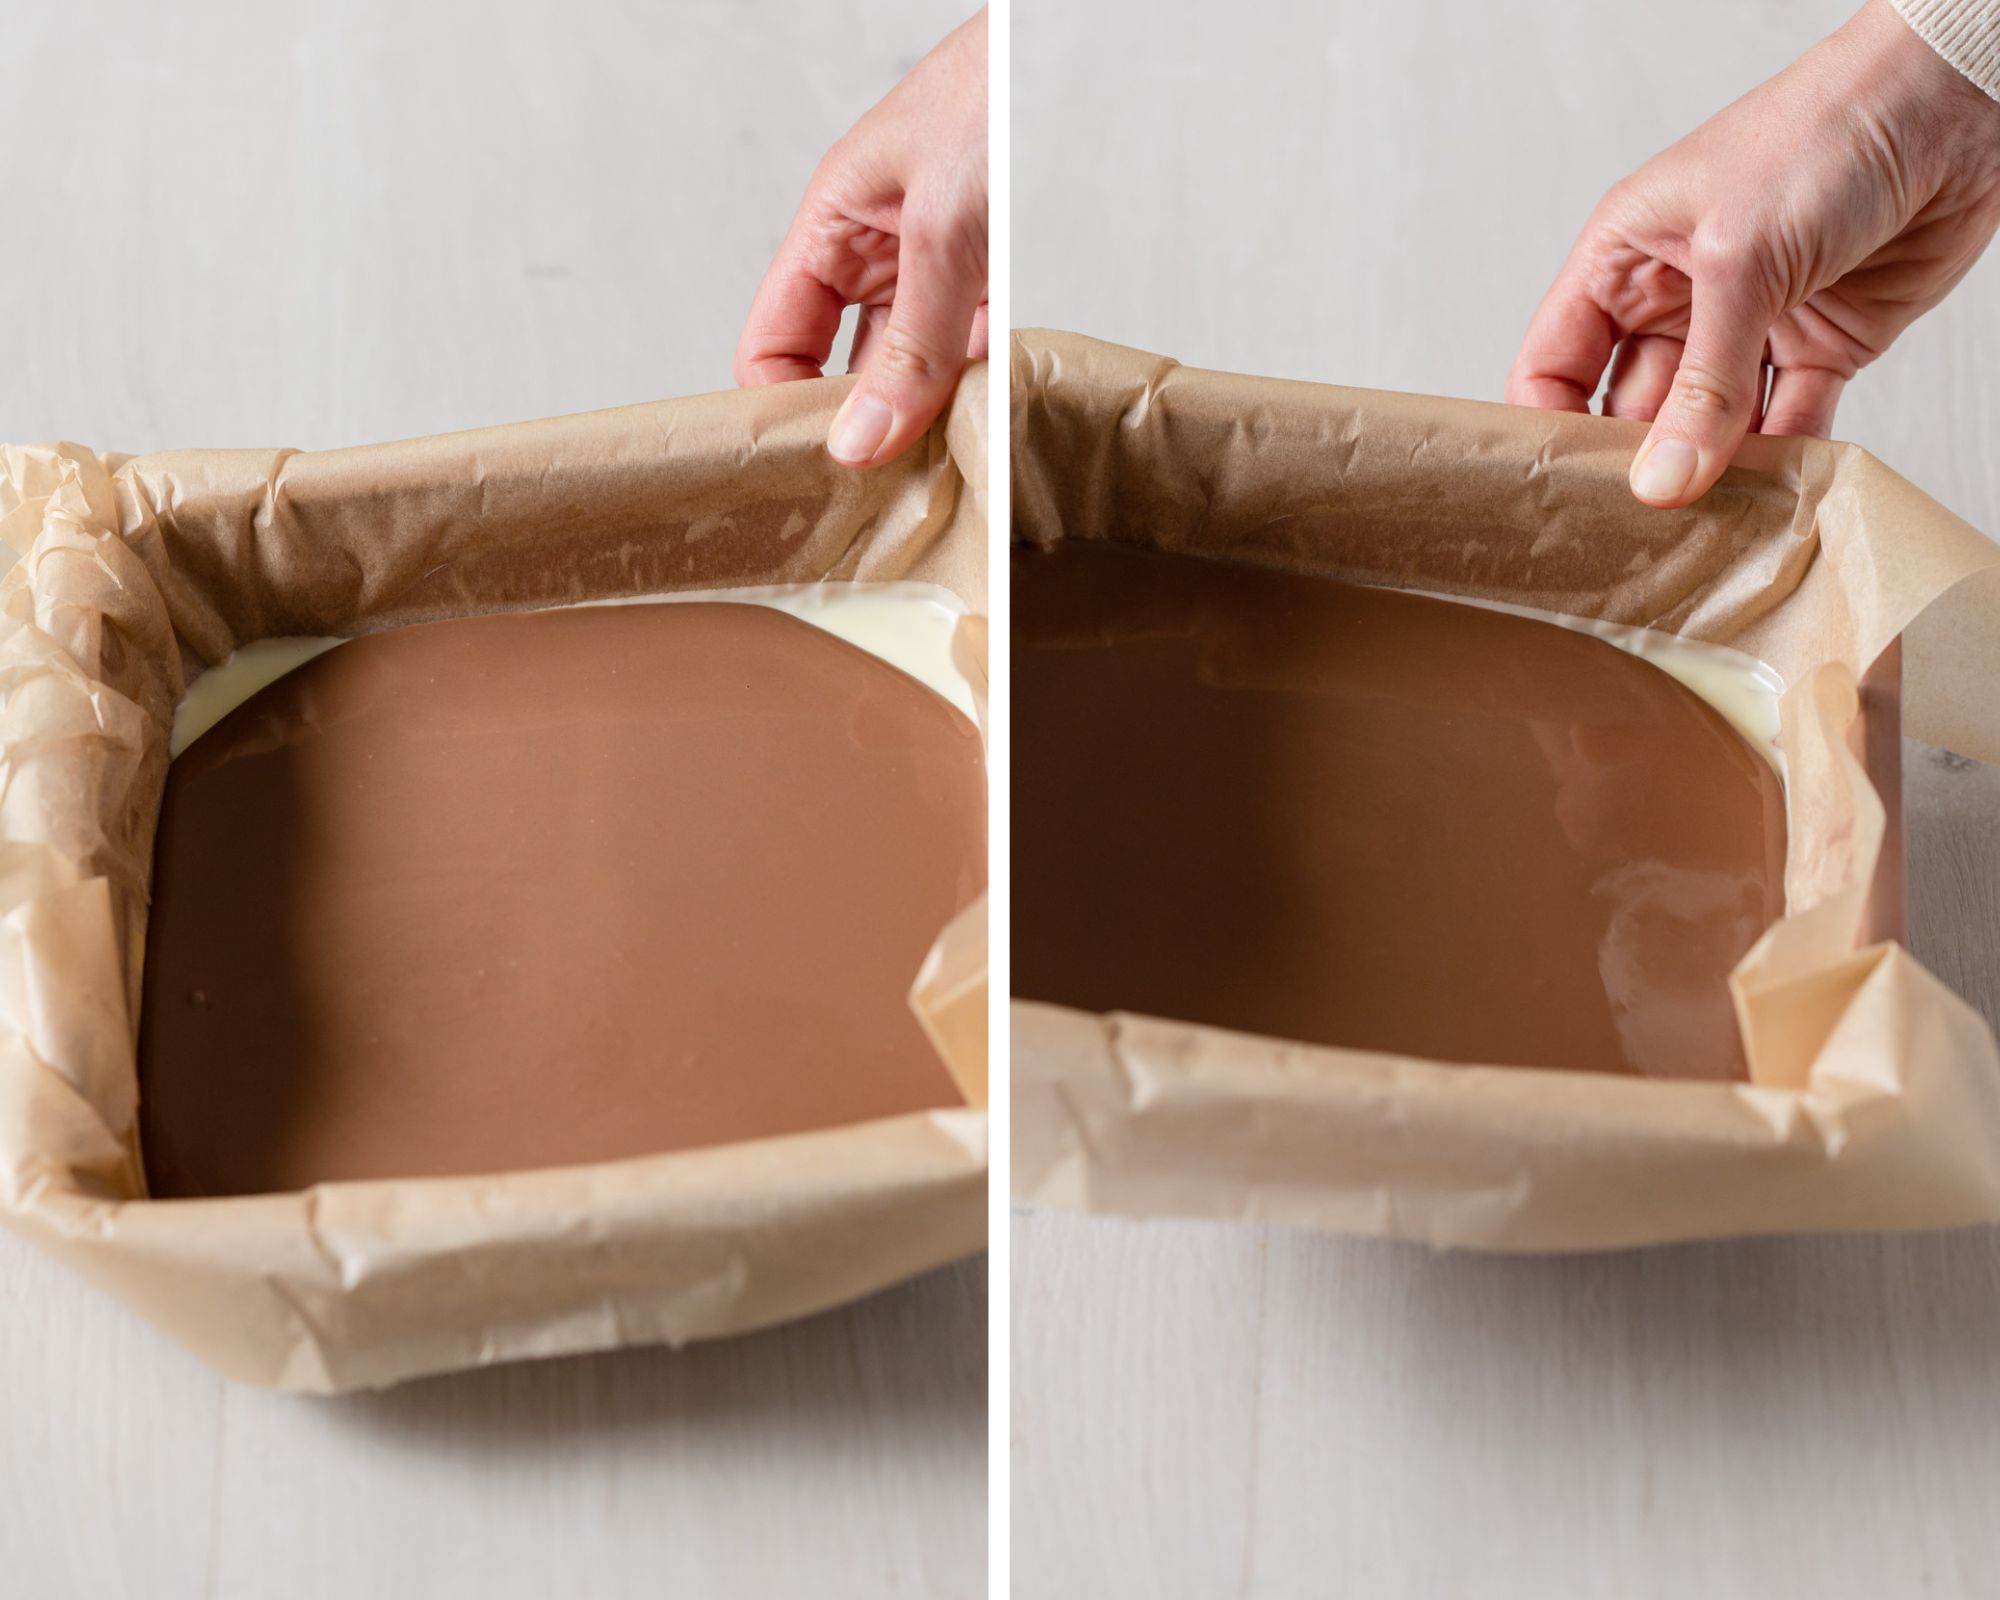
Step five: Remove the white chocolate from the refrigerator and pour all of the melted milk chocolate over the first white chocolate layer.
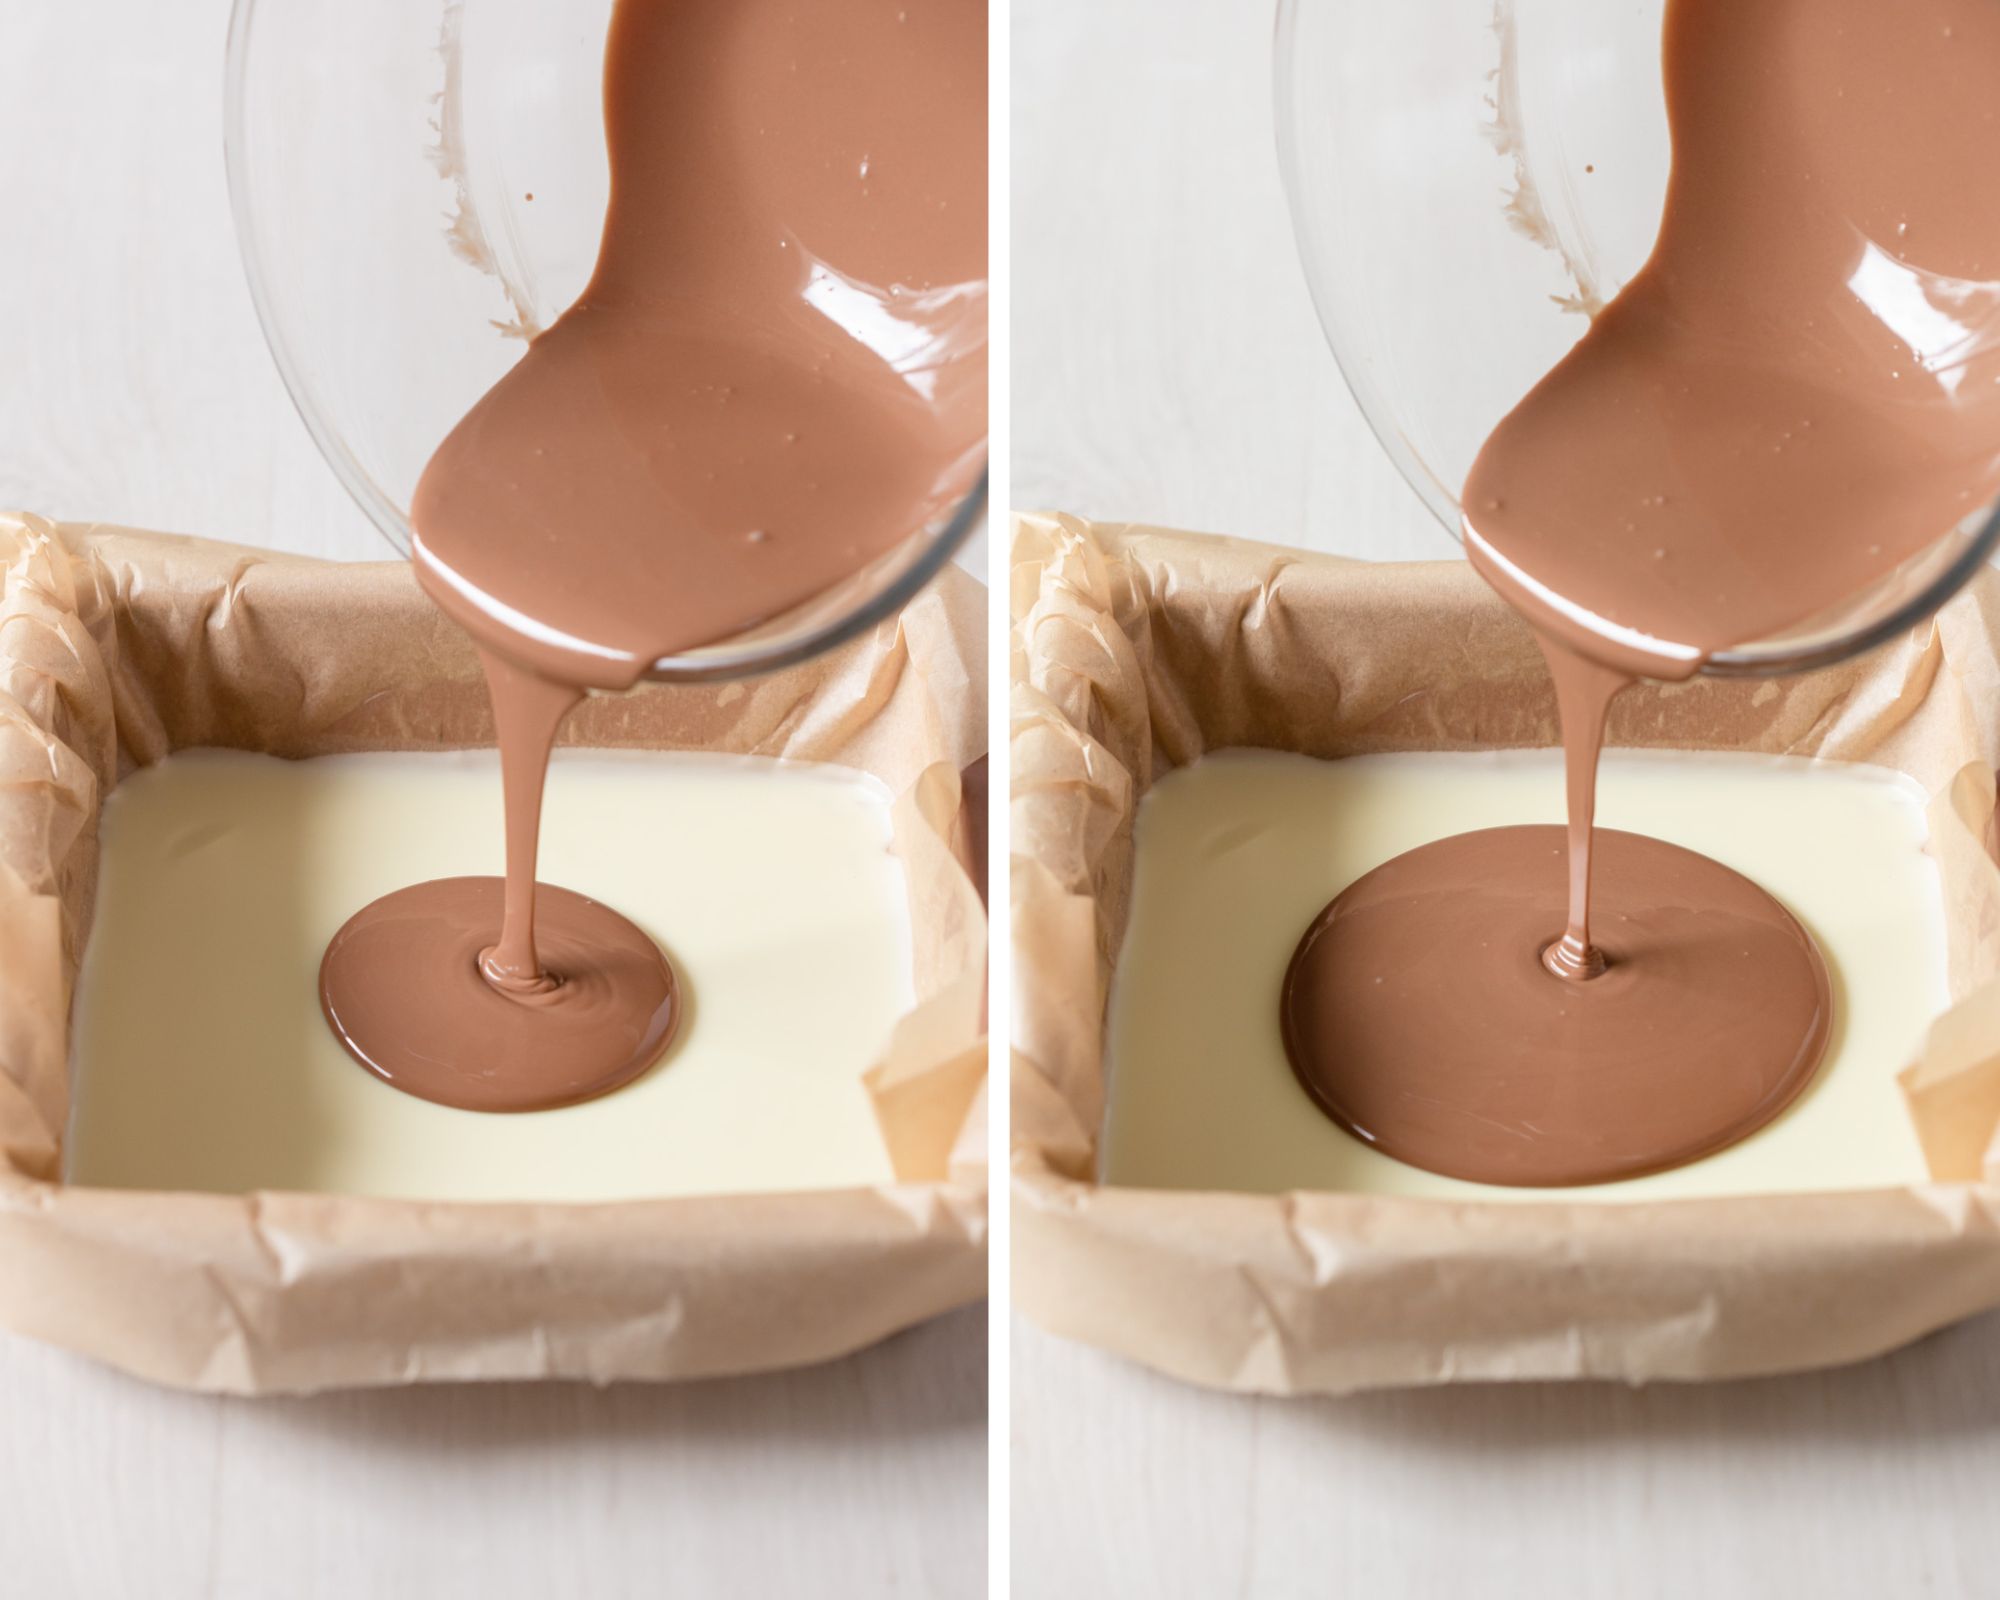
Step six: Move the pan around with your hands to spread the chocolate out evenly. This is easier and cleaner than using a spatula.
Step seven: Refrigerate for 10-15 minutes or until milk chocolate is just set to the touch, not runny, and not completely hardened. The milk chocolate layer will take longer to set than the white.
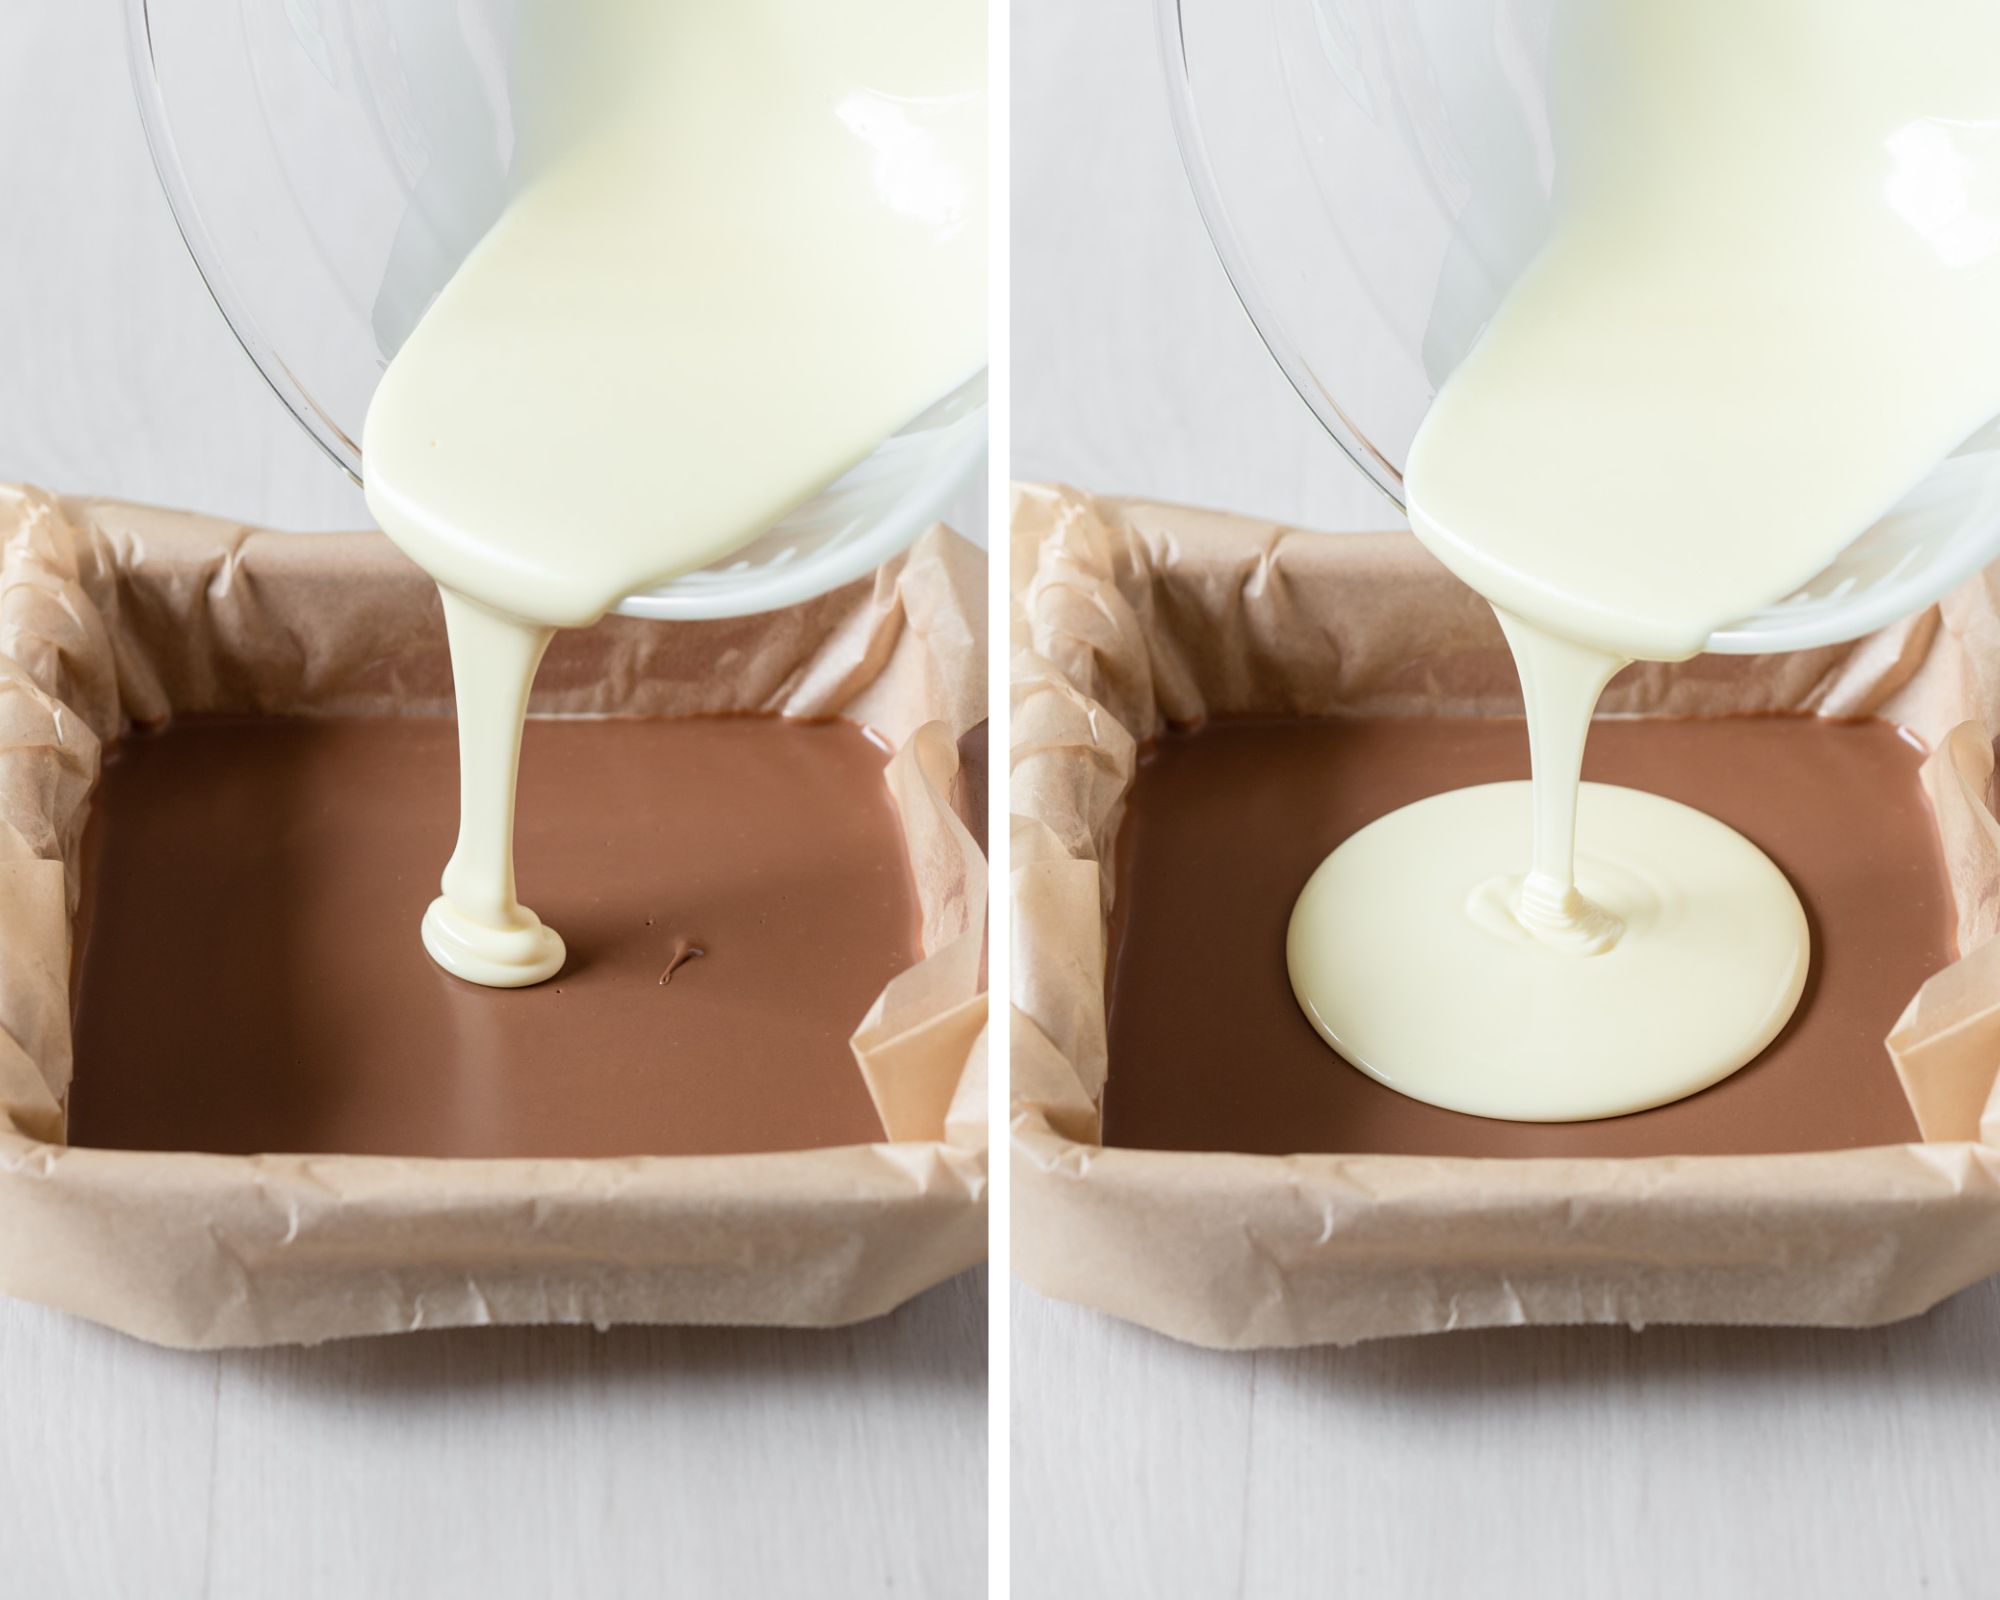
Step eight: Remove from refrigerator and pour over remaining white chocolate.
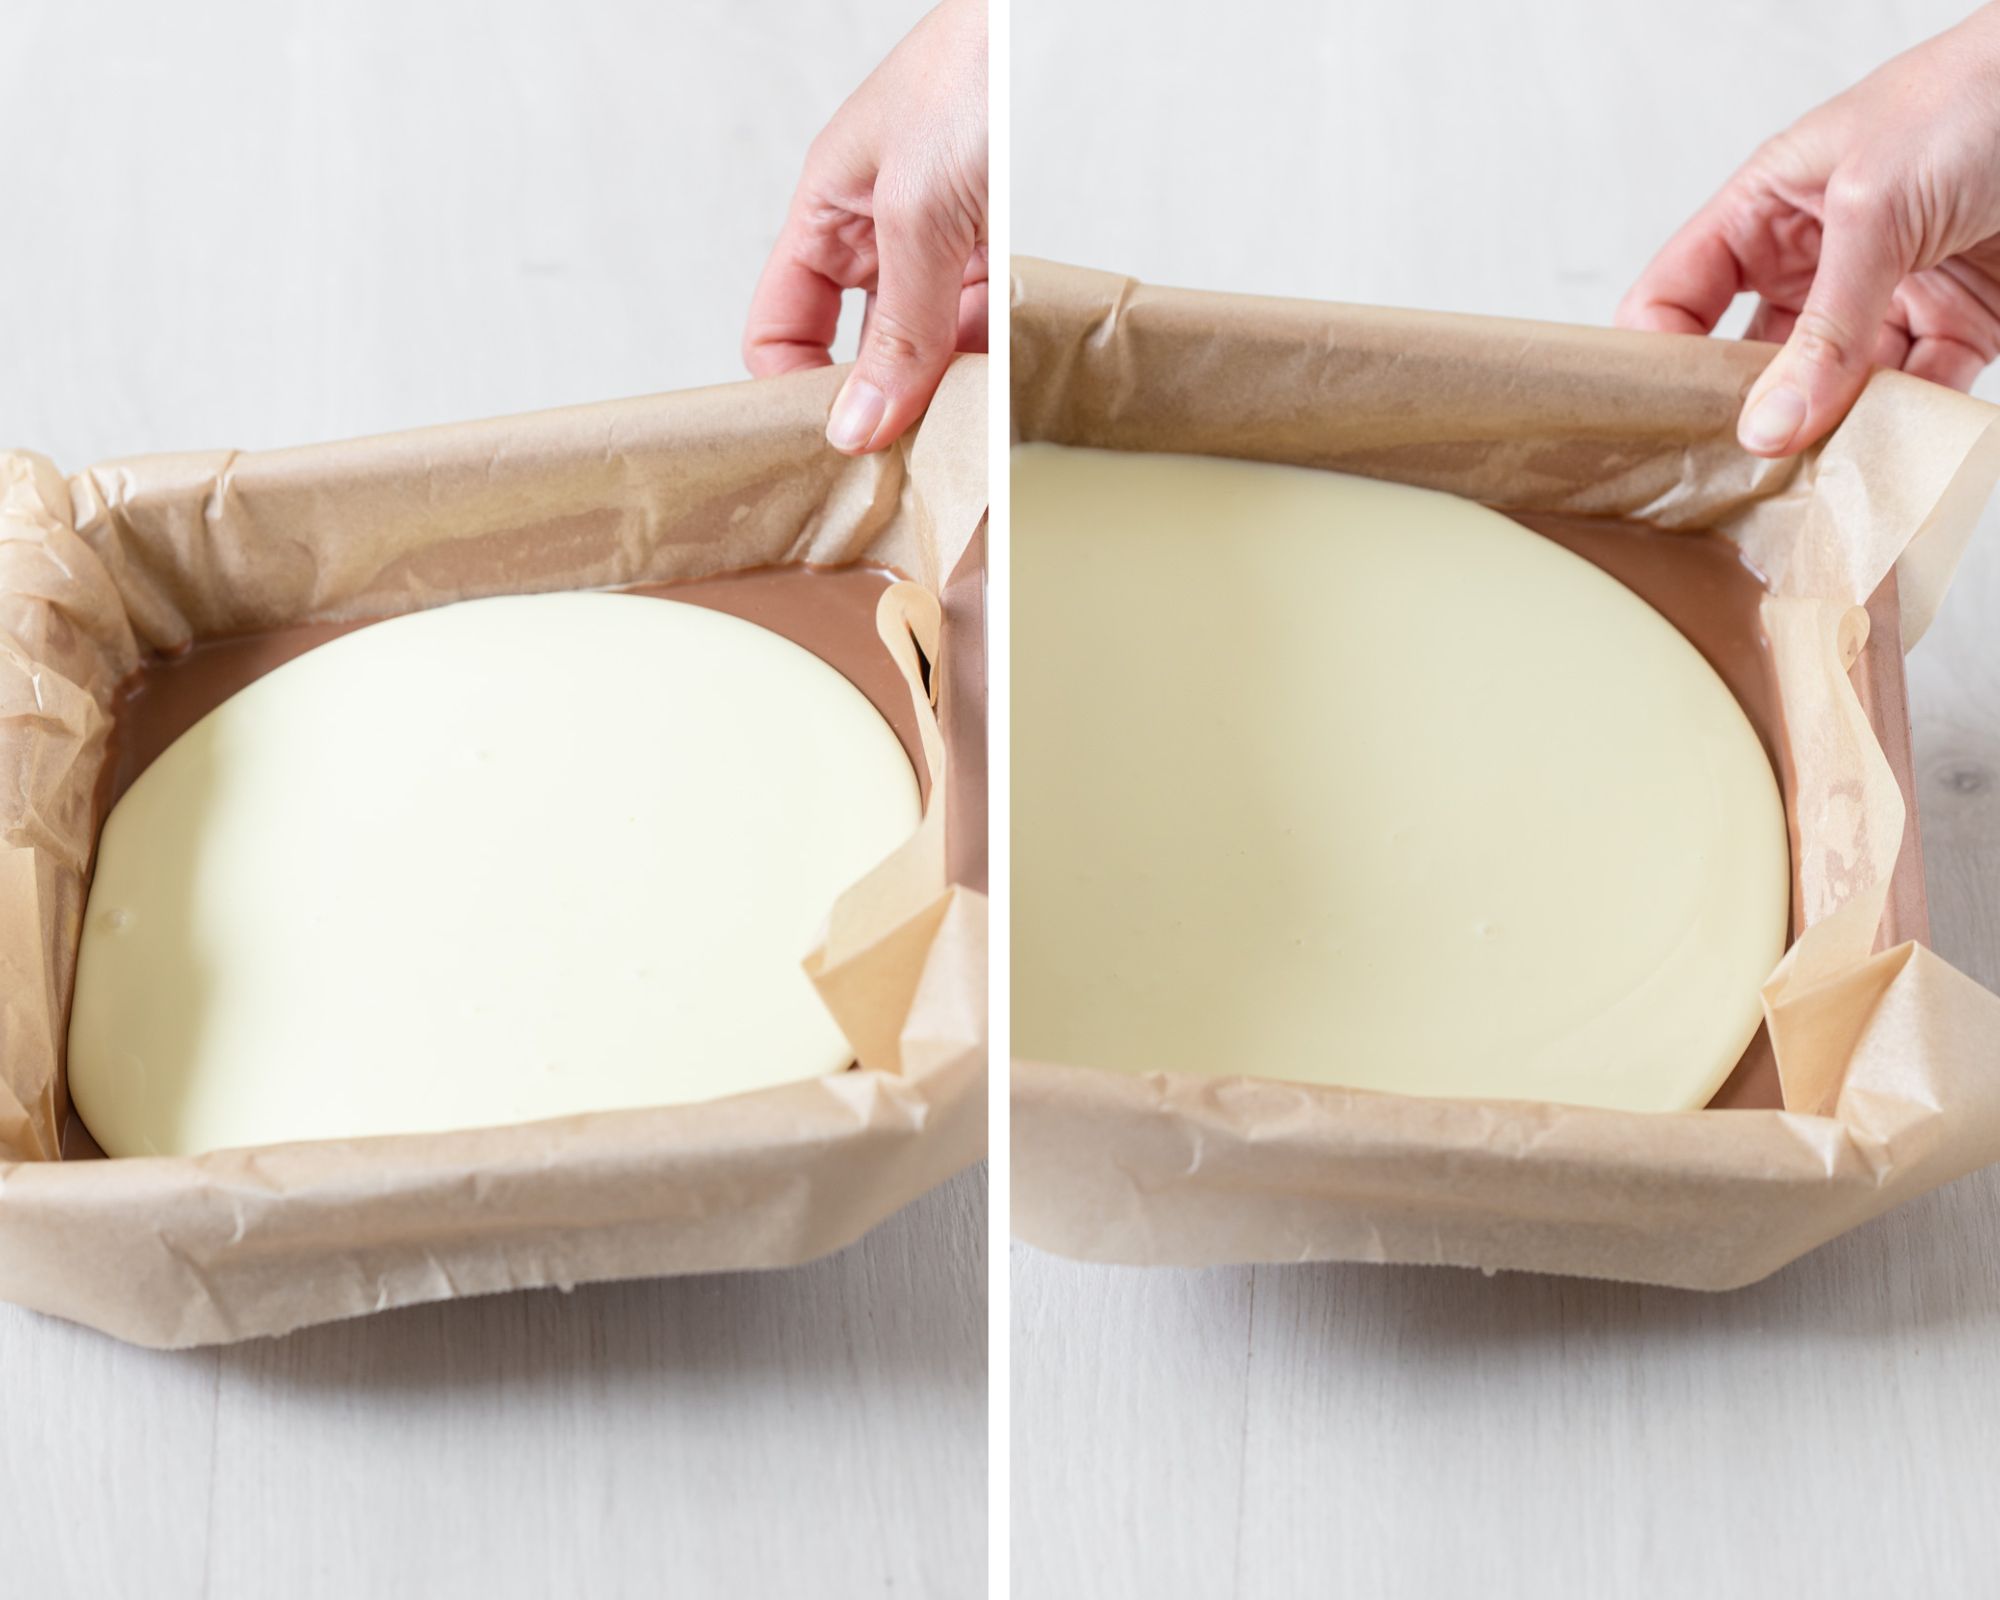
Step nine: Move the pan around with your hands to spread the chocolate out evenly. This is easier and cleaner than using a spatula.
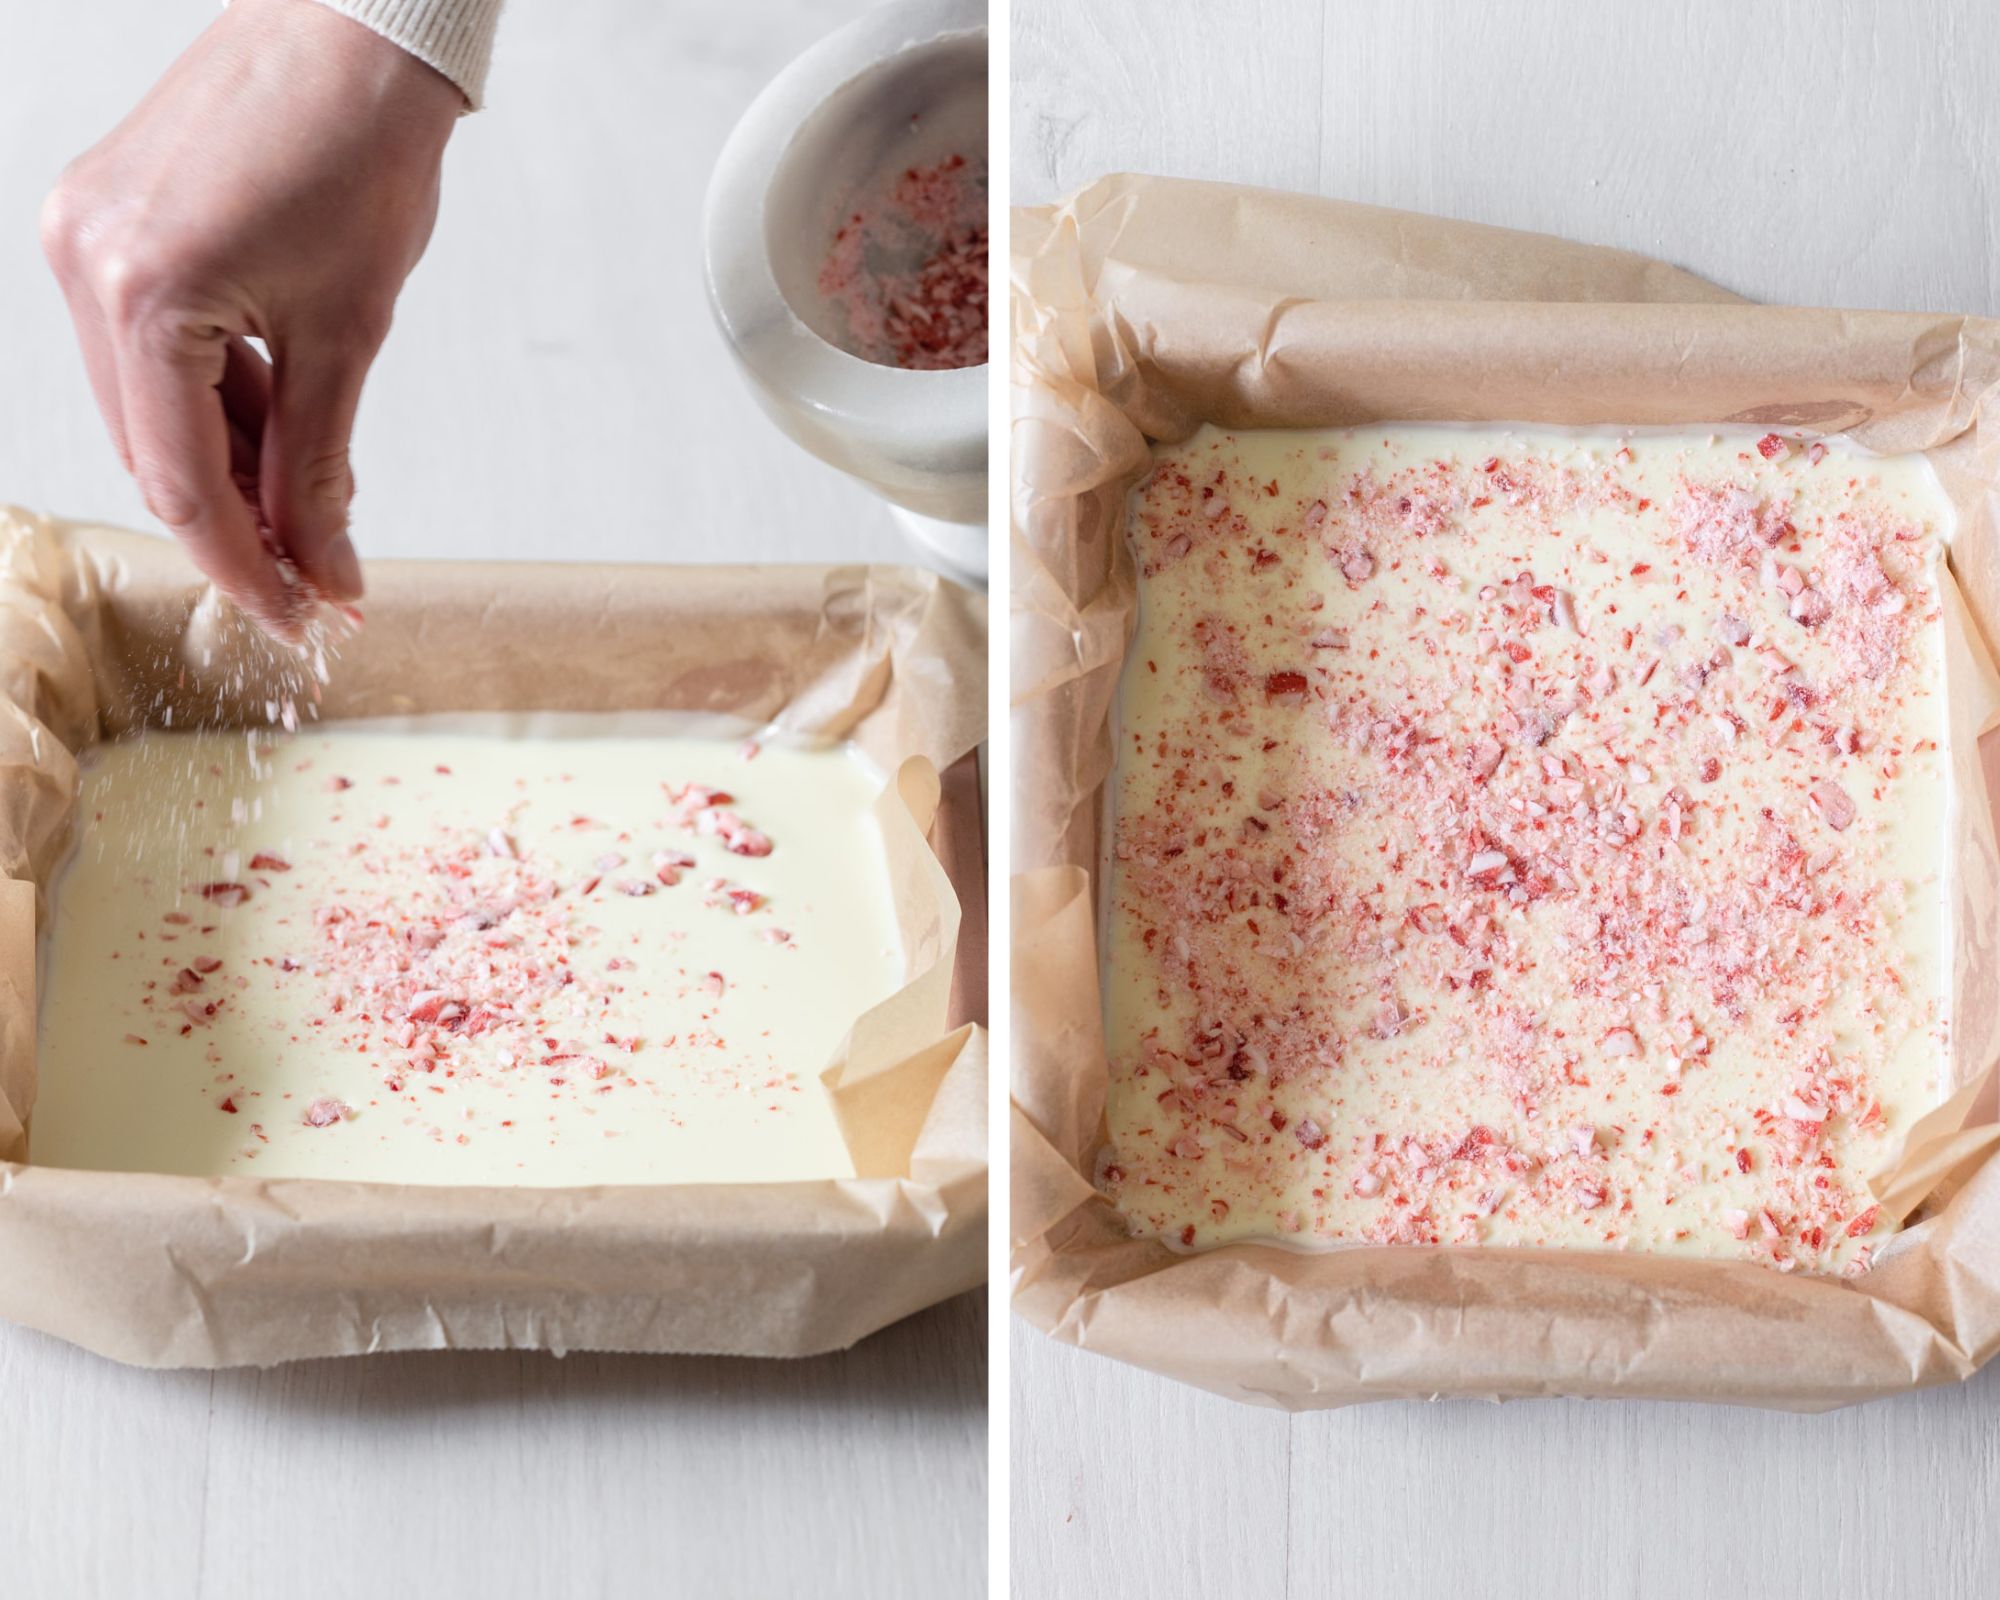
Step ten: Sprinkle over the crushed candy canes. Return to the refrigerator for 1-2 hours or until the chocolate completely set and hardened.
Step eleven: Remove from fridge and allow it to sit at room temperature for 5 minutes. Take a sharp knife and run it under hot tap water for a few seconds, wipe it dry and slice the bark into bars or random pieces. Serve and enjoy!
💭 Tips For Recipe Success
- When melting your chocolate, avoid droplets of water from the simmering water underneath getting into the chocolate. Any amount of water that accidentally gets into the chocolate will cause it to seize.
- Stir through the peppermint extract after the chocolate has melted.
- After pouring the chocolate into the tin, move the tin around with your hands to spread the chocolate evenly, it’s easier and cleaner than using a spatula.
- Chill each chocolate layer until it’s just set to the touch, not hardened and not soft that your finger picks some of it up. This ensures each layer will stick together but not melt into one another.
- To cut the bark, run your knife under hot water for a few seconds, wipe it dry, and then cut it. This helps to slice through the chocolate easier and to prevent it from cracking.
⏲️ Storage Instructions
Store chocolate bark in an airtight container, refrigerated or at room temperature for 1 week. It can last longer than a week, if not devoured first!
To elaborate on whether this bark should be stored in the fridge or at room temperature, it depends on the weather and your preference.
The experts from Cadbury recommend that chocolate be kept in a cool dry place such as a cupboard or your pantry.
If it’s summer or spring and humid in your home, it’s best to keep it in the fridge to avoid it melting.
As someone who prefers her chocolate to be cold and from the fridge (omg alert the authorities!) the debate of whether chocolate should be refrigerated or not is deeply personal.
With this particular bark recipe, I’ve had zero issues keeping it in the fridge. It’s worth noting I do reside in Australia where Christmas falls during Summer and it’s hot inside!
💬 Recipe FAQ’s
This chocolate bark will keep in an airtight container, refrigerated, or in the cupboard for a week, minimum. It does last longer, depending on how it’s stored and it doesn’t melt or soften too much in humid temperatures.
Nope! You can substitute them with another candy or leave them off if you prefer.
If you enjoy this recipe, please consider leaving a ⭐️ star rating and a comment review below. I love to hear what you think and it’s much appreciated. Thank you! Your email address will not be published. Sam x

Peppermint Chocolate Candy Cane Bark
Ingredients
White Chocolate
- 400 g block white chocolate, broken into squares
- 2 tsp coconut oil
- 1/2 tsp peppermint extract, or 4-6 drops pure essential oil
Milk Chocolate
- 200 g block milk chocolate, broken into squares
- 1 tsp coconut oil
Topping
- 2 peppermint candy canes, crushed
Instructions
- Line a 9 x 9 inch (22cm x 22cm) square baking tin with parchment paper and set aside. NOTE: I like to grease mine with butter and stick the parchment paper to it so it's kept in place.
- To easily crush candy canes, use a mortar and pestle or crush them in a zip-lock bag and roll a rolling pin over them until crushed.
White Chocolate
- Prepare a double boiler by placing a heat-proof mixing bowl over a small/medium-sized pot of simmering water.
- Place broken-up white chocolate and coconut oil into the bowl and gently melt over low heat until completely melted and smooth, stirring occasionally with a rubber spatula.
Milk Chocolate
- While white chocolate is melting, use the same above method in a separate mixing bowl and double boiler and melt milk chocolate and coconut oil until smooth, stirring occasionally with a rubber spatula.
- Once both white and milk chocolate are melted, turn off heat.
- Stir peppermint extract through the white chocolate only.
Assemble
- Pour half of the melted white chocolate into the lined tin. Move the tin around to spread the chocolate out evenly.
- Refrigerate for 5-10 minutes or until it’s just set to the touch. Not runny and not completely hardened.
- Remove white chocolate from refrigerator.
- Pour all of the melted milk chocolate over the white chocolate.
- Move the tin around with your hands to spread the chocolate out evenly. This is easier and cleaner than using a spatula.
- Refrigerate for 10-15 minutes or until milk chocolate is just set to the touch, not runny and not completely hardened. The milk chocolate layer will take longer to set than the white.
- Remove from refrigerator and pour over remaining white chocolate.
- Move the tin around with your hands to spread the chocolate evenly.
- Sprinkle over crushed candy canes.
- Return to refrigerator for 1-2 hours or until completely set.
- Remove from fridge and sit at room temperature for 5 minutes.
- Take a sharp knife and run it under hot tap water for a few seconds, wipe it dry and slice the bark into bars or random pieces.
- Serve and enjoy!
- Store bark in an air-tight container, refrigerated, for 1 week.
Notes
- When melting your chocolate, avoid droplets of water from the simmering water underneath getting into the chocolate. Any amount of water that accidentally gets into the chocolate will cause it to seize.
- After pouring the chocolate into the tin, move the tin around with your hands to spread the chocolate evenly, it’s easier and cleaner than using a spatula.
- Chill each chocolate layer until it’s just set to the touch, not hardened and not soft that your finger picks some of it up. This ensures each layer will stick together but not melt into one another.
- Store chocolate bark in an airtight container, refrigerated or at room temperature for 1 week. It can last longer than a week, if not devoured first!
- To elaborate on whether this bark should be stored in the fridge or at room temperature, it depends on the weather and your preference.
