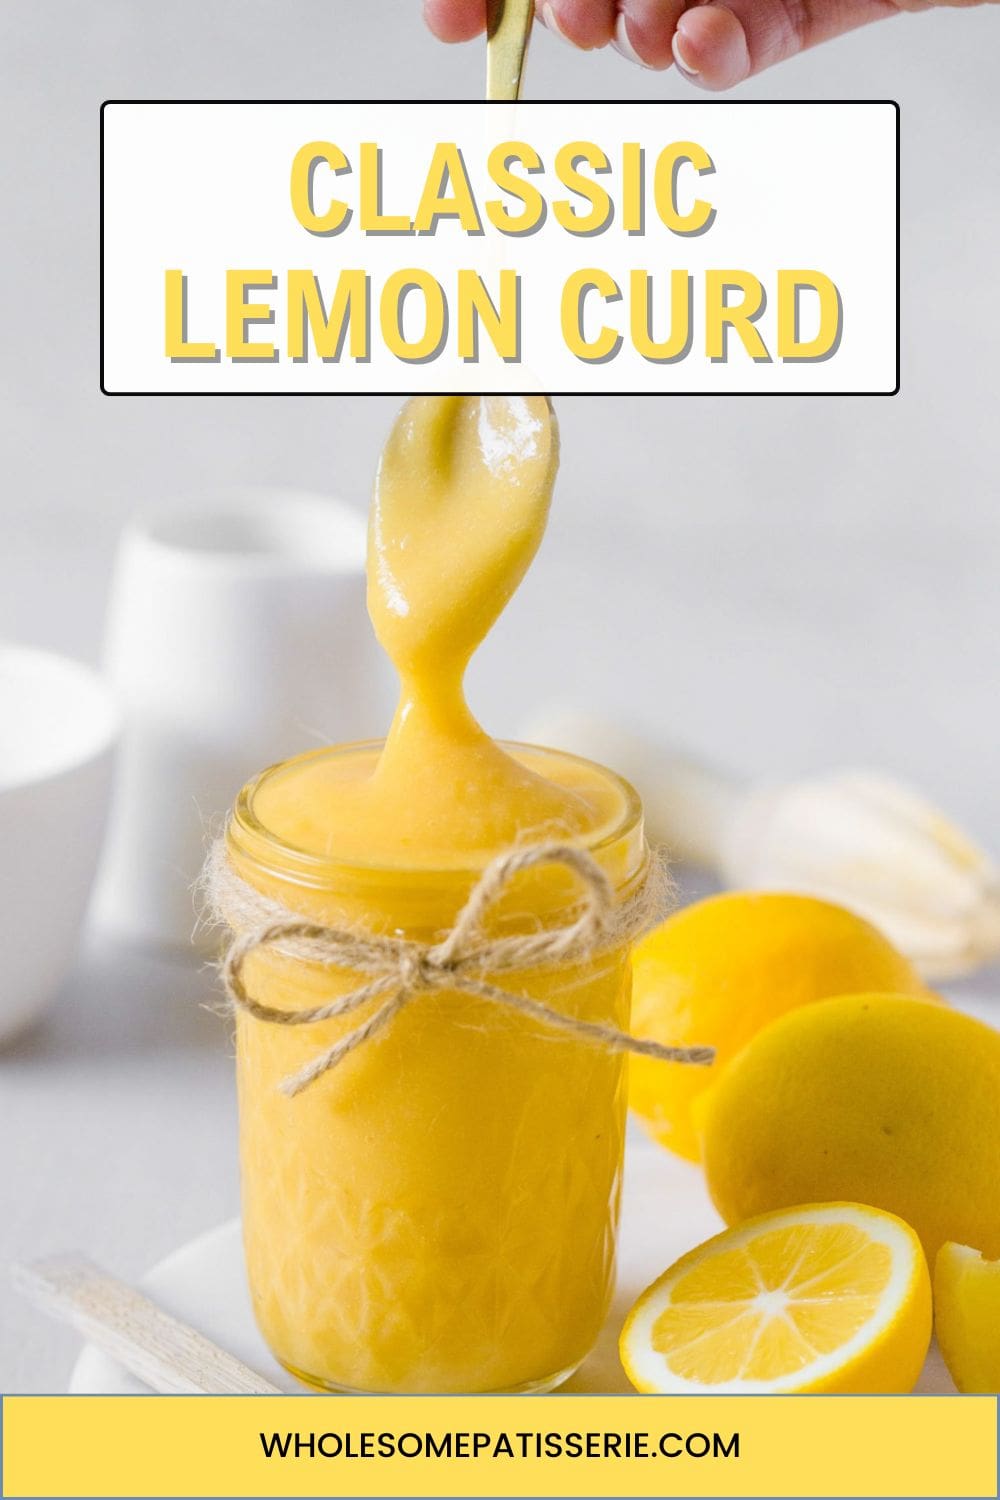
Classic Lemon Curd Recipe
Interested in making your own homemade lemon curd? You’ll love this Classic Lemon Curd Recipe! With just five kitchen-friendly ingredients, you can create a batch of this thick and creamy lemon curd!


Classic Lemon Curd Recipe
Ingredients
Method
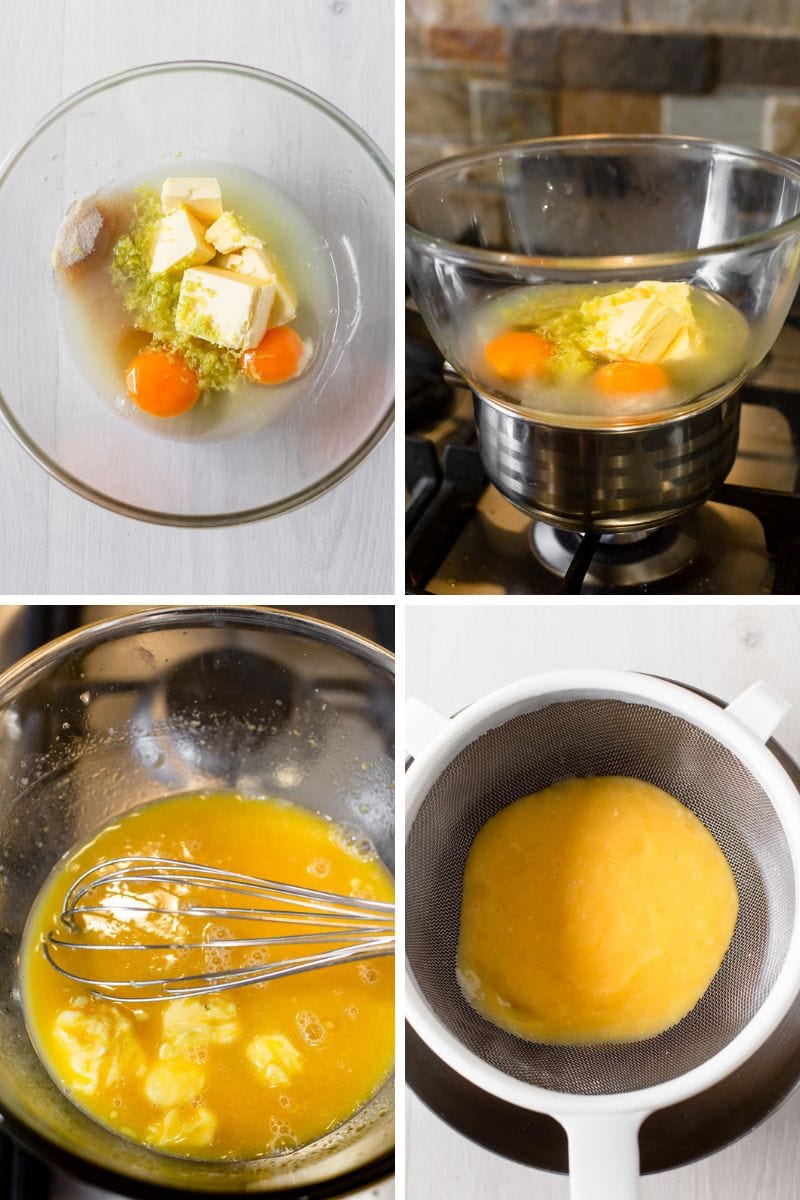
- Combine Ingredients in Bowl: In a medium-sized heat-proof mixing bowl, add all lemon curd ingredients.
- Prepare Double Boiler: Fill a pot with 1-2 inches of water and bring to a boil over high heat. Reduce to low to maintain a simmer. Place the bowl with the ingredients on top of the pot, ensuring the bowl does not touch the water.
- Cook the Mixture: Whisk ingredients together using a metal or silicone whisk. Continue whisking over simmering water for 10-14 minutes until mixture becomes thick. Whisk continuously to avoid the eggs curdling.
- Monitor Consistency: Whisk continuously until the curd thickens enough to coat the back of a wooden spoon. If it remains thin after 10 minutes, increase the heat slightly and keep whisking until it reaches the desired thickness.
- Strain and Cool: Pour the lemon curd through a fine mesh sieve into a clean bowl, pressing with a spatula to remove solids. Cover with plastic wrap directly on the curd to prevent skinning and refrigerate for 2-3 hours until thickened.
- Store: Pour into a glass jar or Tupperware container, with an airtight lid. Store in refrigerator for 1 week – 10 days.
Nutrition
Notes
- Refrigeration: Store lemon curd in an airtight container or glass jar in the refrigerator for up to 2 weeks.
- Freezing: Lemon curd can also be frozen for up to 3 months. Place it in an airtight container, leaving a little headspace for expansion. Thaw overnight to soften in the refrigerator before using.
Tried this recipe?
Let us know how it was!First published in 2021, this recipe was updated in May 2024 to include new information and easier to follow method steps in the recipe card. No ingredients have been changed.
Best Lemon Curd Recipes
Lemon Curd Shortbread combines buttery shortbread with tangy lemon curd, offering a delightful contrast that’s perfect for a luxurious treat or a special tea-time snack.
Lemon Curd Cake is moist and flavorful, layered with rich lemon curd that infuses each bite with a vibrant, citrusy zest, ideal for celebrations or everyday indulgence.
Easy Lemon Curd and Jam Tarts feature a simple, scrumptious combination of sweet jam and tangy lemon curd in a crisp tart shell, making them a colorful and tasty choice for dessert spreads or casual gatherings.
Lemon Curd Recipe
Discover the joy of making your own classic lemon curd at home. With just five simple ingredients, you can create a batch of this thick, creamy, and tangy condiment that’s perfect for enhancing a variety of dishes.
From filling tarts, shortbread, and cupcakes to spreading on freshly baked scones or bread, homemade lemon curd brings a burst of fresh lemon flavor that’s incomparable to store-bought versions!
What is Lemon Curd?
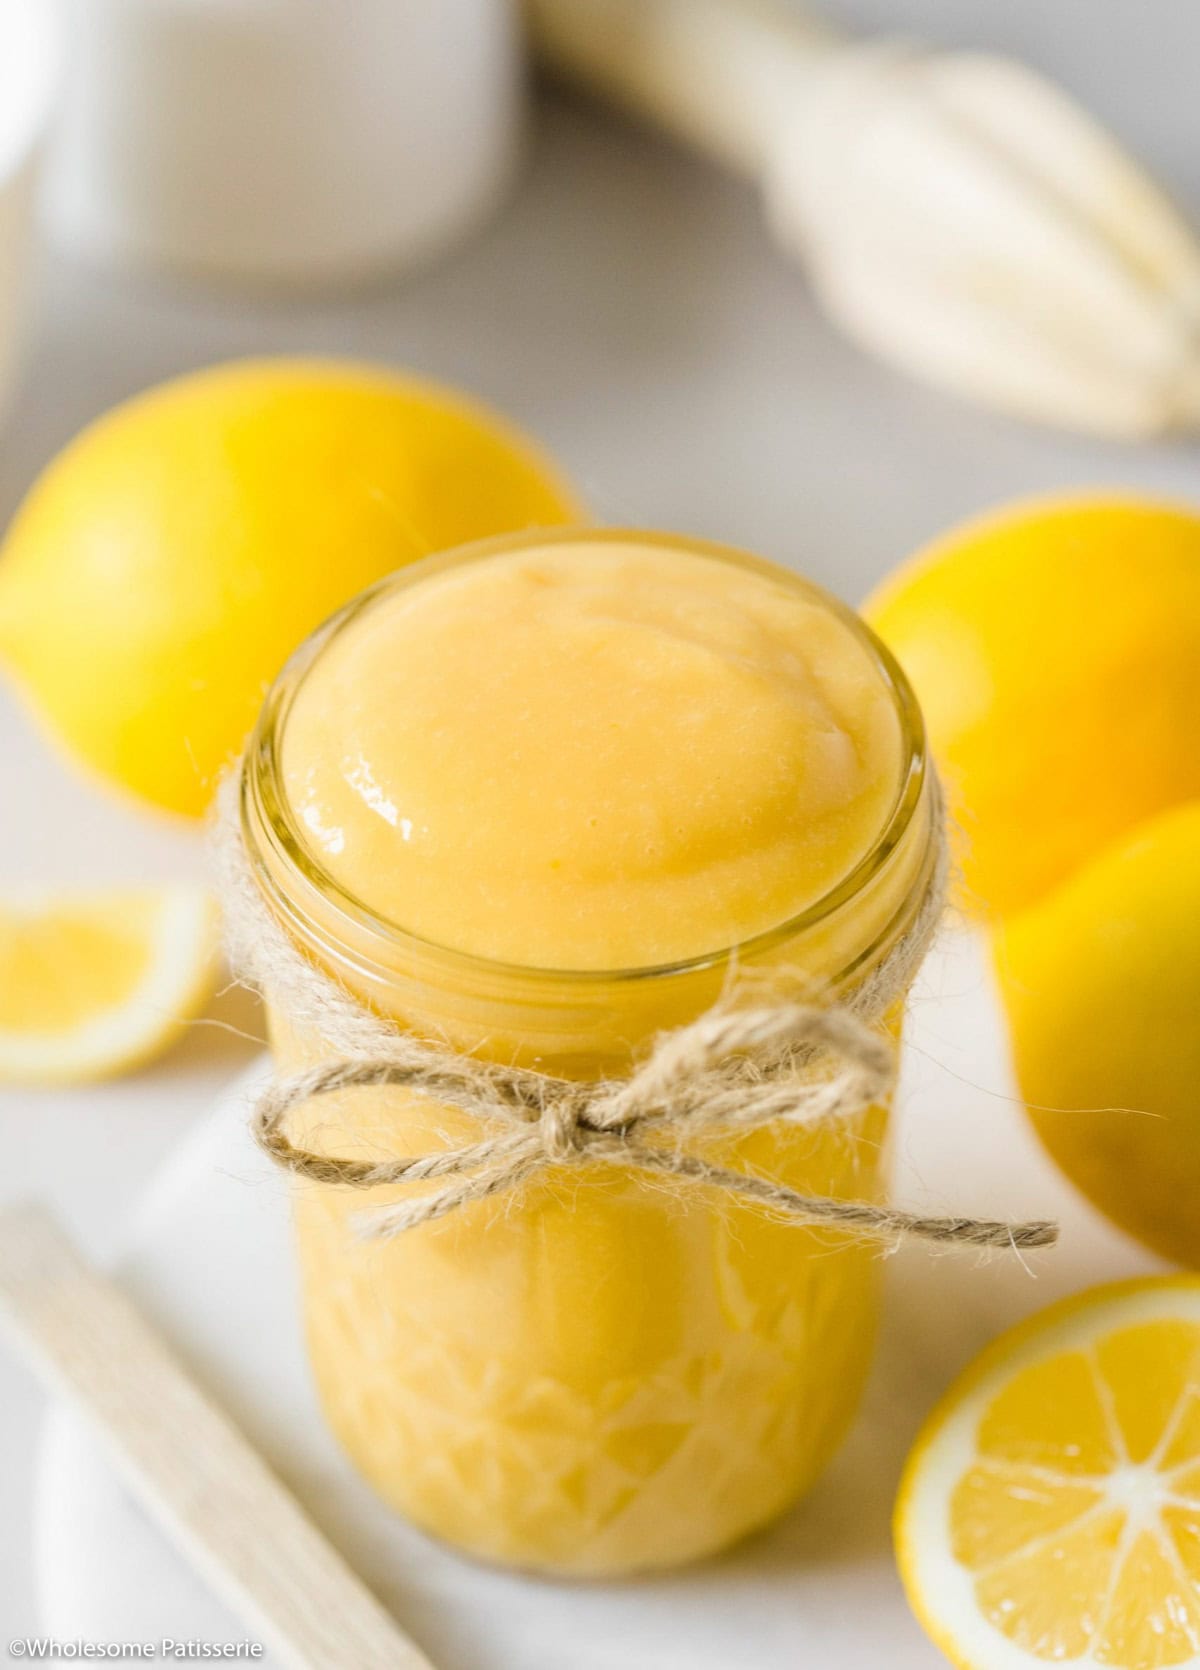
Lemon curd is a thick, creamy, and intensely flavored spread made primarily from lemon juice, sugar, eggs, and butter.
It has a bright, tangy taste and a smooth texture, making it a popular filling for pastries, cakes, and tarts, as well as a delicious topping for toast and scones.
Where to Find Lemon Curd in the Grocery Store?
Lemon curd can typically be found in the condiment aisle of the grocery store, near other spreads such as jams and jellies. It may also be located in the baking aisle alongside pie fillings and other dessert ingredients.
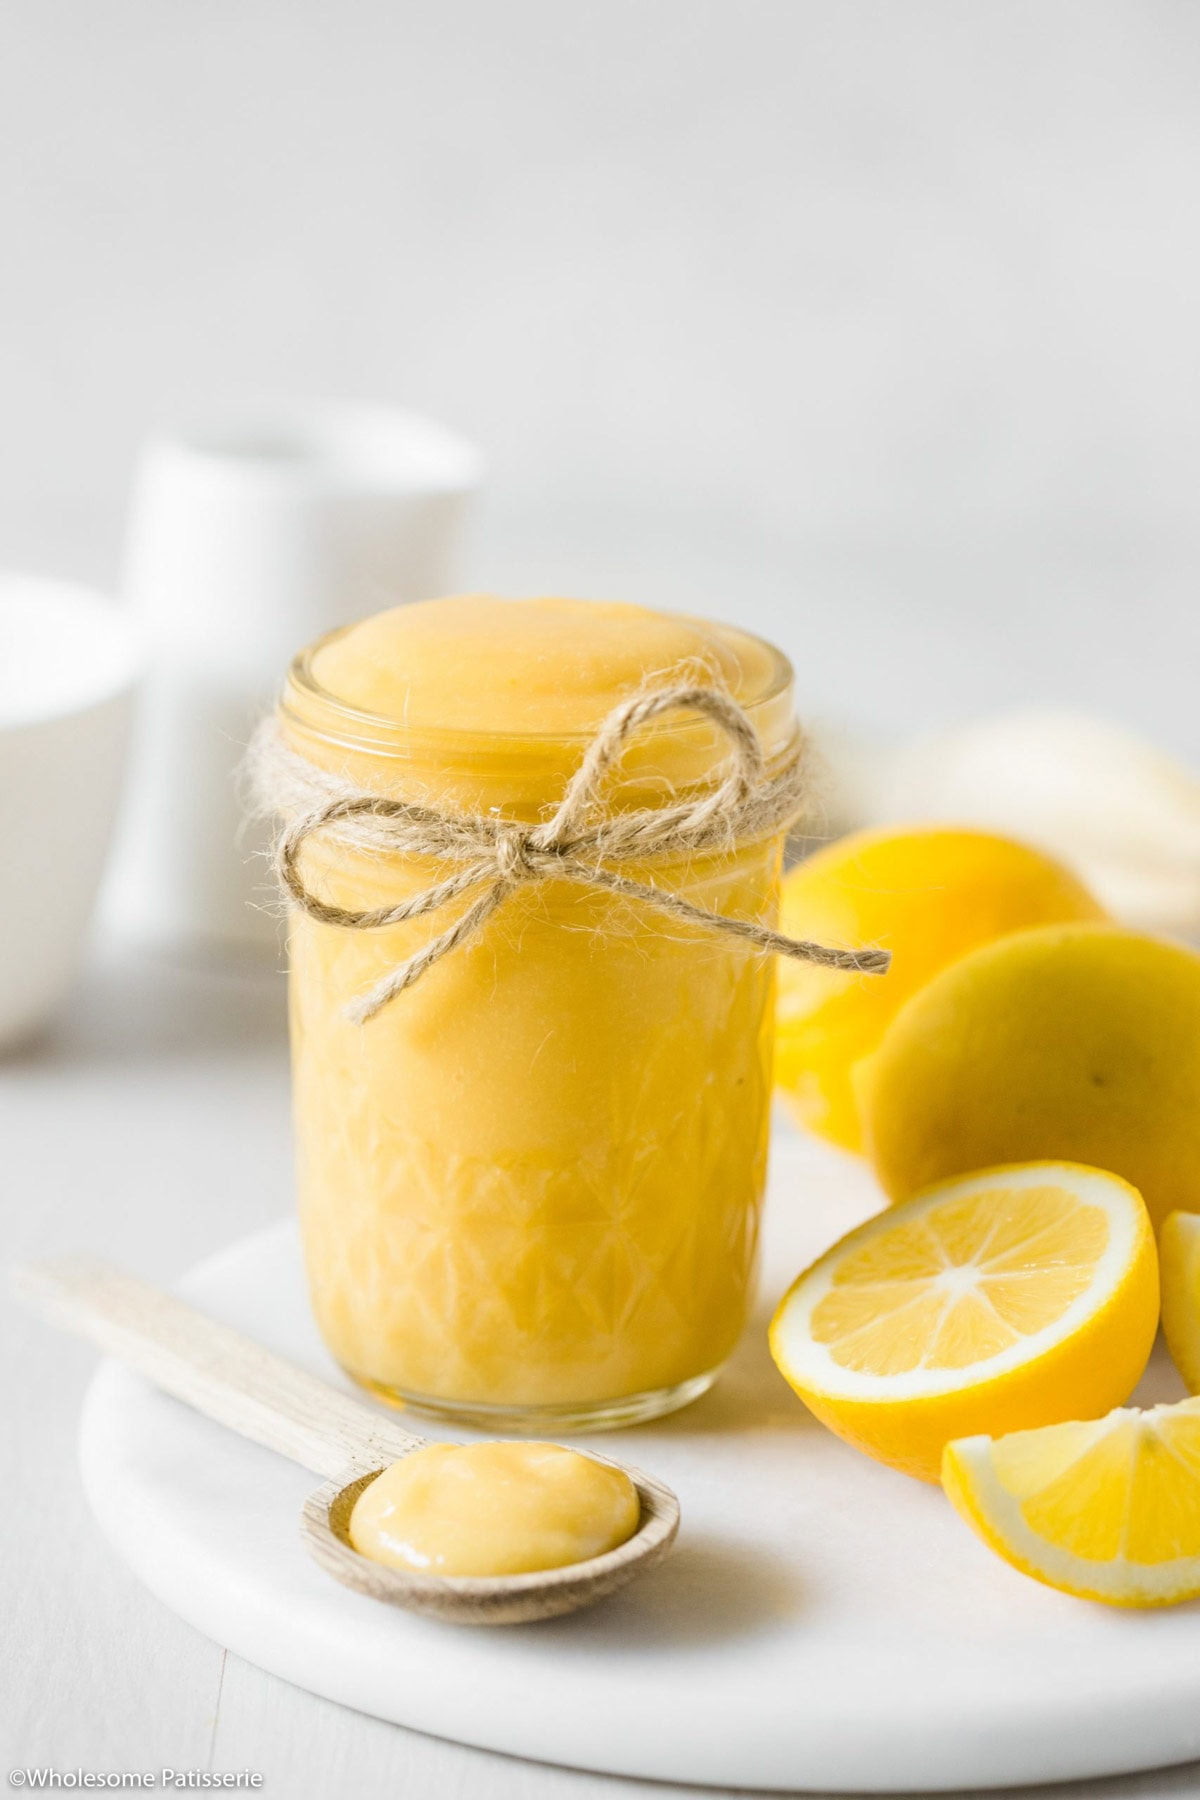
How Thick Should Lemon Curd Be?
Lemon curd should be thick enough to hold its shape well, with a consistency similar to that of a soft pudding or hollandaise sauce. It should coat the back of a spoon and allow you to draw a line through it with your finger, without the curd running back over the line.

Expert Tips
- Measure your baking ingredients accurately: Check out my helpful guide on how to measure basic ingredients.
- Use Fresh Lemons: For the best flavor, use fresh lemons rather than bottled lemon juice. Fresh lemon zest adds a bright, aromatic quality to the curd.
- Constant Whisking: Keep whisking the mixture continuously while cooking to prevent the eggs from scrambling and to ensure a smooth, creamy texture.
- Control the Heat: Cook the lemon curd over a gentle heat to avoid overheating, which can cause the mixture to curdle. A double boiler is ideal as it provides gentle, indirect heat.
- Strain for Smoothness: After cooking, strain the curd through a fine-mesh sieve to remove any bits of cooked egg or extra zest. This step ensures a perfectly smooth texture.
- Proper Thickening: Remember that lemon curd will thicken further as it cools. Remove it from the heat when it’s still slightly thinner than you want.
Why Is My Lemon Curd Runny?
Lemon curd can turn out runny if it hasn’t been cooked long enough or at a high enough temperature to allow the eggs to thicken the mixture. Underwhisking can also lead to a runny consistency.
To fix runny lemon curd, return it to the heat and continue whisking until it thickens, or consider adding an extra egg yolk for additional thickening power.
How To Store Lemon Curd
Refrigeration: Store lemon curd in an airtight container or glass jar in the refrigerator for up to 2 weeks.
Freezing: Lemon curd can also be frozen for up to 3 months. Place it in an airtight container, leaving a little headspace for expansion. Thaw overnight to soften in the refrigerator before using.
If you enjoy this recipe, please consider leaving a ⭐️ star rating and a comment review below. I love to hear what you think and it’s much appreciated. Thank you! Your email address will not be published. Sam x