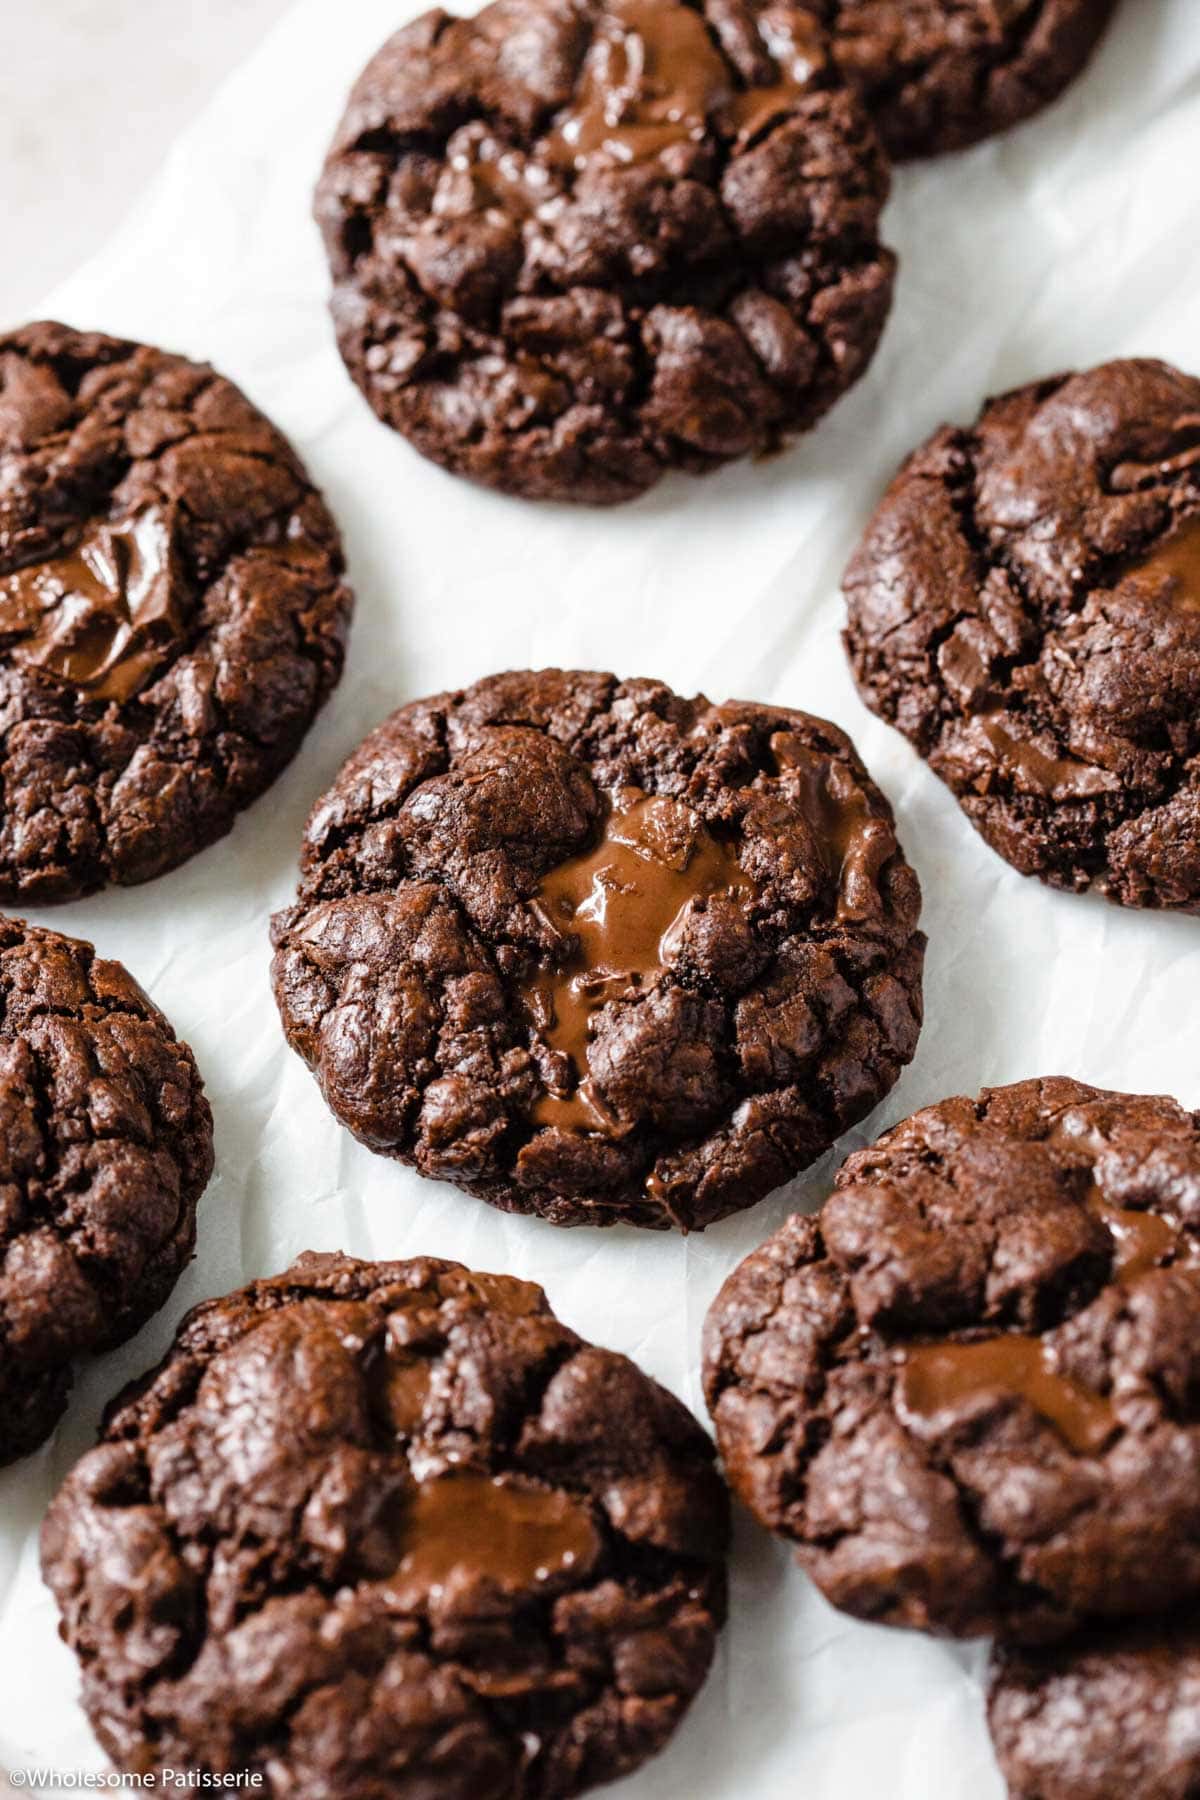
Bakery Style Dark Chocolate Chip Cookies (One Bowl & So Easy!)
Indulge in Bakery Style Dark Chocolate Chip Cookies made with just 9 ingredients, featuring rich Dutch-process cocoa and luscious dark chocolate chips. Made with melted chocolate, cocoa powder, and no chilling required, these soft-baked cookies deliver that deep, rich flavor and café-style texture. Perfect for cookie lovers seeking that authentic bakery taste!
What Readers Are Saying
⭐️⭐️⭐️⭐️⭐️
“Made these last night and wow, they turned out perfect! Rich, chocolatey, and just like something you’d buy from a fancy bakery.” – Ameila

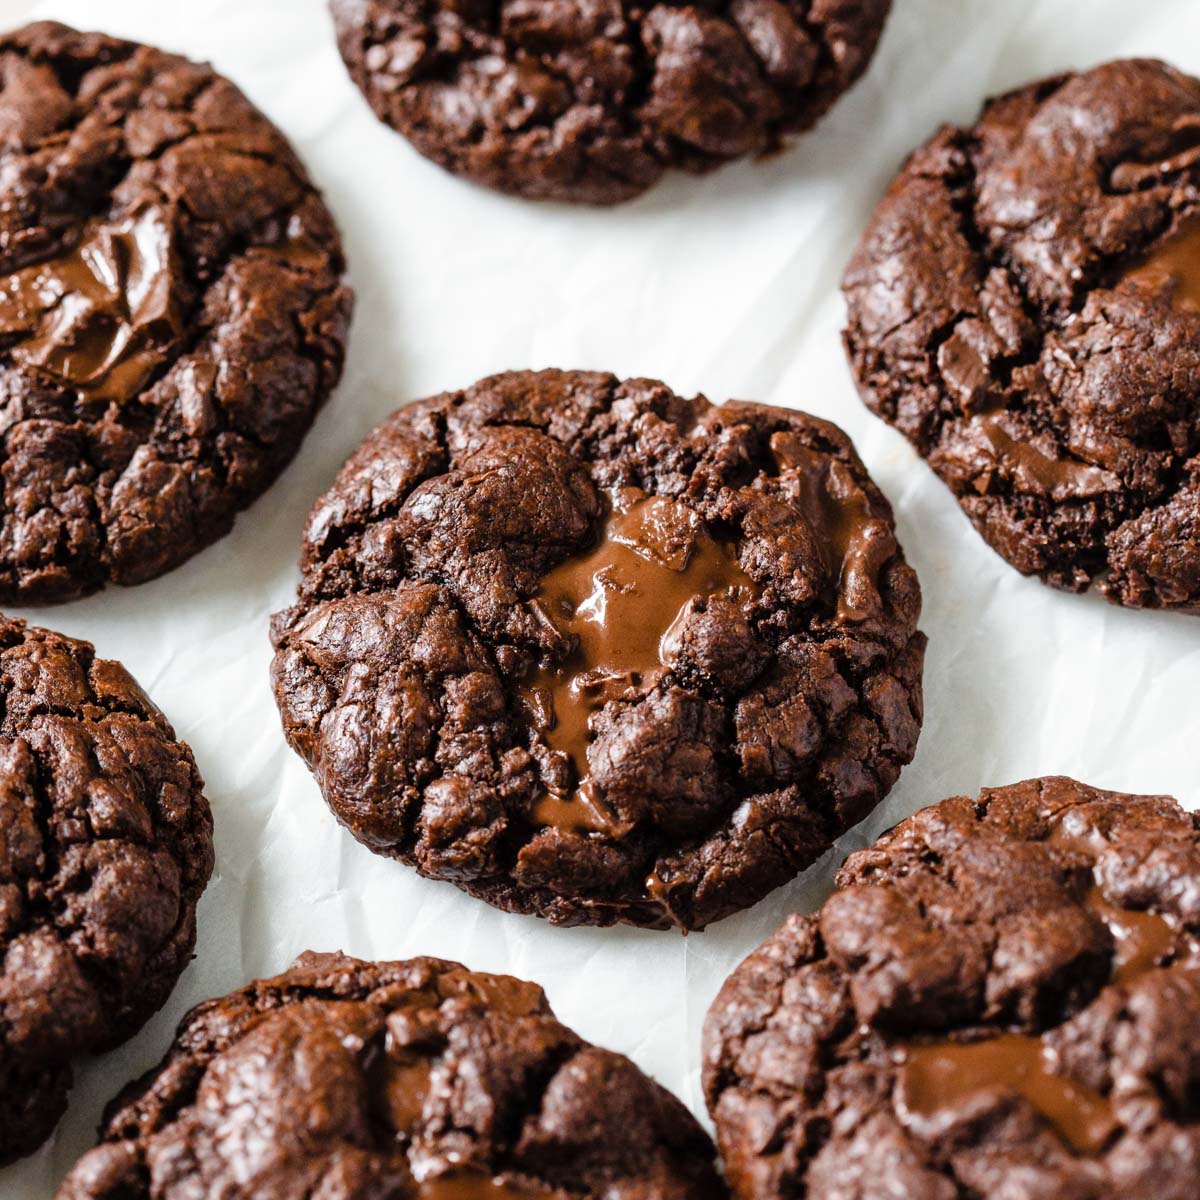
A Dark Chocolate Cookie That Deserves a Bakery Window.
If you’re anything like me and can’t resist a dark, fudgy chocolate cookie with that bakery-style look and feel… you’re going to love these.
I wanted these cookies to feel indulgent, like something you’d grab from your favorite café or boutique bakery. They’re rich, packed with Dutch-process cocoa and real dark chocolate and just the right amount of soft in the center with a delicate crisp edge.
The best part? They’re so easy. One bowl. No chill time. No fuss. Just bold, chocolatey flavor in under 30 minutes. I always get compliments when I bake these, and they’ve quickly become a go-to recipe in my kitchen.
Trust me, once you make these, you’ll understand why they’re one of my all-time favorites. Sam x
Why you’ll love this recipe
If you love bakery-style cookies that are rich, fudgy, and full of deep chocolate flavor, this recipe is for you. These are the kind of cookies you make once and instantly add to your forever favorites list.
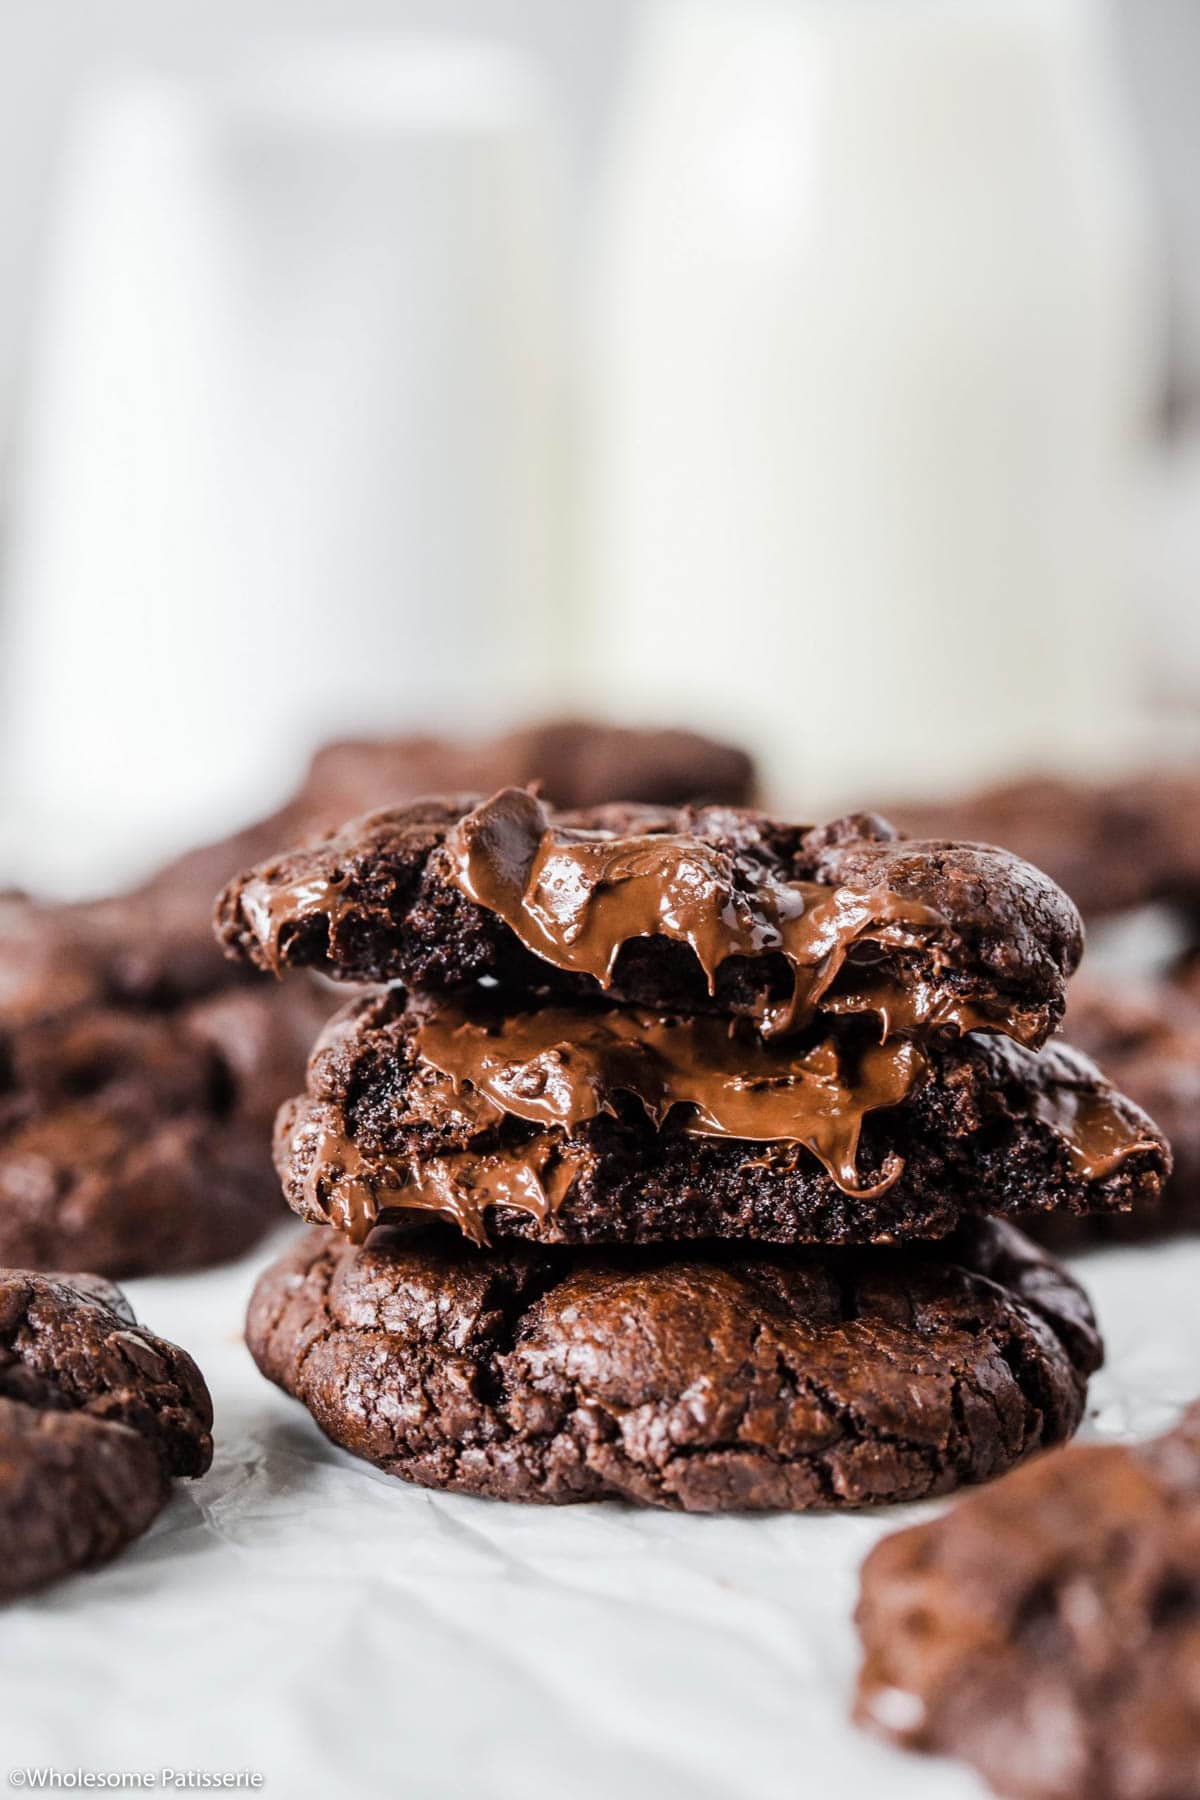
✔️ Bakery-style texture – Crisp edges with a soft, gooey center that melts in your mouth
✔️ Deep chocolate flavor – Made with Dutch-process cocoa and real dark chocolate chunks
✔️ Quick and easy – One bowl, no chilling required, and ready in under 30 minutes
✔️ Simple pantry ingredients – Just 9 ingredients you probably already have
✔️ Perfect for any occasion – Afternoon treat, dessert table hero, or sweet gift
These cookies strike the perfect balance of indulgence and ease, once you try them, you’ll be hooked!

Dark chocolate chip cookies video

Can I use chocolate chips instead of a block of dark chocolate?
Certainly! Chocolate chips are a convenient and effective substitute for the chopped block of dark chocolate in this cookie recipe. Using chocolate chips can simplify the baking process and ensure even distribution of chocolate in every bite.
Can I make this cookie dough batter in advance?
Yes, you can prepare this cookie dough in advance. Simply make the dough the day before you need it and store it in the refrigerator, covered, overnight. When you’re ready to bake, remove the dough from the fridge and let it sit at room temperature for about 15 minutes until it’s pliable enough to form into cookies. If the dough is too cold and solid, it may not spread properly in the oven.

Why did my cookies not flatten and spread?
Cookies may not flatten during baking for several reasons. One common cause is the dough being too cold, if it’s chilled too much, it might not spread as expected in the oven.
Over-mixing the dough can also develop too much gluten, making it stiffer and less likely to spread. Additionally, too much flour can lead to a firmer dough that holds its shape instead of flattening out.

How to store bakery style cookies
Store: Keep the cooled cookies in an airtight container at room temperature. They’ll stay fresh for up to 1 week.
Freeze: Place baked cookies in a single layer on a lined tray and freeze until solid. Then transfer to a freezer-safe container or zip-lock bag. Freeze for up to 3 months.
Thaw: Let cookies thaw at room temperature for 30–60 minutes before serving. No need to reheat, they’re delicious as-is!
If you enjoy this recipe, please consider leaving a ⭐️ star rating and a comment review below. I love to hear what you think and it’s much appreciated. Thank you! Your email address will not be published. Sam x
Bakery Style Dark Chocolate Chip Cookies
Ingredients
Method
- Melt Butter: Over low heat in a saucepan, stirring occasionally. Alternatively, use a microwave in 30-second bursts. Transfer to a large bowl and cool until slightly warm.
- Prepare Wet Mixture: To the cooled melted butter, add the sugar and whisk for 20 seconds. Whisk through the egg and vanilla until well combined.
- Incorporate Dry Ingredients: Sift in the flour, cocoa and baking soda. Add the salt. Mix until a thick dough forms.
- Add Chocolate: Fold in the chopped chocolate.
- Chill: Refrigerate dough for 45 minutes.
- Preheat Oven: To 356ºF (180ºC) fan-forced. Line a baking sheet with parchment paper.
- Form Cookies: Scoop 45g/1.5 oz (or 3 level tablespoons) of dough, roll into tall balls, and place on the tray, spaced 10cm apart. Do not flatten balls.
- Bake: 8-10 minutes until edges are set but centers are soft. Remove and tap the tray on your bench top or stove top 3 times to help slightly deflate.
- Cool: Let the cookies sit on the sheet for 15 minutes, then move to a wire rack to cool completely. Enjoy!
Nutrition
Video
Notes
Tried this recipe?
Let us know how it was!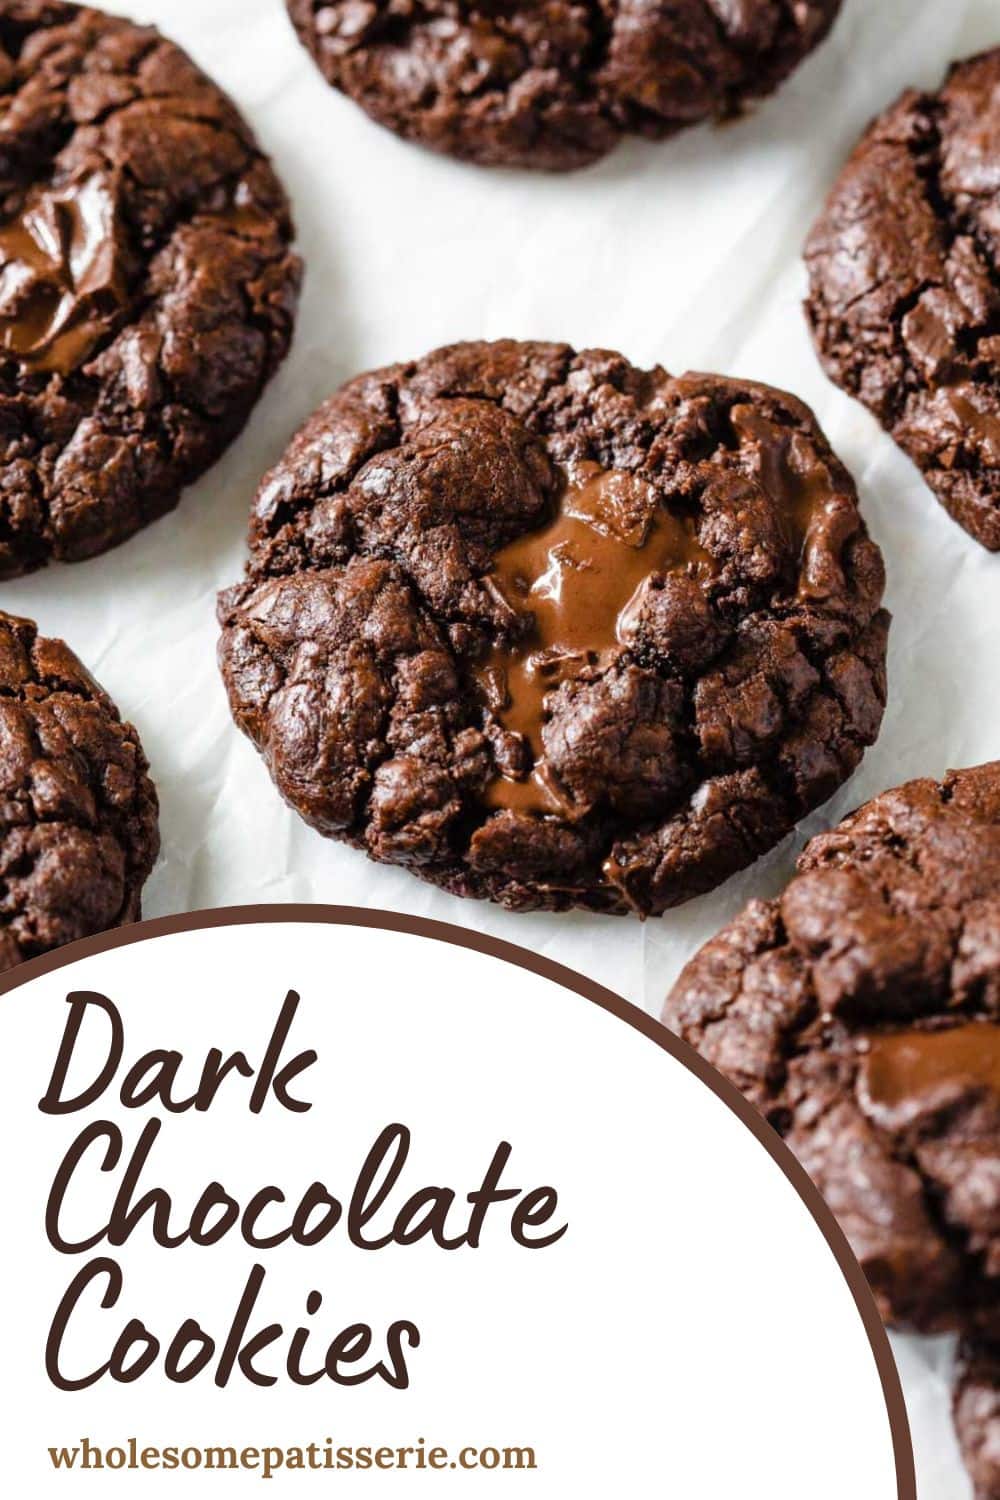
First published in 2022, this recipe was updated in May 2024 to include new information and easier to follow method steps in the recipe card. No ingredients have been changed.
That was an amazing and easiest way of making chocolate cookies at home. I am definitely gonna try this very soon.
Tuscan Chicken Mac n Cheese
This recipe is a keeper. When they first came out of the oven, they were slightly puffy and they flattened as they cooled. (I was nervous because I thought they’d be crunchy and flat when they were settled). These cookies get better as they age–by Day #2 and 3 they were moist and chewy and exactly like a bakery cookie! Thank you! (I used semi-sweet chocolate chips).
Hi Brenda, I’m so glad to hear that! That’s exactly what I love about these cookies, they do settle as they cool and day 2–3 is when they’re at their best. Thanks so much for letting me know, and I’m thrilled they hit that bakery-style mark for you. Sam 🙂