Matcha Slice
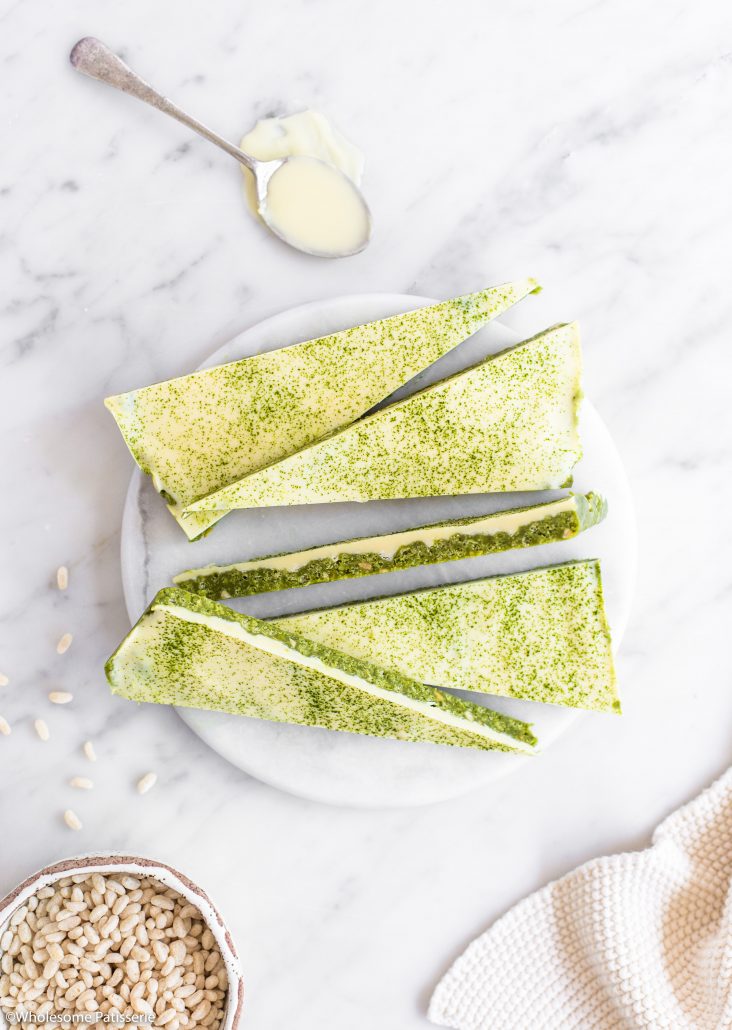
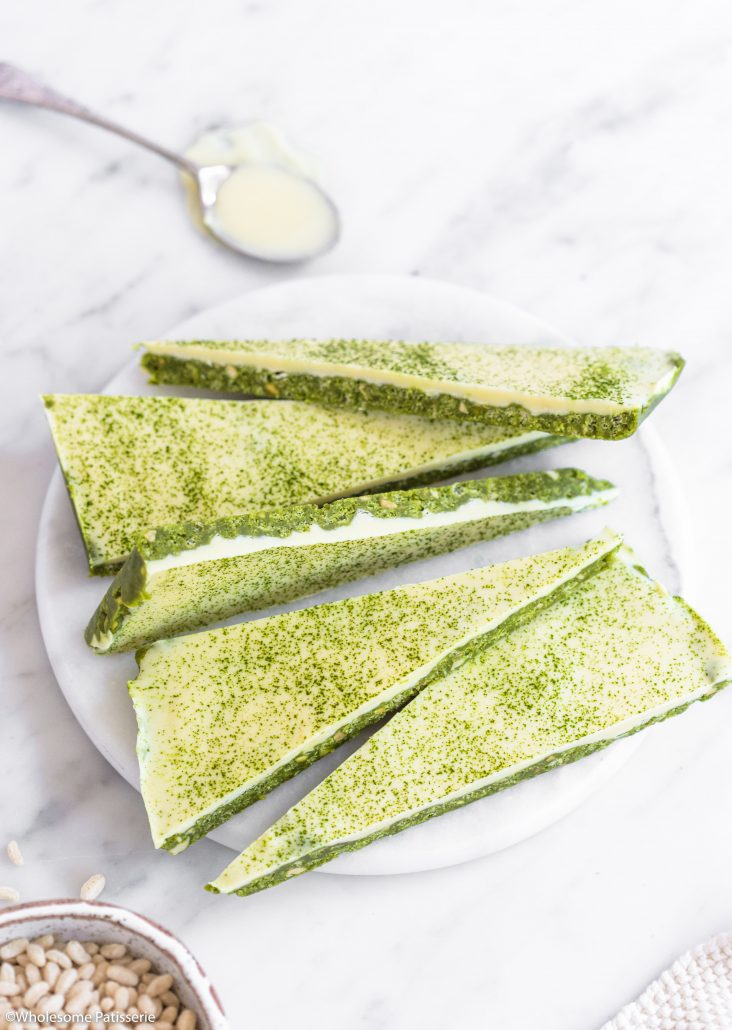
I love easy slice recipes when I need a quick snack and this Matcha Slice does not disappoint. Made with a crunchy matcha and peanut butter adorned with melted white chocolate.
It’s perfect as a holiday treat and an after dinner dessert slice!

It’s back again, another bark slice inspired recipe! (Bark Slice = a really thin slice). This time we are pairing matcha and white chocolate, which is a perfect pairing if you ask me. Especially using matcha, white chocolate really is it’s best friend when it’s comes to combining it with another flavour/ingredient.
I haven’t even told you yet that this slice also includes PEANUT BUTTER!! << That deserved capitol letters because PB is life and we all know it. The peanut butter is in the base of this slice and helps hold it altogether. I use the crunchy peanut butter variety as oppose to the smooth because those little crunchy peanut bits are an added bonus. The base ingredients also include maple syrup, coconut oil, desiccated coconut, rice puffs and of course, matcha powder.

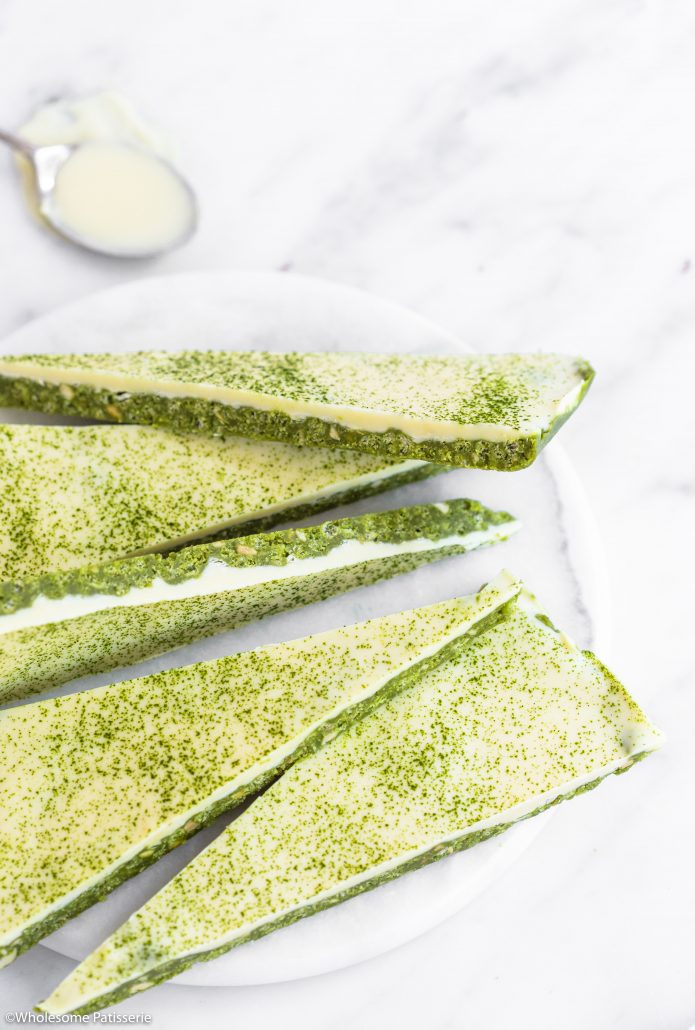
Now, after you have mixed through your matcha powder, your mixture will resemble a green swamp but that ok, looks aren’t everything and we all know it! Just keep thinking matcha and peanut butter yum yum yum!! Oh! Also, that luscious white chocolate topping is just magnificent, sprinkled with a touch of matcha to finish things off.
So just like this matcha bark slice, I’ll going to keep this short. Hope you enjoy this tasty recipe!


Matcha White Chocolate Slice
Ingredients
- Base
- 1/3 cup crunchy or smooth peanut butter
- 1/4 cup maple syrup
- 4 Tbsp coconut oil
- 3 tsp matcha powder I use Zen Wonders Culinary Matcha
- 1/2 cup desiccated coconut
- 1 cup rice puff cereal
- Topping
- 170 g white chocolate block/cooking chocolate broken into squares
- 1 Tbsp coconut oil
Instructions
- Base
- Line a 9” x 12“ rectangle baking pan with parchment paper, set aside.
- In a medium sized pot over low-medium heat, add peanut butter, maple syrup and coconut oil, mix to combine.
- Gently heat mixture until peanut butter has completely melted down and the mixture is smooth and shiny. Remove from heat.
- Stir through matcha powder, 1 teaspoon at a time until completely blended through.
- Stir through desiccated coconut.
- Add rice puffs and mix until everything is well combined.
- Pour mixture into lined baking pan and spread out evenly. NOTE: it may look like you don’t have enough mixture to fill the base of the pan but you will, it’s meant to be a thin bark/slice.
- Place in the refrigerator for 15-20 minutes until set.
- Whilst the base is setting, melt chocolate.
- Topping
- Half fill a small pot with water and put over a medium heat.
- Place a medium-large heat proof bowl over the pot.
- Add chocolate and coconut oil into the bowl and gently melt it down, stirring occasionally until completely melted and smooth. Remove from heat.
- Remove base from refrigerator and pour over melted chocolate. Using a spatula to evenly spread it out.
- Refrigerate for a further 1-2 hours or until chocolate is set and hardened. Halfway through refrigerating, remove slice and dust over a little extra matcha powder before the chocolate completely hardens. NOTE: I use a tea ball for this or a very small sieve.
- Once set, lift out from pan and slice into long bark pieces or slices/squares.
- Enjoy!
