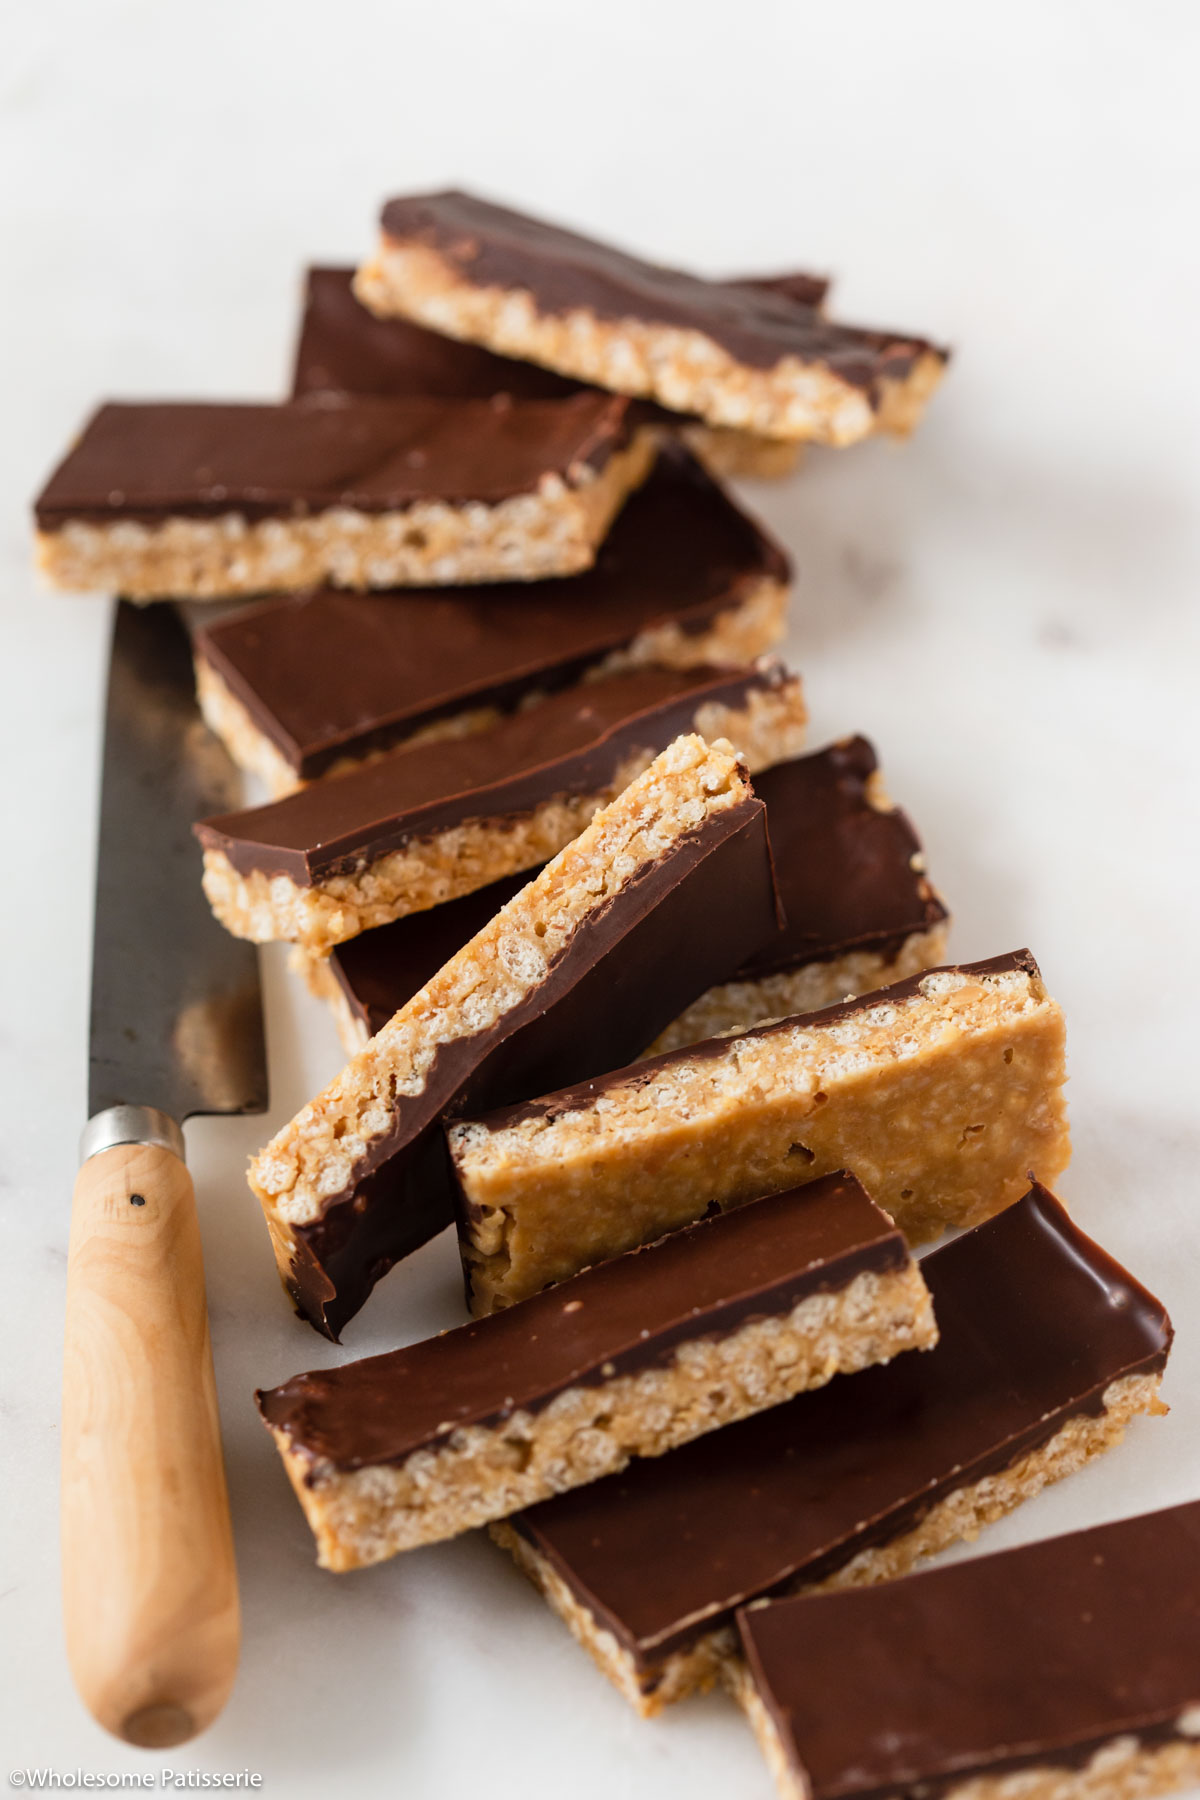
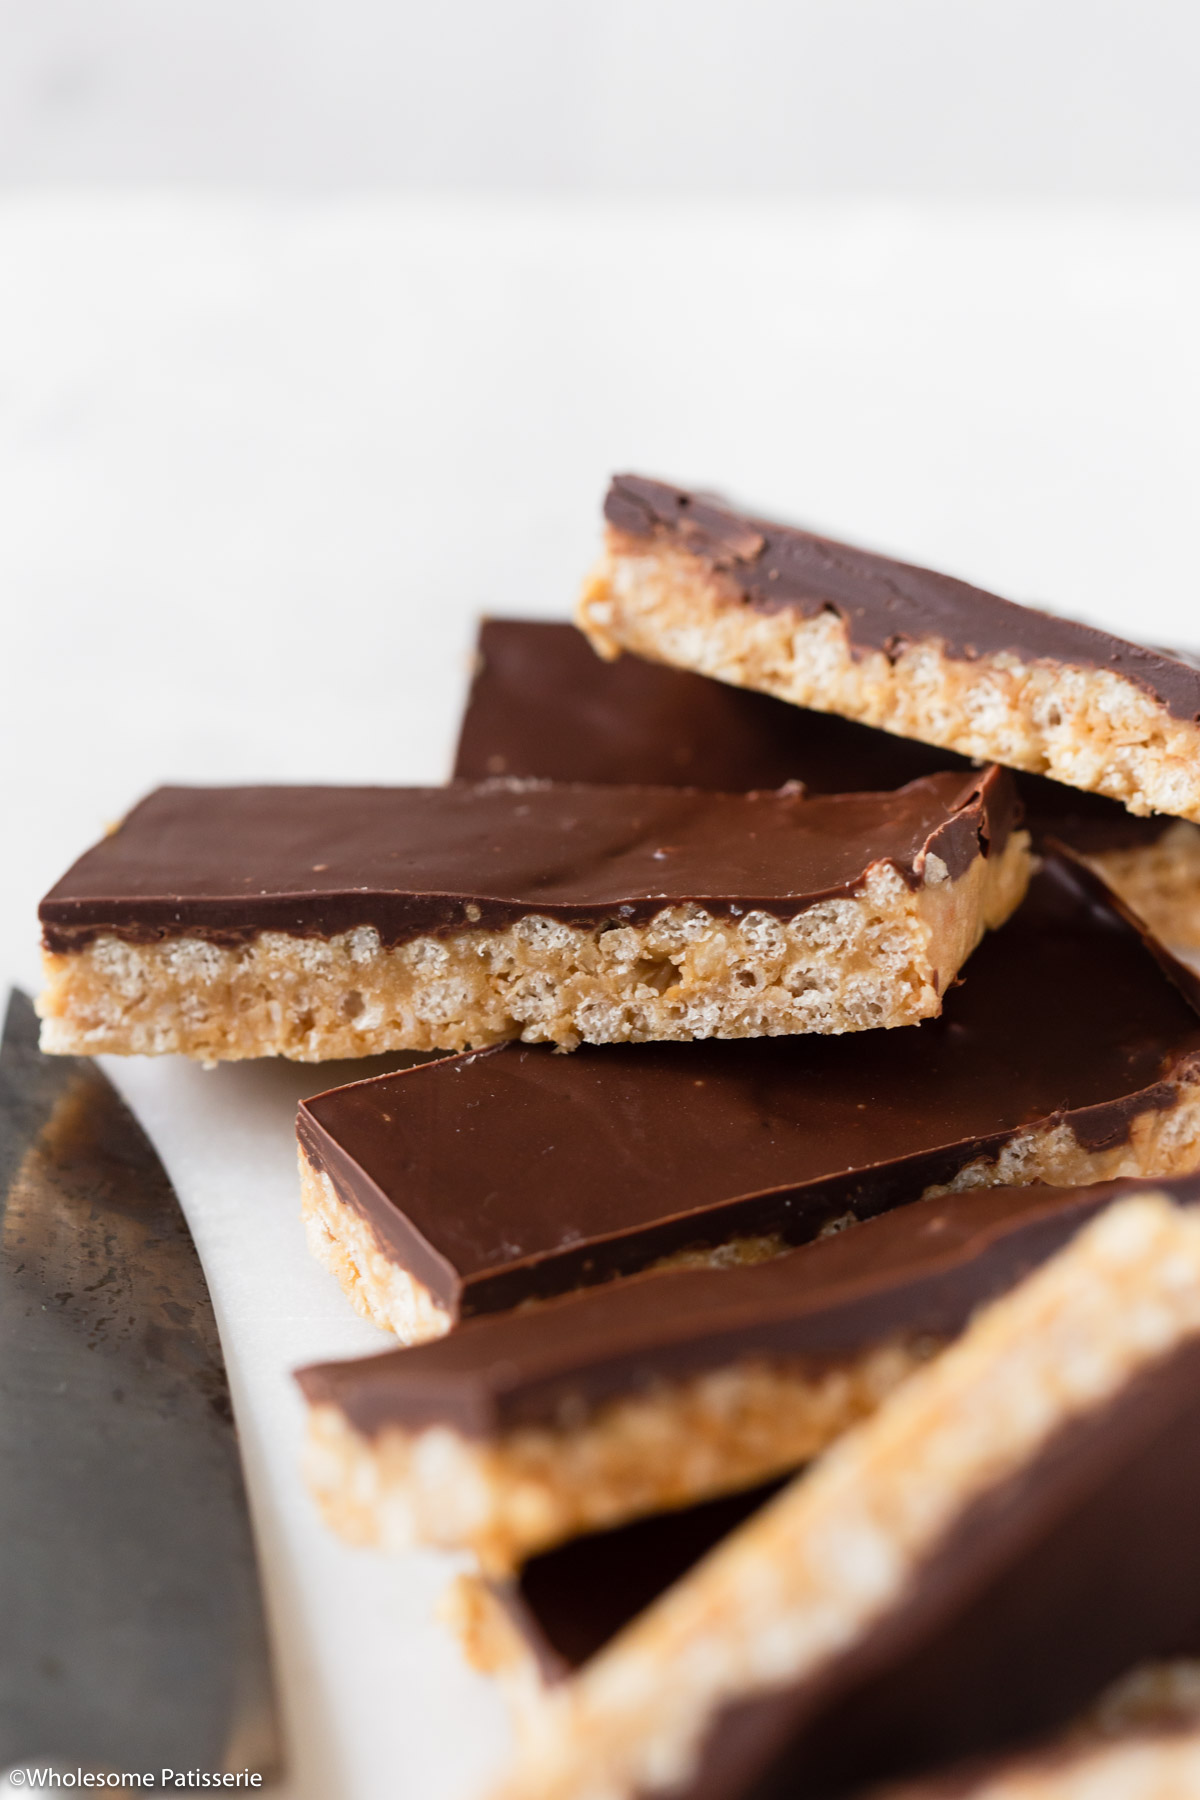
Peanut Butter Bark
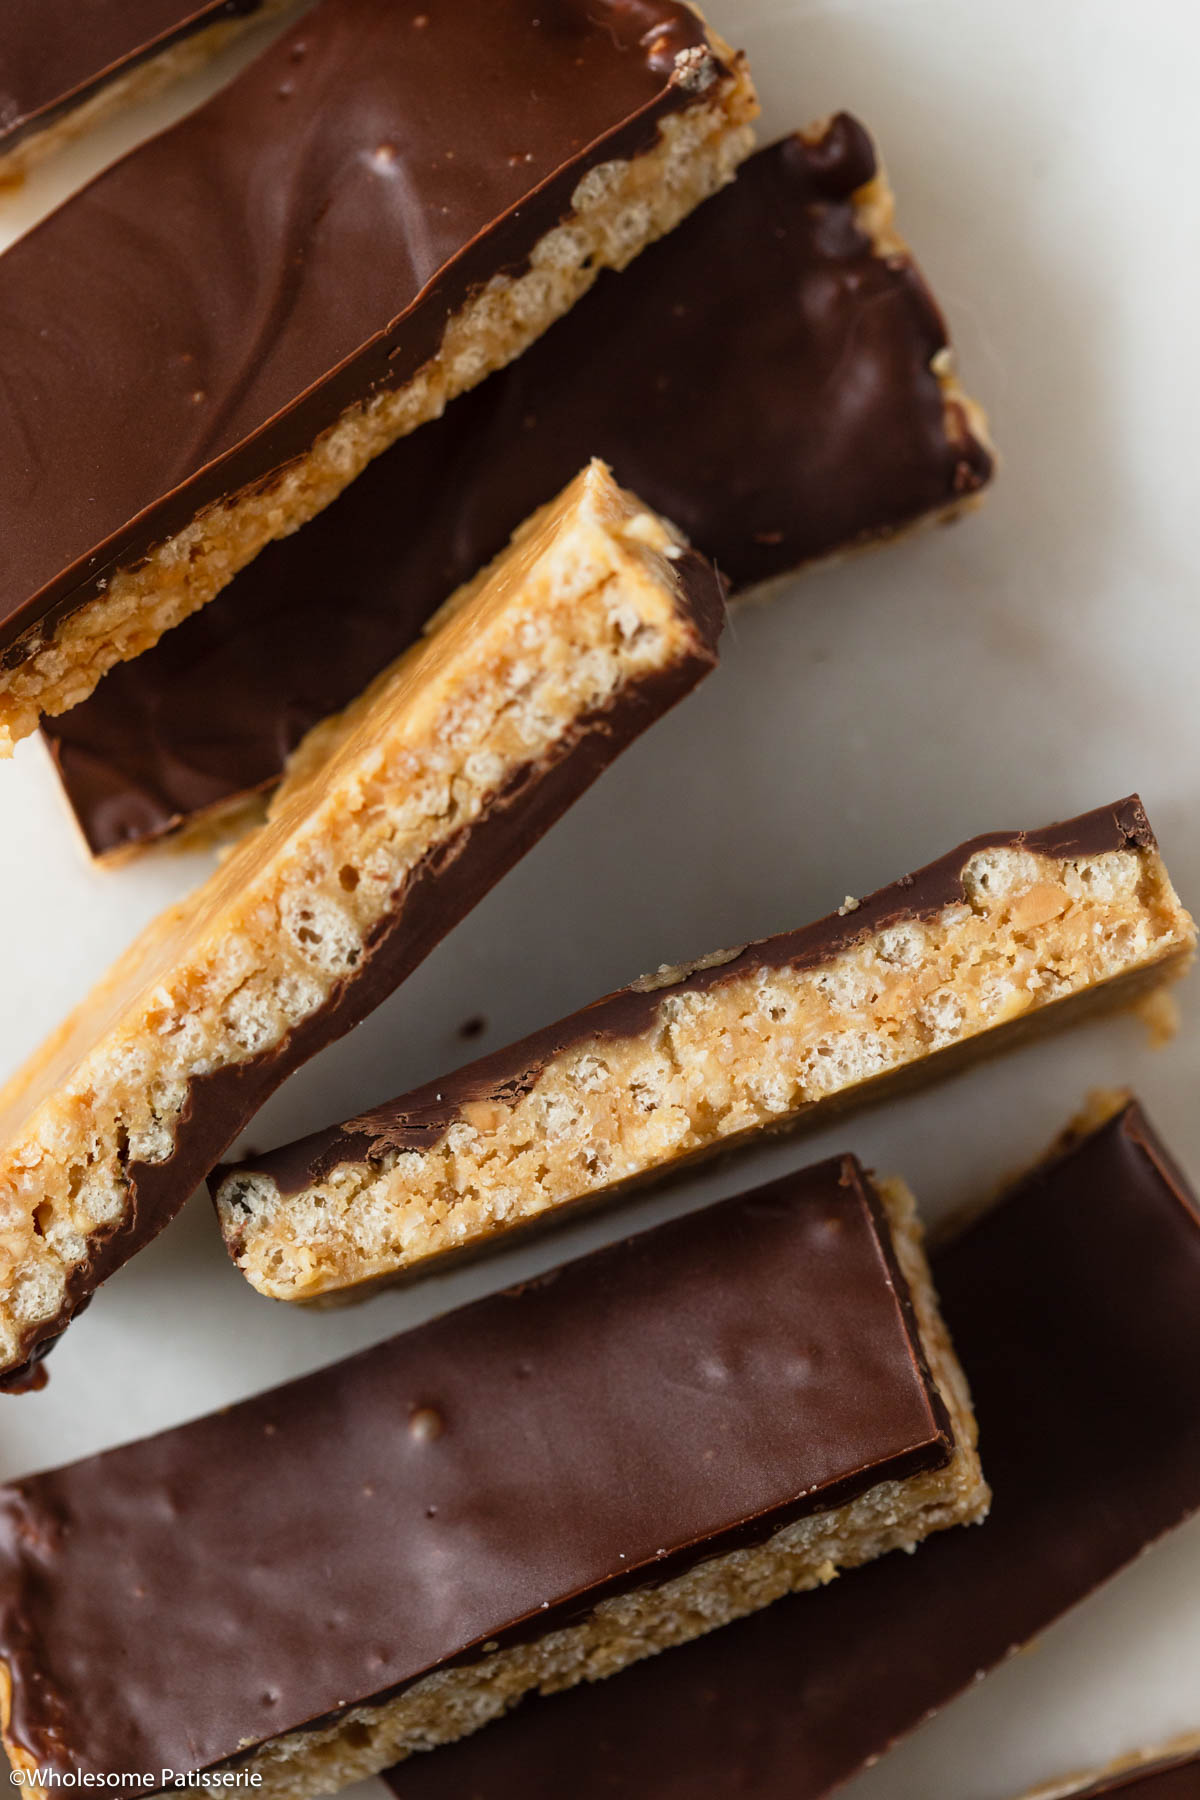
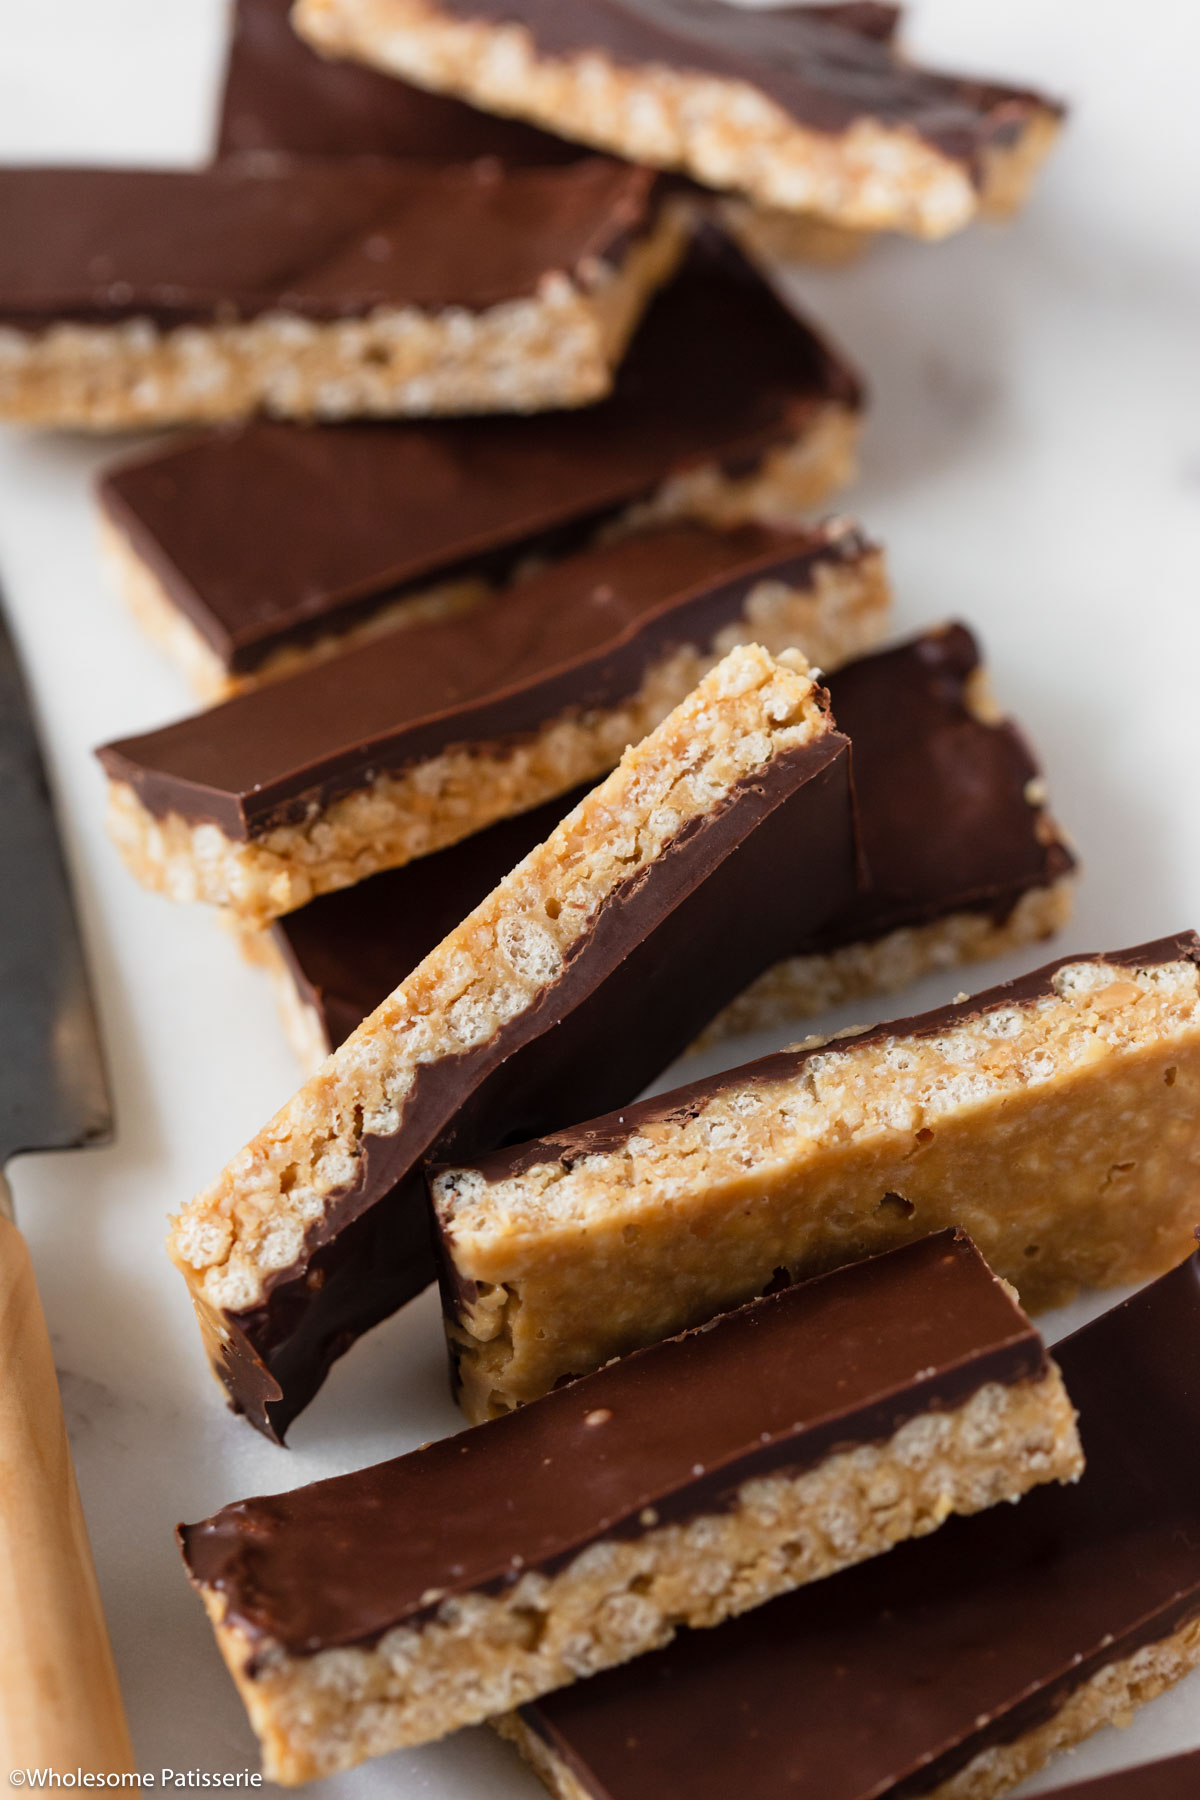
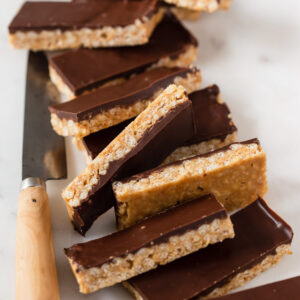
Indulge in this heavenly no-bake Peanut Butter Bark Recipe, featuring just 6 simple ingredients with a melted dark chocolate topping. Combining the irresistible creaminess of peanut butter with the delightful crunch of rice puff cereal.
Make sure to check out more of my easy slice recipes for easy bark recipes just like this one!
Calling all die-hard peanut butter and chocolate fanatics.
Indulge in these delicious, mouthwatering no-bake bars that make the perfect afternoon snack and lunch box filler!
Like my quick peanut butter chocolate cookies, they come together quickly and easily with the OG combination of peanut butter and chocolate.
With just a handful of ingredients like peanut butter, maple syrup, coconut oil, desiccated coconut, Rice Krispies, and dark chocolate chips, you’ll have these tasty bars ready in no time.
Their no-bake nature means you can enjoy them without waiting for them to bake and cool. Just a few hours in the fridge to chill!
🍫 Why You Will Love This Recipe
- Quick and easy no-bake bars.
- Addictive peanut butter chocolate snack.
- Only 6 ingredients.
- Great to pack in lunch boxes.
- Delicious after-dinner treat.
If you love quick and easy bar recipes you don’t need to bake, also try my no-bake chocolate coconut bars, featuring a delightful blend of chocolate and coconut flavors.
Then, you don’t want to miss out on the irresistible crunch of my crunchy white chocolate rice bubble bars for a truly delightful treat.
📋 Ingredient Notes & Substitutions
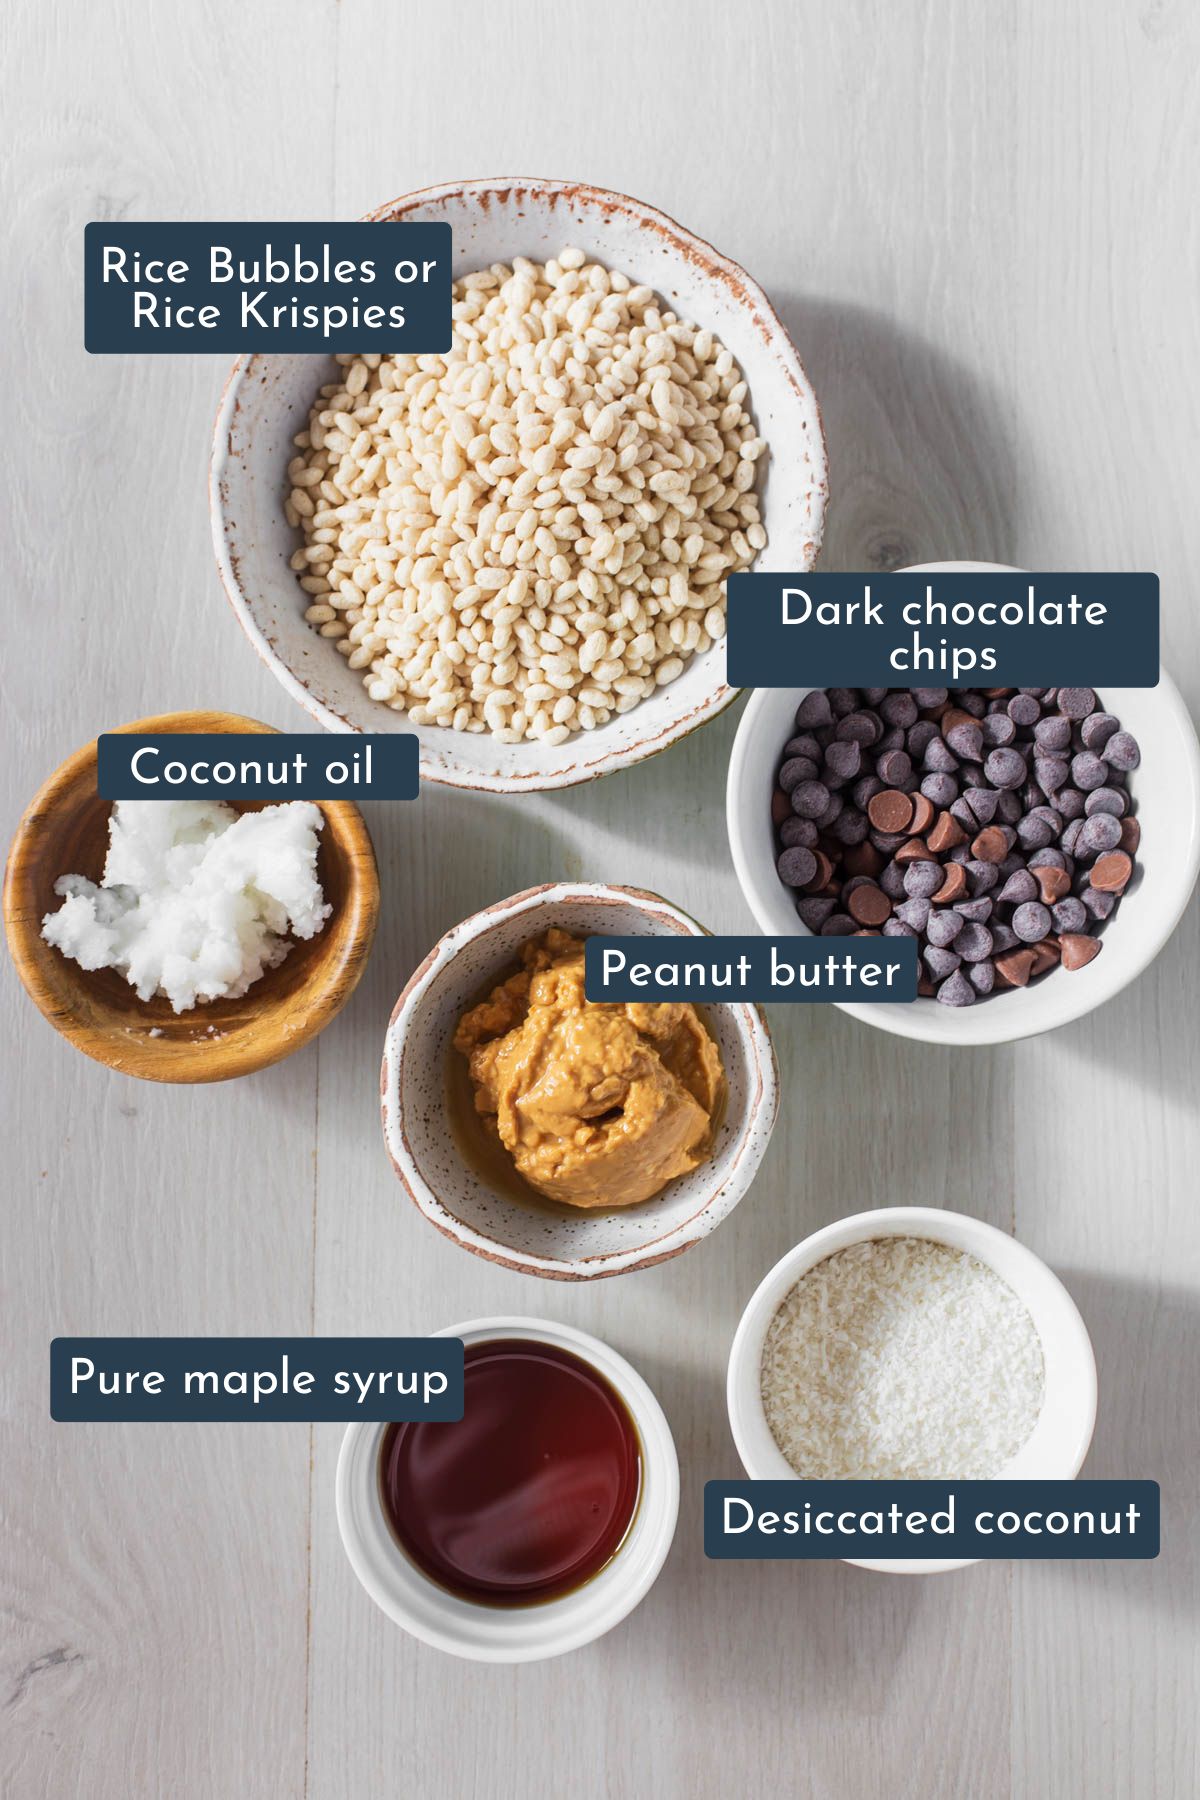
- Peanut butter: Use either crunchy or smooth peanut butter. If desired, you can try substituting it with another nut butter such as almond butter or cashew butter.
- Maple syrup: Pure maple syrup without added flavors or sweeteners works best. Can be substituted with rice malt syrup, golden syrup or honey. Keep in mind these substitutions may make the bars sticky.
- Coconut oil: This is used to stick the base of the bars together.
- Unsweetened desiccated coconut: Is also known as unsweetened shredded coconut in the US.
- Rice Bubbles – also known as Rice Krispies in the US. To make gluten-free, use a gluten-free version of the cereal. You’ll find them marketed as ‘gluten-free crispy rice cereal’ or ‘gluten-free crispy rice puffs’ in your supermarket or online. Use the same quantity.
- Dark chocolate chips – You can also substitute this with a block of chocolate, using the same quantity (170g). Alternatively, substitute with either milk chocolate chips/block or white chocolate chips/block.
🥣 Step By Step Instructions (with photos)
There is a full and detailed recipe card at the bottom of this post.
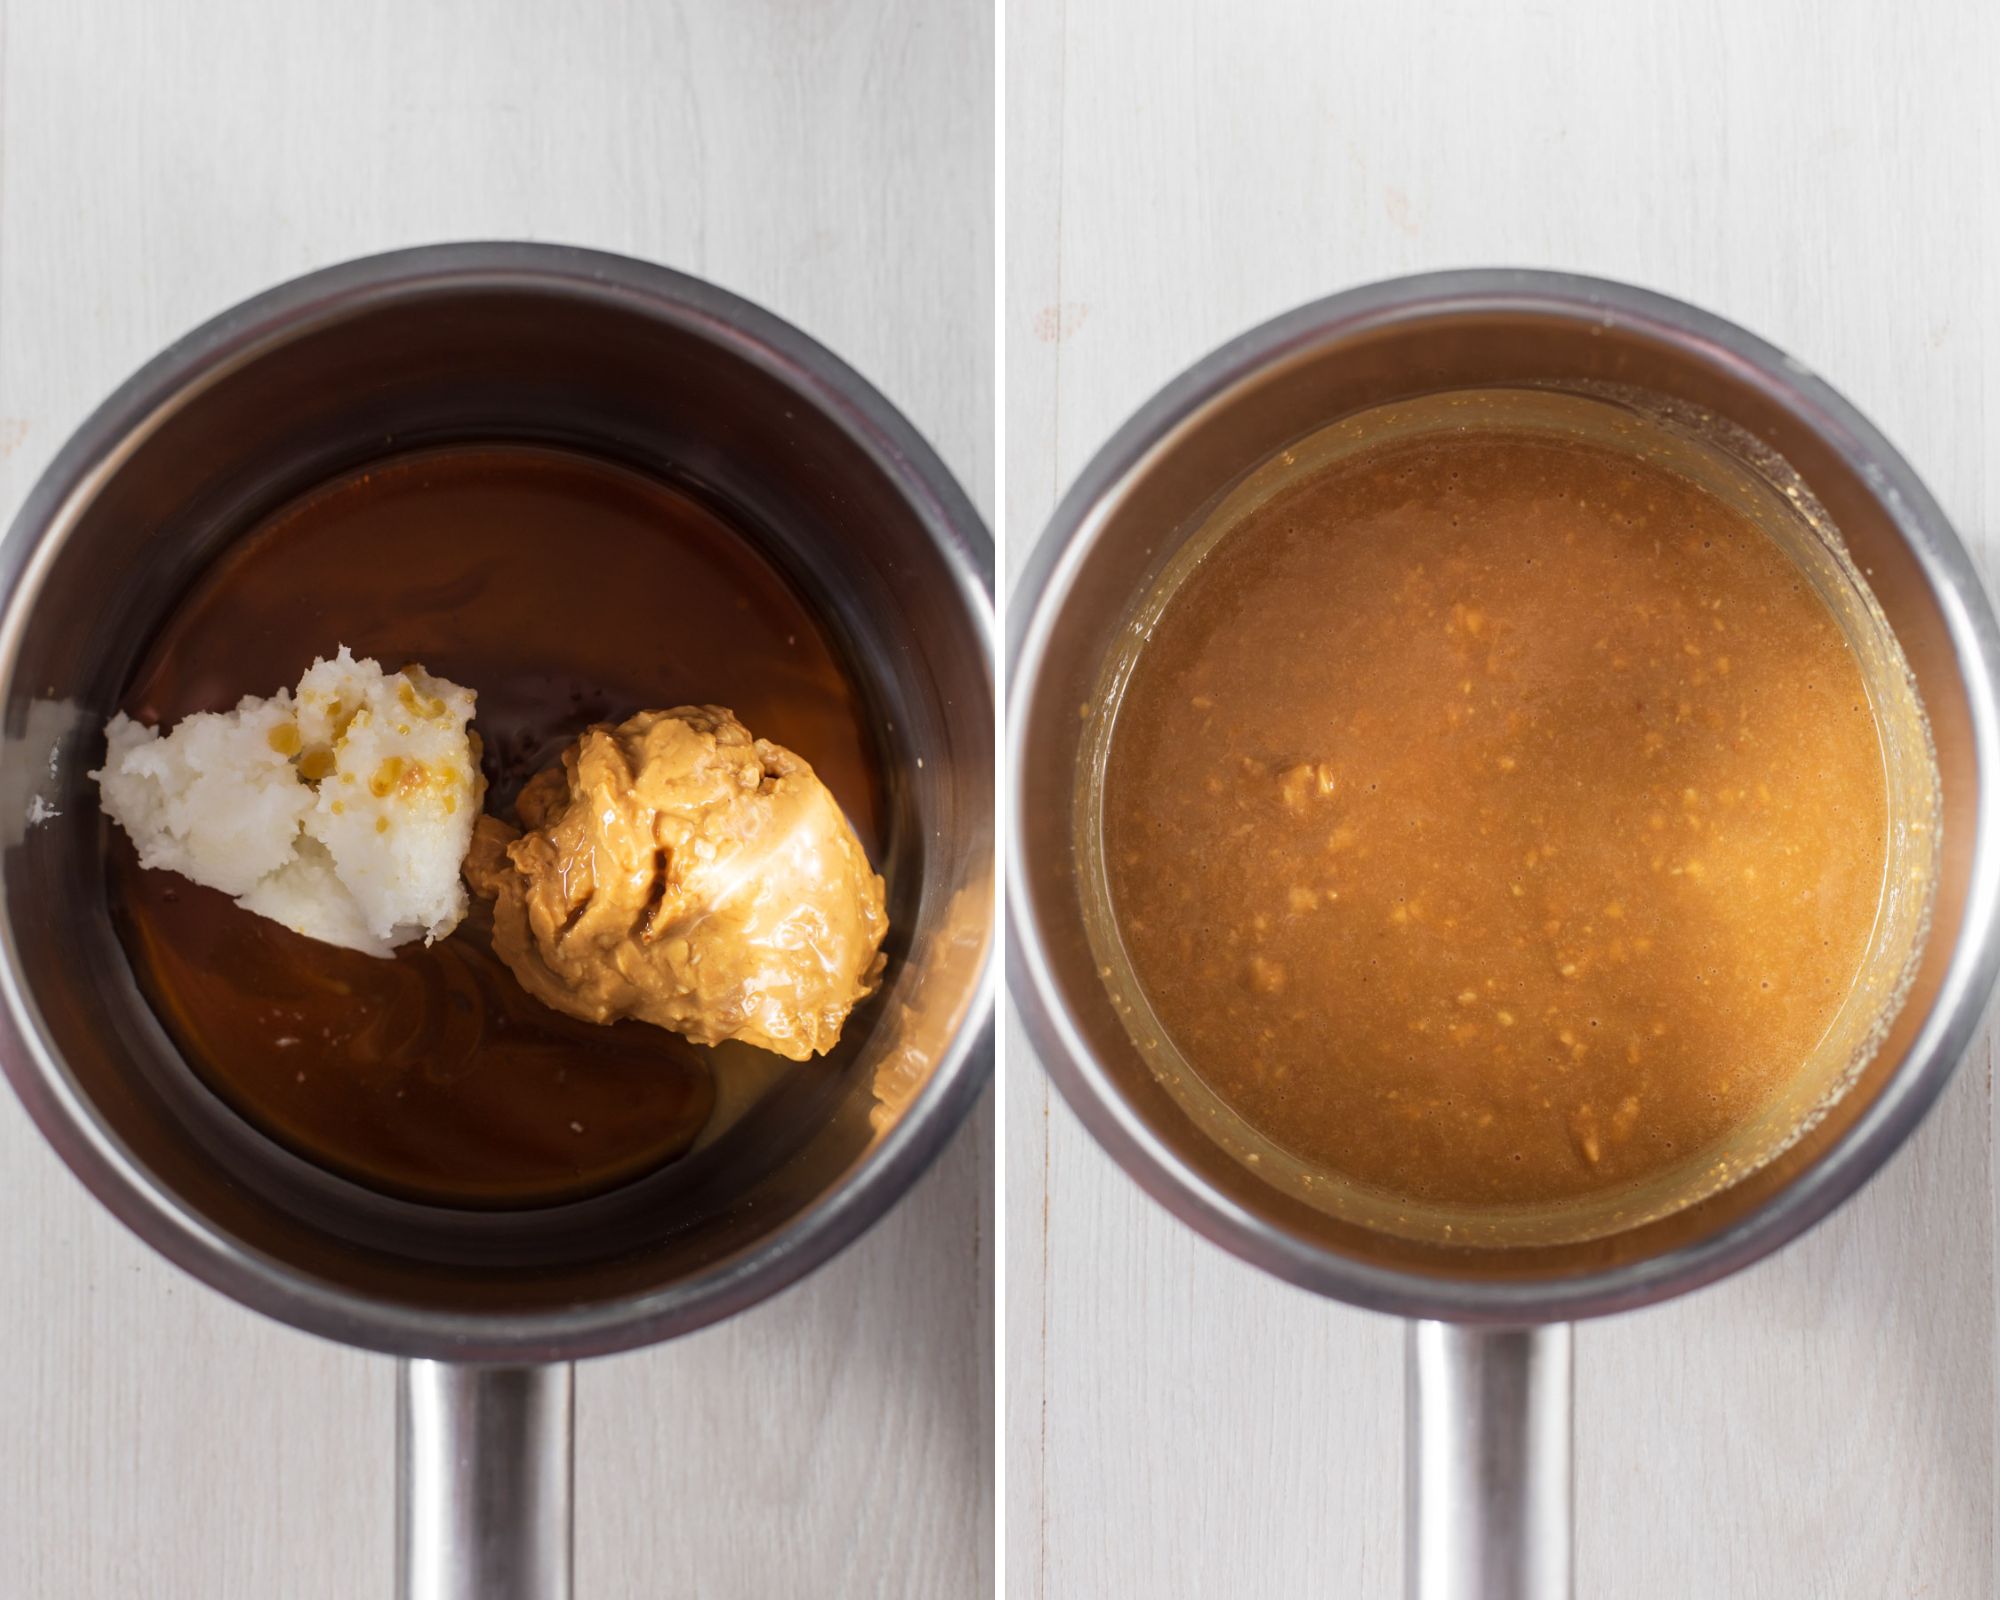
Step one: Add peanut butter, maple syrup, and coconut oil to a medium-sized pot.
Place it over low heat on the stovetop and slowly heat the mixture until the ingredients are completely melted together, mixing occasionally.
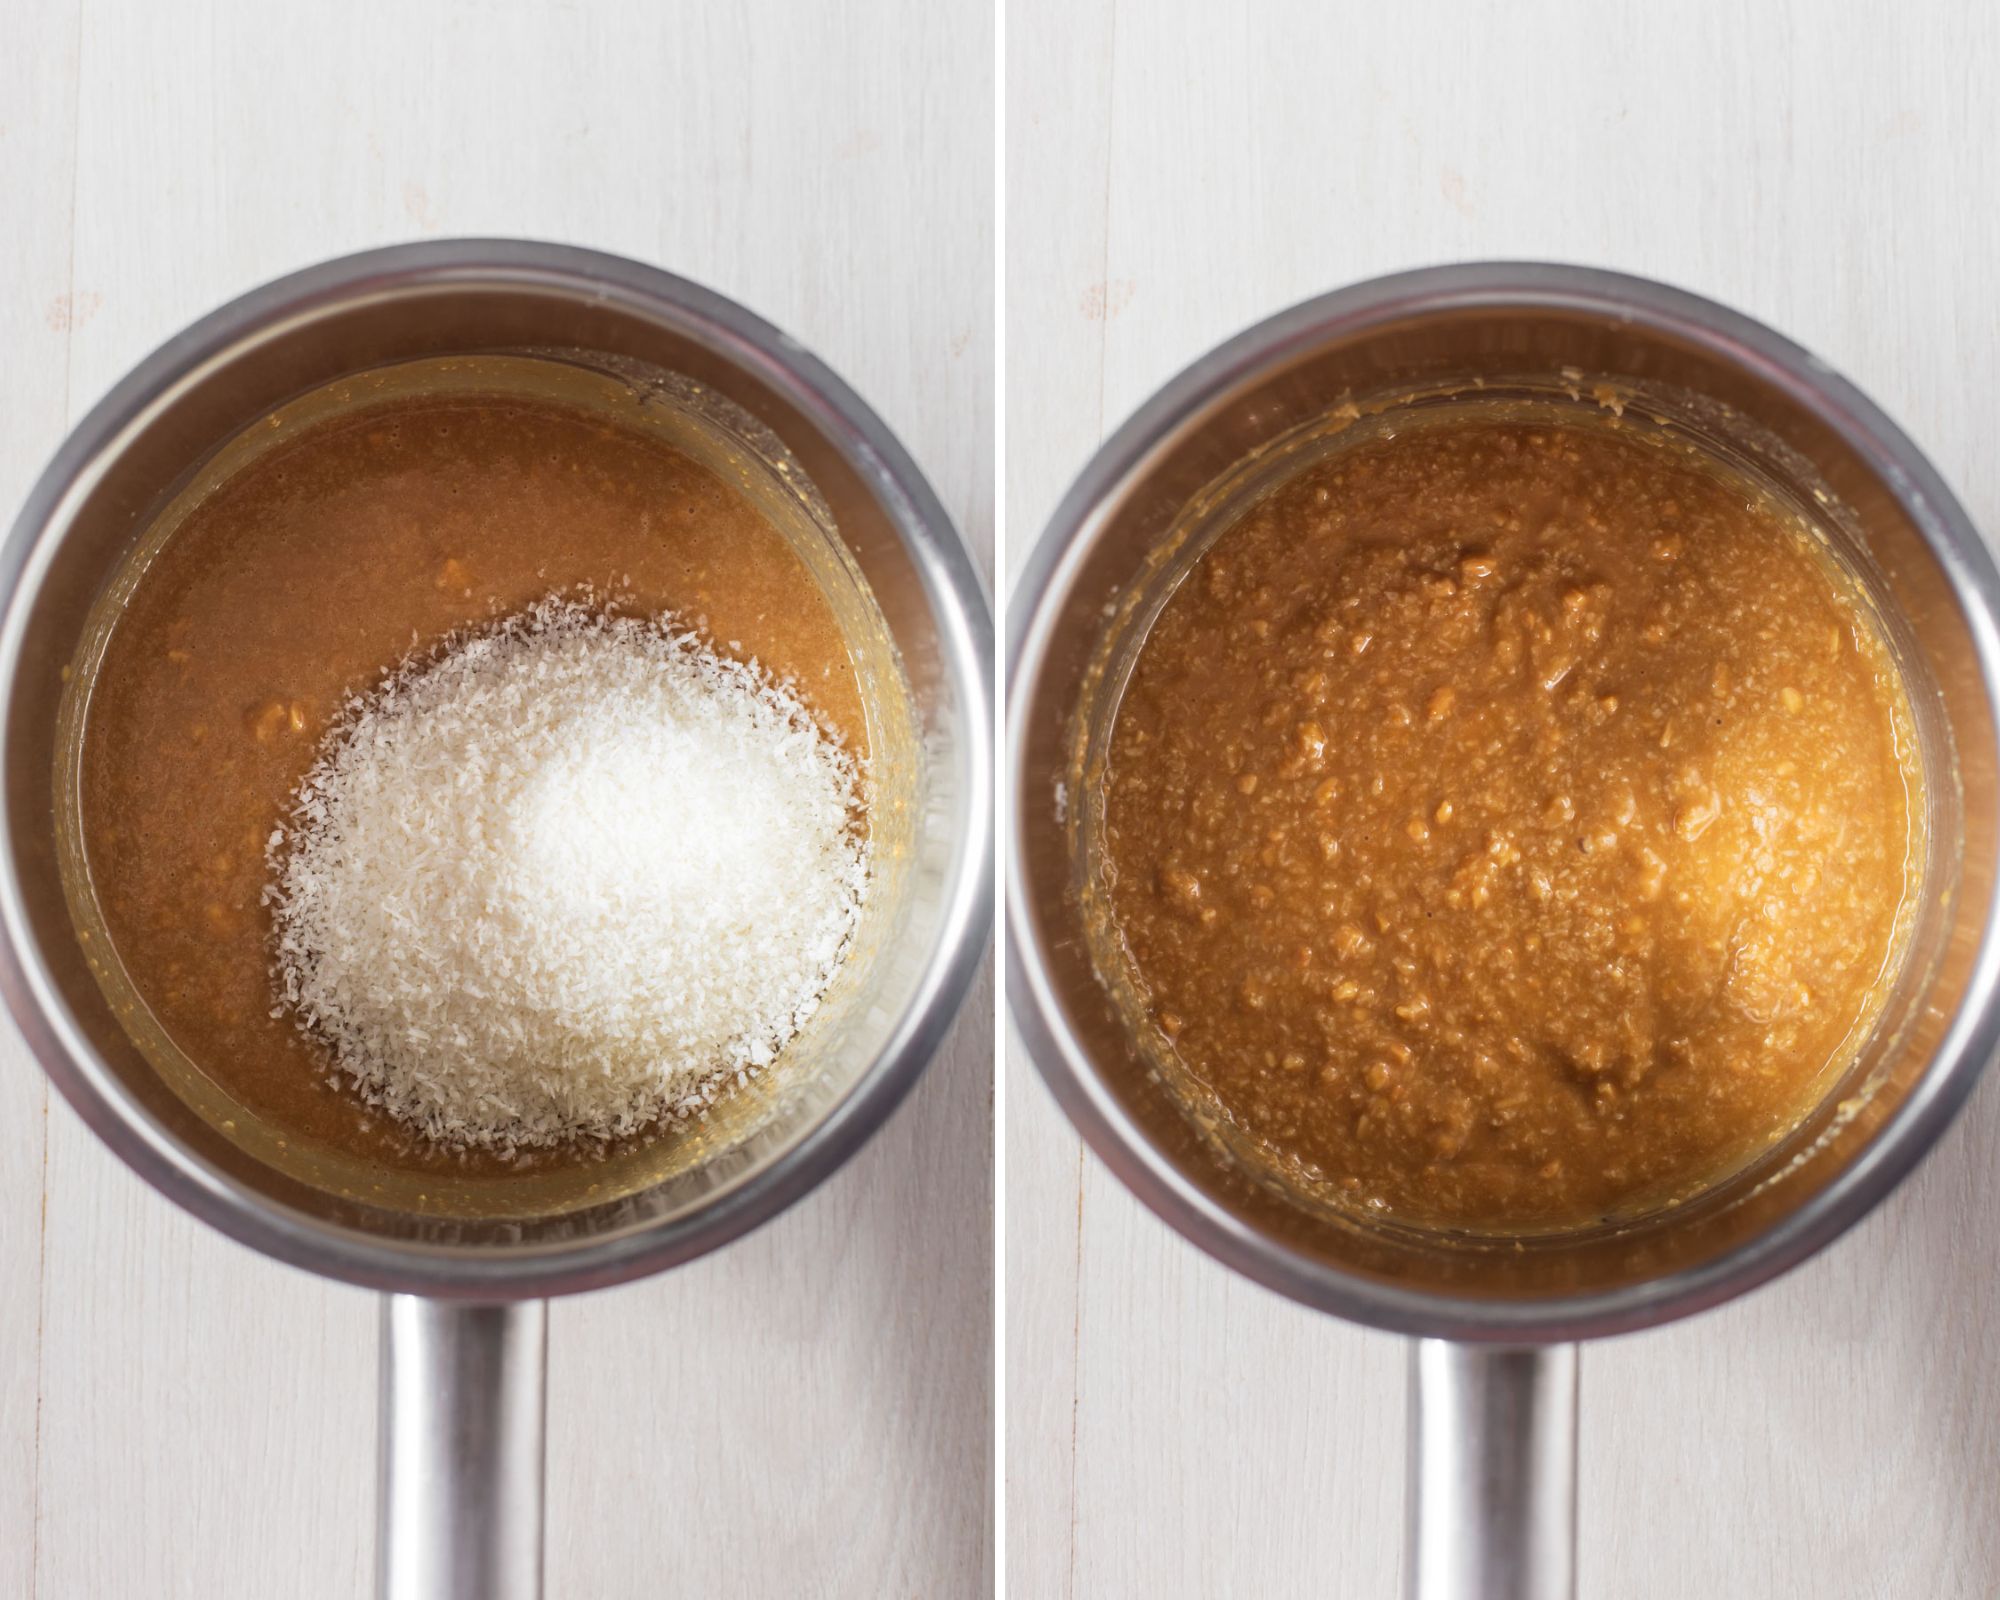
Step two: Turn off the heat and stir through the desiccated coconut.
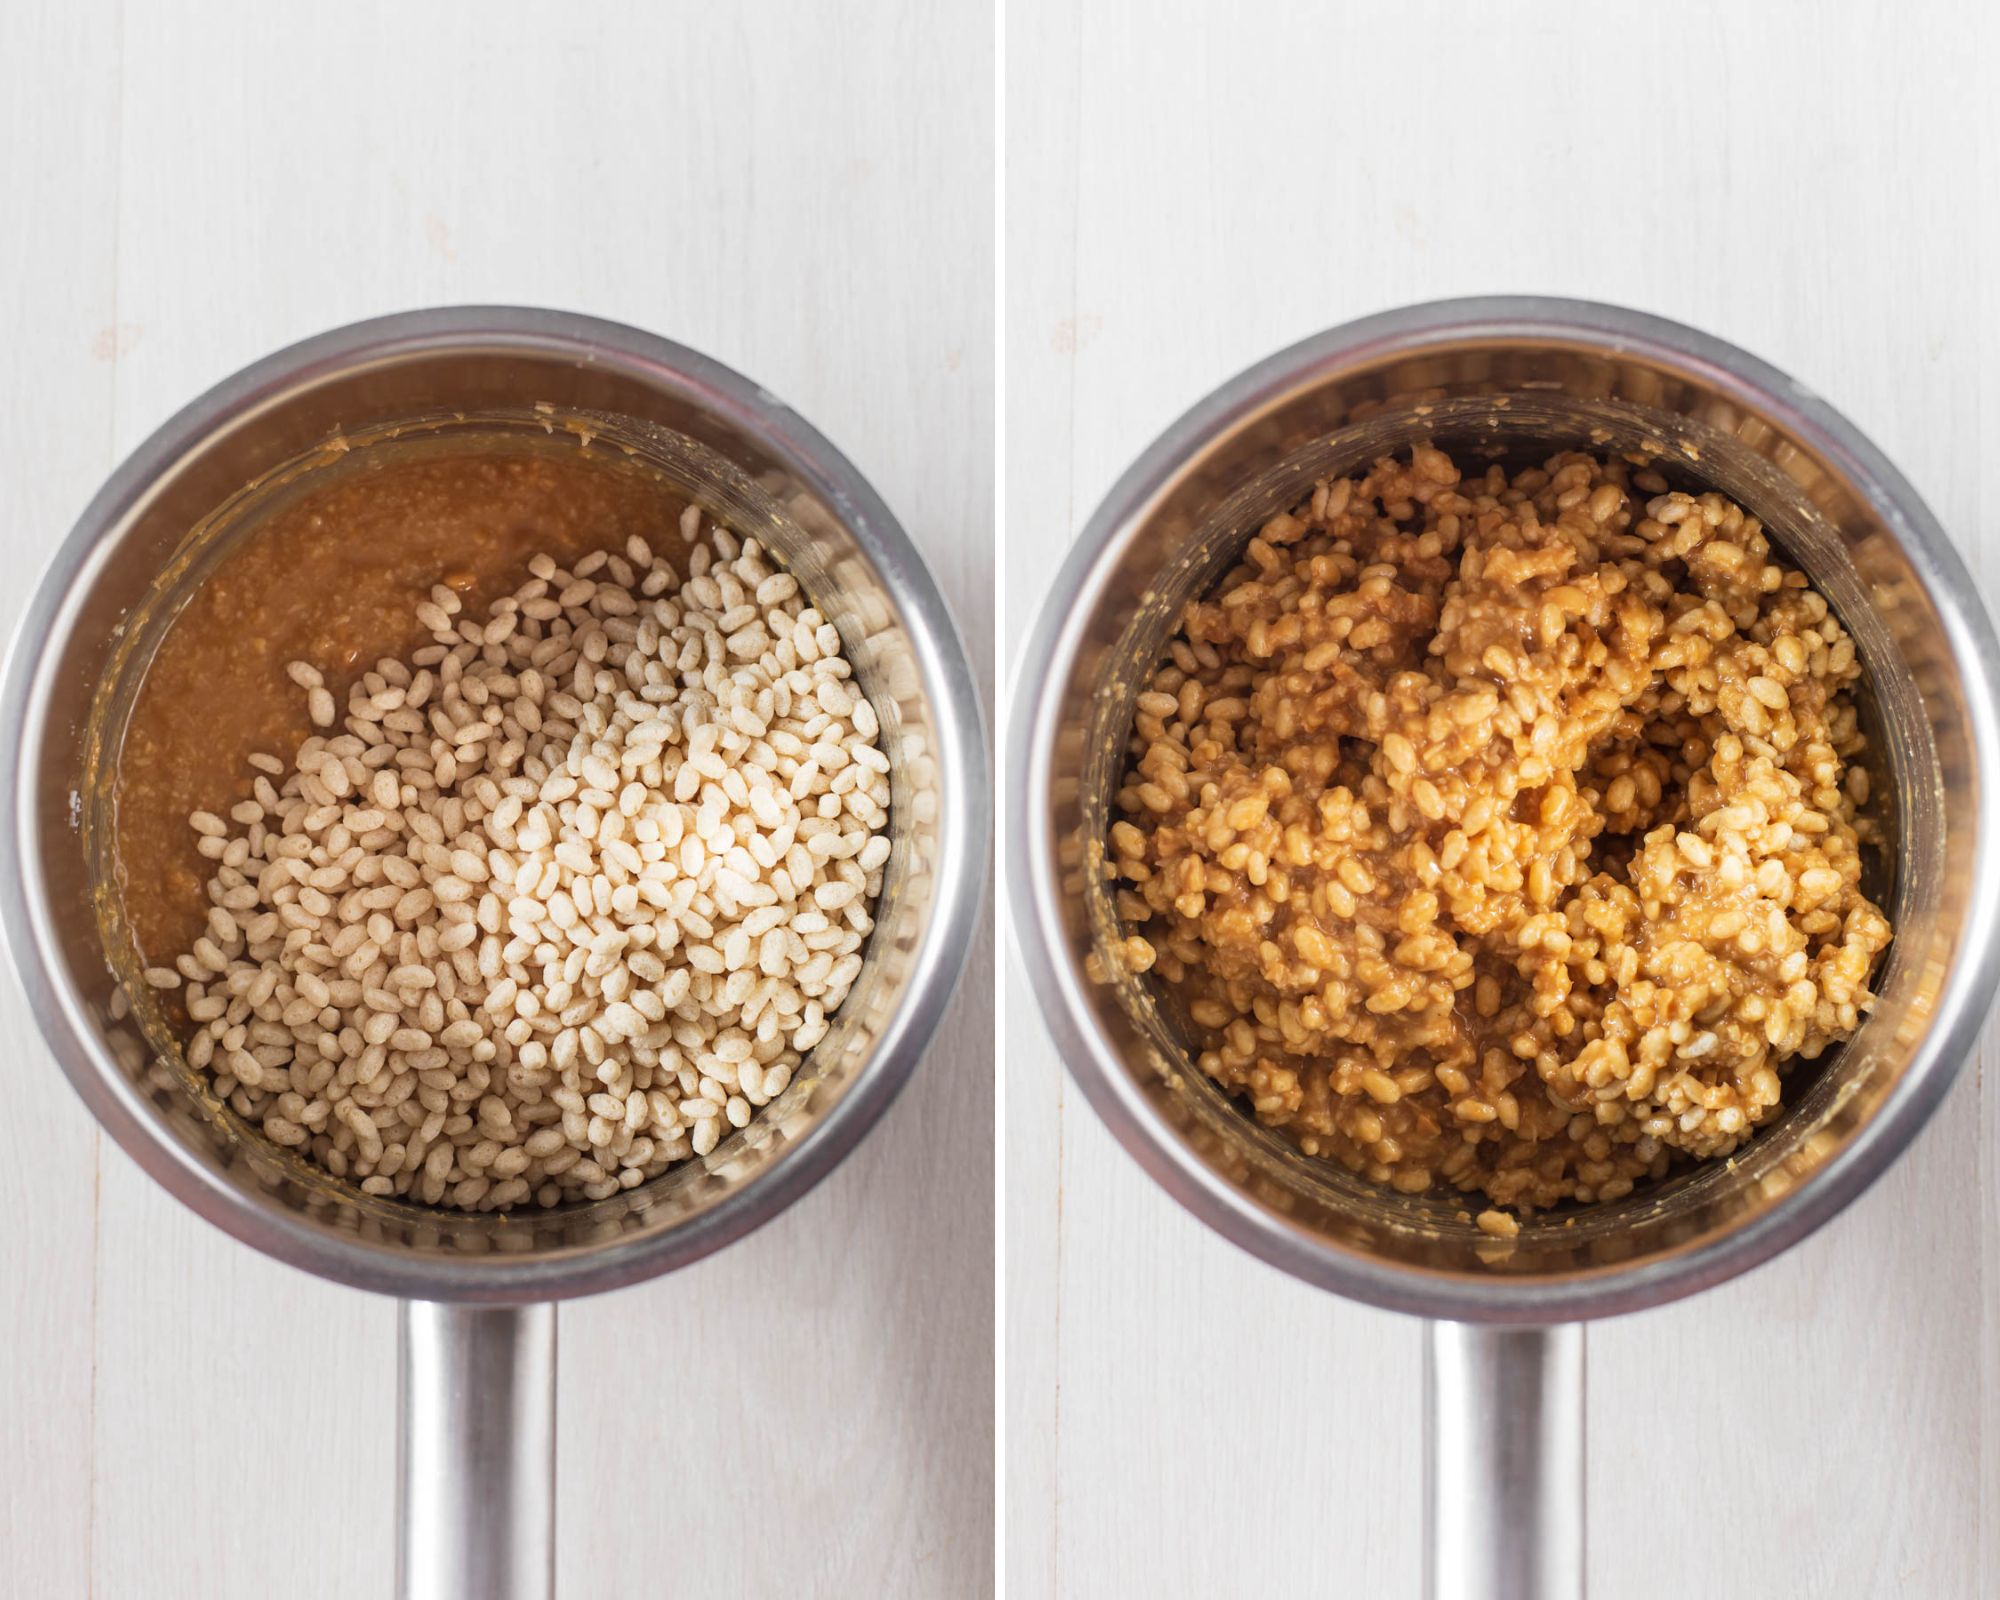
Step three: Add the puffed rice cereal and mix until they’re completely coated in the melted mixture.
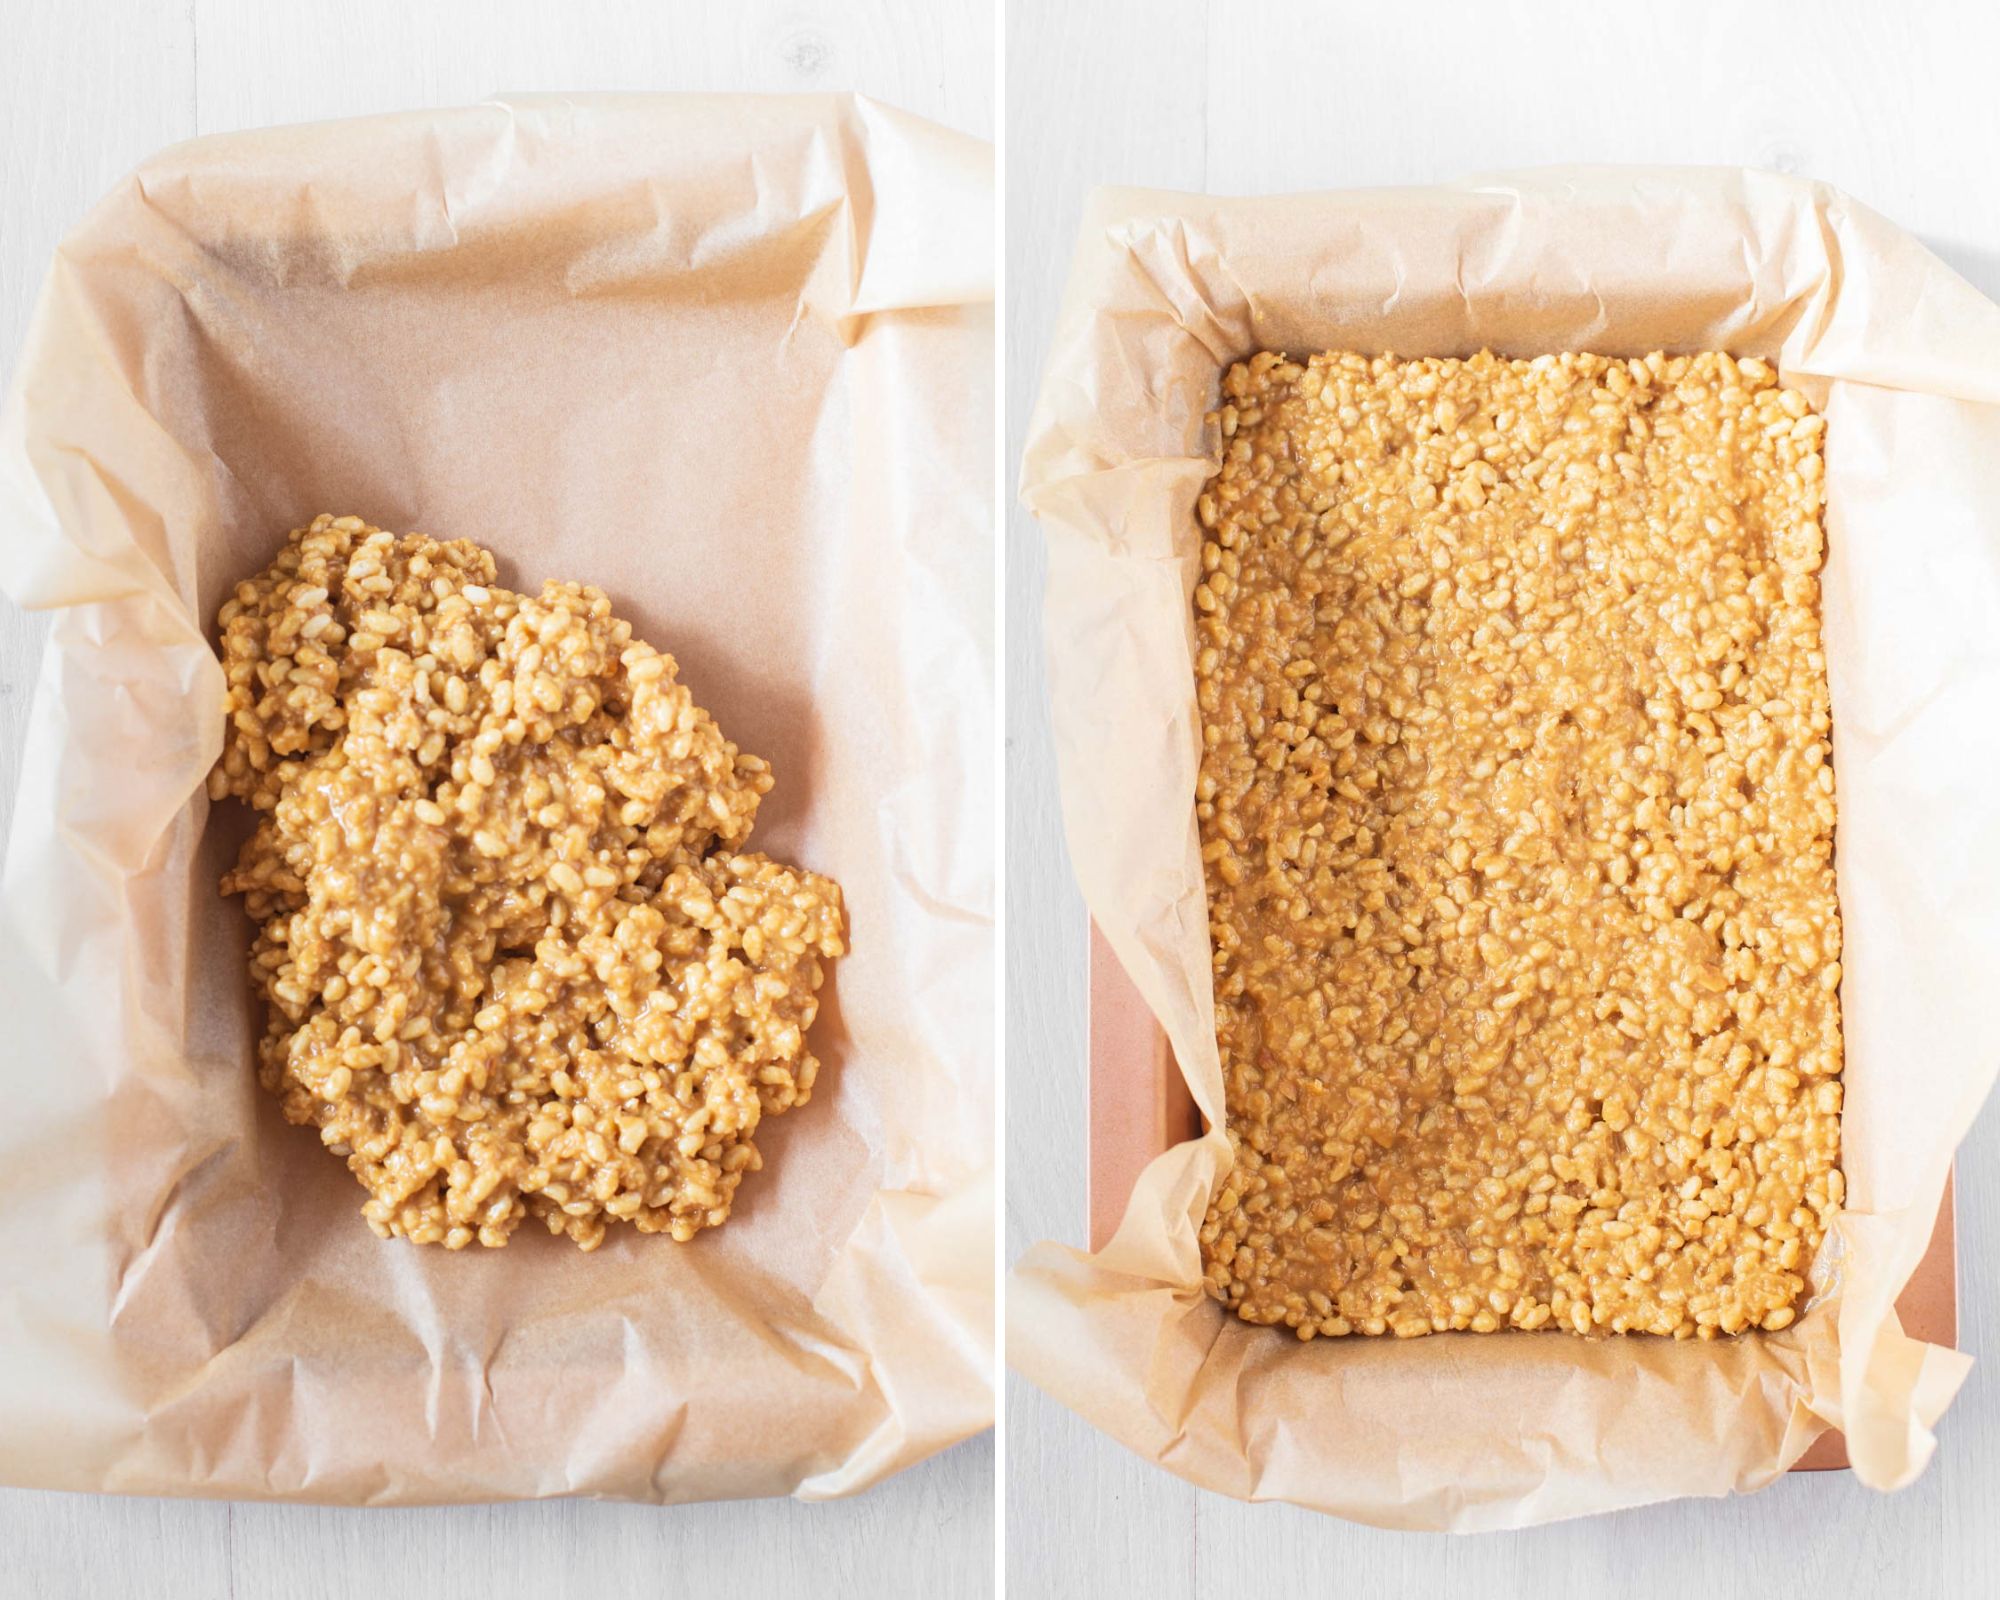
Step four: Spoon the mixture into the lined tin. Using the back of a wooden spoon or a rubber spatula, firmly press it in, creating an even layer.
Place into the refrigerator for 15-20 minutes until it firms up.
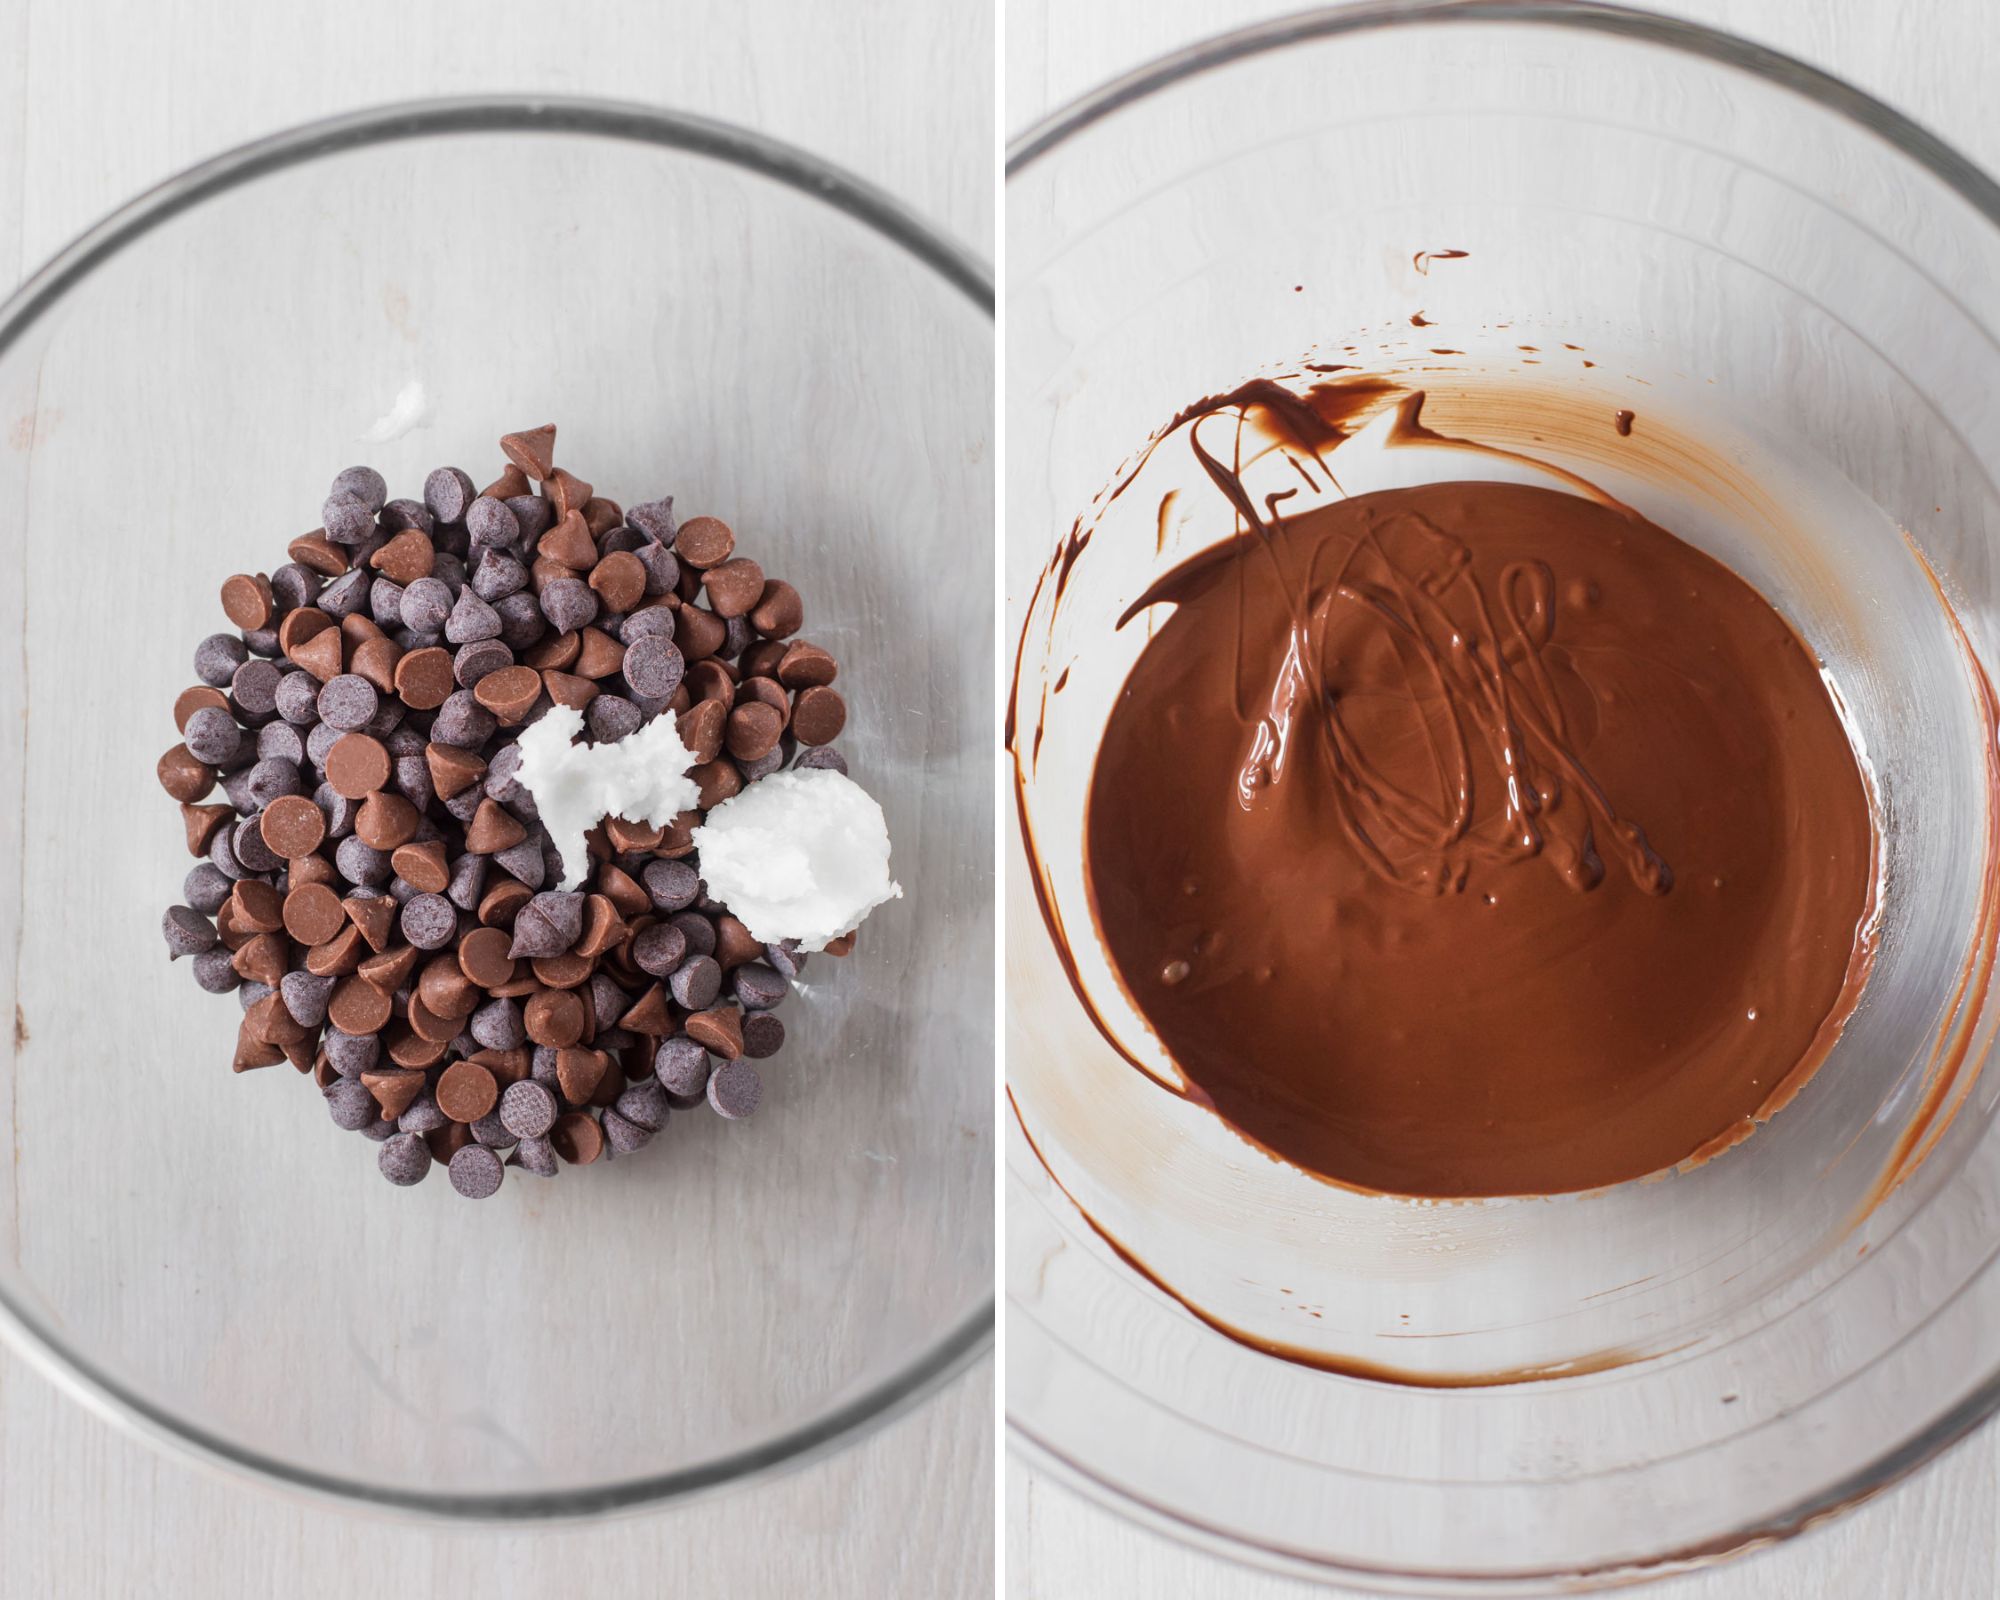
Step five: Prepare a double boiler by placing a small/medium heat-proof mixing bowl over a medium-sized pot of simmering water.
Into the bowl, add chocolate chips and coconut oil. Melt over low-medium heat, mixing occasionally with a rubber spatula until smooth. Remove from heat.
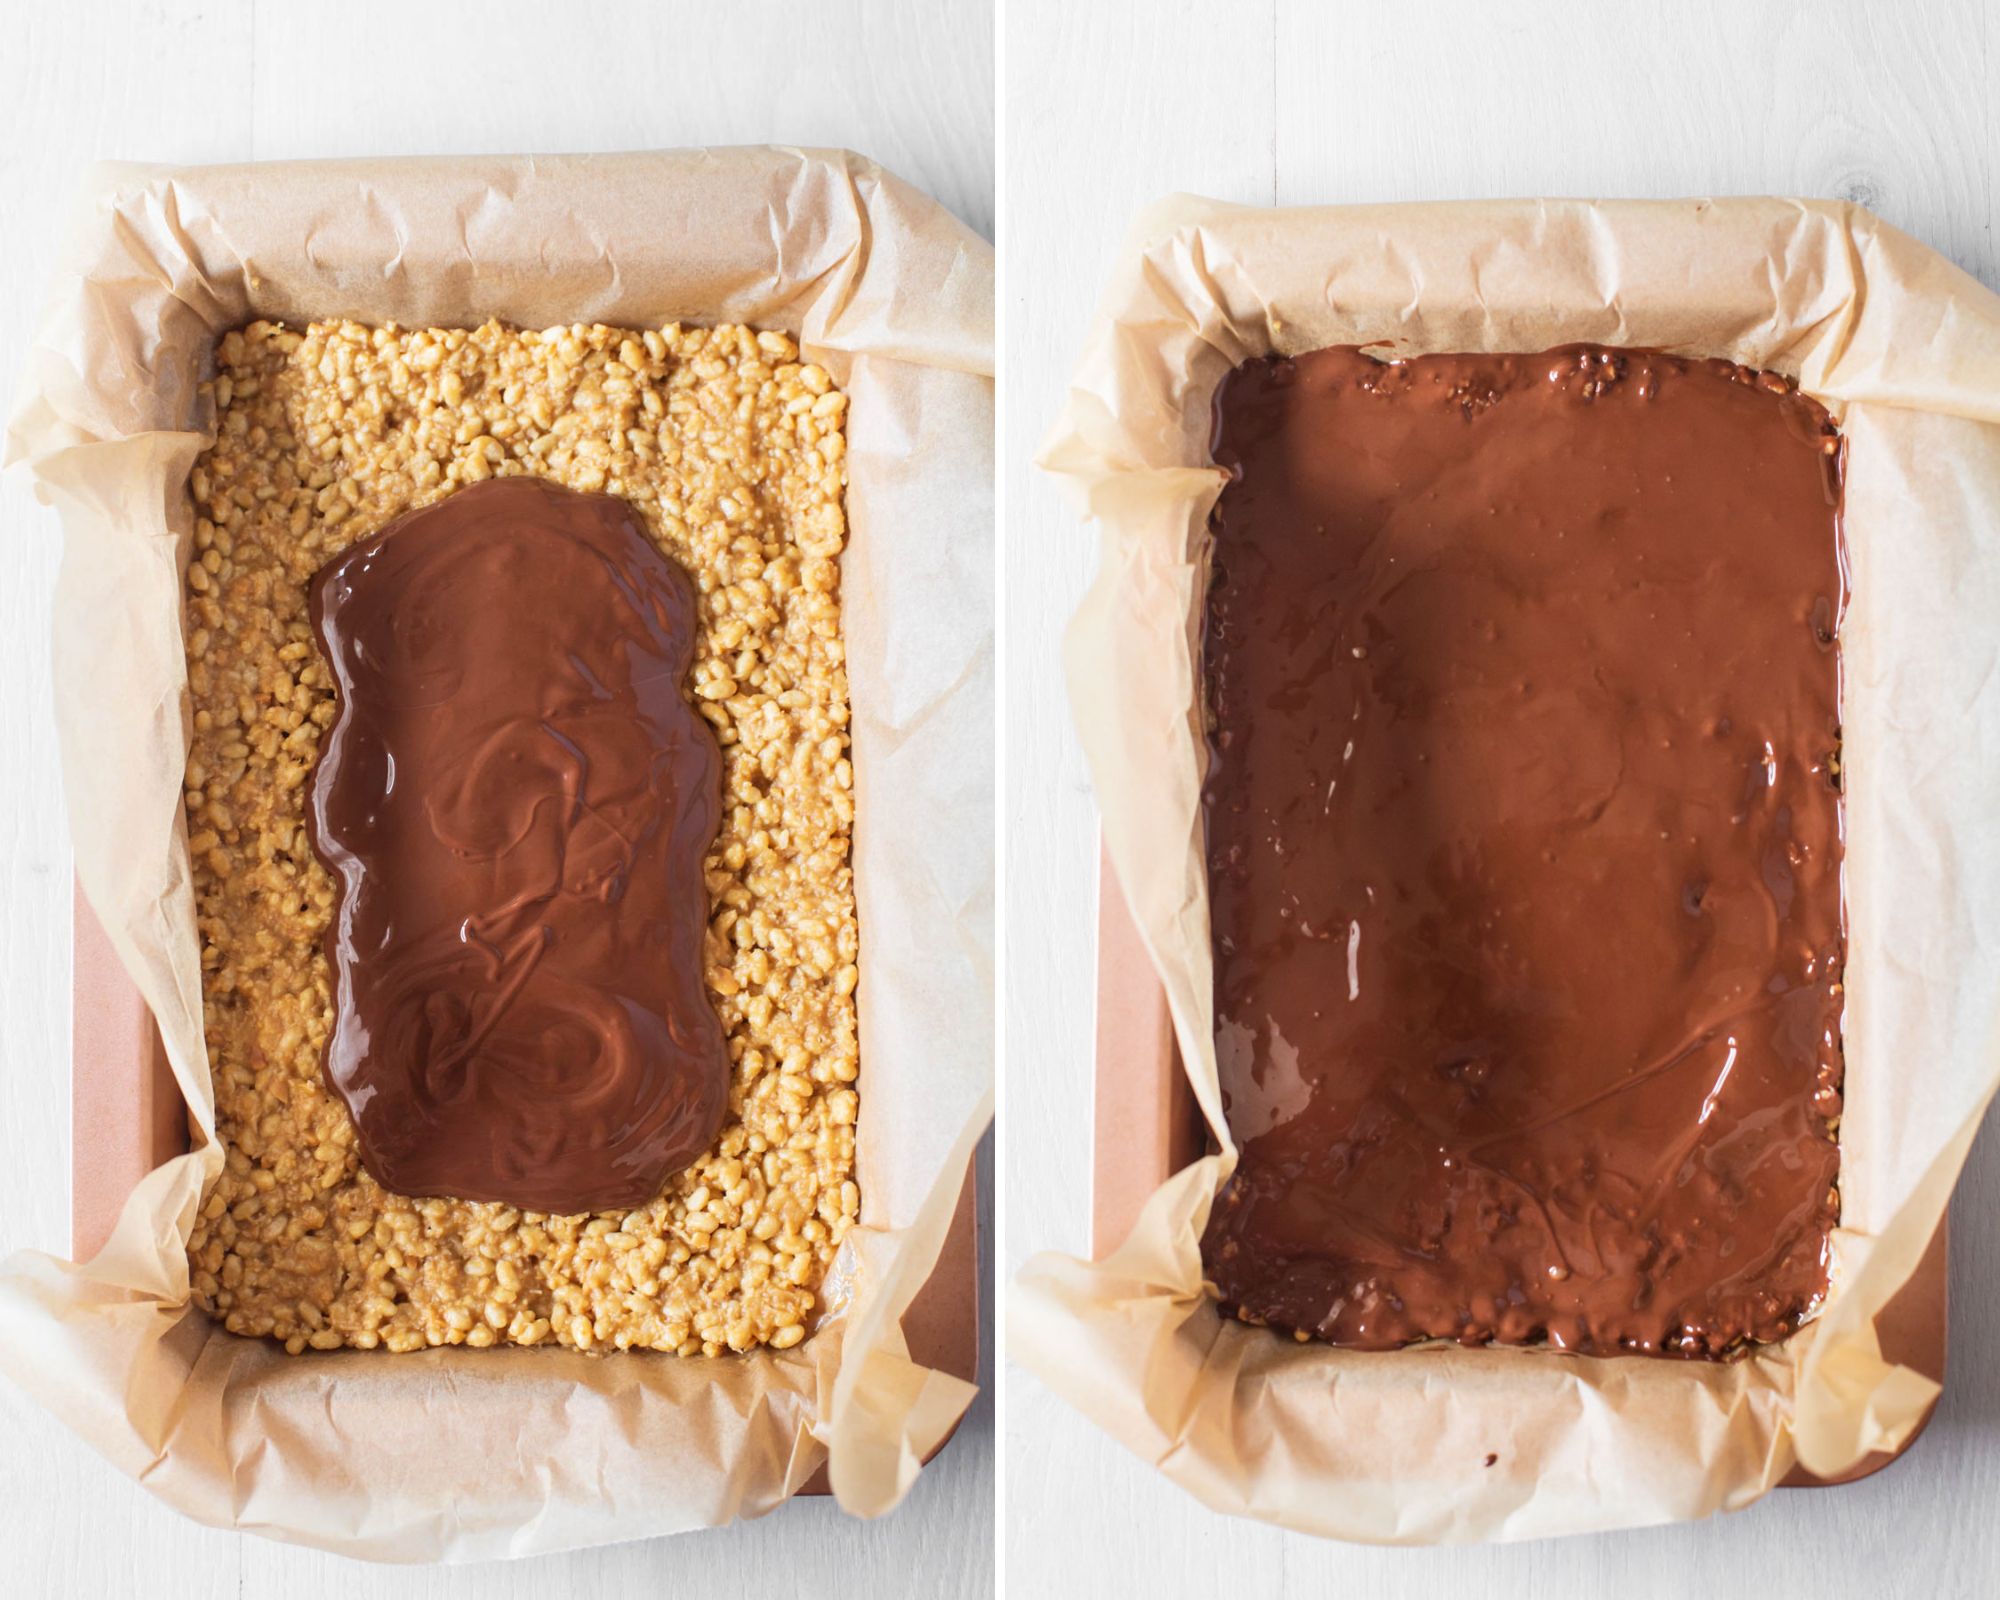
Step six: Pour melted chocolate over the base and using the spatula, gently and evenly spread it out.
Return to the refrigerator and chill for 1-2 hours or until the chocolate topping is set and the base has firmed up.
Step seven: Before cutting, remove the entire slice from the pan, still on the parchment paper, and allow it to sit at room temperature for 5-10 minutes so the chocolate topping softens slightly, making it easier to cut through. Enjoy!
💭 Expert Tips
- Gently melt the ingredients: Don’t let the mixture come to a boil, keep it on low heat. It takes a few minutes for the peanut butter to melt down and blend together with the other ingredients.
- The base mixture: Firmly press the base mixture into your lined tin. Don’t leave any parts loose otherwise, the bars will crumble.
- Refrigerate the base: Chill the base for 15-20 minutes before adding the chocolate topping until it firms up slightly. This makes it easier to spread over the chocolate.
- Melt the chocolate with coconut oil: Adding coconut oil to the chocolate chips softens them as it sets again in the fridge as the topping to the base. This makes it easier to slice into when you’re cutting your bars.
⏲️ Storage Instructions
Store in an airtight container refrigerated for 1 week – 10 days.
Freeze the bars in zip-lock baggies or wrapped in parchment paper or foil and place them into a freezer-friendly airtight container. Label with the date and recipe name. Freeze for 2-3 months.
Thaw the bars in the fridge overnight or at room temperature for 1 hour or until defrosted.
💬 Recipe FAQ’s
Yes, you can use crunchy or smooth peanut butter. I used crunchy peanut butter which adds an extra crunch!
Yes! I used a mix of dark chocolate and milk chocolate chips for the bars you see in the images. It’s what I had on hand, therefore I encourage you to use what you have already in your kitchen!
Yes! Use dairy-free dark chocolate chips to make these PB vegan-friendly.
Unfortunately, these bars contain peanut butter, which is made from peanuts. However, you can explore alternative spreads like sunflower seed butter or soy nut butter as a substitute for peanut butter.
Yes, you can freeze these bars for longer-term storage. Wrap them tightly in plastic wrap or aluminum foil, place them in an airtight container or freezer bag, and store them in the freezer for 2-3 months. Thaw them in the refrigerator or at room temperature before enjoying them.
🥄 Related Recipes
If you enjoy this recipe, please consider leaving a ⭐️ star rating and a comment review below. I love to hear what you think and it’s much appreciated. Thank you! Your email address will not be published. Sam x
Peanut Butter Crunch Bars (no-bake)
Ingredients
Base
- 1/2 cup crunchy or smooth peanut butter
- 1/4 cup pure maple syrup
- 3 Tbsp coconut oil
- 1/2 cup desiccated coconut
- 1 cup Rice Bubbles/Rice Krispies
Chocolate Topping
- 1 cup dark chocolate chips
- 1 Tbsp coconut oil
Instructions
- Line a 9 x 13 inch (22cm x 33cm) rectangle baking tin with parchment paper, set aside.
- Add peanut butter, maple syrup and coconut oil to a medium-sized pot.
- Place it over a low heat on the stovetop and slowly heat mixture until ingredients are completely melted together, mixing occasionally with a wooden spoon to break up the peanut butter. TIP: The peanut butter will take the longest to melt. Keep mixing until it blends through the mixture.
- Turn off heat and stir through desiccated coconut.
- Add puffed rice cereal and mix until completely coated in the mixture.
- Spoon mixture into lined tin. Using the back of a wooden spoon or a rubber spatula, firmly press it in, creating an even layer.
- Place into the refrigerator for 15-20 minutes until it firms up.
- While the base is setting, make chocolate topping.
Chocolate Topping
- Prepare a double boiler by placing a small/medium heat-proof mixing bowl over a medium-sized pot of simmering water.
- Into the bowl, add chocolate chips and coconut oil. Melt over low-medium heat, mixing occasionally with a rubber spatula.
- Once completely melted and smooth, turn off heat and remove bowl from pot.
- Remove base from fridge.
- Pour melted chocolate over the base and using the spatula, gently and evenly spread it out. TIP: move the tin around using your hands in gentle motions so the chocolate spreads out itself.
- Return to the refrigerator and chill for 1-2 hours or until chocolate topping as set and base has firmed up.
- Remove from fridge and before cutting, remove the entire slice from the pan, still on the parchment paper, and allow it to sit at room temperature for 5-10 minutes so the chocolate topping softens slightly, making it easier to cut through.
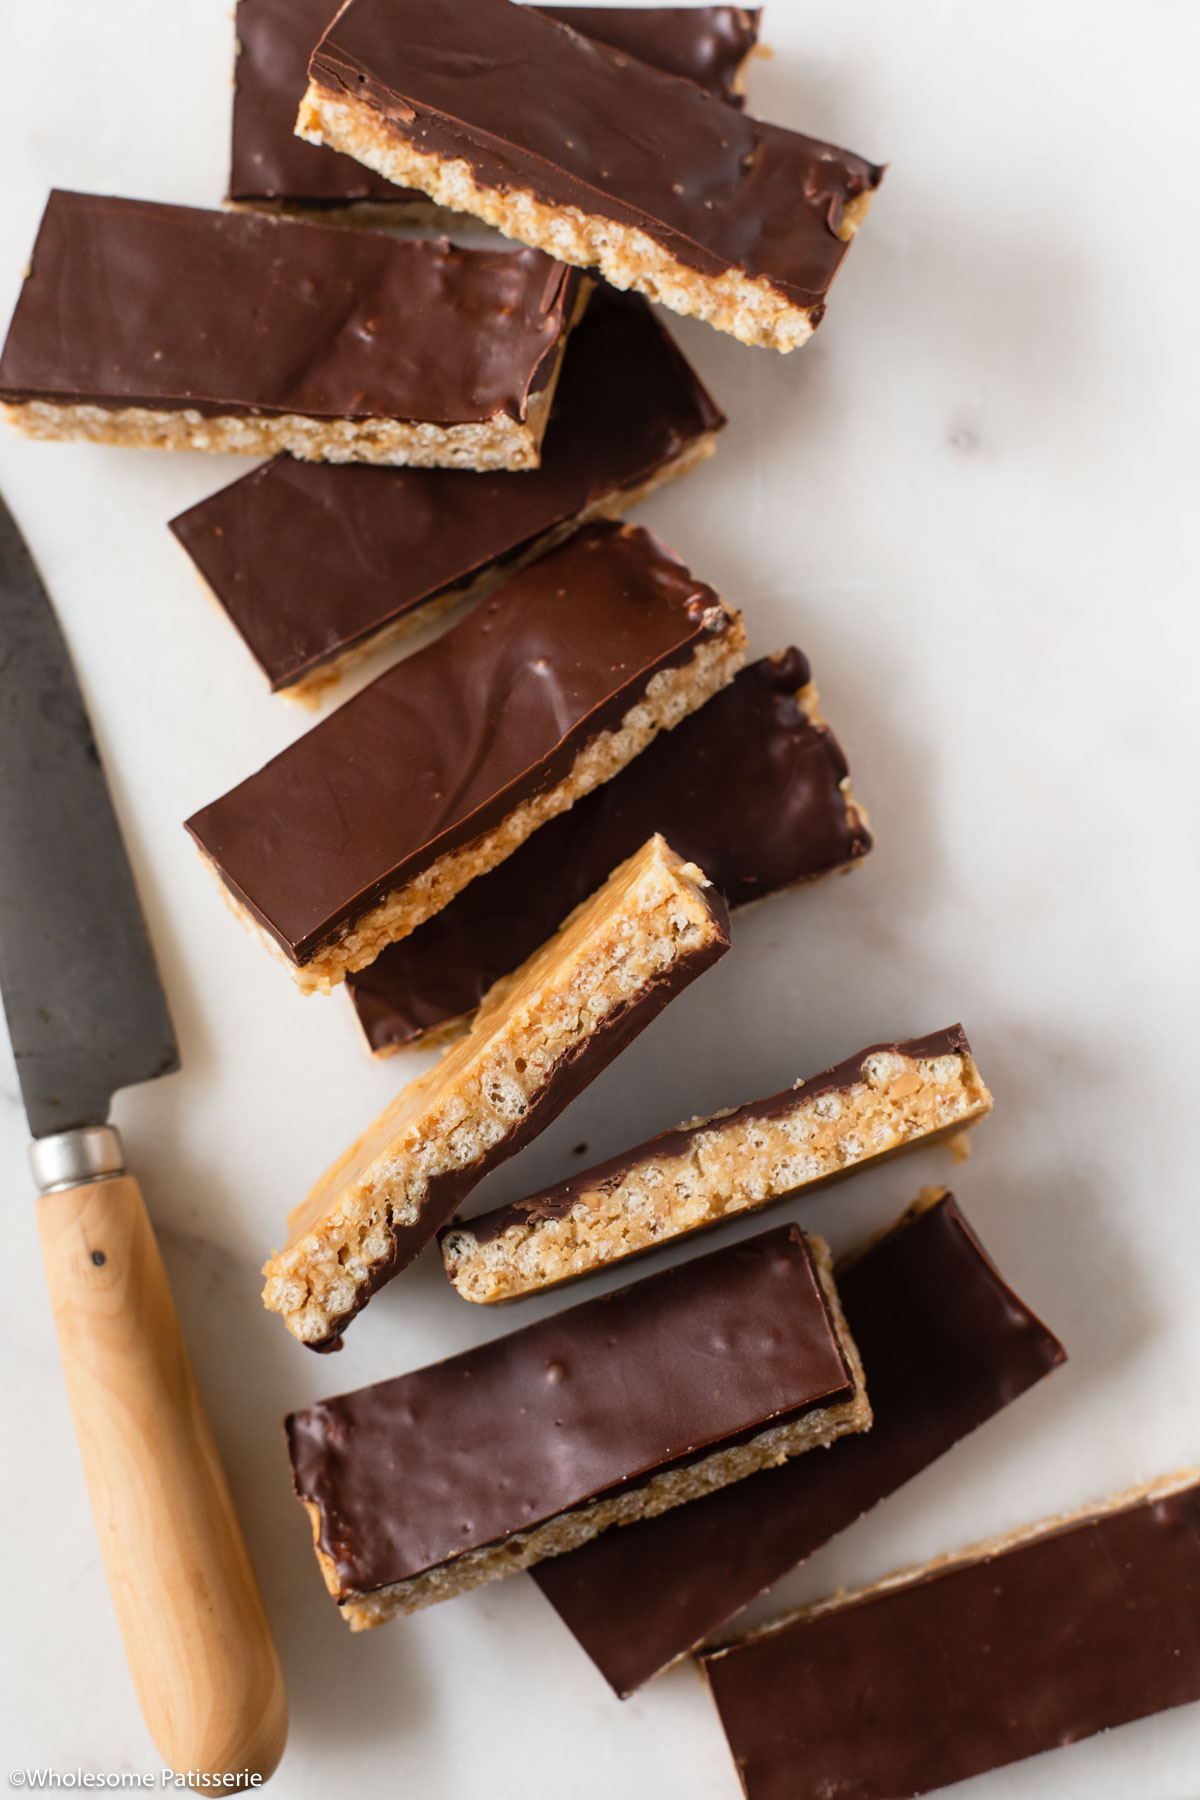
- Slice into long bars and enjoy!
Notes
- The base mixture: Firmly press the base mixture into your lined tin. Don’t leave any parts loose otherwise, the bars will crumble.
- Refrigerate the base: Before adding the chocolate topping, chill the base for 15-20 until it firms up slightly. This makes it easier to spread over the chocolate.
- Store in an airtight container refrigerated for 1 week – 10 days.
- Freeze the bars in zip-lock baggies or wrapped in parchment paper or foil and place them into a freezer-friendly airtight container. Label with the date and recipe name. Freeze for 2-3 months.
- Thaw the bars in the fridge overnight or at room temperature for 1 hour or until defrosted.
Thanks for sharing! Does it freeze well?
Hi Vanessa, thanks, it’s so delicious! You can certainly freeze this bark however, because it has the chocolate topping it can bloom. Meaning, when you freeze chocolate, it can get that white coating on the surface along with condensation. If you would like to freeze it, i’d recommend doing it slowly. Start off by cooling it down in the refrigerator until chilled. Then wrap it (or slice it up) and wrap tightly in cling film. Then place in an airtight container and then transfer it into the freezer. Then when you would like to defrost, remove from the freezer and place the container in the refrigerator until defrosted. Hopefully this reduces the amount of bloom that can happen with the chocolate topping. Hope that helps!
This looks so good! What a great way to enjoy a treat while sticking to the good stuff!
Hi Suzanne, thanks so much! It’s absolutely yummy this bark. You’re so right, it’s a wonderful and healthier way to enjoy a sweet treat. Hope you give it a try 🙂
WOW WOW WOW WOWWW
This amazing! The best sweet I’ve had in a very long time! My entire family loves it. So easy to make and very delicious! I made it with all organic ingredients so i call it health food haha 🙂
For a change up what could you use instead of peanut butter? Say if you wanted a peppermint slice ?
Thank you for sharing this amazing recipe I will be making it often. xx
Hi Natalie! THANK YOU!! I’m so happy to hear that! This is also one of my very favourite sweet treat recipes, so simple and tasty! Fantastic that your entire family is also enjoying it! Oh definitely! Using organic ingredients is even better and I agree with you on that point 😉
You can switch the peanut butter with almond butter, which will provide a more subtle flavour. You can also use cashew butter. If you’re wanting to create a peppermint flavour (what a great idea!) I’d suggest using either almond or cashew butter, as the base still needs this element for it to stick together. Using either almond or cashew nut butter, their flavour isn’t as prominent as peanut butter. You can add drops of peppermint oil to the base to create your peppermint flavour, how ever much you desire, taste test as you go! I hope that helps, enjoy! xx
These bars look SO good! Also can’t stop staring at how smooth that chocolate looks on top!
Thanks so much Jess! The chocolate is the best part 😉