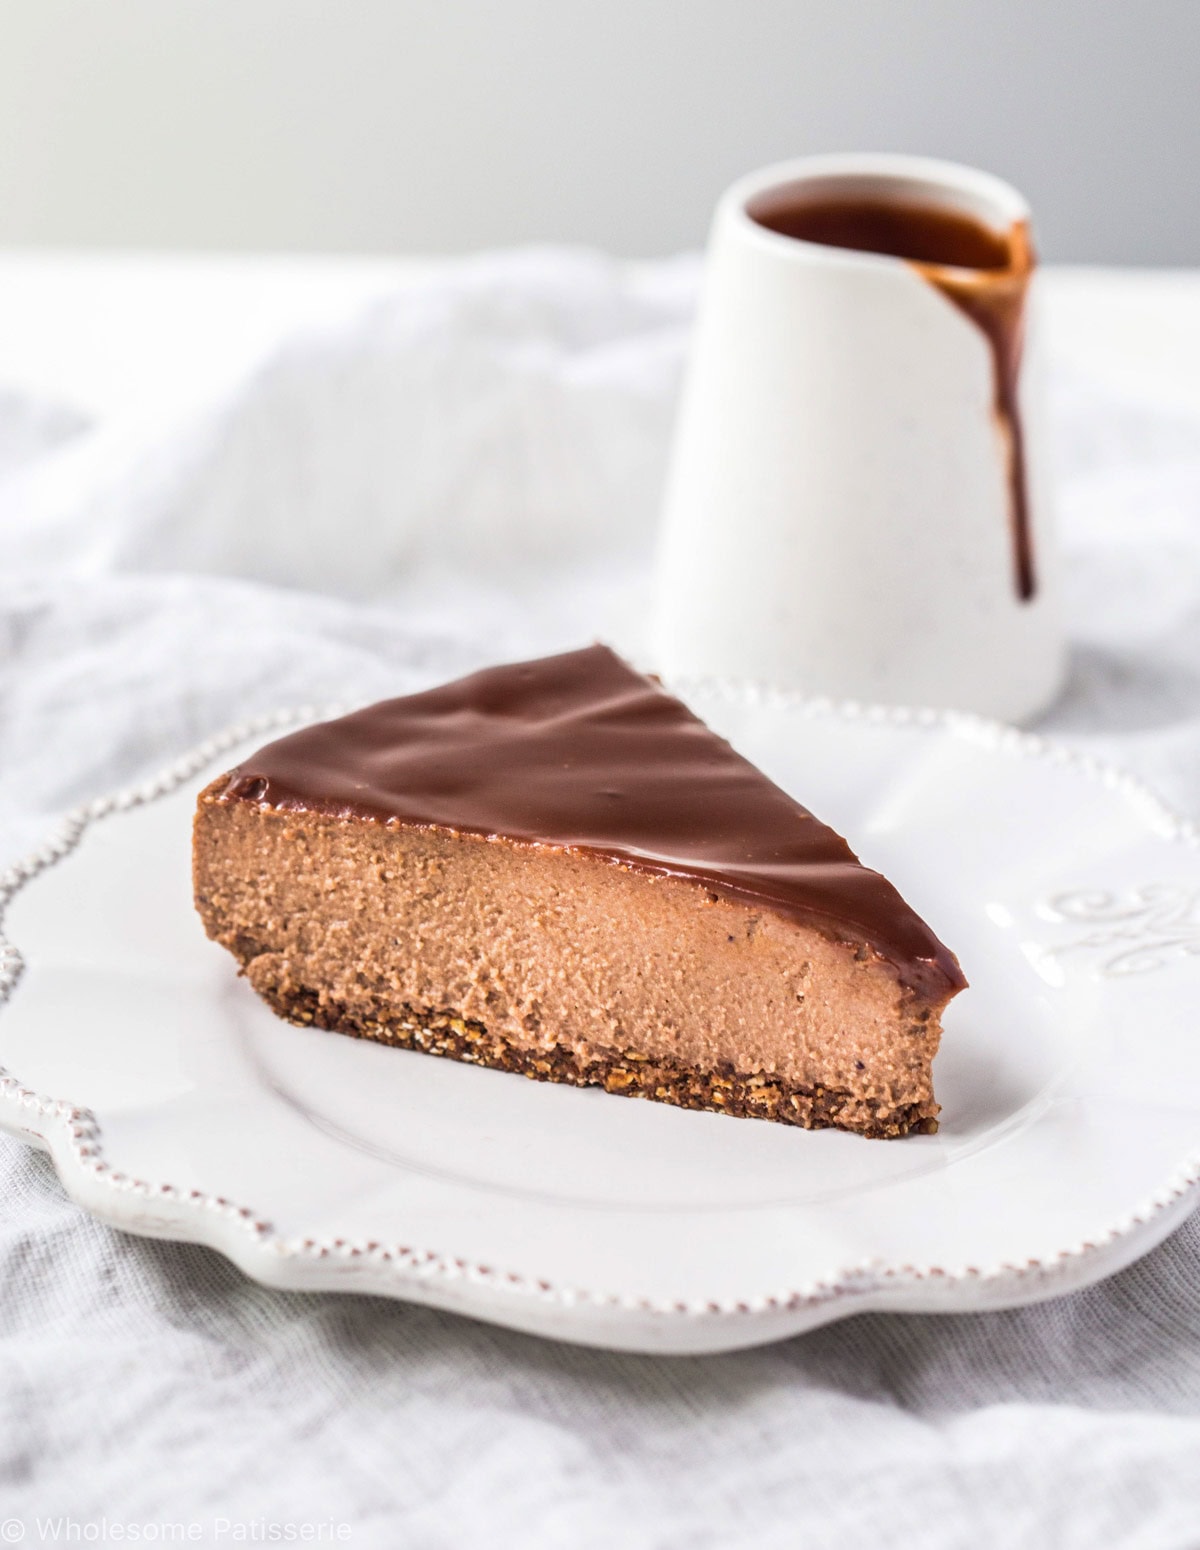
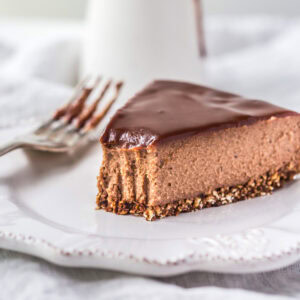
Chocolate Vegan Cheesecake
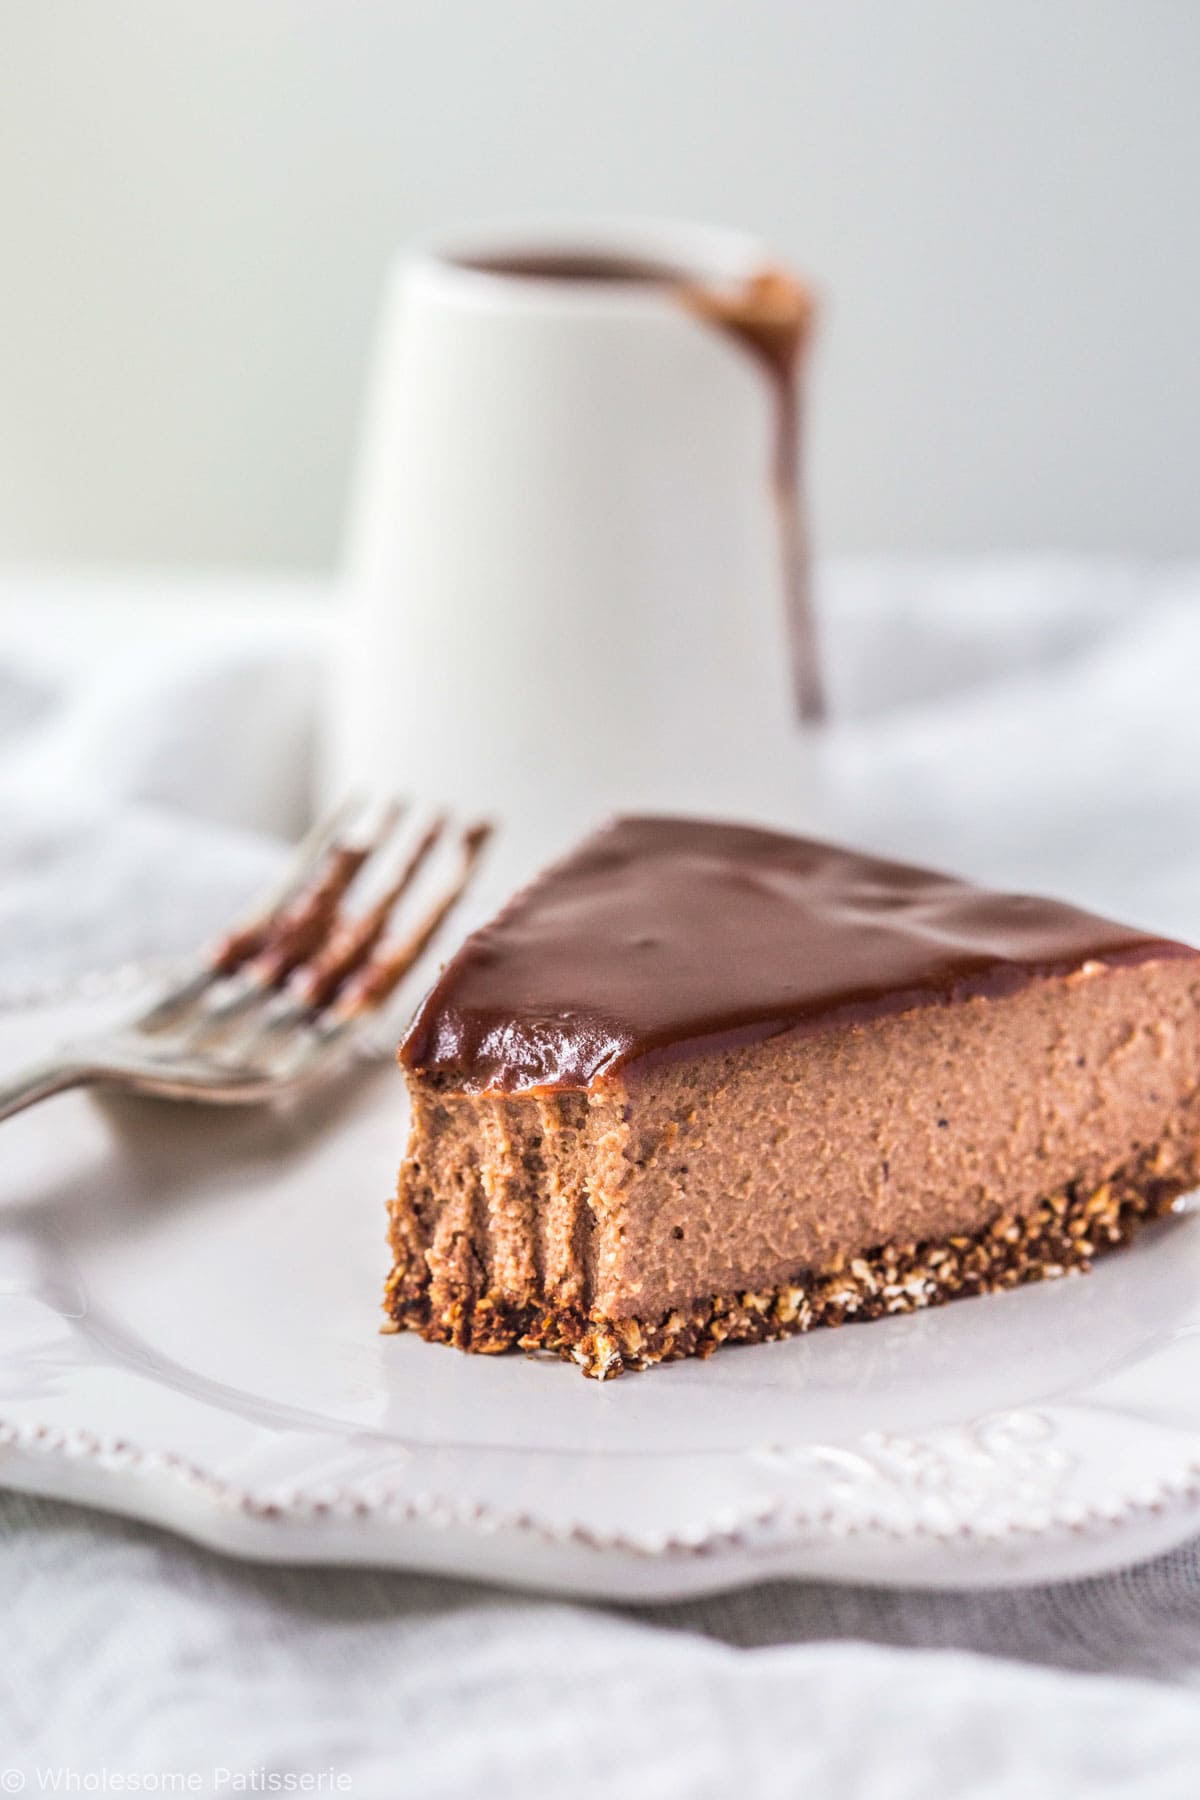
This Chocolate Vegan Cheesecake Recipe redefines traditional vegan cheesecakes by using soaked cashews to eliminate any gritty texture. Enhanced with dark chocolate, this vegan cheesecake offers a luxuriously smooth, rich, and fudgy experience, proving irresistible for any occasion!
Chocolate Vegan Cheesecake Recipe
I’ve always been on the hunt for the perfect chocolate vegan cheesecake, especially one without the overpowering taste of cashews and their sometimes gritty texture.
To overcome this, I discovered soaking cashews in boiling hot water and blending them thoroughly creates a smooth, creamy base.
This ensures the filling is luxuriously smooth with no lumps, just pure velvety chocolate bliss.
Not only does this no bake chocolate cheese cater to vegan preferences but it also offers a decadent, rich taste suitable for any celebration or as a delightful treat all year round.
How to make chocolate vegan cheesecake
A full and detailed recipe card is at the bottom of this post.
Prepare Dates: Place the dates in a heat-proof bowl and pour over enough boiling water to cover the dates. Soak for 15 minutes to soften.
Process Dates: Drain the soaked dates and add to a high-speed food processor, pulsing until smooth.
Combine Base Ingredients: Add the oats, cacao powder, and maple syrup to the processor and blend on high until well combined and sticky. If necessary, add more maple syrup one tablespoon at a time until the mixture holds its shape.
Set Base: Press the base mixture firmly into the prepared pan and refrigerate to firm up while you make the filling.
Setup Double Boiler: Set up a double boiler by filling a medium-sized pot halfway with water and placing a small heat-proof glass bowl over it, ensuring the bowl does not touch the water. Heat over medium.
Melt Chocolate: Melt the chocolate in the bowl, stirring until smooth, then set aside to cool to room temperature.
Process Filling Ingredients: Drain the soaked cashews and add to the food processor along with coconut cream, maple syrup, jam, and melted coconut oil. Blend on high until smooth.
Incorporate Chocolate: With the processor running, slowly add the melted chocolate through the feed tube, continuing to blend for 1-2 minutes until the mixture is completely smooth and lump-free.
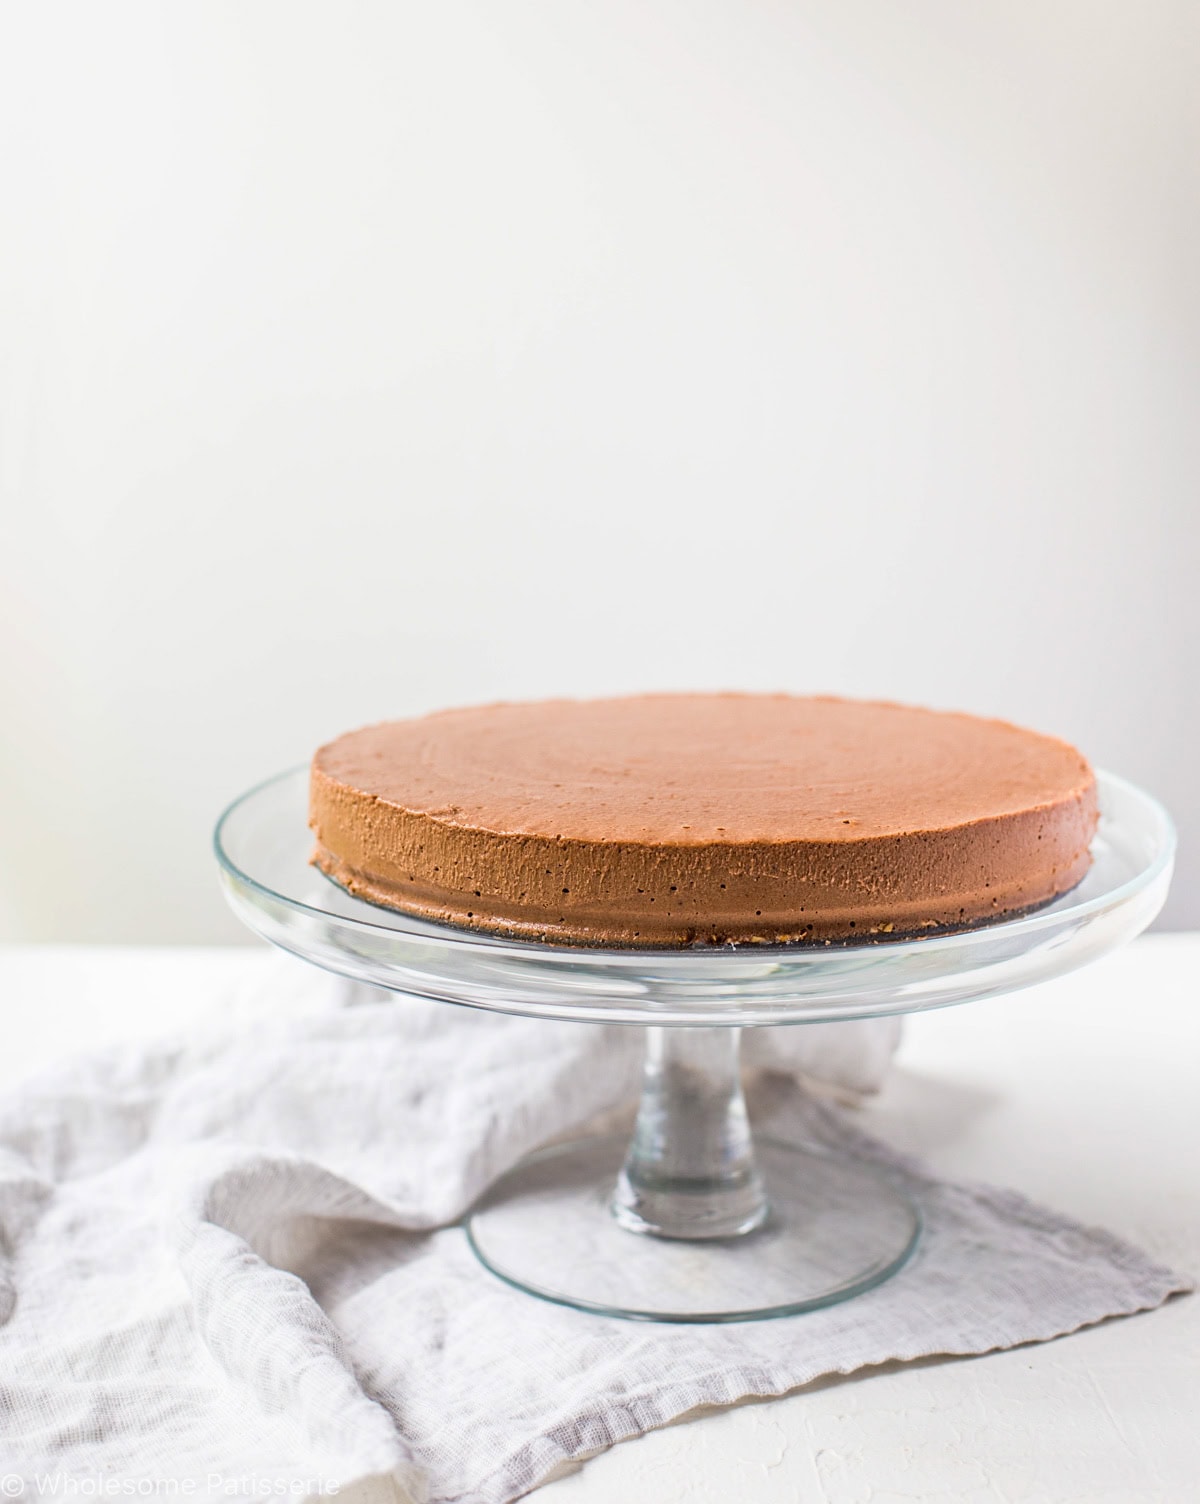
Chill Filling: Pour the filling over the base in the cake pan and smooth the top. Refrigerate for 4-6 hours, or overnight, until set. Alternatively, freeze until set then thaw before serving.
When to Begin Sauce: Only start this fudge sauce after the cheesecake has set for 6+ hours or overnight.
Melt Butter: Melt the butter in a small saucepan over low heat.
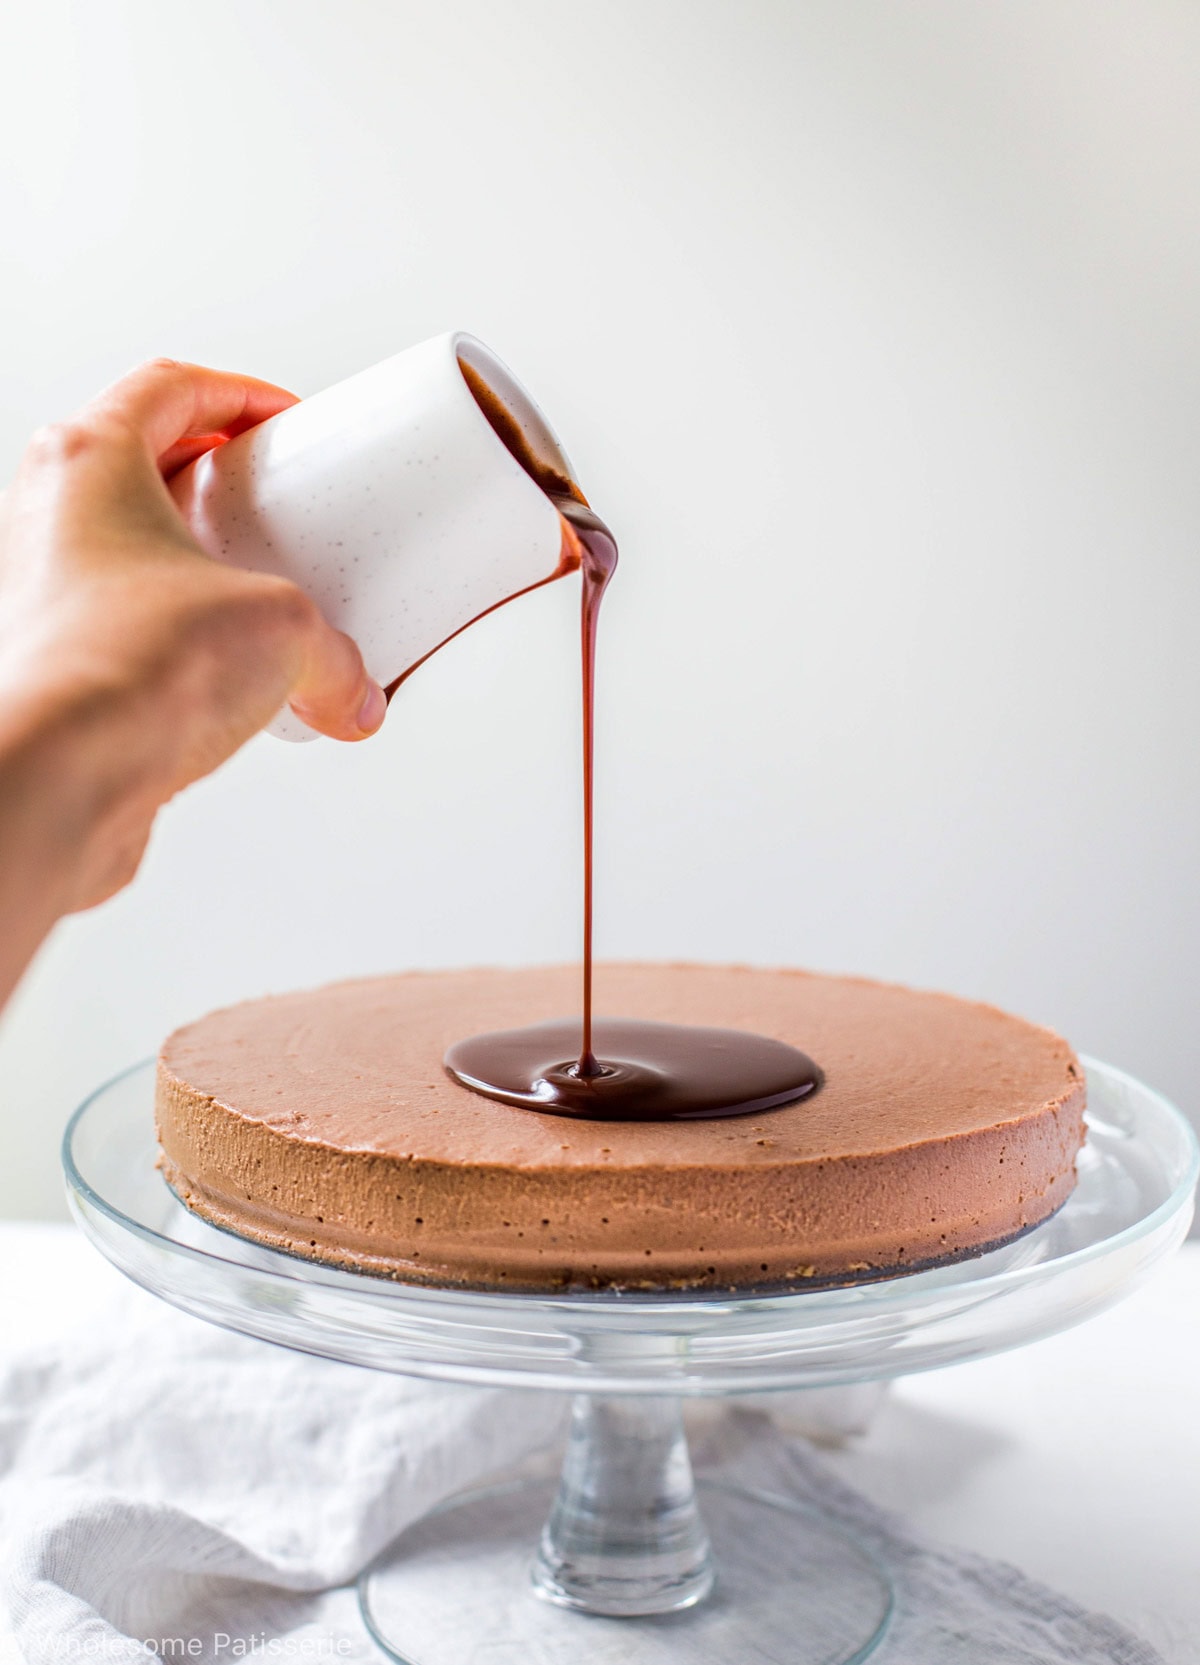
Combine Sauce Ingredients: Add the powdered sugar, cacao powder, coconut cream, vanilla, and salt. Increase heat to high and bring to a simmer, whisking continuously until the sauce thickens and becomes glossy.
Cool Sauce: Remove from heat and pour into a heatproof jar. Refrigerate until cooled and it has thickened into a thick pourable sauce.
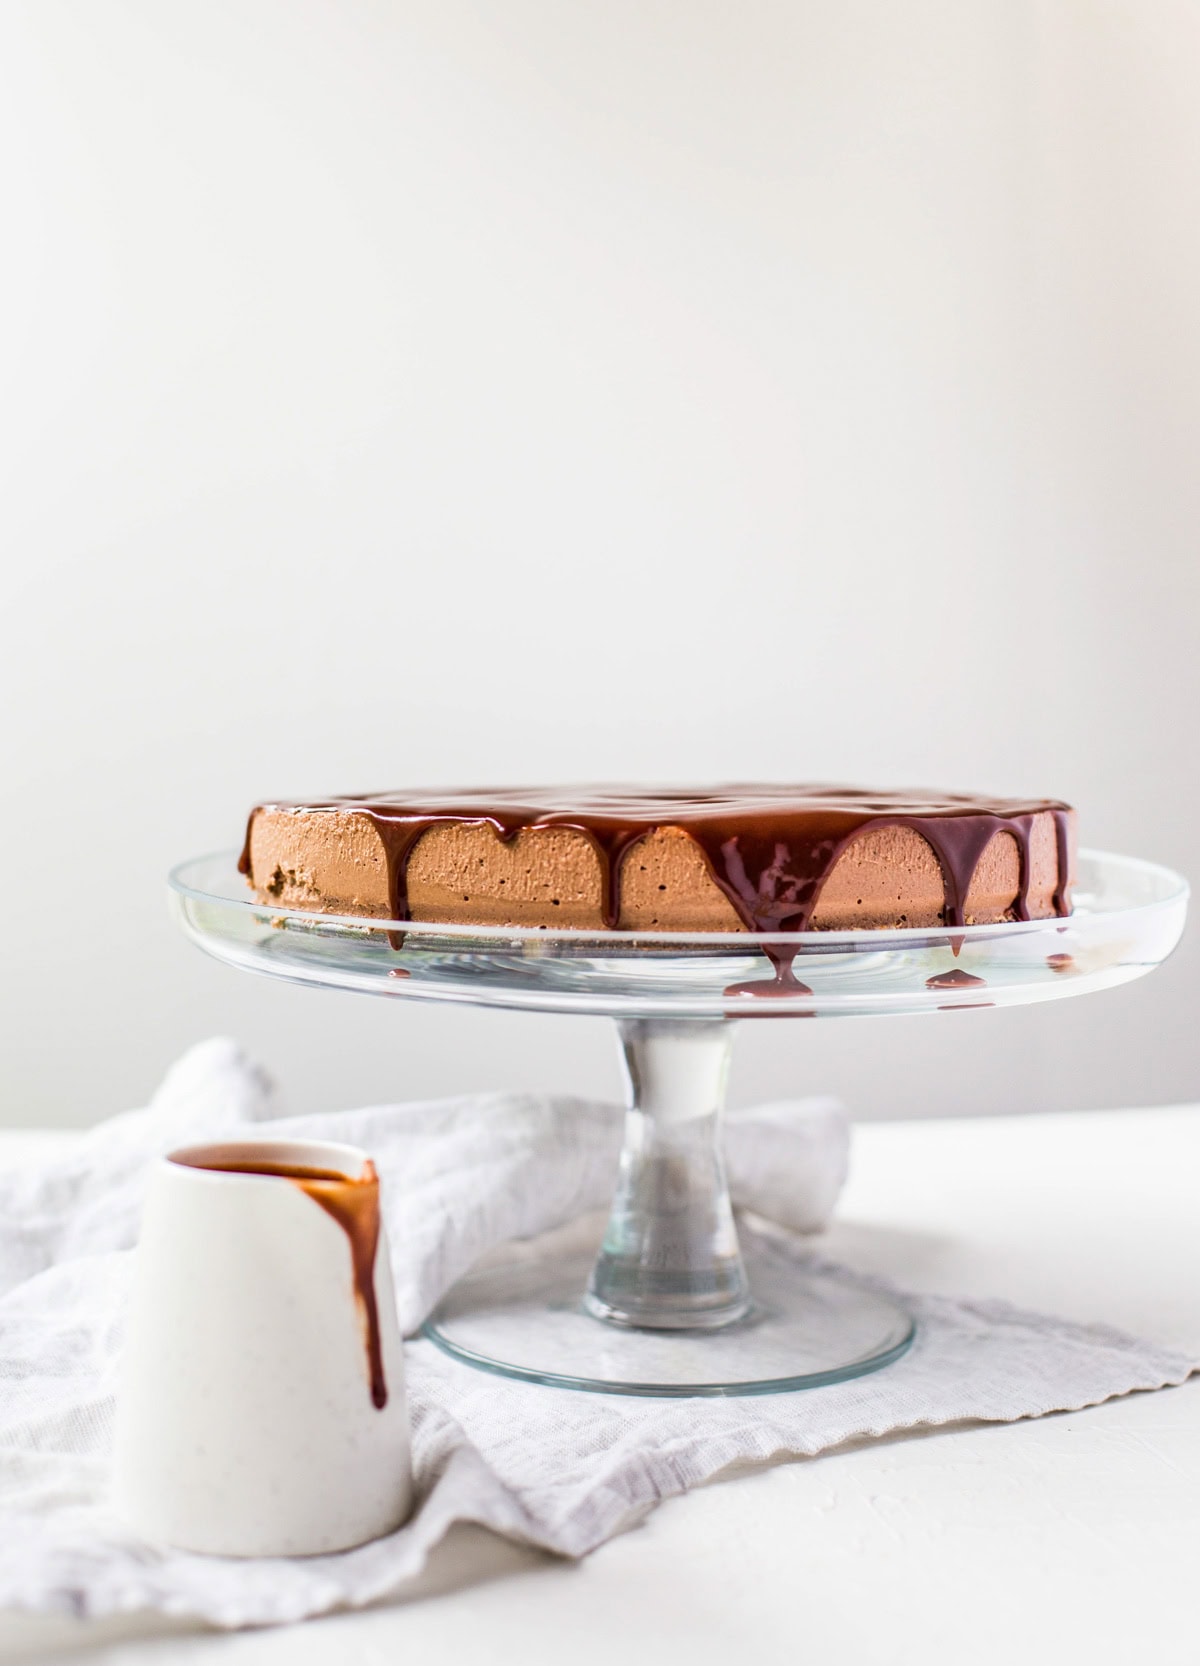
Top Cheesecake: Once the cheesecake is set, pour the cooled chocolate fudge sauce over the top. Enjoy!
Expert Tips
- Soak Cashews: Soak cashews in boiling water for 2 hours before starting this recipe or in cold water overnight. This softens them significantly, ensuring a smoother texture for your vegan cheesecake.
- Melting Chocolate: Melt the chocolate and allow it to cool to a lukewarm temperature to prevent it from seizing when mixed in the blender with the colder ingredients.
- Continuous Blending: Stream the melted chocolate into the blending cashew mixture continuously to prevent clumps. Extend blending for a couple of minutes to achieve the silkiest texture possible.
How do I know when the cheesecake is set?
The vegan cheesecake typically sets after 4-6 hours in the refrigerator but leaving it overnight is ideal for the best texture.
Can this cheesecake be made nut-free?
Due to the reliance on cashews for texture, making this cheesecake nut-free isn’t recommended as it would significantly alter the outcome.
Why is jam added to the cheesecake filling?
Jam is added to the filling of this chocolate vegan cheesecake to add natural sweetness. It also helps to balance the richness of the chocolate and nuts with its fruity undertones.
How to store no bake cheesecake?
Storage: Store the cheesecake in an airtight container in the refrigerator for up to one week.
Freezing: Slice and freeze on a baking sheet before transferring to a freezer-safe container, where it can be kept for up to 2 months. Thaw in the refrigerator or at room temperature until soft enough to eat.
If you enjoy this recipe, please consider leaving a ⭐️ star rating and a comment review below. I love to hear what you think and it’s much appreciated. Thank you! Your email address will not be published. Sam x
Chocolate Vegan Cheesecake
Ingredients
Base
- 1 cup dried pitted dates
- 1½ cups old-fashioned whole rolled oats
- 3 Tbsp cacao powder, or unsweetened cocoa powder
- 3 Tbsp maple syrup
Filling
- 2 cups raw cashews, soaked in boiling hot water for 1-2 hours or cold water and left overnight
- 200 g plain dark chocolate block, broken into squares
- 400 g (15 oz.) can coconut cream
- ¼ cup maple syrup
- ¼ cup raspberry or strawberry jam, store bought
- ¼ cup coconut oil, melted
Chocolate Fudge Sauce
- ¼ cup dairy-free block butter
- ½ cup powdered sugar
- 2 Tbsp cacao powder, or unsweetened cocoa powder
- ¼ cup full fat canned coconut cream
- 1 tsp vanilla extract
- ¼ tsp salt
Instructions
- Soak Cashews: 2 hours before beginning, soak the 2 cups of cashews for the filling. Cover them with boiling water for 2 hours for a quick soaking or in cold water overnight. Proper soaking is essential for a creamy cheesecake texture.
Base
- Grease Pan: Line a round 9-inch (22cm) springform cake tin with a circle of parchment paper to line just the base, no need to grease or line the sides. Set aside.
- Prepare Dates: Place the dates in a heat-proof bowl and pour over enough boiling water to cover the dates. Soak for 15 minutes to soften.
- Process Dates: Drain the soaked dates and add to a high-speed food processor, pulsing until smooth.
- Combine Base Ingredients: Add the oats, cacao powder, and maple syrup to the processor and blend on high until well combined and sticky. If necessary, add more maple syrup one tablespoon at a time until the mixture holds its shape.
- Set Base: Press the base mixture firmly into the prepared pan and refrigerate to firm up while you make the filling.
Filling
- Setup Double Boiler: Set up a double boiler by filling a medium-sized pot halfway with water and placing a small heat-proof glass bowl over it, ensuring the bowl does not touch the water. Heat over medium.
- Melt Chocolate: Melt the chocolate in the bowl, stirring until smooth, then set aside to cool to room temperature.
- Process Filling Ingredients: Drain the soaked cashews and add to the food processor along with coconut cream, maple syrup, jam, and melted coconut oil. Blend on high until smooth.
- Incorporate Chocolate: With the processor running, slowly add the melted chocolate through the feed tube, continuing to blend for 1-2 minutes until the mixture is completely smooth and lump-free.
- Chill Filling: Pour the filling over the base in the cake pan and smooth the top. Refrigerate for 4-6 hours, or overnight, until set. Alternatively, freeze until set then thaw before serving.
Chocolate Fudge Sauce
- When to Begin: Only start this fudge sauce after the cheesecake has set for 6+ hours or overnight.
- Melt Butter: Melt the butter in a small saucepan over low heat.
- Combine Sauce Ingredients: Add the powdered sugar, cacao powder, coconut cream, vanilla, and salt. Increase heat to high and bring to a simmer, whisking continuously until the sauce thickens and becomes glossy.
- Cool Sauce: Remove from heat and pour into a heatproof jar. Refrigerate until cooled and it has thickened into a thick pourable sauce.
- Top Cheesecake: Once the cheesecake is set, pour the cooled chocolate fudge sauce over the top. Enjoy!
Notes
- Storage: Store the cheesecake in an airtight container in the refrigerator for up to one week.
- Freezing: Slice and freeze on a baking sheet before transferring to a freezer-safe container, where it can be kept for up to 2 months. Thaw in the refrigerator or at room temperature until soft enough to eat.
Nutrition
First published in 2017, this recipe was updated in April 2024 to include new expert recommendations, storage guidelines, recipe card additions and more.
Hi Sam, thank you so much for this great recipe. It is one of my new favorites now. I served it on Easter for my Family and they felt in love immediately. Thank you for the exact instructions of the melted chocolate. It helped a lot. Great work! xoxo Janine
Hi Janine! You’re so very welcome! I LOVED watching along with you on your stories whilst you’re making the cheesecake. Happy to hear the chocolate worked out, it’s the most important step I think! That’s great your family enjoyed the cake, perfect for Easter! Thanks Janine! Heres to more super delicious chocolate sweets in the future! xx