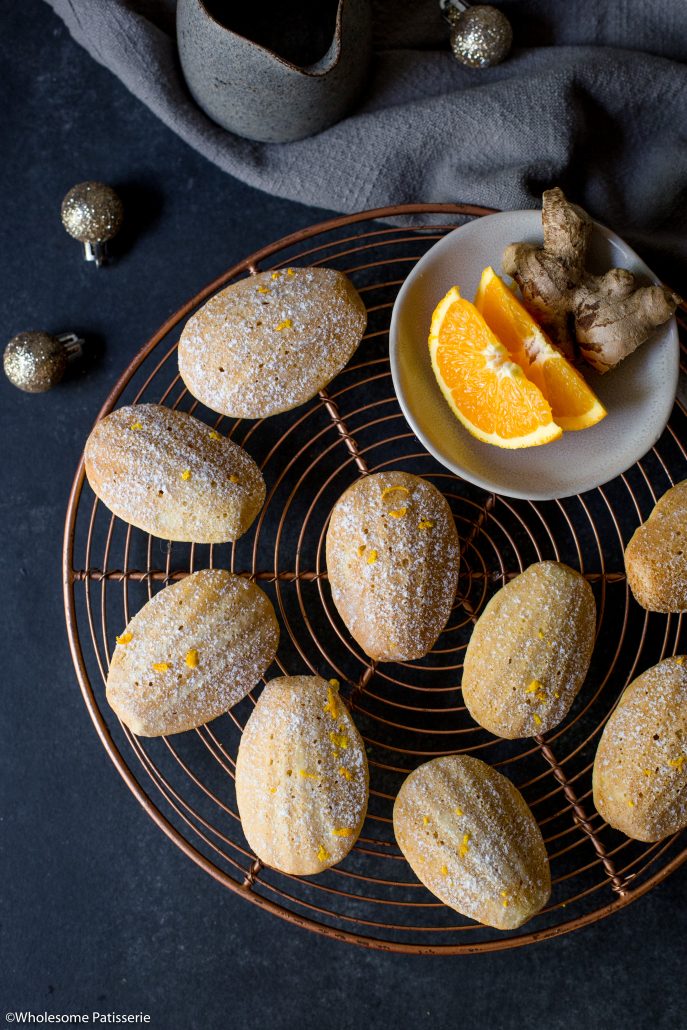
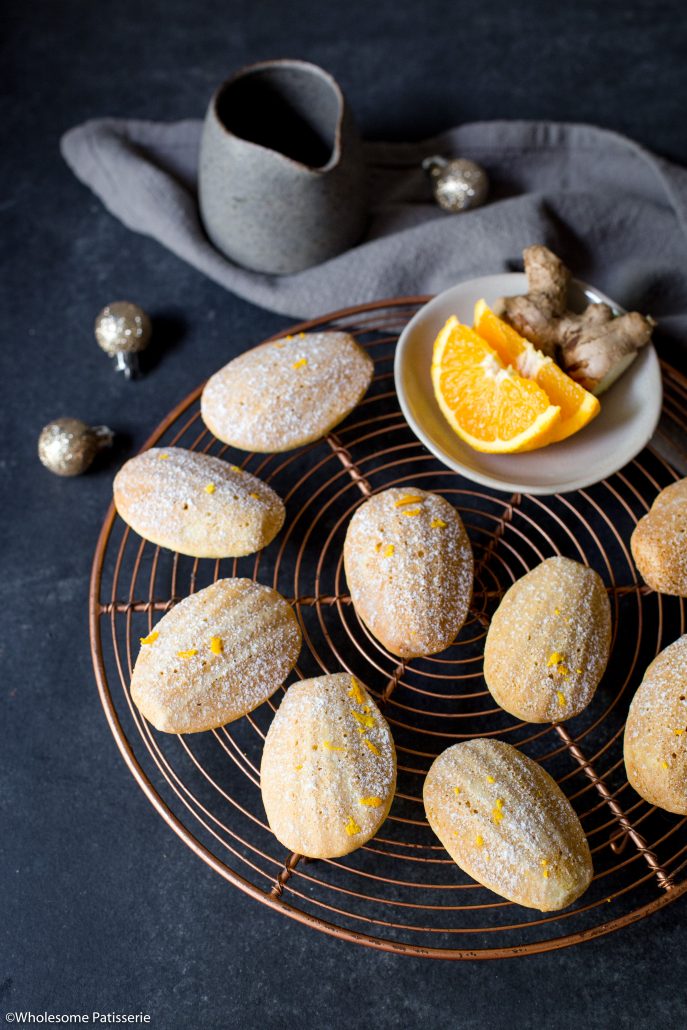
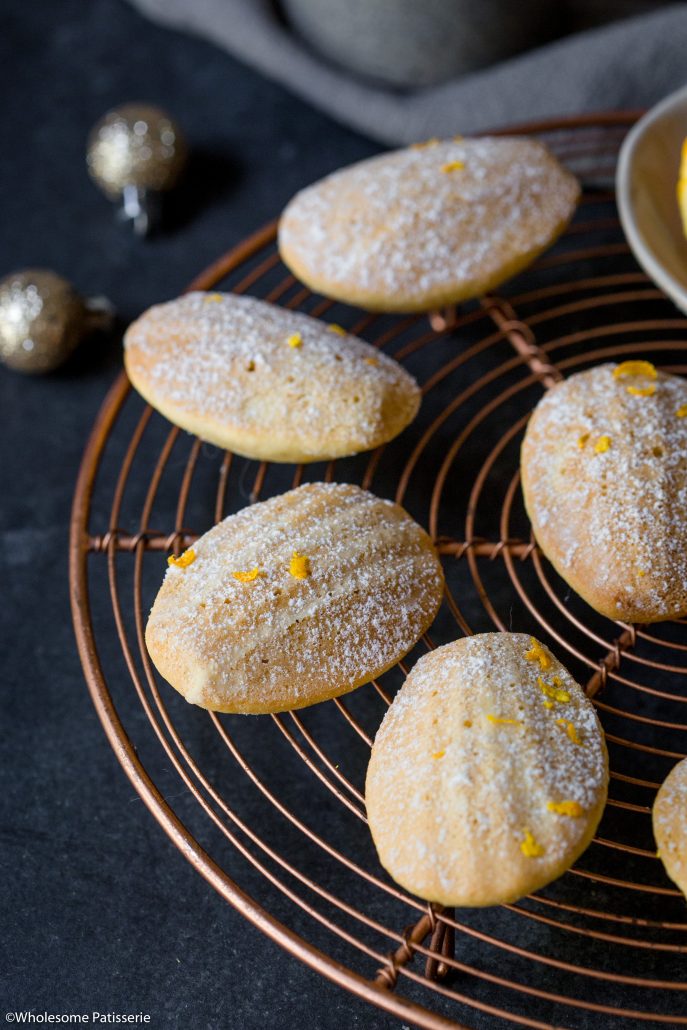
Orange & Ginger Madeleines
Have you ever made or enjoyed a madeleine? If you haven’t, I strongly suggest you get onto that asap! I had never tasted one before, let alone made a batch myself, up until a few weeks ago. I’ve seen madeleines numerous times on Pinterest but they always looked so perfect and I kept scrolling past them, thinking they would be too difficult to make, especially when you need a madeleine pan. I’m here to tell you though, they’re seriously simple! The hardest part going out to purchase your madeleine pan, hehe.
I adapted a recipe from the wonderful Beth from ‘Entertaining With Beth’. Beth created an incredibly informative YouTube video about Madeleines, which I recommend you watch, thank you Beth!
Because I was making these madeleines for Christmas, I decided to infuse fresh orange and ginger into these madeleines. Both flavours are subtle enough but strong enough for you to enjoy. Never thought of paring orange and ginger together? Yeah me neither but it’s perfection and I’m sure you will fall in love with this recipe.

I can’t tell you just how morish these madeleines are, I swear I was eating 3-4 of them in one sitting. By 1 sitting, I’m referring to 1 cup of tea, hehe. I’ve heard many enjoy madeleines as a breakfast cookie, they’re French after all, so I find that absolutely acceptable!
I hope you make yourself a batch of these orange and ginger madeleines, seriously, I know you will love them! Because I’m already hooked and cannot wait until I get back into my kitchen to whip up another batch, or 2 😉
Enjoy!

Orange & Ginger Madeleines
- Total Time: 28 minutes
- Yield: 12 1x
Ingredients
Madeleines
- 1 cup gluten free all purpose flour* (or regular all purpose flour)
- 1 tsp baking powder
- Pinch Himalayan pink salt or regular salt
- 3 medium-large eggs
- 2/3 cup white or raw caster sugar
- Finely grated zest of 1 medium-large orange
- 1 1/2 tsp finely grated fresh ginger
- 1/2 tsp vanilla bean extract
- 110 g salted butter, melted
- 1 Tbsp icing/confectioners sugar, to dust
Equipment
- 12– hole madeleine pan
- 2 Tbsp butter, melted
- 1–2 Tbsp gluten free flour or regular flour
Instructions
- In a small mixing bowl, combine flour, baking powder and salt, mix well and set aside.
- In a large mixing bowl, add eggs and sugar. Whisk vigorously until pale yellow, approx. 1 minute.
- Add orange zest, ginger and vanilla, whisk to combine.
- Add half the flour mixture into the whisked eggs, gently folding with a spatula until just combined. Add remaining flour and fold until just combined.
- Pour in melted butter and gently fold through until well combined, ensuring not to over-mix.
- Cover bowl with plastic wrap and place in the refrigerator for 1 hour.
- Preheat oven to 180ºC (356ºF).
- To prepare madeleine pan: Melt 2 tablespoons butter. Take a pastry brush and lightly brush a little of the melted butter into each madeleine well.
- Add 1 tablespoon flour into a small fine mesh sieve or mesh tea ball.
- Lightly dust a layer of flour into each madeleine well.
- Turn pan over and into the kitchen sink, tap the side of the pan a few times to remove any excess flour. Pan is ready.*
- Remove batter from refrigerator.
- Spoon 1 tablespoon of batter into the middle of each madeleine well. Leaving the batter untouched, it will spread out into the wells during baking.
- Bake 7-8 minutes or until madeleines are slightly golden around the edges and spring back when lightly pressed in the middle.
- Remove and cool in pan for 2 minutes.
- Take pan and onto a clean bench, lightly tap side of pan on the bench and the madeleines should fall out by themselves. Alternatively, remove each from pan using your hands.
- Transfer to a wire rack and dust over icing sugar.
- Serve warm or cool completely and store for later.
- Enjoy!
Notes
Store madeleines in an airtight container, in the pantry or refrigerated, for 3-4 days. Best served fresh.
*I use Bob’s Red Mill 1:1 Baking Flour.
**If you would like a visual on how to prepare a madeleine pan, simply head to Youtube to find a tutorial.
- Prep Time: 20 minutes
- Cook Time: 8 minutes
Hey, how do I make this eggless? Can I substitute each egg with 60g of yoghurt?
Hi Mamta, this recipe has not been tested without eggs. Therefore I cannot guarantee that replacing the eggs with yoghurt will be successful. I can only suggest you give it a try. An average large egg in the shell weighs between 55g-65g, so it makes sense to replace each with roughly 60g of yoghurt. However, madeleines do rely on eggs to rise in the oven and for their texture and I’m not sure if using yoghurt will produce the same results with this particular recipe as I have not tried it myself. I would also recommend to find another madeleine recipe that is created without eggs, so you know it will be successful, as the other ingredients have to cater towards not having the eggs. I hope this helps in making your decision. Good luck, Sam 🙂
I don’t have a Madeline pan, any suggestions on what i can use instead?
Hi Marie, They really are best made in a madeleine pan as it ensures the golden/crispness of the outside and perfectly baked centre. However, I’ve heard some people also use a mini cupcake/muffin (or regular size) baking pan before. Just have to make sure the wells are still greased and floured well. Hope this helps! 🙂