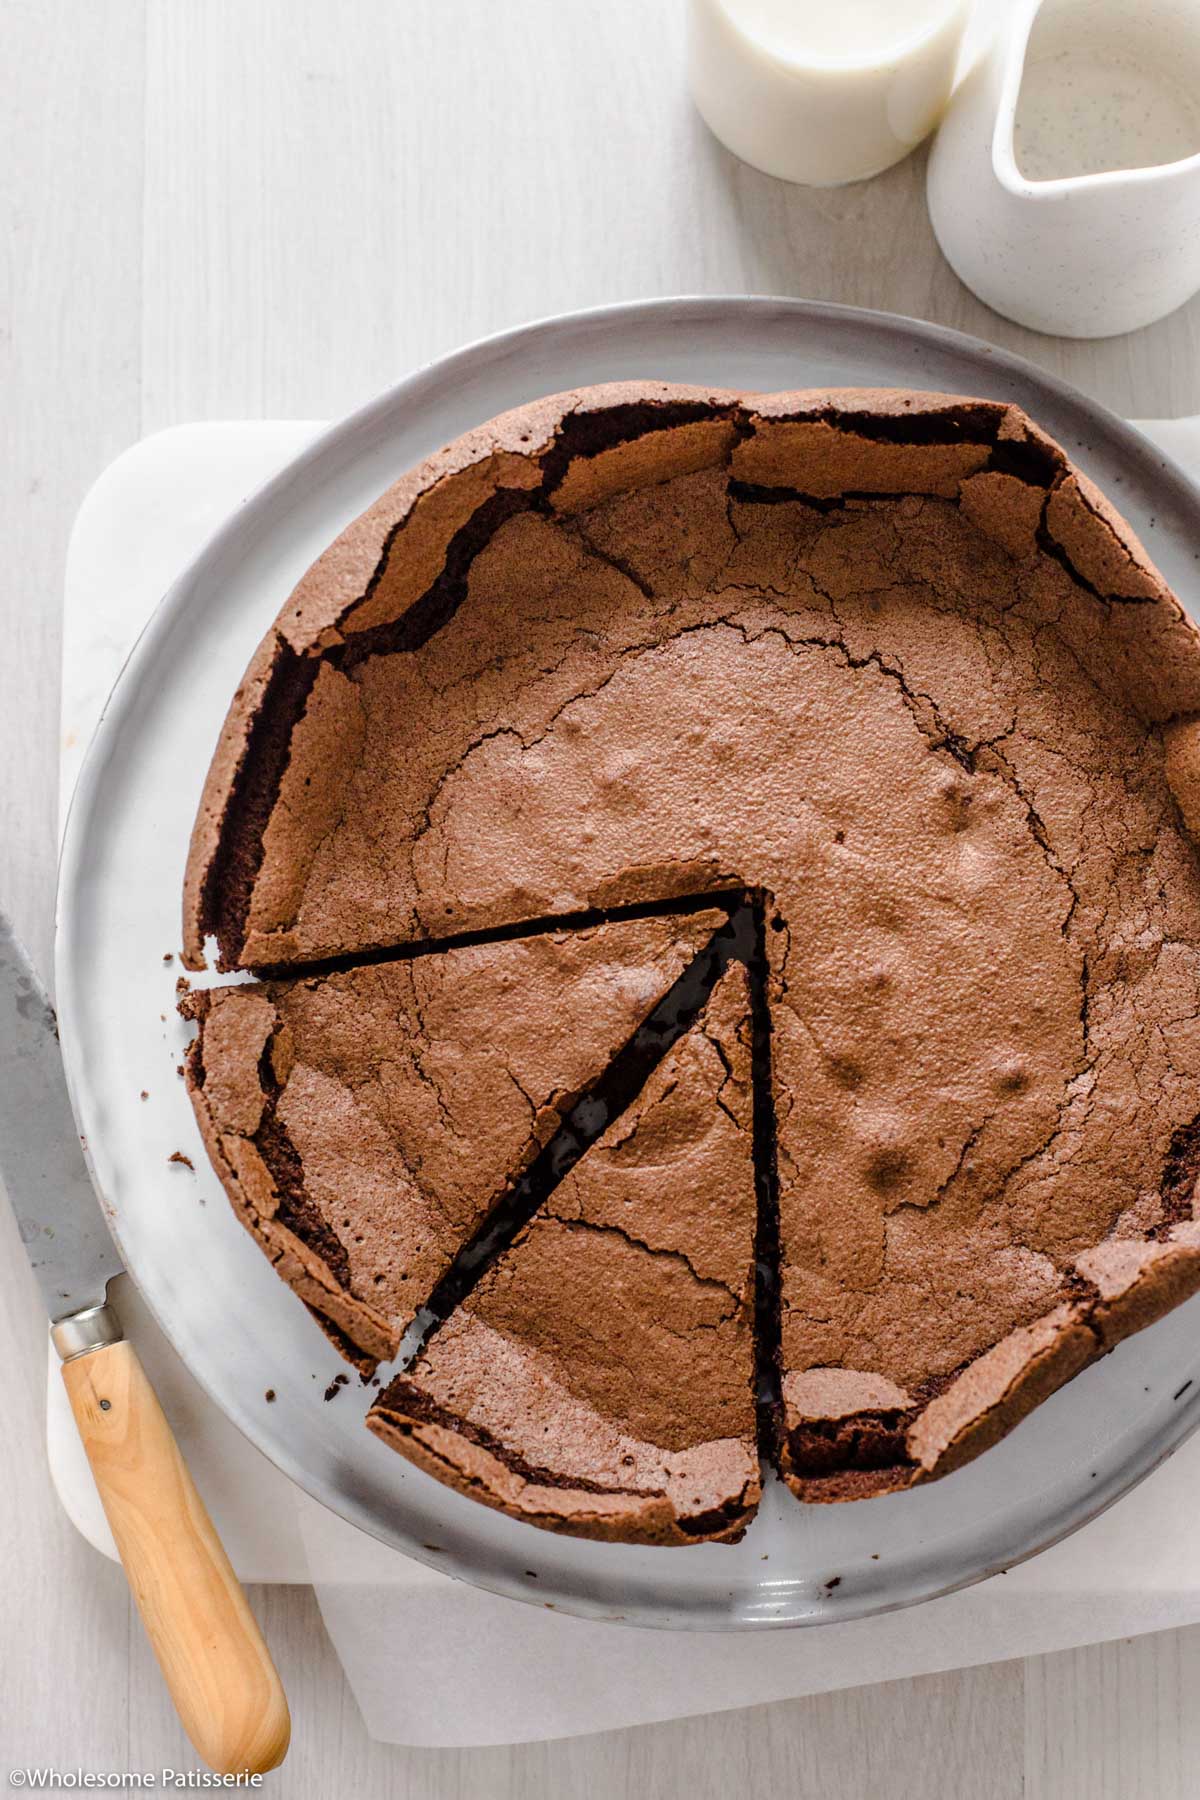
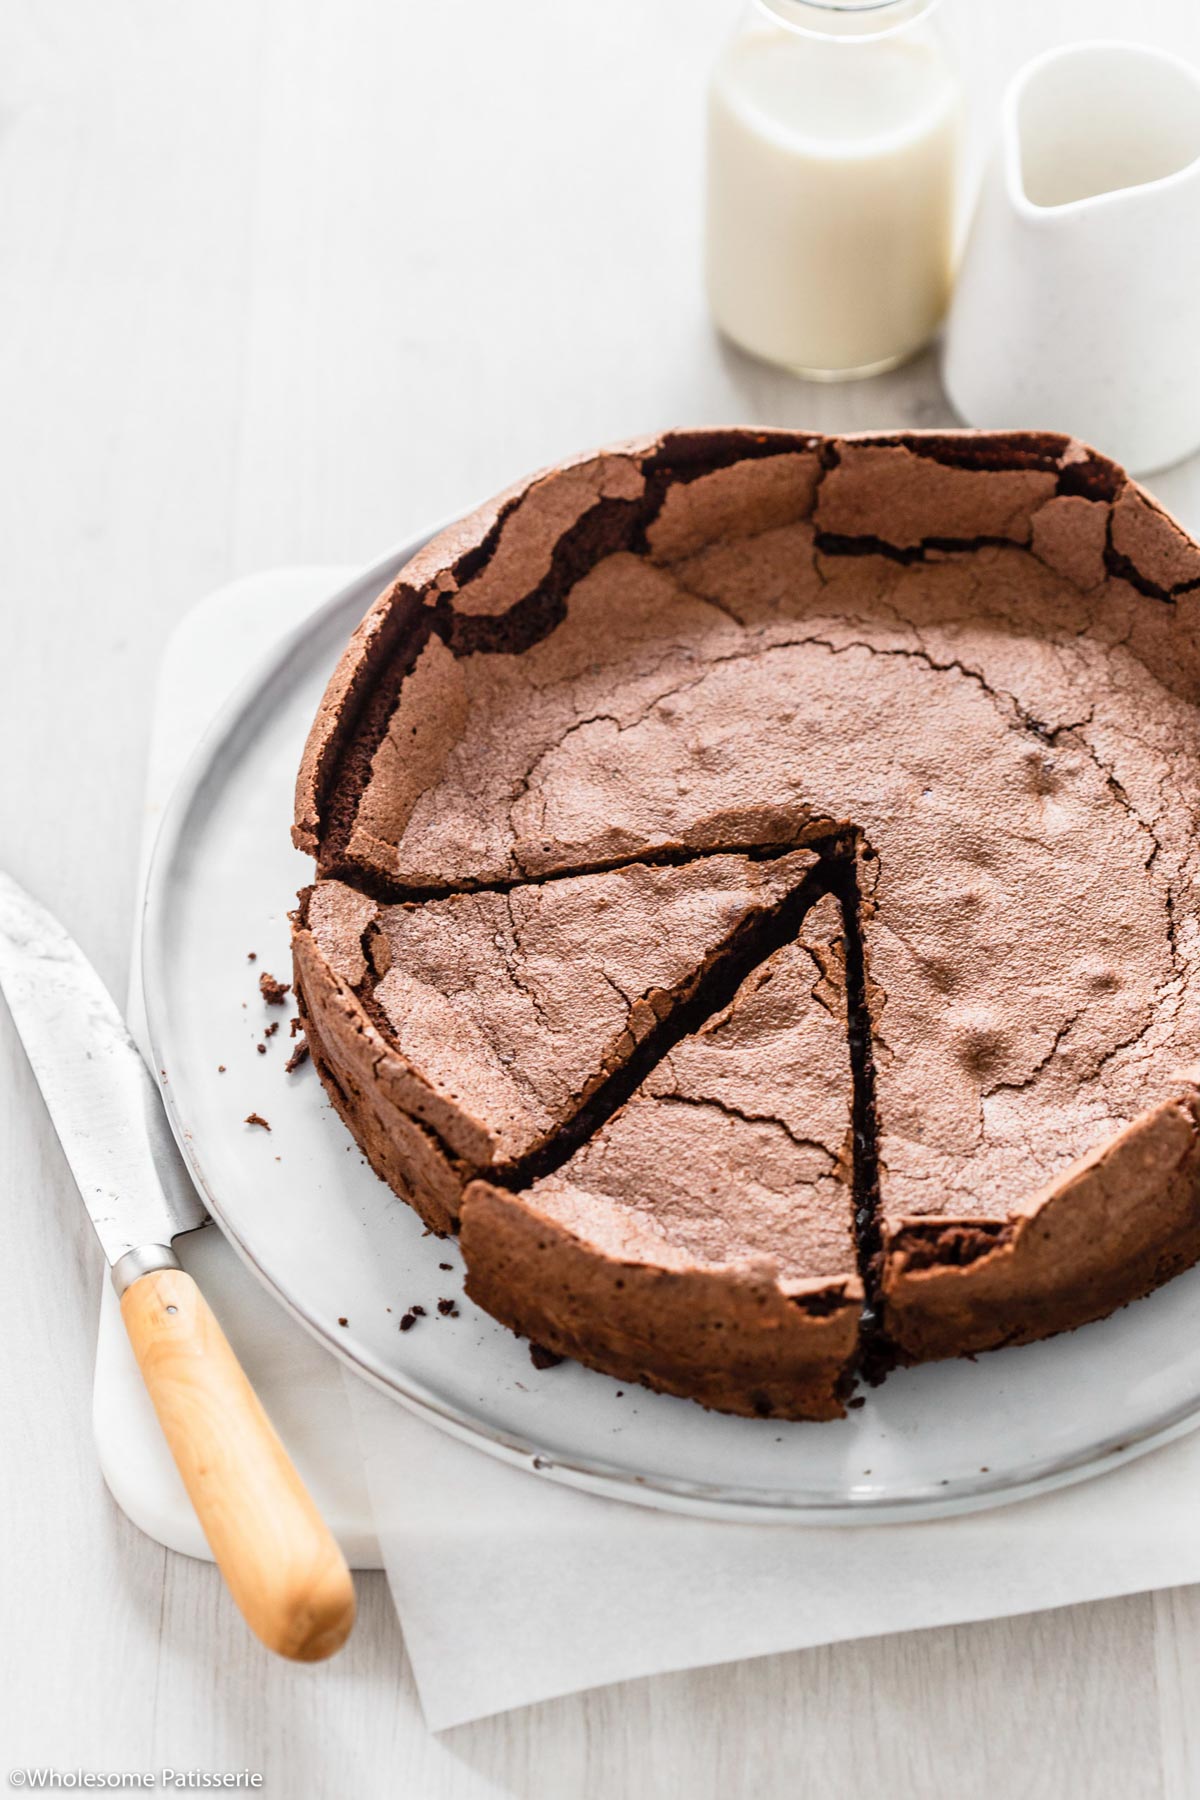
Gluten-Free Flourless Chocolate Cake
This Gluten-Free Flourless Chocolate Cake recipe is easy to make with 7 basic ingredients. It has a crispy meringue crust with a rich and fudgy center!

Whether it’s my single-layer basic chocolate cake, my easy chocolate walnut cake or this chocolate olive oil cake, there is a chocolate cake recipe to satisfy everyone’s sweet tooth.
🍫 Why You Will Love This Recipe
- Uses 7 staple kitchen ingredients.
- Completely gluten-free.
- Dark, rich, and decadent chocolate.
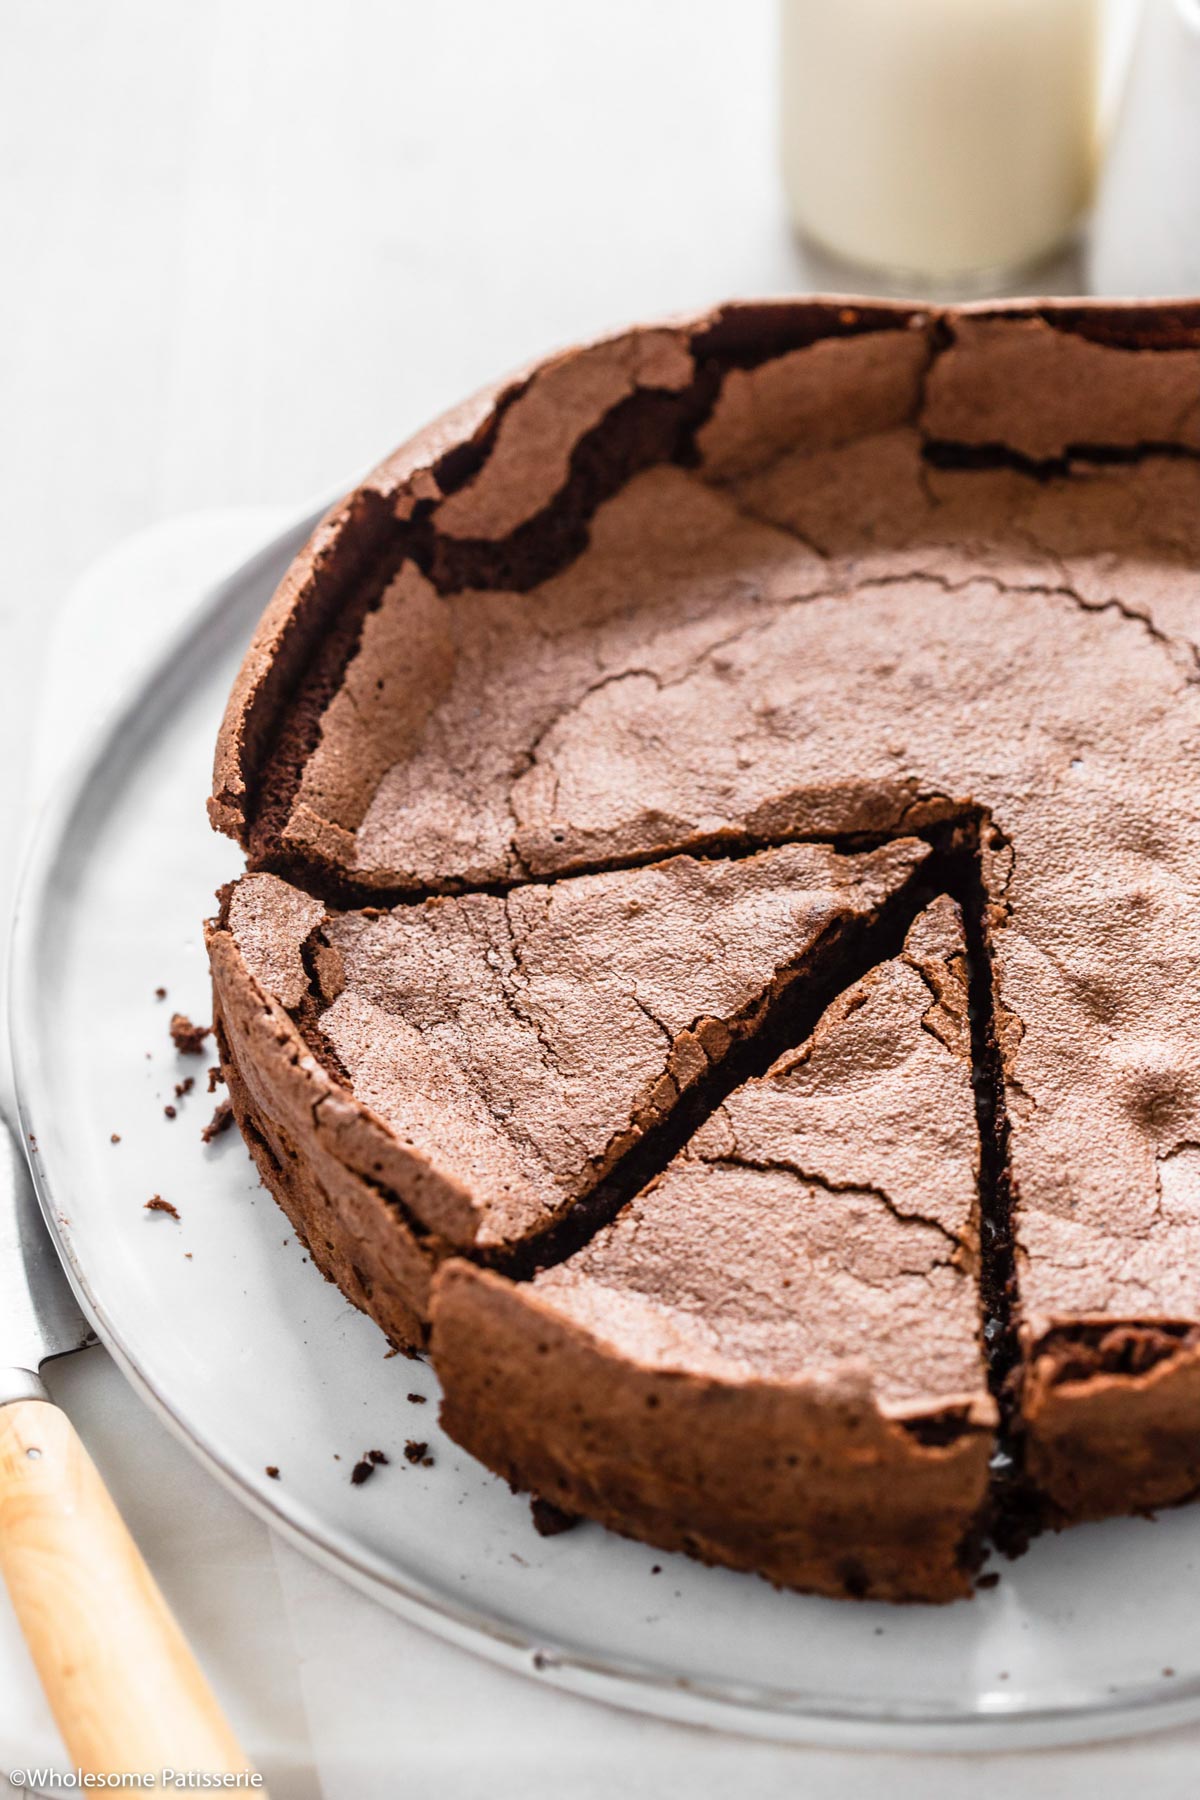
- Soft and fudgy middle.
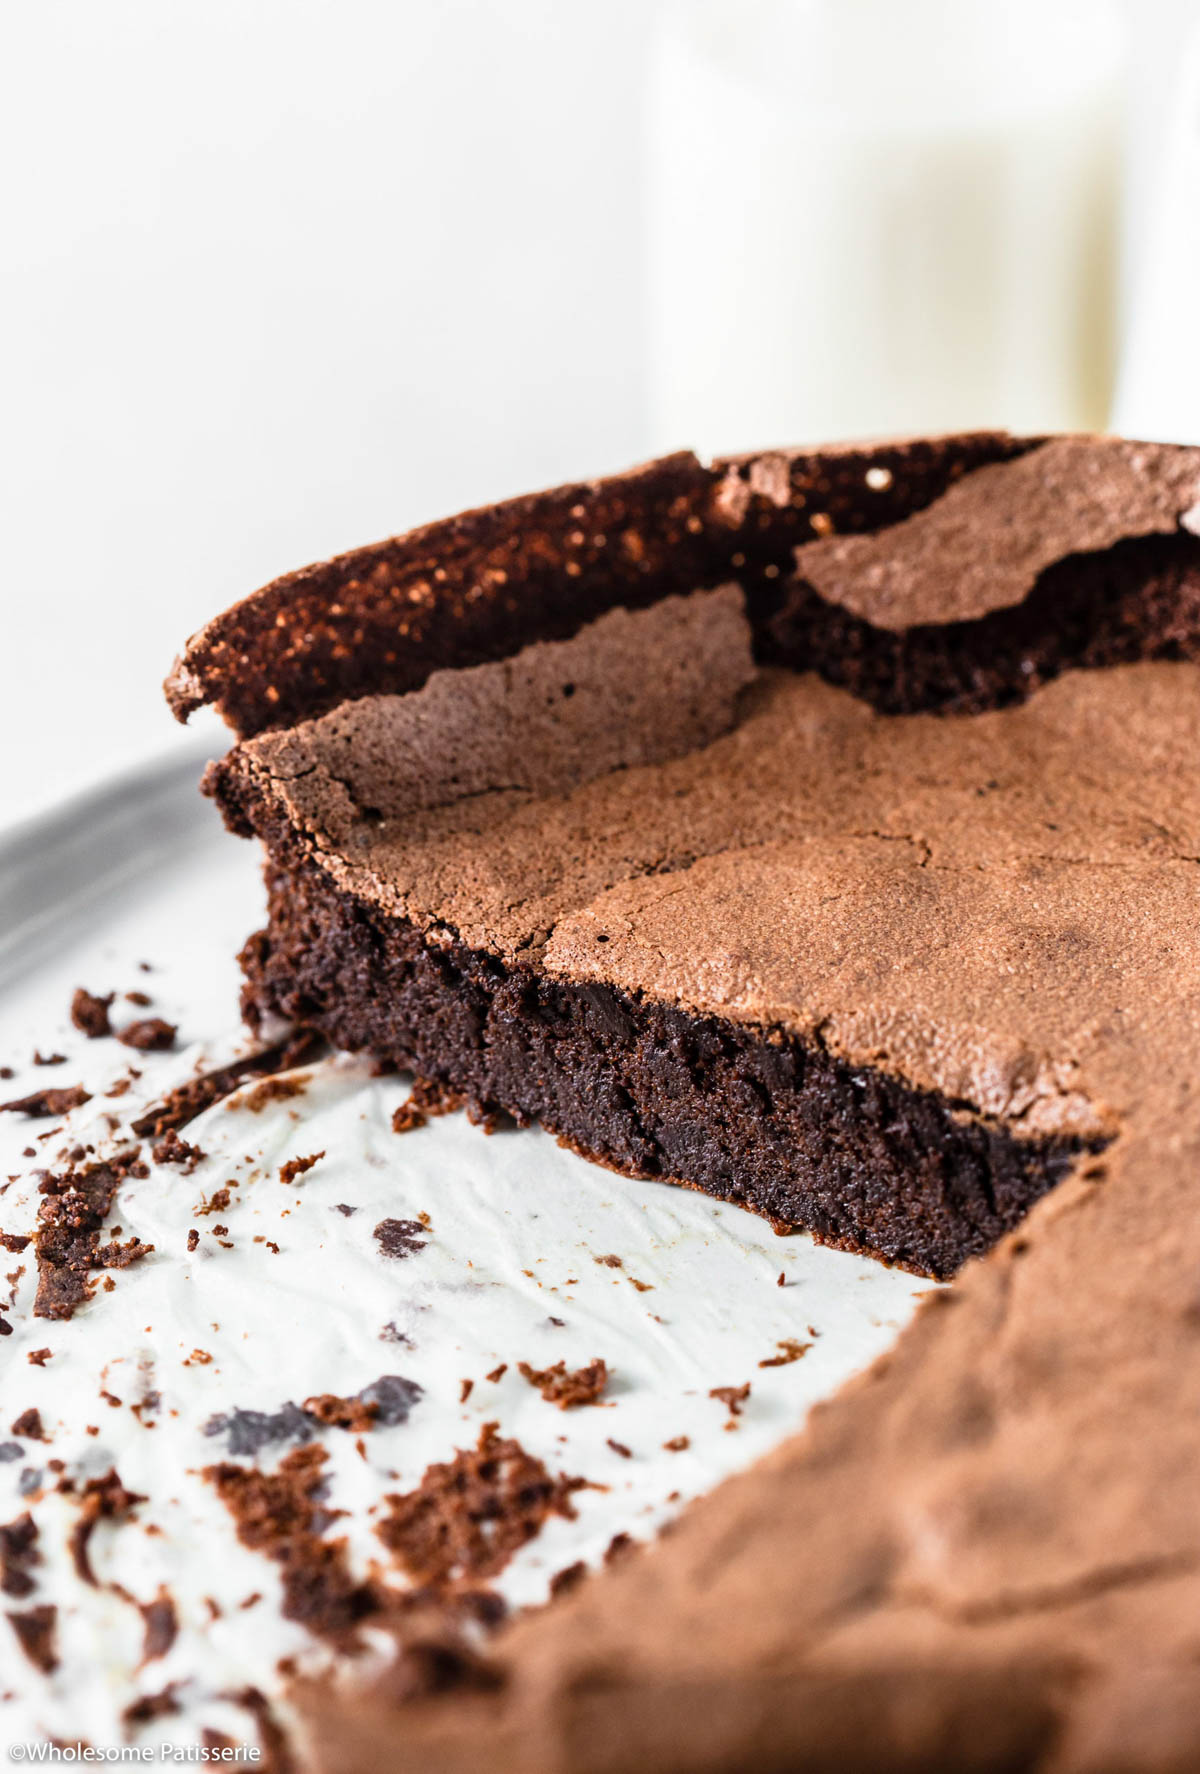
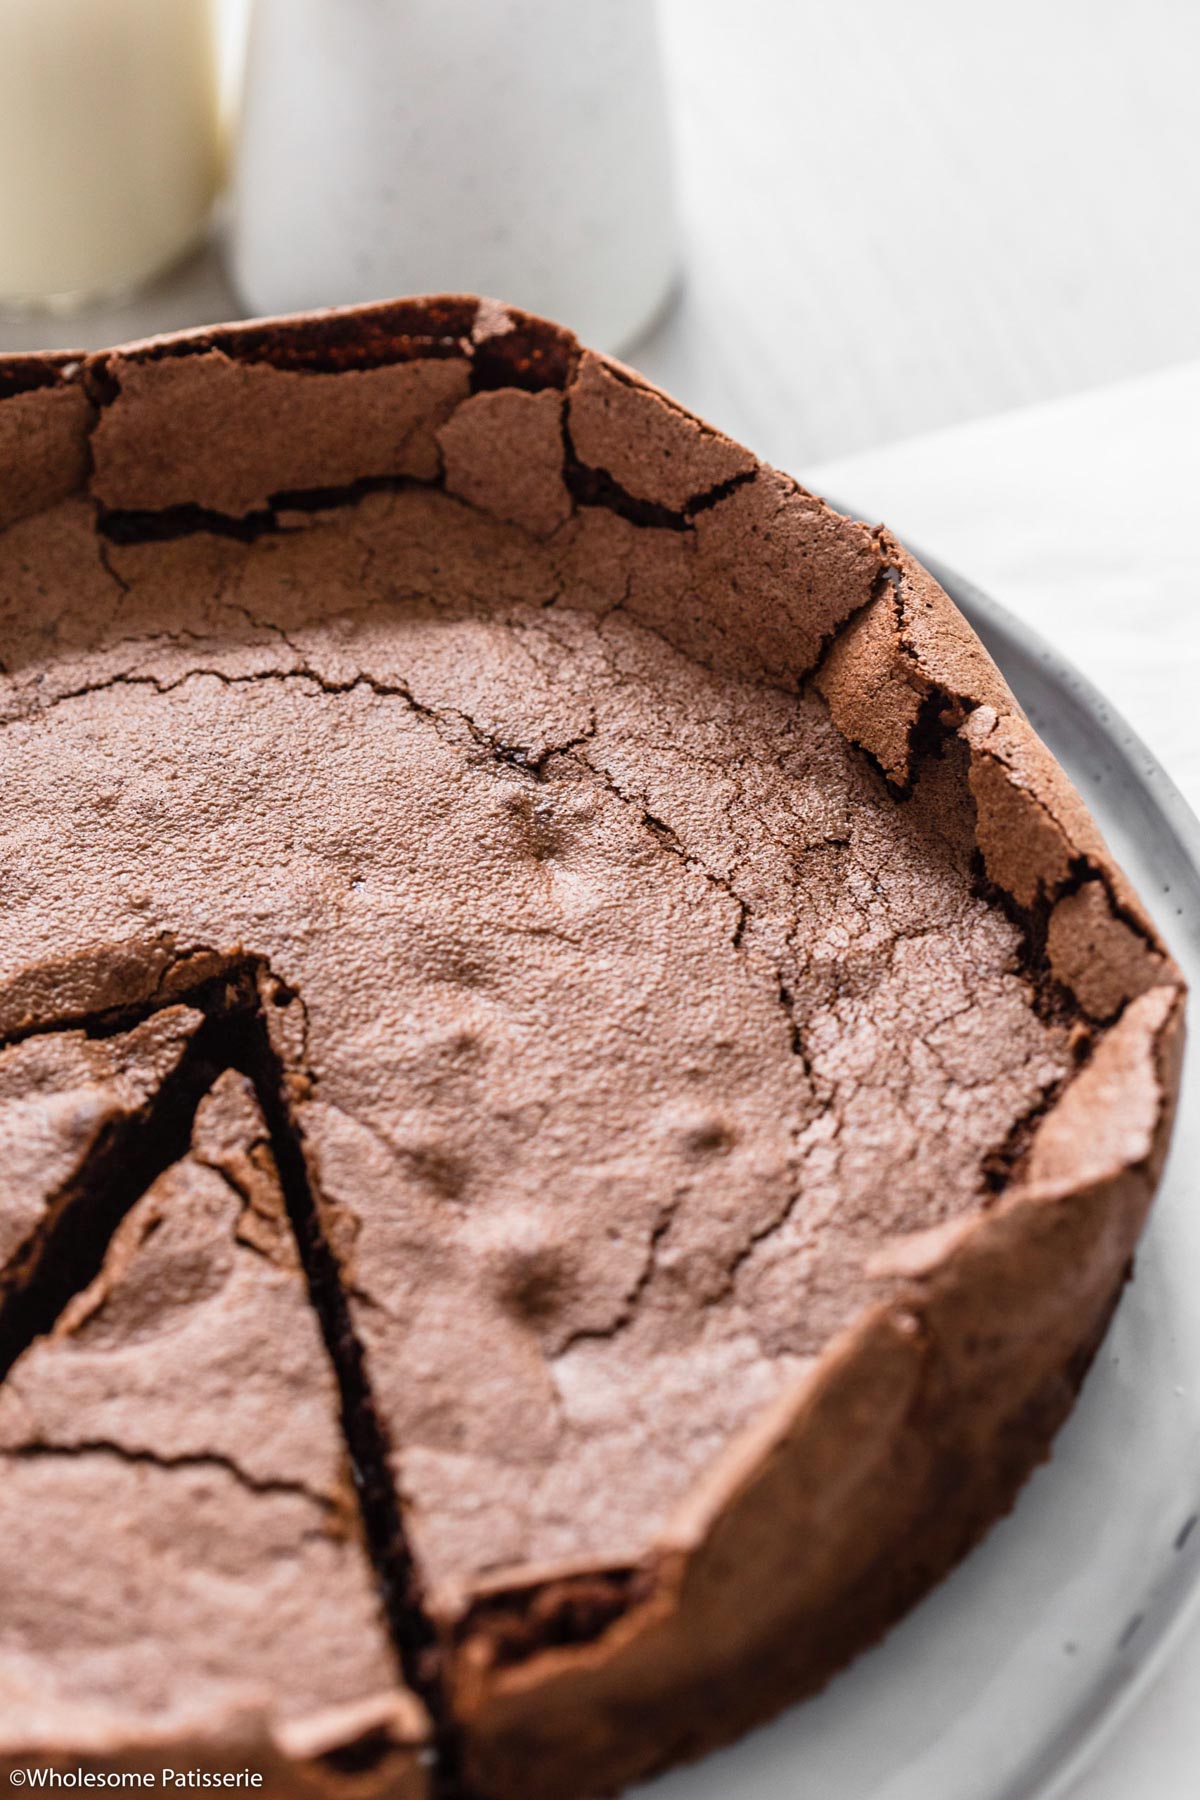
- Incredible crispy and crunchy meringue crust.
- Can be made ahead of time.
Similar to a torte, a flourless chocolate cake is made without flour, therefore making it 100% gluten-free.
With a similar appearance to my crinkle top chocolate brownies, it uses whipped egg whites aka meringue, to create structure and stability.
Think of this recipe as a wonderful cross between cake and dessert!
🥄 Serving Suggestions
This easy flourless chocolate cake is delicious as is but jazz it up for dessert with these simple topping ideas:
- Dust with Dutch-process cocoa powder or powdered sugar.
- Dollop over chocolate ganache then add chopped strawberries or raspberries.
- Spread with whipped cream or custard and then berries if desired.
- Drizzle over homemade chocolate sauce with scoops of vanilla ice cream.
📋 Ingredient Notes & Substitutions
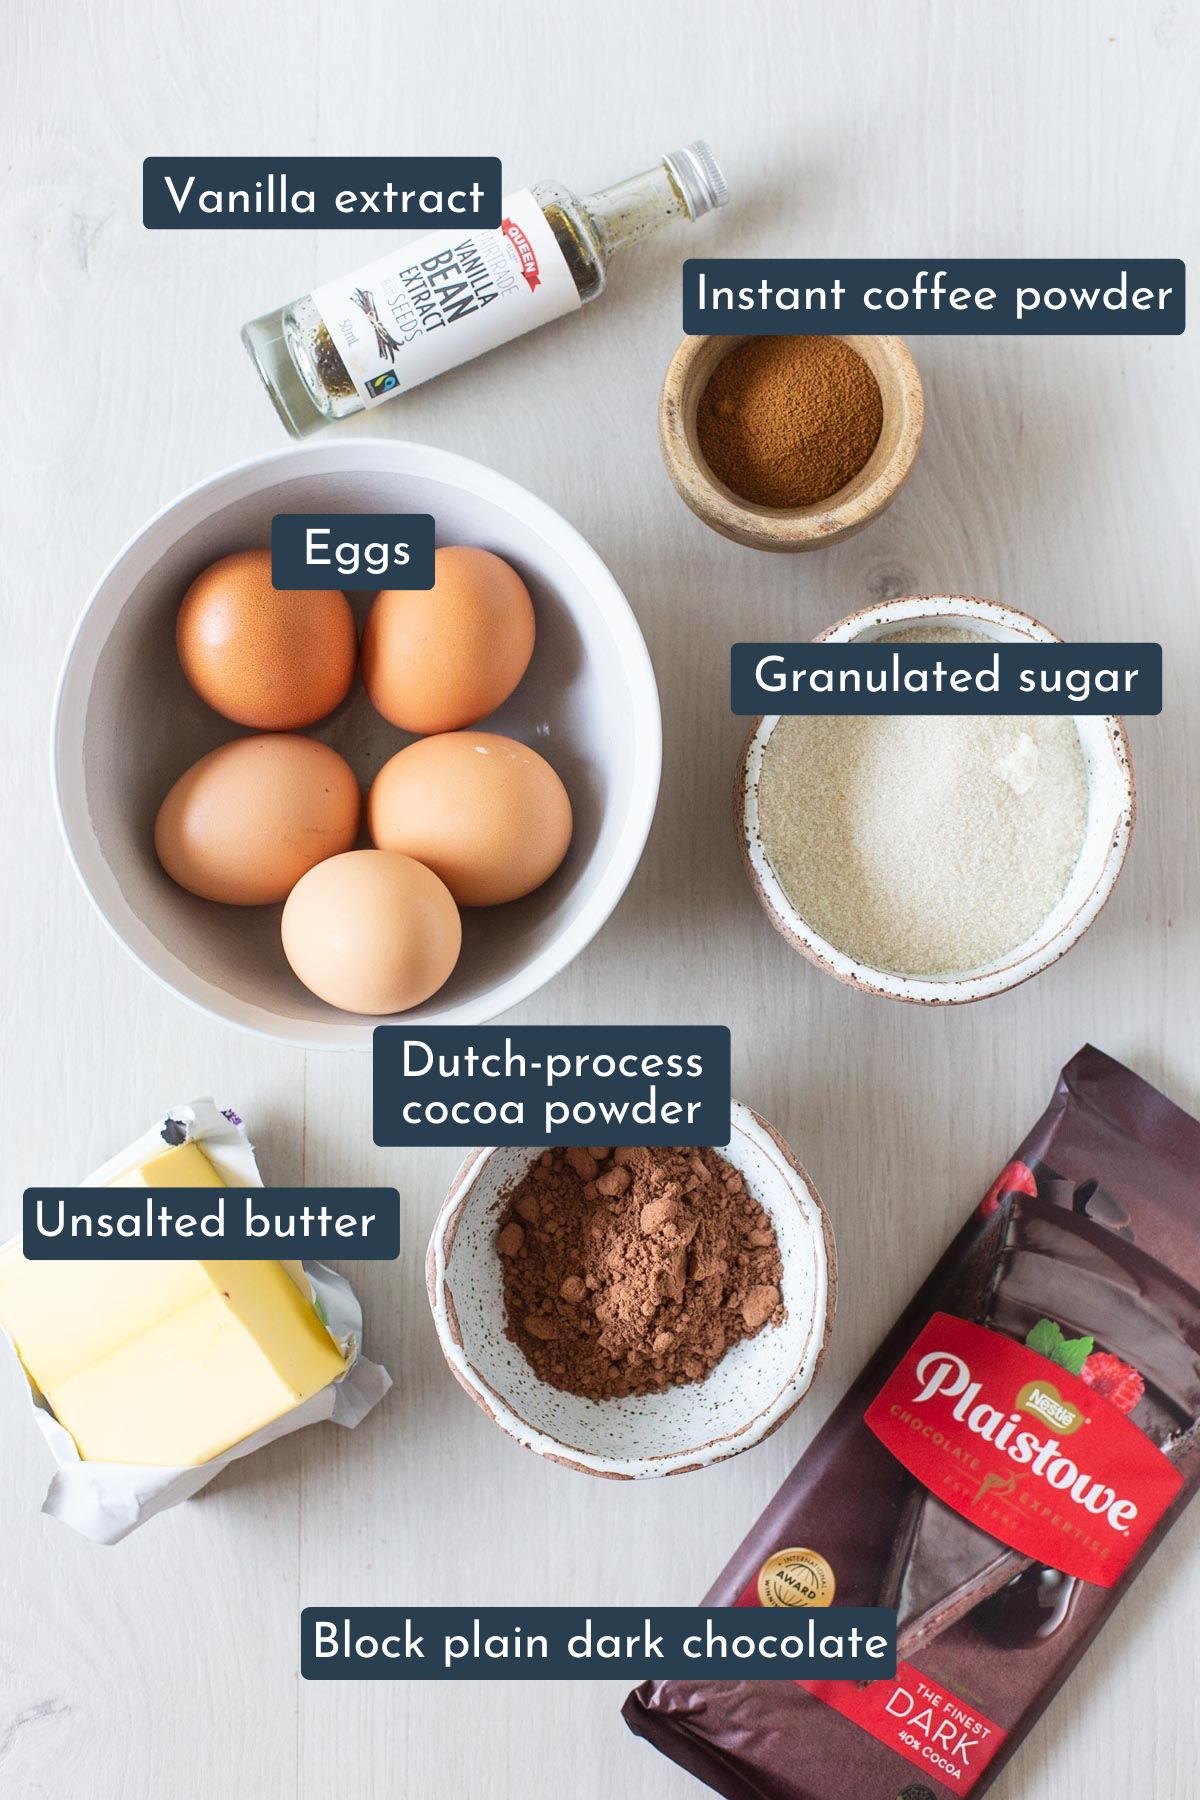
- Plain dark chocolate block – use any brand or your favorite block of plain dark chocolate. Can also be baking/cooking chocolate.
- Unsalted butter – can be substituted with salted butter.
- Eggs – use medium-large eggs, not too small. A large egg in its shell weighs between 55g-65g (1.9oz-2.3oz).
- Granulated sugar – use either golden or white granulated sugar.
- Dutch-process cocoa powder – is darker and richer than regular cocoa powder which works best for this flourless cake. If you don’t have it, use regular unsweetened cocoa powder.
🥣 Step By Step Instructions (with photos)
A full and detailed recipe card is at the bottom of this post.
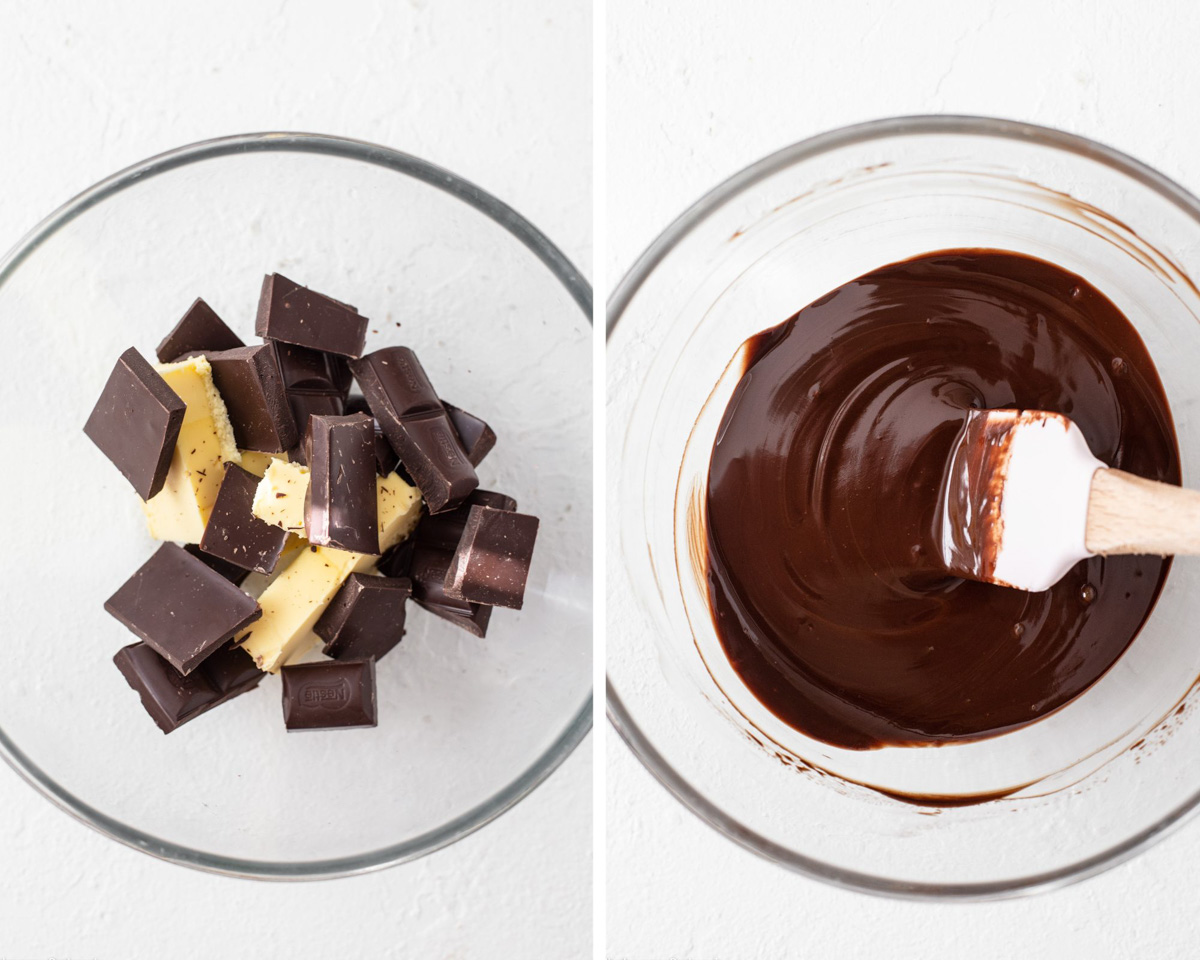
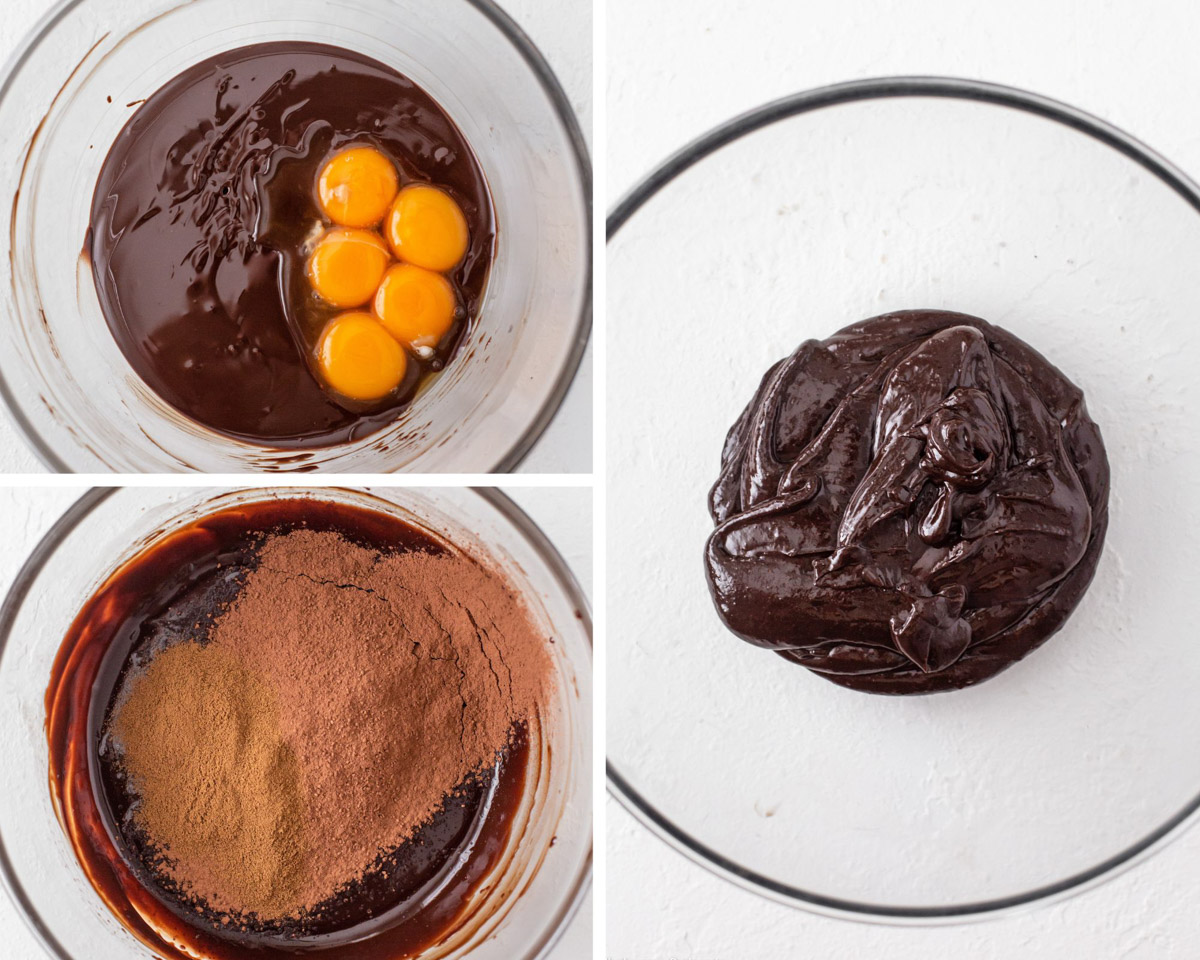
Step one: Melt together the chocolate and butter in a double boiler over low heat until completely smooth. Remove from the heat and allow to cool slightly.
Step two: When the chocolate mixture has cooled slightly and is just warm to the touch when you dip your finger in, add egg yolks and vanilla, and whisk until well combined.
Step three: Sift over cocoa powder then add the coffee powder. Whisk until well combined and smooth and set it aside.
Step four: Beat the egg whites while gradually adding in the sugar until stiff peaks form, about 3 minutes in total. Lift up the beaters and hold them above the bowl, if the whites hold their stiff peaks, they’re ready.
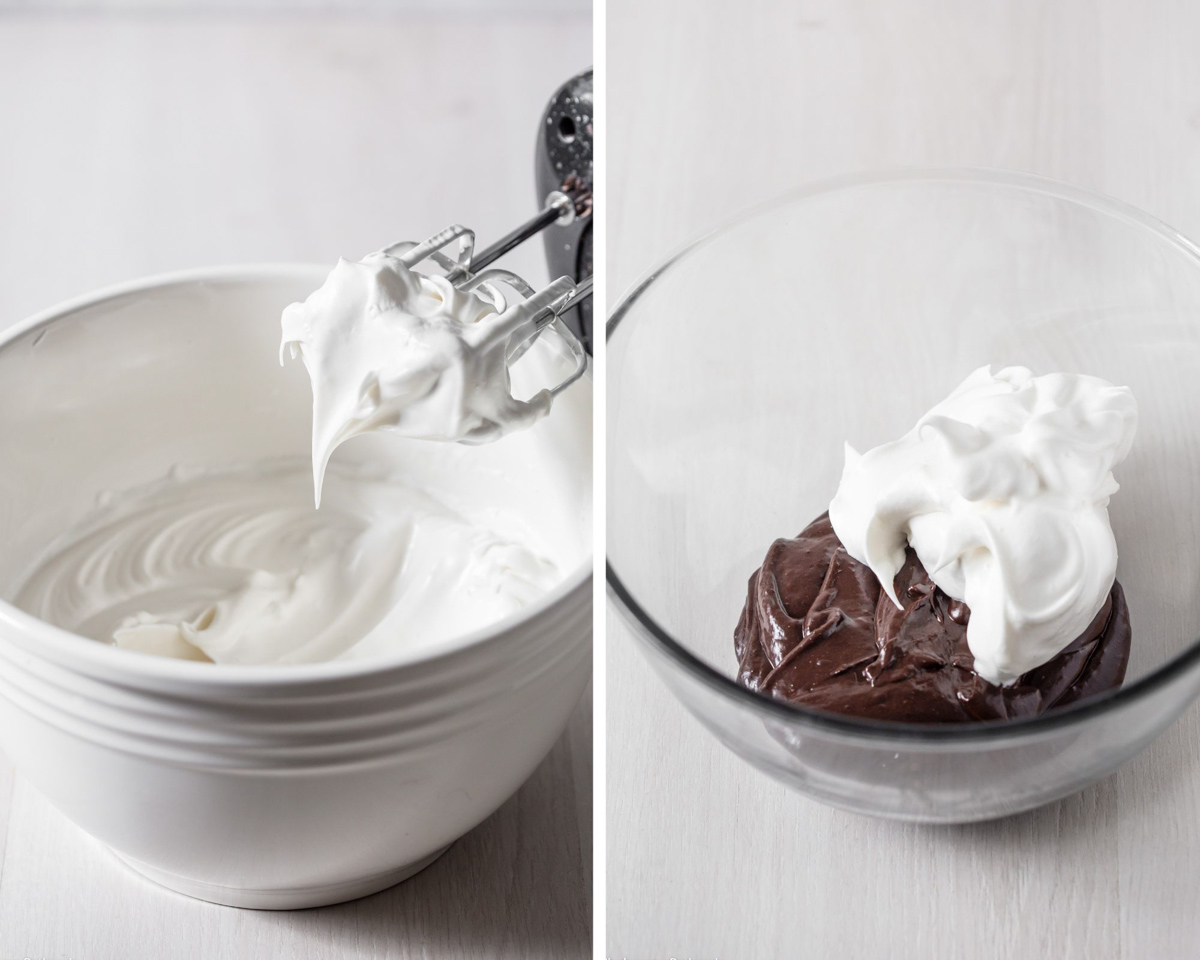
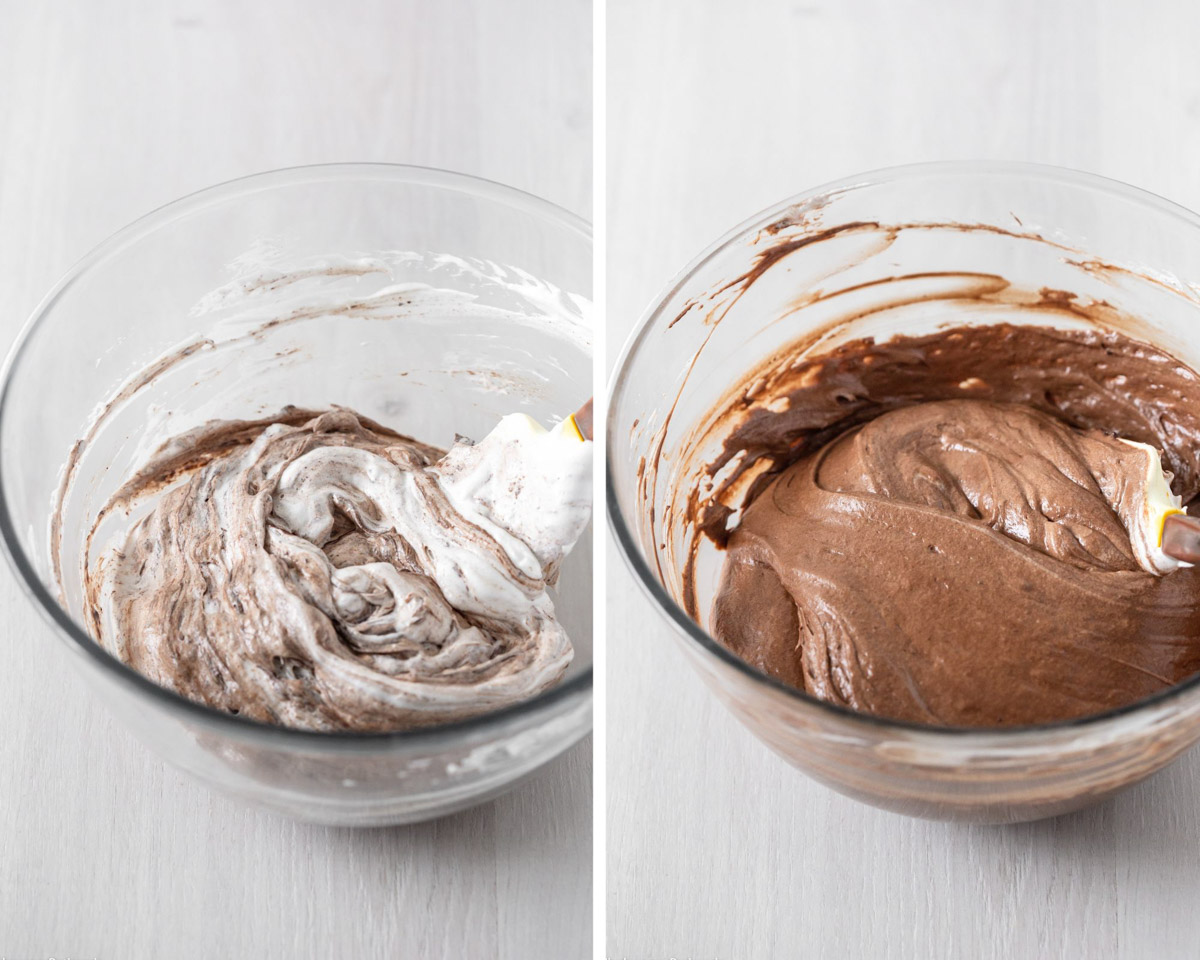
Step five: Working in thirds, gradually and gently fold the meringue into the chocolate mixture with a spatula until incorporated and no white streaks are left. Take this step slowly to avoid deflating the egg whites.
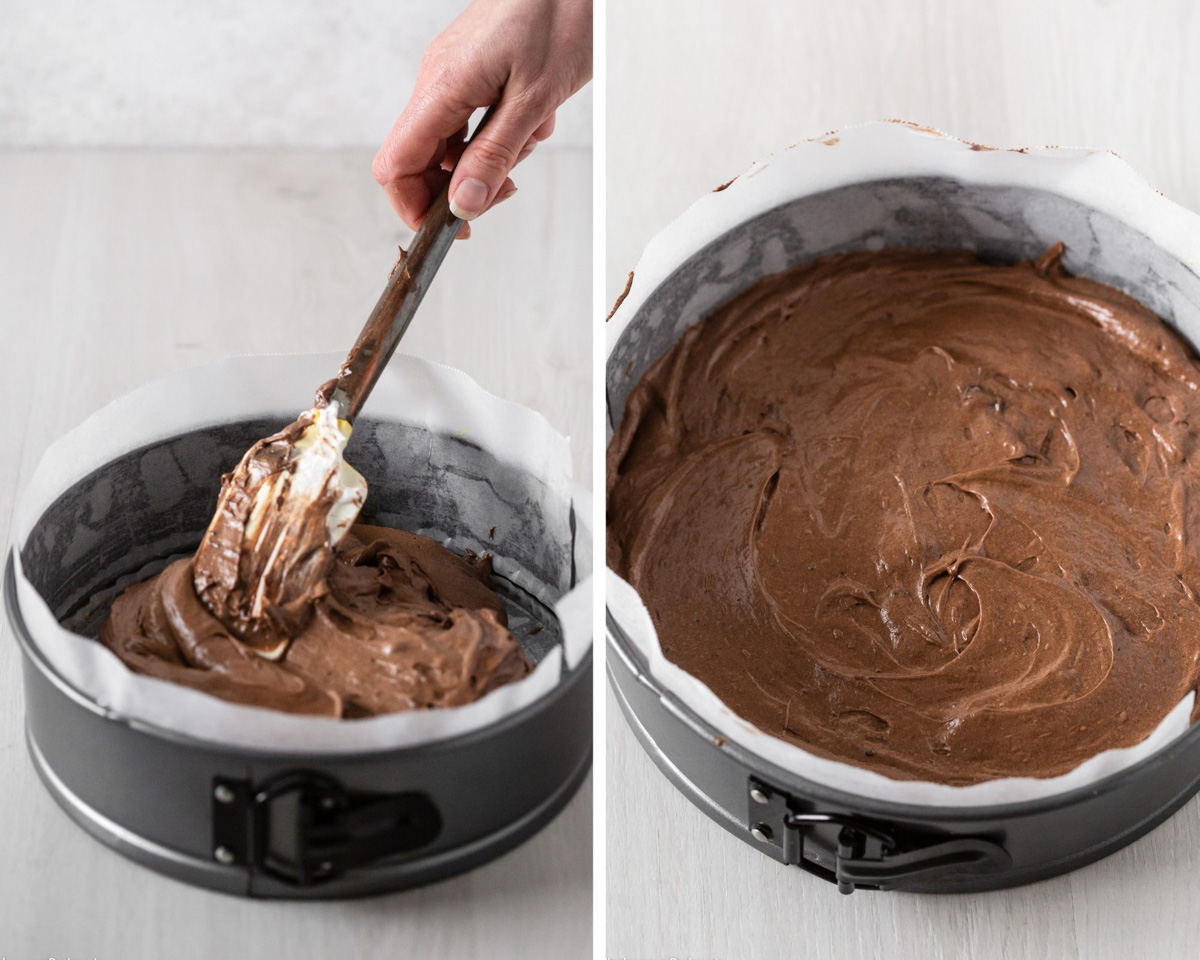
Step six: Pour the batter into the lined springform pan, smoothing out the top with a spatula.
Step seven: Bake for 30-35 minutes or until a toothpick inserted into the middle comes out with just a few moist crumbs still, the middle no longer jiggles and cracks have formed on the surface.
Step eight: Remove from oven and allow to cool in pan for 15 minutes. Gently release the latch on the springform tin and lift out the cake still on the base of the tin.
Step nine: Cool it on the base for a further 10-15 minutes until it’s easier to slide it off. It’s ok if more cracks appear when you’re removing it. Transfer to a wire rack to cool completely.
💭 Tips For Recipe Success
- When separating your eggs, do not get any yolks in the whites as it will hinder your egg whites from whipping correctly. See my tip below.
- Expert Tip: Separate one egg at a time by adding the egg white into a small bowl, look to see if any yolks have escaped into your whites, then pour the white into the larger mixing bowl. Repeat with remaining eggs.
- Allow the melted chocolate and butter mixture to cool slightly before whisking through the egg yolks. If it’s too warm, the yolks will curdle.
- The egg whites are ready when stiff peaks have formed. Test this by lifting up the beaters, holding them above the bowl and if the whites hold their stiff peaks, it’s ready.
- You’ll need to give the chocolate mixture another whisk before folding through your whipped meringue, as the longer the chocolate sits, the thicker it gets.
- Don’t over-bake your cake as it can dry out in the middle quickly. It’s ready when just a few moist crumbs remain on the toothpick and the middle no longer jiggles.
- Slightly under-baking this flourless cake is better than over-baking it.
⏲️ Storage Instructions
Store – in a sealed airtight container, at room temperature for 1-2 days then keep it refrigerated for a further 2-3 days.
Make ahead – make your flourless cake as per the recipe instructions and allow it to cool completely. Then keep it in a sealed container in the fridge for up to 3 days. Serve chilled or bring to room temperature 30 minutes prior to serving.
Freeze – wrap the whole cake or in slices with plastic wrap then in foil, or a double layer of plastic wrap. Place into a freezer-friendly sealed container or large zip-lock bags and freeze for up to 3 months. Thaw in the refrigerator overnight.
💬 Recipe FAQ’s
You can try using a block of dairy-free cooking butter and dairy-free dark chocolate but I have not tested this recipe using dairy-free substitutions.
Yes! This flourless cake keeps well in an airtight container, in the refrigerator for up to 3 days. Serve it chilled or thawed to room temperature.
Yes! The crispy meringue crust is the nature of this flourless chocolate cake. The surface will continue to crack the more you move it and slice into it. It’s completely ok and normal!
I recommend using any plain block of dark chocolate that is over 40% cocoa.
📖 Related Recipes
If you enjoy this recipe, please consider leaving a ⭐️ star rating and a comment review below. I love to hear what you think and it’s much appreciated. Thank you! Your email address will not be published. Sam x
Gluten-Free Flourless Chocolate Cake
Ingredients
- 200 g block plain dark chocolate, broken into squares or roughly chopped
- 100 g unsalted butter
- 5 large eggs, at room temperature all eggs together in shells weighing approx. 290g
- 1 tsp vanilla extract
- 2/3 cup golden or white granulated sugar
- 3 Tbsp Dutch-process cocoa powder, or regular unsweetened cocoa powder
- 2 tsp instant coffee powder
Instructions
- Preheat oven to 160ºC (320ºF). Grease with butter and line with parchment paper a 9-inch (22cm) round springform cake tin. Set aside.
- Prepare a double boiler with a large heat-proof mixing bowl over a pot of simmering water. NOTE: make sure the bowl is big enough as it's the bowl for the entire cake.
- Add broken-up chocolate and butter to the bowl and gently melt together over low heat until completely melted and smooth.
- Remove from heat and allow to cool slightly whilst you separate the eggs.
- Separate the eggs and place the egg whites into a large mixing bowl or the bowl of a stand mixer.
- Add yolks into a separate small bowl.
- When the chocolate mixture has cooled slightly and is just warm to the touch when you dip your finger in, add egg yolks and vanilla, and whisk until well combined.
- Sift over cocoa powder then add the coffee powder. Whisk until well combined and smooth. Set aside.
- To whip the egg whites, use an electric hand beater or stand mixer with the whisk attached, and beat for 20 seconds until foamy.
- Gradually pour in sugar, one tablespoon at a time, whilst beating on medium-high speed, beat for 30 seconds between each addition of sugar. Scrape down the sides if any sugar is stuck to the sides of the bowl. Continue to beat egg whites until stiff peaks form, about 3 minutes in total.
- To test if the egg whites are done, stop mixing, lift the beaters out of the bowl and the egg whites should hold their shape and not fall back down into the bowl.
- Stir the chocolate mixture again, if it’s turned too thick, mix it well to loosen it up.
- Add 1/3 of whipped egg whites to the chocolate mixture, and gently fold with a spatula until just combined. Take this step slowly and gently fold to avoid deflating the egg whites too much.
- Add another 1/3 of the whites and fold through until just combined, some white streaks will still be visible.
- Add the remaining 1/3 of the whites and fold until fully incorporated with no white streaks remaining. Do not over-mix, just until you see no white streaks left.
- Pour batter into the lined springform pan, smoothing out the top with a spatula.
- Bake for 30-35 minutes or until a toothpick inserted into the middle comes out with just a few moist crumbs still, the middle no longer jiggles and cracks have formed on the surface. Do not to over-bake as it will dry out in the middle.
- Remove from oven and allow to cool in pan for 15 minutes.
- Gently release the latch on the springform tin and lift out the cake still on the base of the tin.
- Cool it on the base for a further 10-15 minutes until it’s easier to slide it off. It’s ok if more cracks appear when you’re removing it.
- Transfer the cake to a wire rack to cool completely. You can also cool it in the refrigerator to fasten up the process.
- Serve warm or cool with scoops of ice cream or dolloped cream if desired.
- Store in a sealed airtight container, at room temperature for 1-2 days then keep it refrigerated for a further 2-3 days.
Notes
- When separating your eggs, do not get any yolks in the whites as it will hinder your egg whites from whipping correctly. See my tip below
- Expert Tip: Separate one egg at a time by adding the egg white into a small bowl, look to see if any yolks have escaped into your whites, then pour the white into the larger mixing bowl. Repeat with remaining eggs.
- Allow the melted chocolate and butter mixture to cool slightly before whisking through the egg yolks. If it’s too warm, the yolks will curdle.
- Don’t over-bake your cake as it can dry out in the middle quickly. It’s ready when just a few moist crumbs remain on the toothpick and the middle no longer jiggles.
- Make ahead – make your flourless cake as per the recipe instructions and allow it to cool completely. Then keep it in a sealed container in the fridge for up to 3 days. Serve chilled or bring to room temperature 30 minutes prior to serving.
- Freeze – wrap the whole cake or in slices with plastic wrap then in foil, or a double layer of plastic wrap. Place into a freezer-friendly sealed container or large zip-lock bags and freeze for up to 3 months. Thaw in the refrigerator overnight.